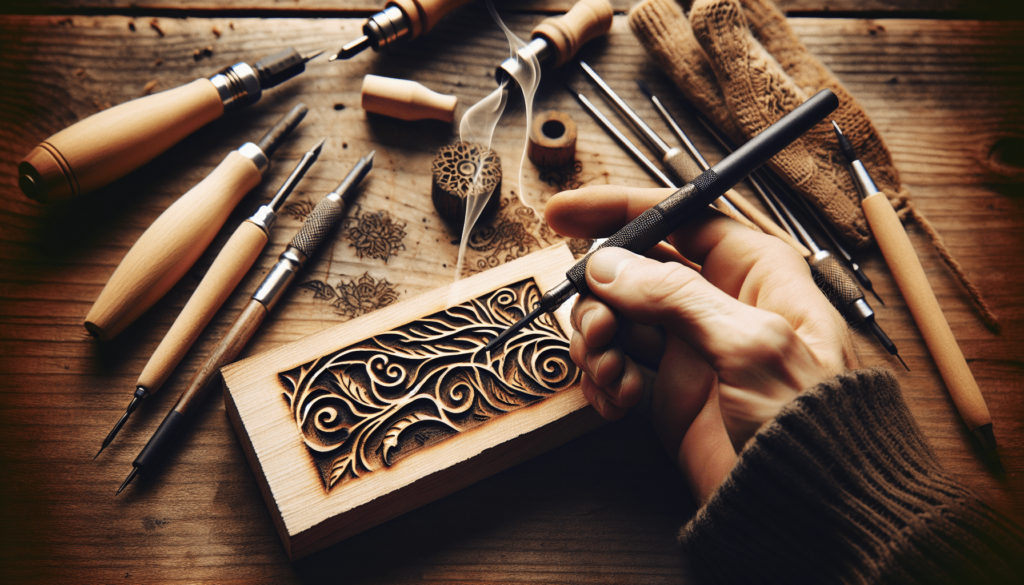
You know, I’ve always been fascinated by those beautiful, intricate designs burned into wooden plaques and signs. It’s a craft that seems to blend artistry with a touch of rustic charm. “What Is It Called When You Burn Words Into Wood?” delves into the world of pyrography, the ancient art of using heat to etch words and images onto wood surfaces. In this article, I explore the history, techniques, and modern-day applications of this timeless craft, sharing insights and tips for anyone interested in trying their hand at creating these unique, personalized wooden keepsakes. Have you ever wondered what it’s called when you burn words into wood? I imagine it’s one of those things you’ve seen somewhere, maybe at a craft fair or in an Etsy shop, and thought, “Huh, that’s neat,” before moving on to your next distraction. It’s like that pesky trivia question that you can’t quite place but feel it bubbling there, right beneath the surface.
That, my friends, is called pyrography. It’s not as fancy as saying “I’m going to spend my evening wood-burning,” but it does have a certain ring to it, don’t you think? Some people spend their evenings watching reality TV or doomscrolling through social media; others pick up a hot metal tool and start burning pictures and words into wood. And let’s be honest, at the very least, it’s got to be a tad more interesting than scrolling through photos of somebody’s avocado toast.

The Origin of Pyrography
So, where did this whole pyrography thing start? I mean, it had to come from somewhere, right?
Historical Beginnings
Believe it or not, pyrography isn’t some hipster trend that popped up in Brooklyn in the last decade. It’s been around for quite some time, since ancient civilizations, actually. Yeah, I know—mind blown. Ancient Egyptians, Romans, and even some African tribes used a version of pyrography to decorate their tools, create intricate designs, and tell stories. They didn’t have fancy electric pyrography pens back then; they used heated pokers and metal tools to create their art. Think of it as the original “art form meets utility.”
Evolution and Modern Adoption
Fast forward to the 19th and 20th centuries, and you’ll find that pyrography found its way into the hands of folk artists and the craft movements in Europe and America. The advent of electricity made it easier and safer, or at least less likely to burn your house down.
The modern-day version of pyrography—using electric tools to achieve precise designs—started to gain traction in the arts and crafts community. What was once a laborious task now became a form of expression available to anyone with a steady hand and a bit of patience.
Tools of the Trade
If you’re tempted to delve into the world of pyrography after reading this, you need to know what you’re getting into. Because let’s be real, you can’t just grab a lighter and a piece of driftwood and expect to create art.
Basic Tools
Here’s a quick rundown of what you’ll need:
| Tool | Description |
|---|---|
| Pyrography Pen | The main tool you’ll use. It’s like a soldering iron but for wood. Comes with various tips. |
| Transfer Paper | Used to transfer your design onto the wood before you start burning. |
| Sandpaper | For smoothing out the wood surface. You don’t want any splinters interrupting your masterpiece. |
| Wood | The canvas. Birch and maple are good starter woods. Avoid resinous woods like pine. |
| Safety Equipment | Gloves and possibly a mask. Trust me, breathing in burnt wood isn’t as fun as it sounds. |
Types of Pyrography Pens
There are generally two types of pyrography pens: solid-point and wire-nib. The solid-point pen is more user-friendly if you’re a beginner. It’s also less expensive and typically comes with a range of tip shapes—kind of like the different nibs on calligraphy pens. Wire-nib pens, on the other hand, offer greater precision and are the tool of choice for professional pyrographers.
Additional Accessories
If you’re really serious about this, you might consider additional accessories like temperature regulators or heat-resistant gloves. There are also books and online tutorials to help you master different techniques, from shading to pointillism.
Techniques to Master
Like any art form, mastering pyrography involves understanding and practicing various techniques. It’s not just about burning a simple design. Trust me, getting the hang of this is a journey filled with trial-and-error and probably a few unintentionally burnt fingers along the way.
Basic Techniques
Here are a few beginner-friendly techniques to get you started:
- Line Work: This is your bread and butter. Straight lines, curved lines, zig-zags—the lot. Practice makes perfect.
- Shading: This involves pressing lighter or harder on the wood to create depth and dimension. Think of it like the difference between a pencil sketch and a shaded drawing.
- Stippling: This is where pointillism comes into play. You create an image using dots burned into the wood. It’s time-consuming but oh-so-satisfying.
- Hatching and Cross-Hatching: Just like in pen-and-ink drawing, these techniques use parallel lines and intersecting lines to build up texture and shadow.
Advanced Techniques
Once you’ve got the basics down, you can start exploring more advanced techniques.
- Gradient Shading: This involves seamlessly blending from dark to light areas. It’s a bit like shading but more nuanced.
- Texture Building: Here, you’ll experiment with different tip shapes and pressures to create various textures, like fur, leaves, or waves.
- Mixed Media: Why stop at just burning wood? Add some paint, ink, or even carving to your pyrography pieces.
- Layering: This involves burning multiple layers to create intricate designs. It requires patience and precision but results in stunning artwork.
Safety First
I know, I know. Talking about safety can be a bit of a buzzkill, but trust me, you don’t want to end up in the emergency room because you got too enthusiastic with your pyrography pen.
Fire Safety
This one’s a no-brainer. You’re working with fire—or at least high heat—so always have a fire extinguisher or at least a bucket of water nearby. Make sure your workspace is free of flammable materials.
Ventilation
Burning wood releases fumes that, if inhaled in large quantities, could be harmful. Always work in a well-ventilated area. If that’s not possible, consider using a respirator or a simple face mask.
Personal Protective Equipment
Use heat-resistant gloves and safety goggles. Wood can splinter, and trust me, you don’t want those in your eyes or embedded in your skin. A little precaution goes a long way.

Popular Uses and Applications
So now that you’re a little more familiar with the basics, you might be wondering what to actually do with this newfound skill. And let me tell you, the possibilities are almost endless.
Home Decor
From custom signs to intricate wall art, pyrography can add a unique touch to your home decor. Burn your favorite quote into a wooden plaque, or create a set of coasters with detailed designs.
Personalized Gifts
Everyone loves a personalized gift. How about a custom cutting board with the recipient’s name or a special date burned into it? It’s thoughtful, unique, and way better than anything you can buy off the shelf.
Jewelry
Yes, jewelry! Small wooden pendants, earrings, and bracelets can all be personalized with pyrography. It’s a unique, handcrafted touch that sets your pieces apart. Just imagine the conversations your custom creations would start.
Functional Art
Items like wooden spoons, chopping boards, and furniture can become works of art. Imagine serving dinner with utensils that are not only functional but also beautifully designed.
Artistic Expression
For those who want to take it to the next level, pyrography offers a medium to express your artistic visions. From landscapes to portraits, your creativity is your only limit.
Getting Started with Your First Project
You’re probably itching to start burning some wood by now. But before you jump in, a little planning can go a long way.
Choosing Your Wood
Not all wood is created equal when it comes to pyrography. Start with something like birch, maple, or basswood. These woods are relatively soft and take well to burning. Avoid oily or resinous woods like pine, as they can produce sap that makes burning inconsistent.
Preparing the Surface
Your wood should be clean and smooth. Sand it down with fine sandpaper to remove any rough spots. This ensures that your pen moves smoothly across the surface, giving you better control over your design.
Transferring Your Design
Before you start burning, you need a plan. Draw or print your design on paper, and then use transfer paper to transfer it onto the wood. This serves as your guide and helps you stay on track.
Practice Makes Perfect
Before diving into your masterpiece, practice on some scrap wood. Get a feel for how the pen works, experiment with different tips and pressures. It’s like warming up before a big game; you don’t want to go in cold.
My First Pyrography Experience
Now let me tell you about the first time I tried pyrography. Armed with an overly ambitious design and a cheap pyrography pen I bought online, I was ready to become the Michelangelo of wood burning. Spoiler: I did not become the Michelangelo of wood burning.
The Setup
I set up a small workstation in my living room, much to the dismay of my cat who loves to commandeer any flat surface. I laid out my tools, transferred my design, and felt a wave of excitement. This was it. I was going to create something beautiful.
The Reality Check
I quickly learned that holding a pyrography pen is nothing like holding a regular pen. It’s heavier, for one thing, and it gets hot. Really hot. My first few lines were more like squiggles, and I accidentally burned an extra eyeball onto the owl I was attempting to create. It was at this point the initial excitement started to fade, replaced by a good dose of humility.
A Lesson in Patience
Pyrography is not for the impatient. Mistakes can’t be erased with a simple Ctrl+Z. Each line requires steady hands and careful planning. But as I moved past the initial frustrations and started to get the hang of it, I found a sort of meditative rhythm to it. The smell of burnt wood, the soft hum of the pen, it all started to come together.
The Final Outcome
Was my first piece a masterpiece? Absolutely not. But it was mine, and every little squiggle and mistake was a step toward getting better. And that’s what art is all about, right?
Joining the Pyrography Community
Once you’ve dipped your toes in the world of pyrography, you’ll be delighted to find that there’s a vibrant community of enthusiasts and professionals out there. These are people who share your passion and your frustrations, and they’re more than willing to offer advice, share techniques, and even admire your somewhat lopsided owl.
Online Forums and Social Media
Platforms like Reddit, Instagram, and Facebook have numerous groups and pages dedicated to pyrography. These online spaces are excellent for finding inspiration, asking for advice, and showing off your work.
Local Workshops
Many community centers, art schools, and craft shops offer pyrography workshops. Attending a class not only helps hone your skills but also offers a chance to meet like-minded creatives. Shared experiences can be the best kind, after all.
Competitions and Exhibitions
Once you’re confident in your skills, consider participating in local art fairs or even online competitions. Many such events have categories for woodworking and pyrography, offering a chance to showcase your talents and maybe even win a prize.
Conclusion: Embrace the Flames
So there you have it, pyrography in a nutshell. It’s an art form that combines creativity with a touch of danger—what’s not to love? Whether you’re looking to personalize some home decor, make unique gifts, or find a new form of artistic expression, pyrography offers a satisfying and versatile way to do it.
It’s not just about the end result; it’s about the process. It’s about the smell of burnt wood, the feel of the pen in your hand, and the satisfaction of creating something from scratch. So why not give it a try? Who knows, you might just discover a new passion—or at the very least, learn what not to do when burning words into wood.
Here’s to embracing the flames and creating something uniquely yours.

