I carefully select and prepare wood for pyrography to create the perfect burning surface. Light-colored woods with subtle grain patterns form the foundation for detailed pyrographic artwork.
Key Takeaways
- Start with light-colored woods like basswood, birch, or poplar that have minimal grain patterns and even texture.
- Progress through sandpaper grits from 120 to 320, always sanding in the direction of the wood grain.
- Remove all dust between sanding stages using a tack cloth or compressed air.
- Apply water-based sealers before burning to create an ideal foundation for cleaner lines.
- Ensure proper ventilation and wear safety equipment like respirators and safety glasses during preparation.
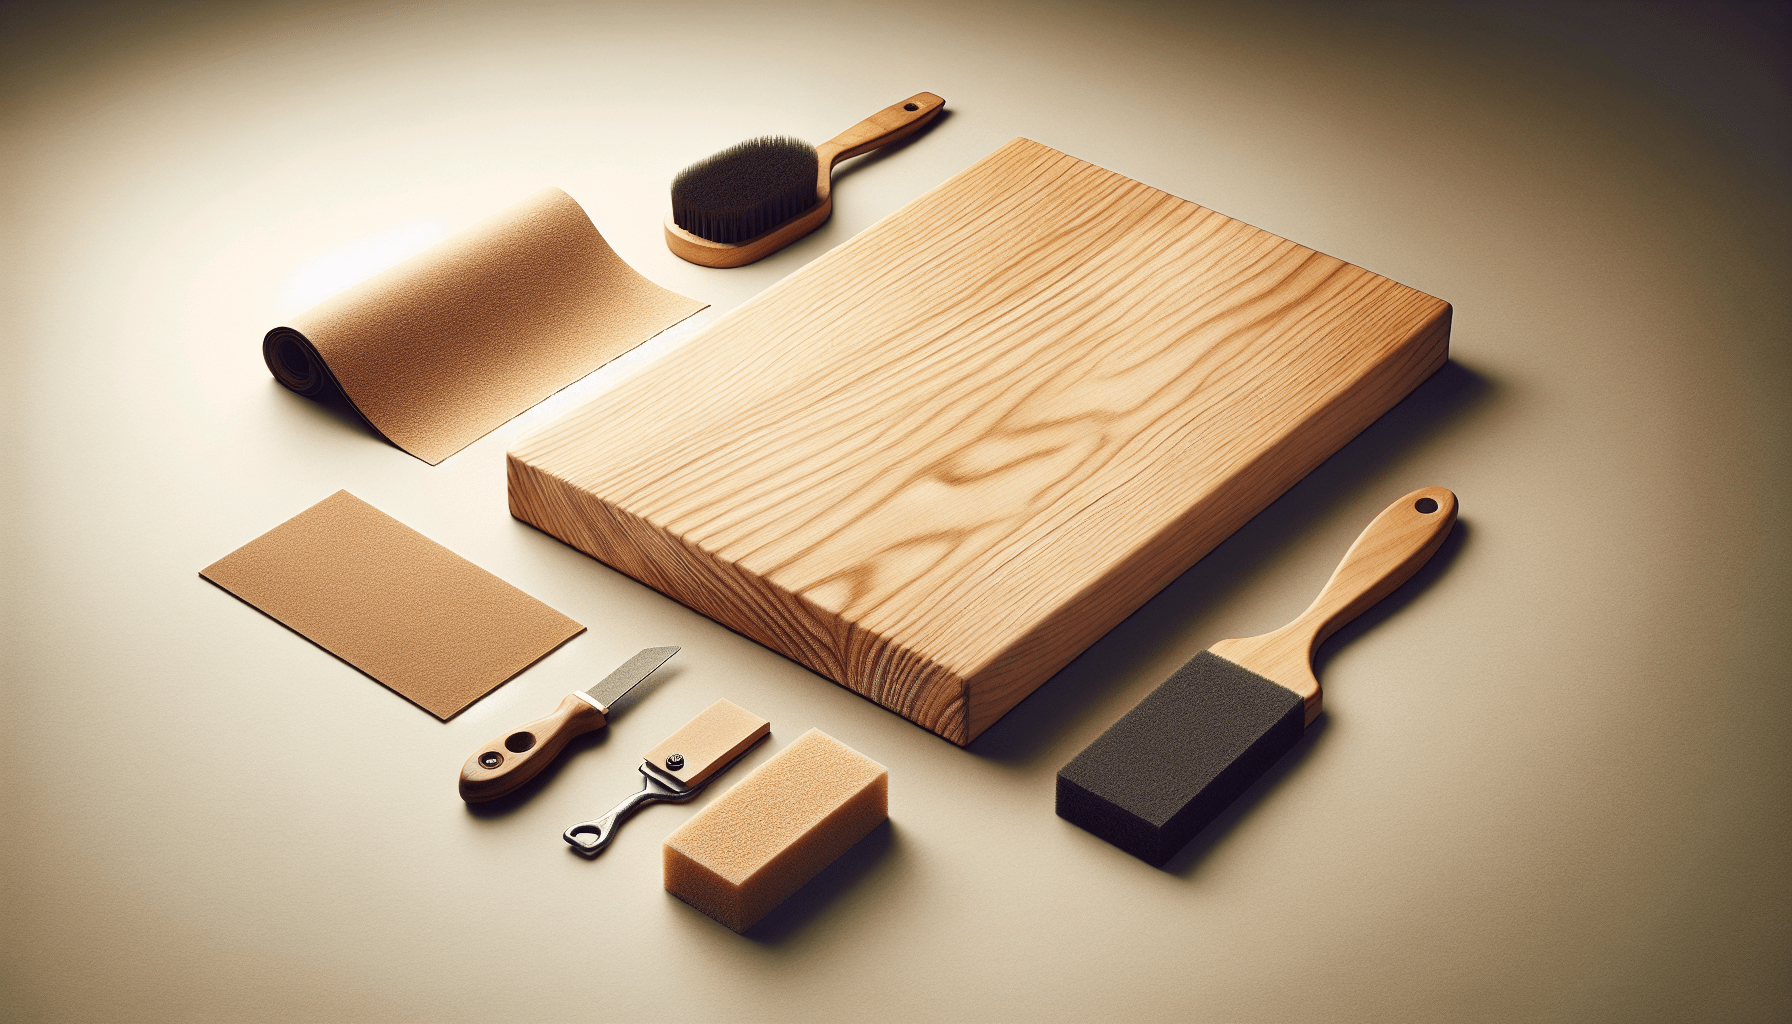
Wood Selection and Preparation
The preparation process requires specific steps for optimal results. I choose woods like basswood or birch since they burn predictably and showcase fine details. Each sanding stage needs focused attention – I start with coarse 120-grit paper and work up to ultra-fine 320-grit. This creates an exceptionally smooth canvas for burning.
Ensuring a Clean Surface
Dust removal between sanding steps prevents scratches and ensures clean lines. I use a tack cloth or compressed air to clear every speck. A light coat of water-based sealer adds the final touch, making the surface perfect for pyrography.
Safety Considerations
Safety remains my top priority – I always work in well-ventilated areas while wearing proper protective gear, such as respirators and safety glasses. Proper preparation ensures not only better artwork but also a safer working environment.
Essential Wood Selection Tips for Beautiful Pyrography
Understanding Wood Hardness and Burn Characteristics
I’ve found that selecting the right wood makes a significant difference in achieving stunning pyrography results. Light-colored woods with minimal grain patterns create the perfect canvas for wood burning art. The Janka Hardness Scale helps me determine how each wood type will respond to burning – softer woods like basswood rate at 410 lbf, while birch measures 1,260 lbf, and hard maple reaches 1,450 lbf.
Softer woods like basswood burn easily, making them perfect for beginners. They need a gentler touch to prevent unwanted deep marks. Harder woods like maple can handle more detailed work but require higher temperatures and more pressure. I’ve learned that choosing the right wood type for pyrography depends on your skill level and project goals.
Key Factors for Quality Burns
Grain pattern plays a crucial role in achieving clean burns. I prefer tight-grained woods because they let my burning tip glide smoothly across the surface. Wide-grained woods can cause my tip to jump, creating uneven lines. Proper wood preparation starts with checking for potential issues like resin pockets or knots.
Here are the essential characteristics I look for in pyrography wood:
- Even texture throughout the piece
- Light natural color for strong contrast
- Minimal visible grain lines
- Absence of sap or resin deposits
- Free from knots and blemishes
Before starting any burning project, I thoroughly inspect my wood for these qualities. Properly preparing the wood surface ensures better burn control and cleaner results. I particularly recommend basswood, birch, or poplar for newcomers to pyrography – their consistent texture and light color create an ideal learning environment.
Perfect Your Surface with Pro Sanding Techniques
Essential Sanding Steps for Flawless Wood Burning
Before I start any wood burning project, I make sure to properly sand the wood surface – it’s a crucial step that can make or break your pyrography artwork. Starting with 120-grit sandpaper helps remove major surface imperfections and old finishes that might interfere with your burning.
The key to achieving that perfect canvas lies in a gradual progression through different sandpaper grits. Moving from 120 to 150-grit tackles the remaining rough spots, while 180-grit starts to bring out the wood’s natural smoothness. I’ve found that preparing wood correctly for pyrography requires patience during this stage.
Working with 220-grit sandpaper creates an even smoother surface, and finishing with 320-grit delivers that silky-smooth feel that’s ideal for detailed pyrography work. I always sand in the direction of the wood grain to prevent ugly cross-grain scratches that could show up in your final piece.
Professional Sanding Checklist
Here are the essential steps I follow for professional-quality results:
- Run your hand over the wood to spot rough areas needing extra attention
- Clean between grits using a dry brush or compressed air
- Check progress by looking at the surface in different lighting angles
- Use light to medium pressure to avoid creating divots
- Remove all dust with a tack cloth before moving to the next grit
Once you’ve completed the sanding process, the surface should feel as smooth as glass when you run your fingers across it. This creates the perfect foundation for preparing your wood for burning. I always do one final wipe with a tack cloth to ensure there’s absolutely no dust left that could affect the burning process.
The right sanding technique paired with choosing suitable wood for pyrography sets you up for success from the start. Remember that different wood types might need slightly different approaches – softer woods need a gentler touch, while harder varieties can handle more pressure during sanding.
Master Design Transfer Methods for Clean Lines
Traditional Transfer Methods
I’ve found graphite transfer paper to be a game-changer for achieving precise design transfers in pyrography. Before starting any burning work, I recommend preparing your wood surface carefully to ensure the best results. Saral transfer paper stands out as the top choice since it creates clear, clean lines without leaving waxy residue that could interfere with burning.
For those who prefer a simpler approach, soft graphite pencil transfer works effectively. First, sand your wood surface until smooth, then flip your design and shade the back thoroughly with a 2B or softer pencil. This method gives excellent control over line weight and visibility.
Advanced Transfer Techniques
Heat transfer has become my go-to method for complex designs. Using a regular clothes iron and laser-printed artwork (inkjet prints won’t work), I can transfer detailed patterns onto suitable wood surfaces. The key steps for successful transfers include:
- Securing your design firmly with masking tape to prevent shifting
- Applying light, even pressure to avoid creating indents in the wood
- Working on a flat, stable surface to maintain consistent contact
- Moving the iron slowly and steadily across the entire design
- Checking transfer progress carefully by lifting one corner
For artists confident in their drawing skills, I suggest freehand drawing directly onto the wood surface. This direct approach allows for spontaneous creativity and eliminates the transfer step entirely. I find that drawing with a light touch using a 2H pencil creates ideal guidelines that won’t interfere with the burning process.
Whichever method you choose, remember that proper wood preparation is crucial for achieving clean burns. Each technique requires practice, but mastering these transfer methods will significantly improve your pyrography results.
Shield Your Work: Smart Sealing Strategies
Pre-Burning Protection
Before starting any pyrography project, I recommend preparing the wood surface with the right sealant. A water-based sealer creates an ideal foundation for burning, letting me achieve cleaner, more precise lines while protecting the wood.
Getting the pre-burning seal right makes a huge difference in the final result. I’ve found that water-based polyurethane works perfectly as it soaks into the wood fibers without creating a thick barrier. This helps create that uniform surface needed for consistent wood burning results.
Post-Burn Finishing Options
After completing the burn design, protecting the artwork becomes crucial. I prefer using these finishing options based on the desired look:
- Spray lacquer – Perfect for quick application and even coverage
- Water-based polyurethane – Offers excellent protection without yellowing
- Paste wax – Gives a natural, subtle sheen while protecting the surface
- Clear spray sealant – Ideal for intricate designs
The choice of sheen can dramatically change the final appearance of the piece. Gloss creates a bright, reflective surface that makes colors pop. Semi-gloss offers a balanced appearance that works well in most settings. Matte finish provides a more natural, understated look that’s perfect for rustic pieces.
I always avoid oil-based finishes before burning as they can create toxic fumes and interfere with the burning process. When selecting wood for pyrography, lighter-colored varieties like basswood or birch take both sealant and burns beautifully.
The key to successful sealing lies in thin, even applications. I let each coat dry completely before adding the next one, typically waiting 24 hours between coats. This patience pays off in the long run, creating a durable finish that protects the artwork from moisture damage and UV fading.

Essential Safety Practices for Woodburning
Workspace Setup and Protection
I always prioritize proper ventilation before starting any pyrography project. A well-ventilated workspace with an open window or fan helps remove harmful fumes created during wood burning preparation and execution. Keeping a fire extinguisher or container of water within arm’s reach is non-negotiable – safety always comes first when working with hot tools.
A heat-resistant stand is crucial for protecting both your work surface and preventing accidental burns. I place my pyrography pen on a ceramic tile or metal stand between uses, which creates a safe buffer zone. Before applying any treatments to the wood, I ensure my workspace is clear of flammable materials and has adequate lighting.
Personal Safety Equipment
Personal protection shouldn’t be overlooked when doing pyrography. Safety glasses are essential – they shield your eyes from wood particles and smoke that can cause irritation. For longer burning sessions, I use a respirator to protect my lungs from wood smoke and fine dust, especially when sanding wood surfaces.
Here’s what I consider must-have safety equipment for any pyrography session:
- Safety glasses with side shields for complete eye protection
- Respirator mask rated for wood dust and smoke
- Heat-resistant gloves for handling hot tools
- Long-sleeved cotton clothing to protect skin
- Closed-toe shoes in case of dropped tools
Taking regular breaks during pyrography sessions prevents fatigue and reduces the risk of repetitive motion injuries. I stand up, stretch, and rest my hands every 30-45 minutes. This practice not only protects my health but also helps maintain precision in my work, particularly when working with different types of wood.
Sources: