Do you ever look at a beautifully detailed wood sign, perhaps hanging outside a quaint little shop or adorning the walls of a cozy cabin, and wonder how on earth it was made? If you’ve guessed it involves some sort of special tool, you’d be right. And the name of that tool? Well, that’s a journey we’re about to embark on together.

What Is A Wood Burning Tool Called?
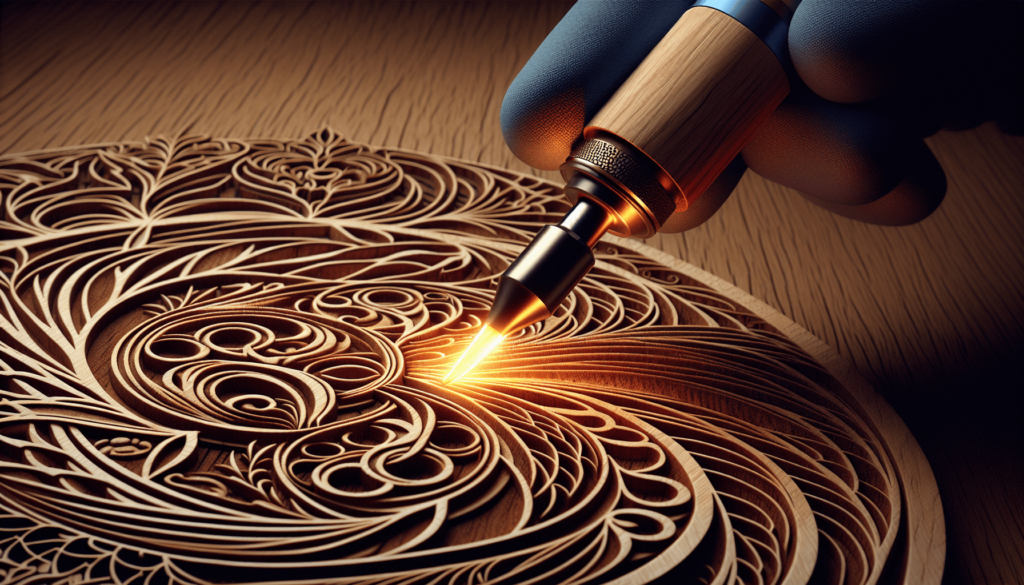
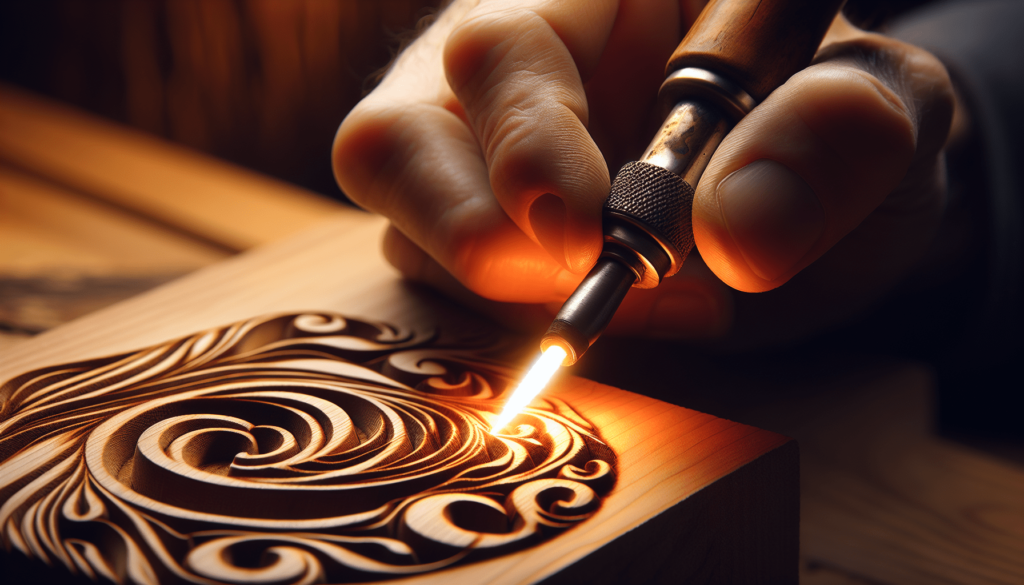
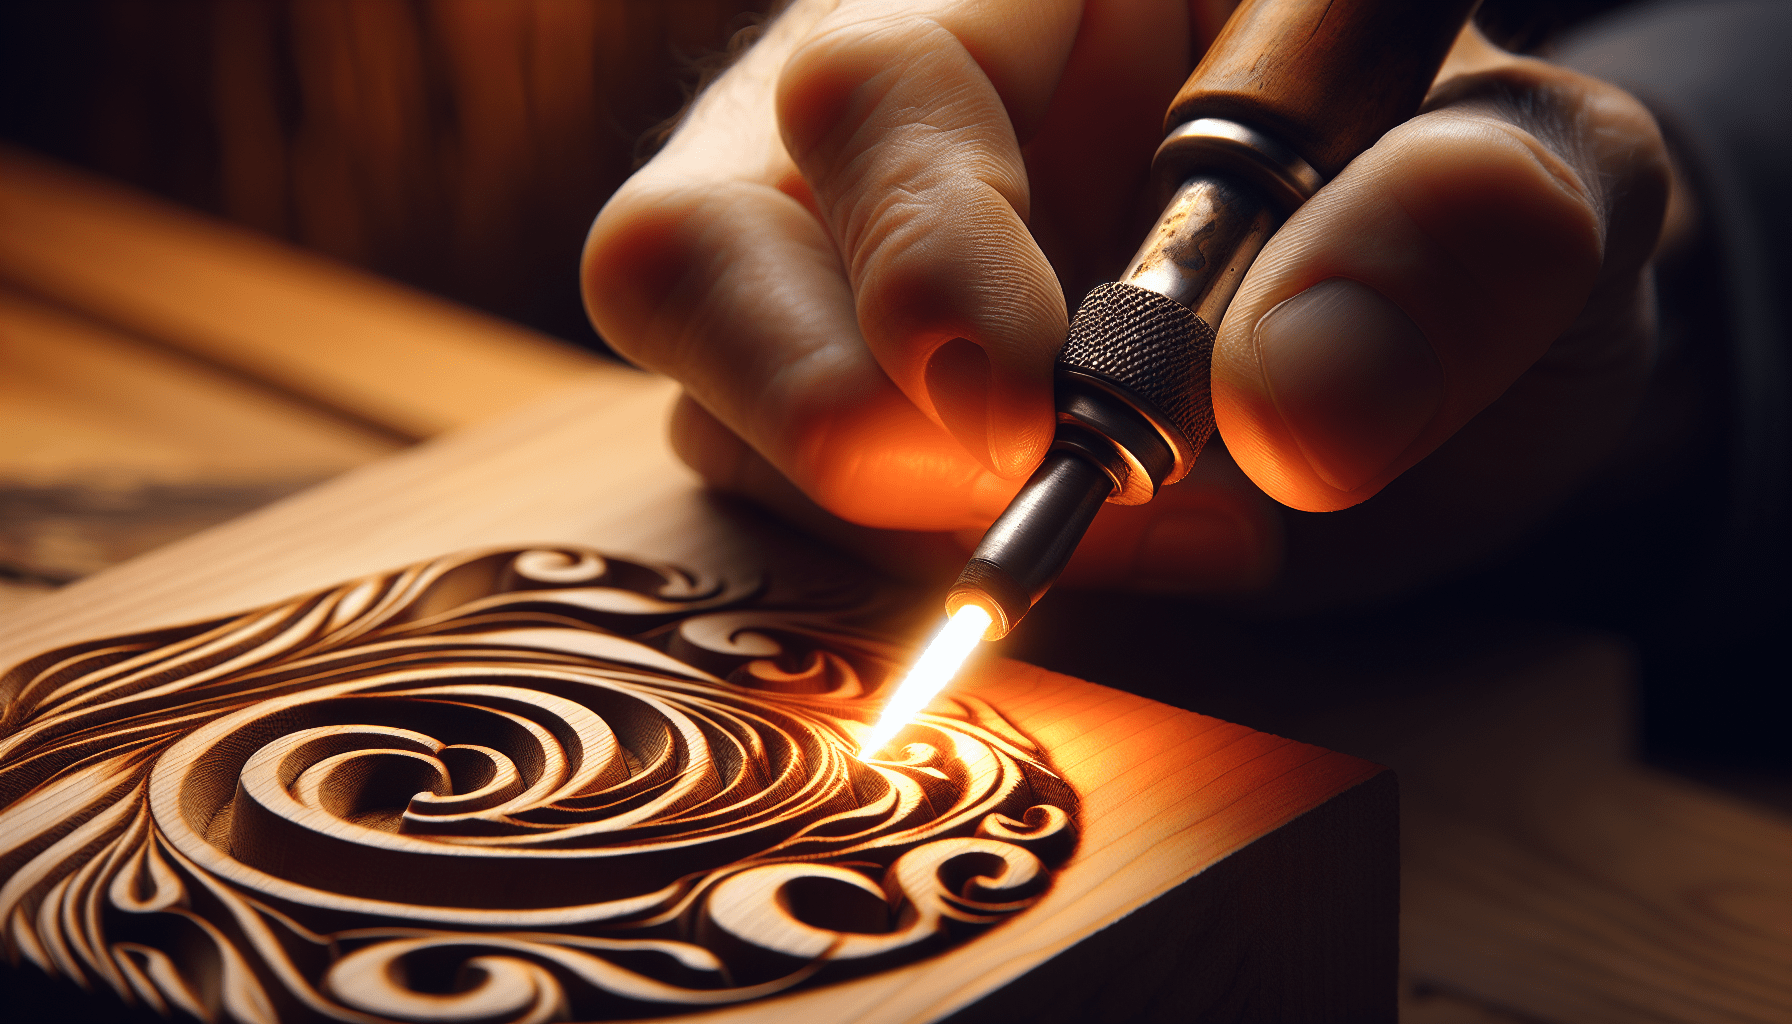
The short answer: it’s called a pyrography pen or pyrography tool. But if I left it at that, you’d be reminded of those annoying cliffhangers in TV shows that get resolved in Season… who knows when. So, let’s get into the nitty-gritty of what makes these tools tick and why they’re the essential companion for anyone looking to try their hand at wood burning.
The Basics: What is Pyrography?
Before we dive deeper into the tool itself, let’s get a handle on pyrography as a whole. The term “pyrography” comes from the Greek words “pur” (fire) and “graphos” (writing), which essentially translates to “writing with fire.” Sounds intense, right? But in reality, it’s a fantastically creative process where you use a heated tool to burn designs into various materials—most commonly wood.
The Art and Science Behind Wood Burning
When you’re doing pyrography, you’re literally burning your design into the wood. This isn’t just a case of scorched wood and smoke alarms. The art involves controlling the heat, pressure, and speed to create detailed, intricate designs. It’s like painting but with fire—and without the risk of spilling paint on the carpet.
History in Brief
Wood burning as an art form has been around for ages. The earliest records of pyrography date back to ancient Egypt and it was even popular in Victorian times. Fast forward to today, and it’s back in vogue, thanks to the modern tools that make the craft accessible to DIY enthusiasts and professionals alike.
Types of Wood Burning Tools
So, pyrography pen or pyrography tool it is, but there’s more to tell. There are actually several types of items you might find yourself using or choosing from:
| Type | Description | Pros | Cons |
|---|---|---|---|
| Solid-point burners | These are the basic, beginner-friendly models. They have fixed tips and take a bit longer to heat up. | Affordable and easy to use for beginners. | Limited control over heat settings, less versatility in design. |
| Wire-nib burners | These tools have interchangeable tips and offer more temperature control. They’re a step up from solid-point burners. | More precise control, adjustable heat settings, and versatile for different designs. | More expensive and can be complex for beginners. |
| Combination kits | These come with multiple tips and sometimes offer both solid-point and wire-nib options. | Best of both worlds; adaptable for beginners and advanced users. | Can be overwhelming due to the variety of tips and settings. |
Solid-point Burners: The Gateway Tool
If you’re just getting started, the solid-point burner is your entry-level companion. Think of it as the training wheels on your first bike—steady, reliable, and capable of introducing you to the basics without too many complications.
Wire-nib Burners: Leveling Up
Feeling a bit more adventurous? The wire-nib burner is like upgrading from a basic bicycle to a high-speed road racer. It’s more complex, offers more control, and allows for intricate detailing that the solid-point burner simply can’t compete with.
Combination Kits: The All-In-One
Then there are the combination kits, which give you a bit of everything. These are fantastic if you see yourself evolving from a beginner to a more experienced pyrography artist. It’s like buying a kitchen gadget that does everything from chopping onions to making pasta.
Choosing Your Pyrography Tool
Now that you’ve got the lowdown on the types of tools available, how do you choose which one is right for you? It’s kind of like picking out a new phone. You want something that fits your needs, your skill level, and maybe even your budget.
Evaluate Your Skill Level
First and foremost, be honest with yourself about your current skill level. If you’re just starting out, you might not need the bells and whistles of a high-end wire-nib burner. In that case, a solid-point burner will do just fine.
Consider Your Budget
Let’s face it, hobbies can get expensive quickly. And unless you’re planning to make a living out of pyrography, you’ll want to balance your desire for a top-notch tool with your budget constraints. Think of it like buying shoes; you wouldn’t splurge on a pair of stilettos if you only plan to wear them once.
Think About the Scope of Your Projects
Are you planning to just doodle on a few wooden spoons, or do you have grand visions of decking out your entire house in custom wood art? The scope of your projects should also play a role in your decision.

Essential Features to Consider
Alright, you’ve got a general idea of the types of tools and how to choose one. Now let’s talk features. What should you look for in a wood burning tool? It’s almost like shopping for a car; everyone has different needs and preferences.
Temperature Control
One of the most critical features to look for is temperature control. Some burners come with adjustable settings, while others don’t. Having this control allows you to work on different types of wood and create varied effects.
Interchangeable Tips
While not essential for beginners, interchangeable tips can be a game-changer as you become more skilled. Different tips can create different textures and details, much like how various brushes impact your painting style.
Ergonomics and Comfort
Remember, you’re going to be holding this tool for extended periods. Ergonomics matter. A comfortable grip can save you from hand cramps and make your pyrography sessions more enjoyable.
Heat Up Time
Nobody likes waiting, especially when the creative juice is flowing. Some tools take longer to heat up, and if patience isn’t your virtue, this is something to consider.
Tips for Getting Started in Pyrography
So, you’ve got your tool, and you’re ready to set the world—or at least a piece of wood—on fire. Here are some tips to help you get started:
Practice Makes Perfect
Start with some scrap wood. Test out different temperatures, pressures, and tips. Mistakes on a scrap piece are education; mistakes on your final project are… well, they’re just mistakes.
Safety First
Pyrography involves high heat and, obviously, fire. Ensure you have a well-ventilated workspace, wear protective gear like gloves, and always have a fire extinguisher nearby—just in case.
Stencils Are Your Friend
Especially for beginners, using stencils can help guide your designs and ensure symmetry and proportion. You wouldn’t freestyle a tattoo without experience (I hope), so think of stencils as your training wheels.
Common Pitfalls to Avoid
Every craft has its pitfalls. Here are a few you might want to steer clear of:
Too Much Heat
Trust me, there’s nothing more disheartening than over-burning your carefully crafted design. Start with lower temperatures and gradually increase as needed. It’s like cooking; you can always add more spice, but you can’t take it away.
Inconsistent Pressure
Maintaining consistent pressure is key to creating uniform lines and shading. It takes practice, but once you get the hang of it, your designs will look much cleaner.
Skipping Sanding and Preparation
Just like you wouldn’t paint a wall without priming and sanding it first, don’t start wood burning on a rough surface. Sanding the wood helps the tool glide smoothly and gives you a better end result.
Advanced Pyrography Techniques
Once you’ve mastered the basics, you might be tempted to try some advanced techniques. Think of these as the trick shots in your creative playbook.
Shading
You can achieve varying shades by altering your tool’s temperature and the duration you hold it against the wood. This technique adds depth and dimension, making your designs more lifelike.
Texturing
Different tips allow you to create textures that mimic natural patterns like animal fur or tree bark. Think of it as adding different brushstrokes to a painting to bring it to life.
Layering
Layering involves burning the wood in stages to create a multi-dimensional effect. This is more advanced and requires patience, but the results can be stunning.
Maintaining Your Wood Burning Tool
Just like any other tool, your pyrography pen needs some TLC. Proper maintenance can keep it functioning well and extend its life.
Cleaning Tips
Accumulated carbon can affect the quality of your burn. Clean your tips regularly with sandpaper or a brass brush to keep them in peak condition.
Checking Connections
If you’re using a wire-nib burner, ensure that all connections are tight and secure. Loose connections can lead to inconsistent heating and, ultimately, subpar results.
Storage
Always store your tools in a safe, dry place. Most kits come with a storage case, so use it. You wouldn’t leave your kitchen knives lying around, would you?
Inspirational Project Ideas
Alright, let’s finish off with some inspiration. What can you actually make with your new best friend, the pyrography pen?
Personalized Gifts
Customized gifts like name plaques, picture frames, or coasters can be a hit at any occasion. Nothing says “I care” like a handmade gift, right?
Functional Art
You can burn designs onto cutting boards, spatulas, and other kitchenware. Just make sure to seal them properly if they’re going to come into contact with food.
Home Decor
From wall art to decorative signs, your pyrography skills can turn mundane wooden objects into masterpieces.
Furniture
Feeling ambitious? Try adding custom designs to furniture pieces like chairs or tables. Just make sure you plan extensively before tackling such large projects.
Final Thoughts
So there you have it—everything you ever wanted to know about what a wood burning tool is called, along with a treasure trove of additional information to get you started on your pyrography journey. Whether you’re a newbie looking to try something new or a seasoned artist looking to refine your skills, hopefully, this guide has illuminated the way.
Engage with it like you would any passion: with curiosity, patience, and the courage to make a few mistakes along the way. After all, the beauty of pyrography lies not just in the final product, but in the creative process itself.

