Wood-burned artwork deserves proper protection through careful preparation and the right sealants matched to each project’s purpose. I create professional finishes by preparing surfaces correctly, applying sealants with precision, and maintaining pieces regularly.
Key Takeaways
- Surface preparation with progressive sanding (120-grit to 220-grit) and thorough dust removal is essential for a quality finish.
- Water-based polyurethane is ideal for indoor pieces, while oil-based options provide superior protection for outdoor projects.
- Multiple thin coats of sealant yield better results than a single thick application.
- Food-safe finishes like mineral oil and beeswax are necessary for kitchen items and serving pieces.
- Regular maintenance with gentle cleaning methods and periodic resealing helps preserve the artwork’s appearance long-term.
Get a Professional-Looking Finish: Essential Wood Burning Sealing Techniques
Surface Preparation Steps
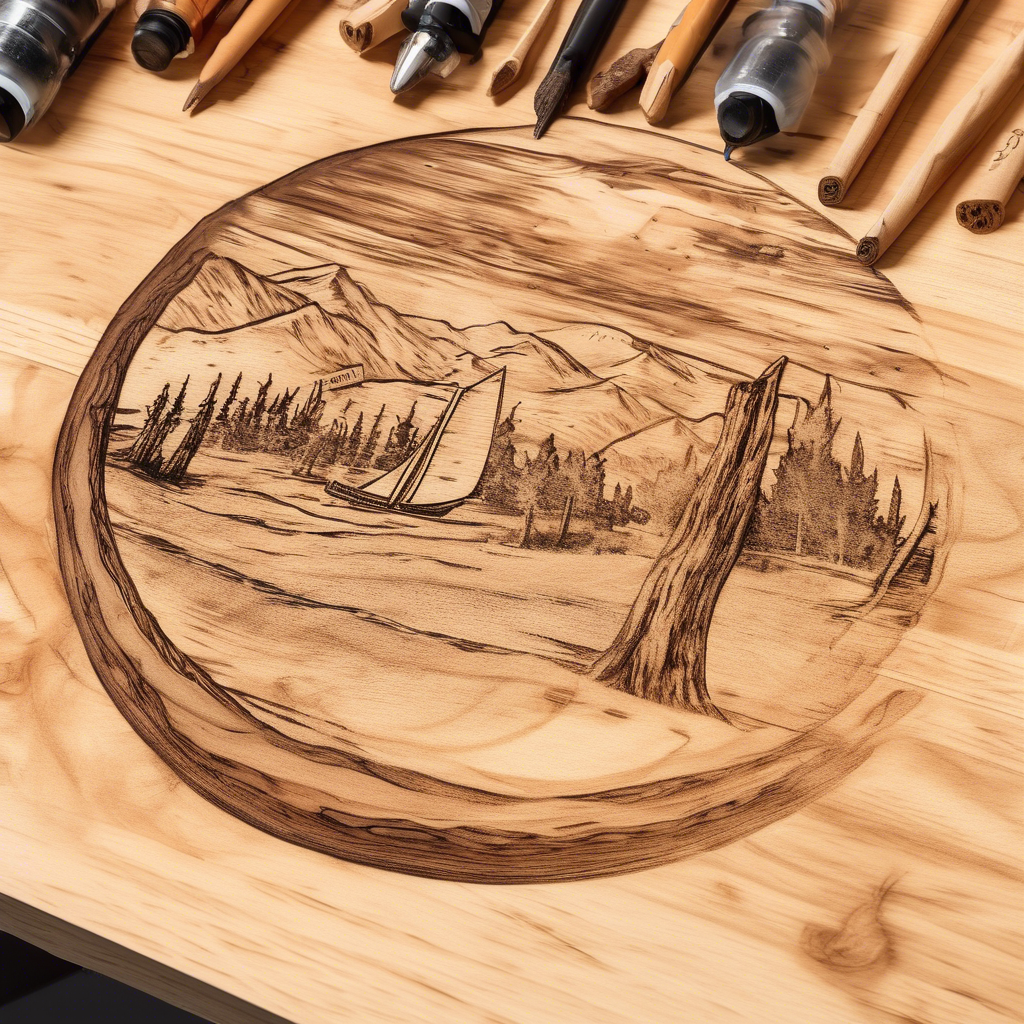
A smooth, clean surface makes all the difference in protecting your wood burning artwork effectively. Starting with 120-grit sandpaper, I’ll gently sand the entire surface, moving in the direction of the wood grain. This initial sanding removes any rough spots or raised wood fibers that could interfere with the sealing process.
After the first pass, I switch to 220-grit sandpaper for a finer finish. This second sanding creates an ultra-smooth surface that’ll make your finished wood burning project look like it came from a professional workshop. Don’t rush this step – take your time to ensure even coverage across the entire piece.
Pre-Sealing Preparation
Dust particles are the enemy of a perfect finish. I carefully remove all dust using a tack cloth, which picks up even the tiniest particles that regular cloths might miss. If you don’t have a tack cloth, a vacuum with a brush attachment works well too – just make sure to go over the surface thoroughly.
The wood needs to be completely dry before applying any sealant. Moisture trapped in the wood can cause clouding or blistering under the seal, ruining the protection of your pyrography piece. I let my pieces sit in a dry, room-temperature environment for at least 24 hours after cleaning.
Checklist Before Applying Sealant
- Surface smoothness – Run your hand over the wood to feel for any rough spots.
- Dust removal – Ensure no particles remain that could get trapped in the sealant.
- Wood moisture content – The surface should feel completely dry to the touch.
- Room conditions – Avoid sealing on humid days or in damp environments.
- Lighting – Work in a well-lit area to spot any imperfections.
Testing the Sealant
Before tackling your main piece, I always test the sealant on a scrap piece of similar wood. This test run helps me spot any potential issues with the sealant’s compatibility with your wood burning artwork. I’ll apply the sealant exactly as I plan to on the final piece, paying attention to how it affects the burned areas and any colored elements in the design.
The test piece also lets me practice my application technique. Different sealants require different approaches – some need thin, even strokes with a brush, while others work better with a foam applicator or spray. I make sure my strokes overlap slightly to avoid missing spots, and I work in good lighting to catch any areas I might have missed.

Choose the Perfect Sealant for Your Project Type
Indoor and Decorative Projects
I’ve found water-based polyurethane to be an excellent choice for most indoor pyrography pieces. Minwax Polycrylic stands out as a top performer, offering quick drying times and minimal yellowing – crucial for preserving your wood burning artwork’s original appearance. It’s particularly good if you’re working in a small space since it has low VOCs and won’t leave you with strong fumes.
For pieces that need extra protection, oil-based polyurethane like Varathane Ultimate creates a harder, more durable finish. This type of sealant really brings out the natural wood grain beauty and pairs wonderfully with colored pyrography artwork. While it takes longer to dry, the enhanced protection makes it worth the wait, especially for items that’ll see frequent handling.
Specialized Applications
Projects with intricate details need special consideration. Spray sealants like Krylon Colormaster and Rust-Oleum Ultra Cover 2X offer superior coverage for detailed work. They reach into small crevices and provide an even coating that brush-on finishes might miss. These products are perfect for protecting detailed pyrography pieces without obscuring fine lines.
For kitchen items and serving pieces, food safety is paramount. Here’s what I recommend for food-safe finishes:
- Mineral oil: Perfect for cutting boards and requires regular reapplication
- Beeswax: Creates a natural protective barrier and adds a subtle shine
- Howard Butcher Block Conditioner: Combines mineral oil and waxes for longer-lasting protection
Environmental conditions play a big role in sealant selection. For outdoor pieces, I recommend oil-based polyurethane as it stands up better to weather exposure. Indoor decorative items can use lighter finishes that focus more on aesthetic appeal than heavy-duty protection. The key is matching your sealant choice to your project’s specific needs.
If you’re planning to add color to your work, make sure to seal it properly afterward. Some finishes can affect how colors appear, so I suggest testing your chosen sealant on a scrap piece first. This step is especially important when working with watercolor pencils or other water-based media.
Remember that multiple thin coats typically yield better results than one thick application. This approach reduces the risk of bubbles and ensures even protection across your wood burning artwork.

Master These Professional Application Methods
Brush Selection and Technique
I’ve found that choosing the right brush makes a significant difference when protecting your pyrography artwork. Natural bristle brushes pair perfectly with oil-based sealants, creating smooth, even strokes that enhance the wood’s natural beauty. For water-based finishes, synthetic brushes prove more effective, maintaining their shape and providing consistent coverage.
The key to a professional finish lies in the application technique. I recommend starting from one edge and working your way across in steady, overlapping strokes. This method helps prevent lap marks and ensures complete coverage of your wood burning art. Remember to brush in the direction of the wood grain for the most natural-looking results.
Spray Application and Curing Times
When using spray sealants for your wood burning projects, maintain a distance of 8-12 inches from the surface. I’ve learned that keeping this consistent distance prevents drips and ensures even application. Moving the can in a smooth, steady motion while slightly overlapping each pass creates a uniform protective layer.
Multiple thin coats yield far better results than a single thick application. Here’s my recommended process for the best outcome:
- Apply the first thin coat and let it dry completely
- Lightly sand with fine-grit sandpaper if needed
- Add a second coat, maintaining consistent spray distance
- Allow proper curing time before handling
Understanding curing times is crucial for a lasting finish. Water-based sealants typically become touch dry within 1-2 hours, with full curing achieved in 24 hours. Oil-based options need more patience, taking 6-8 hours to become touch dry and 24-48 hours for complete curing. I always give my pieces extra time to cure, especially before stacking or packaging them.
For pieces that incorporate color, I’m particularly careful with the sealing process. Adding color to pyrography requires special attention during sealing to prevent smudging or bleeding. I test the sealant on a scrap piece first to check its compatibility with any colors or media used in the artwork.
The temperature and humidity of your work area can affect drying times. I prefer working in a well-ventilated space with moderate humidity levels between 40-50%. This helps achieve optimal results and prevents issues like clouding or extended drying times.
Keep Your Sealed Projects Looking Beautiful
Regular Cleaning Methods
My years of experience have taught me that proper maintenance makes all the difference in preserving beautiful pyrography artwork. Daily dust and debris can gradually dull the appearance of your sealed wood burnings, so I recommend using a soft microfiber cloth for regular dusting. This gentle approach helps maintain the piece’s luster without risking damage to the protective finish.
For more stubborn dirt or grime, I’ve found success with light cleaning using a barely damp cloth and mild soap. After dampening the cloth, I make sure to wring it out thoroughly – excess water is the enemy of wood artwork. Quick, gentle strokes in the direction of the wood grain remove accumulated dirt while protecting your carefully sealed pyrography piece.
Monitoring and Maintenance
I pay close attention to signs that indicate it’s time to refresh the protective finish on my wood burned pieces. Here are the key indicators I look for:
- White or cloudy spots in the finish
- Dull or matte areas where the sealant has worn thin
- Visible scratches or scuff marks
- Areas that feel rough to the touch
- Sections where water no longer beads up
The frequency of resealing depends heavily on where and how you display your artwork. Pieces exposed to direct sunlight or high-traffic areas might need a fresh coat of protective finish every 6-12 months. Meanwhile, artwork kept in stable, controlled environments could go several years between touch-ups.
I’ve learned that prevention beats correction every time. By establishing a regular cleaning schedule and staying alert to early warning signs of wear, I can address potential issues before they become problems. This proactive approach helps preserve both the artistic details and the protective seal of my wood burning projects.
For pieces that incorporate color elements, such as those created with watercolor pencils or other mediums, I’m especially careful during cleaning to avoid disturbing these delicate additions. These mixed-media pieces often benefit from a lighter touch during maintenance to protect both the pyrography and the added color elements.
The key to long-lasting pyrography lies in consistent, gentle care. I never use harsh chemical cleaners or abrasive materials, as these can break down the protective finish prematurely. Instead, I stick to simple, proven cleaning methods and stay mindful of environmental factors that might affect the artwork’s condition.
Sources:
Minwax.com
Varathane.com
Krylon.com
Rustoleum.com
Howard.com
Walrusoil.com
The Complete Pyrography by Stephen Poole
Woodburning with Style by Simon Easton