I create layered depth and dimension in pyrography through precise temperature control and progressive burning techniques. Wood-burned artwork gains life through varied shading methods, specific tool selection, and controlled pressure levels.
Key Takeaways
- Start with lower temperatures (200-350°F) for initial layers and gradually increase heat for darker tones.
- Use different pyrography tips for specific effects – spoon tips for broad shading, pointed tips for fine details.
- Build depth through progressive burns, working from light to dark tones in multiple passes.
- Maintain consistent pressure and overlapping strokes to create smooth transitions between layers.
- Let each layer cool completely before adding the next to prevent unwanted scorching.
From Ancient Art to Modern Mastery: Understanding Pyrography
Pyrography’s rich history stretches back to ancient Egypt where artisans used heated metal tools to create decorative patterns on wood. The Han Dynasty in China also embraced this craft, developing sophisticated techniques that laid the foundation for modern wood burning shading methods.
Essential Tools and Techniques
I’ve found that successful pyrography starts with understanding your tools. Modern pyrography pens feature interchangeable tips and precise temperature controls, offering significantly more versatility than the primitive heated pokers of the past. Selecting the right burning tip can make a dramatic difference in your artistic results.
While wood remains the most popular canvas, I’ve successfully worked with leather, gourds, and paper. Each material demands different temperature settings and handling techniques. For beginners, I recommend starting with softer woods like pine or basswood, which burn predictably and forgive minor mistakes.
Here are the key components for starting your pyrography journey:
- A temperature-controlled pyrography pen
- A selection of interchangeable tips for different effects
- Heat-resistant grip for comfortable handling
- A flat, sturdy work surface
- Proper ventilation setup
- Safety equipment including a mask and protective eyewear
Creating texture with specialized tools takes practice, but mastering temperature control is crucial. I start with lower temperatures, usually around 450°F, to prevent scorching and maintain control over the burn intensity. This approach lets me build up layers gradually, creating depth and dimension in my work.
Achieving realistic results requires patience and practice. I recommend beginning with simple line drawings before advancing to more complex portrait work. Through careful practice with shading techniques, you’ll develop the muscle memory and control needed for detailed work.
Essential Tools and Materials for Success
Selecting Your Wood Canvas
I’ve found that choosing the right wood makes a significant difference in creating stunning layered pyrography pieces. Light-colored, close-grained hardwoods provide the perfect foundation for achieving beautiful shading effects. Basswood stands out as my top choice for its consistent grain and smooth surface, while birch, poplar, and maple offer excellent alternatives with their own unique characteristics.
Tools and Equipment
Picking the right burning tool is crucial for mastering wood burning techniques that produce realistic results. You’ll encounter two main types of pyrography tools: solid-point burners and wire-nib burners. I prefer wire-nib burners from brands like Razertip and Colwood for their precision and quick temperature adjustments. These professional-grade tools let you work between 200-350°F for subtle details and crank up to 500-800°F when you need deeper, more dramatic burns.
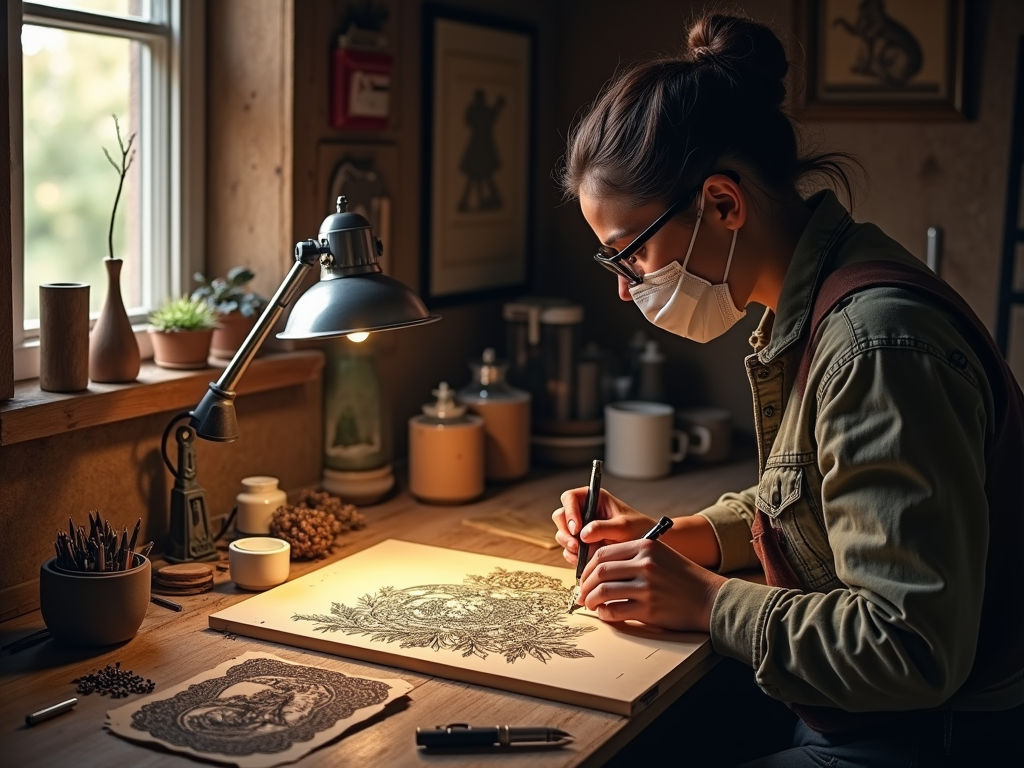
Safety can’t be overlooked when working with hot tools. Here’s what I consider essential protective gear:
- A proper respirator to filter wood smoke
- A ventilation fan to clear the air
- Safety glasses to protect your eyes
- Heat-resistant gloves to prevent accidental burns
Different burning tips create varied effects, and I keep several on hand for specific techniques. The most useful nibs in my collection include:
- Shading tools (spoon, flat, and angled tips) for creating smooth gradients
- Pointed nibs for fine details and line work
- Ballpoint nibs for versatile strokes and textures
I’ve discovered that mastering shading effects requires practice with different tip types. Each nib serves a unique purpose – from the spoon tip that excels at broad shading to the pointed tip perfect for creating detailed portraits. By combining these tools with varied temperature settings, I can achieve an impressive range of texture and depth in my wood burning projects.
Temperature control plays a vital role in layering burns effectively. I start with lower temperatures around 200-350°F for initial layers and subtle details. This gentle approach helps prevent unwanted deep burns and maintains control over the artwork’s development. For darker tones and bold contrasts, I gradually increase the temperature, sometimes reaching 800°F for the deepest burns.
Mastering the Art of Layering
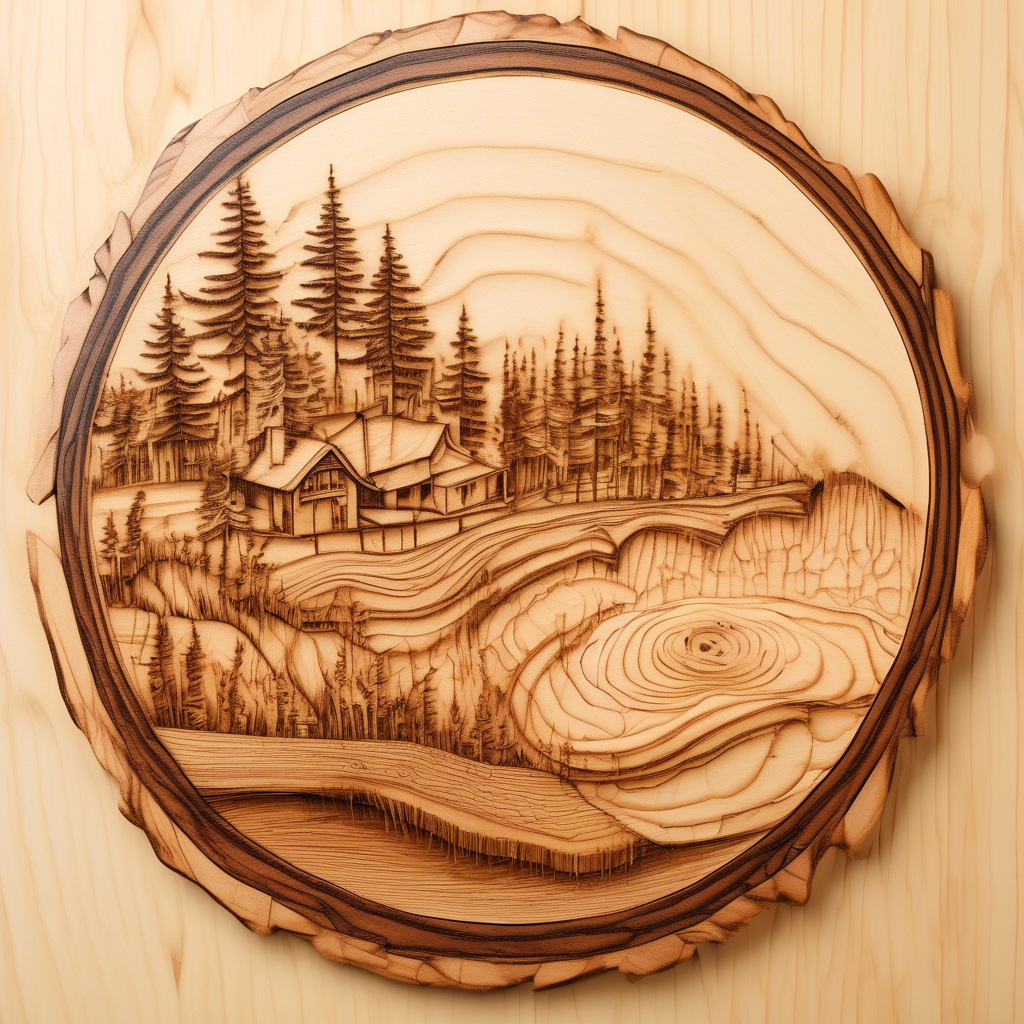
Layering stands as a fundamental skill in creating depth and realism through pyrography. I’ve found that thoughtful, progressive burns yield far better results than attempting to achieve darkness in a single pass. Building up layers through careful shading techniques lets me create rich, nuanced artwork that truly pops off the wood surface.
Understanding Tonal Values
Working with a tonal scale from 1 to 10 helps me stay consistent in my layering approach. The lightest touch (level 1) barely kisses the wood, while the deepest burn (level 10) creates intense dark values. Mastering shading effects starts with understanding these varying pressure levels.
The key to successful layering lies in the patient build-up of these tones. Here’s my proven approach to creating depth:
- Start with light burns (levels 1-3) to map out the basic shapes and shadows
- Add medium burns (levels 4-7) to develop form and dimension
- Apply dark burns (levels 8-10) sparingly for dramatic contrast points
- Let each layer cool before adding the next to prevent unwanted scorching
Adding texture through specialized techniques becomes much easier once you’ve mastered these layering basics. I always remind myself that it’s better to build up darkness gradually – you can always add more, but you can’t take away an overly dark burn.
The real magic happens in the mid-tones, where subtle variations create the illusion of form. Creating realistic results depends on smooth transitions between these values. I’ve learned to keep my strokes consistent and overlapping, which helps blend each layer seamlessly into the next.
Temperature control plays a vital role in successful layering. Selecting the right pyrography tip for each layer ensures precise control over burn intensity. Lower temperatures work best for initial layers, while higher settings help achieve those deep, rich darks needed for dramatic contrast.
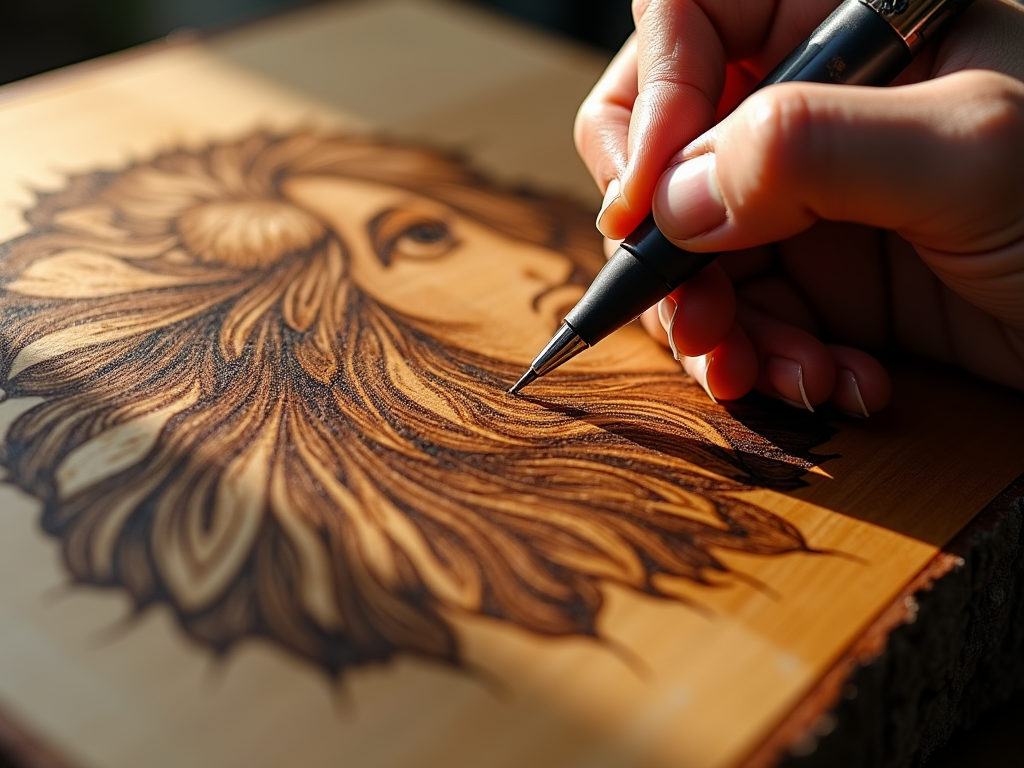
When working on detailed pieces like wood-burned portraits, I pay special attention to how each layer builds upon the previous one. This careful attention to progressive shading creates the subtle variations in tone that bring life and dimension to the artwork.
Core Techniques for Dynamic Burns
Understanding Line Work and Patterns
Mastering basic pyrography techniques creates the foundation for stunning wood-burned art. I’ve found that hatching, which uses parallel lines burned in a single direction, creates clean shading that’s perfect for achieving professional wood burn textures. Cross-hatching takes this method further by layering additional lines at different angles, producing rich shadows and dimensional effects that make artwork pop off the wood surface.
Advanced Shading Methods
Stippling has become one of my go-to techniques for realistic wood burning results. This method uses countless tiny dots to build up texture and create smooth gradients. The closer together the dots, the darker the area appears, letting me control subtle variations in tone. When I need broad, even shading, I use circular motions with my pyrography pen, maintaining consistent pressure to avoid unwanted dark spots.
Here are the key factors I consider for successful shading:
- Temperature control: Lower heat settings produce lighter marks ideal for initial layers
- Pressure variation: Light touches create subtle effects while firm pressure delivers bold, dark burns
- Tip selection: Different pyrography tips create unique effects
- Work direction: Moving with the wood grain enhances natural texture
- Layer building: Starting light and gradually adding depth prevents mistakes
By combining these core techniques with proper tool control for shading, I can create everything from simple decorative pieces to complex wood-burned portraits. The secret lies in practicing each method individually before combining them to achieve rich texture and depth in your pyrography projects.

Creating Advanced Effects and Textures
Mastering Texture Techniques
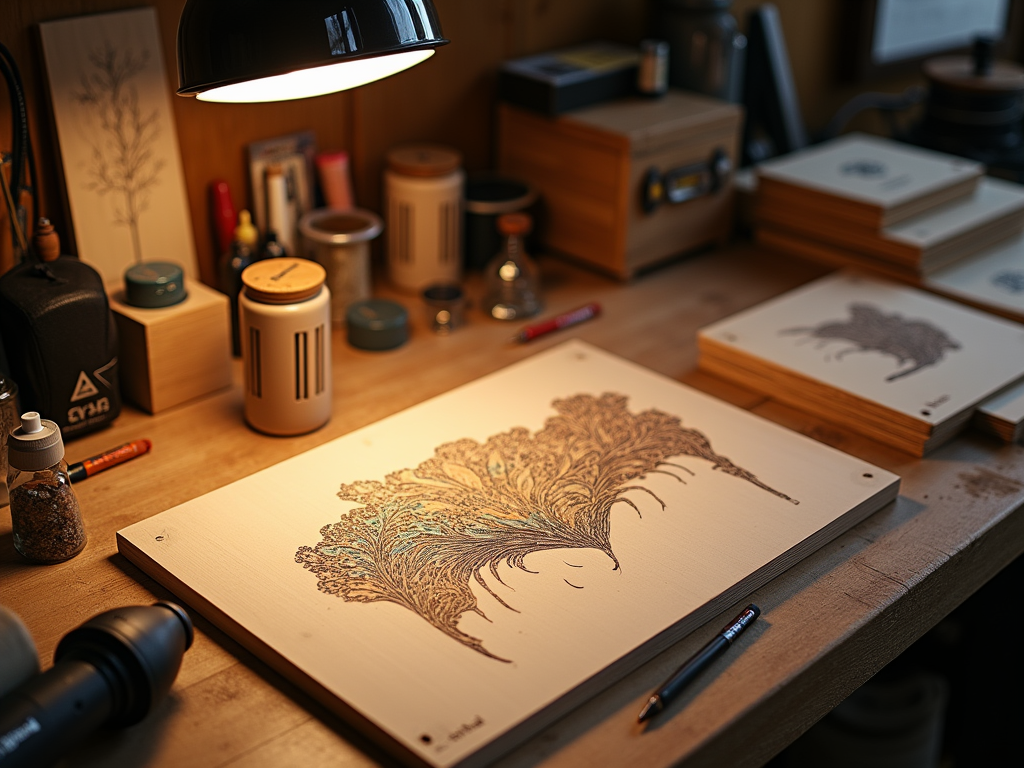
Advanced texture effects in pyrography require careful control and specialized shading techniques with your pyrography tools. I’ve found that creating realistic fur textures starts with light, quick strokes in the direction the fur naturally grows, gradually building up darker areas for depth. For feathers, the key lies in varying the pressure while making curved strokes that follow the feather’s natural flow.
Creating authentic textures with specialized tools demands practice and precision. Wood grain patterns can be enhanced by burning along the natural grain lines, using a shader tip for broader strokes and a writing tip for fine details. Scales require a different approach – I achieve them through a combination of outline burning and careful shading to create that distinctive overlapping effect.
Advanced Shading and Corrections
Mastering shading and texturing in wood burning involves strategic use of negative space. I leave certain areas unburned to create natural highlights, which adds dimensional depth to the piece. The trick is planning these areas before starting the burn, as they’re crucial for achieving a three-dimensional look.
Blending requires a steady hand and controlled temperature. I start with lighter tones and gradually build up darker areas, creating smooth transitions between different shading levels. Selecting the right tip for each effect makes a significant difference – shader tips work best for large areas, while writing tips excel at detail work.
Here are essential techniques I use for creating specific textures:
- Stippling: Small dots burned at varying densities create subtle gradients and texture
- Cross-hatching: Overlapping lines at different angles produce rich, deep shadows
- Circular motion: Small circles burned close together create smooth, even shading
- Feathering: Light, quick strokes that taper at the end perfect for fur and hair
- Parallel lines: Even, straight lines work well for wood grain and geometric patterns
Mistakes happen, but they’re not permanent. Fine-grit sandpaper (220-grit or higher) can gently remove lighter burns. For deeper corrections, I use specialized pyrography erasers, which can lift burned areas without damaging the wood’s surface. Creating detailed portraits often requires these correction techniques to achieve precise gradients and features.
Temperature control plays a vital role in advanced texturing. I adjust my tool’s heat setting based on the effect I want – lower temperatures for subtle shading and higher temperatures for bold, dark lines. This temperature variation, combined with proven wood burning techniques, helps create realistic results that bring artwork to life.

Sources:
Walters, Sue. “The Art of Pyrography.”
Poole, S. “Pyrography Workbook: A Complete Guide to the Art of Woodburning”
Irish, Lora S. “Great Book of Woodburning.”