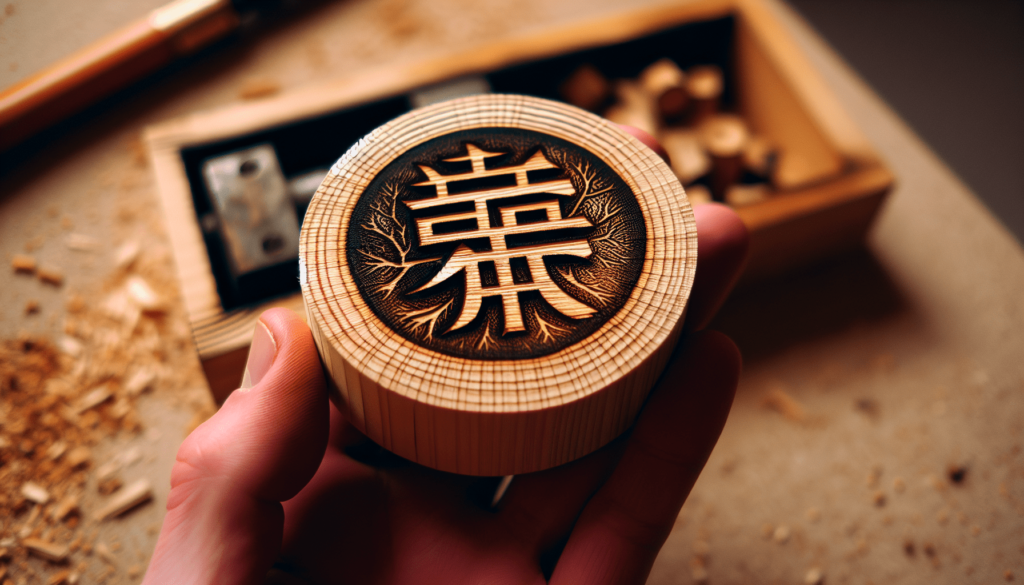
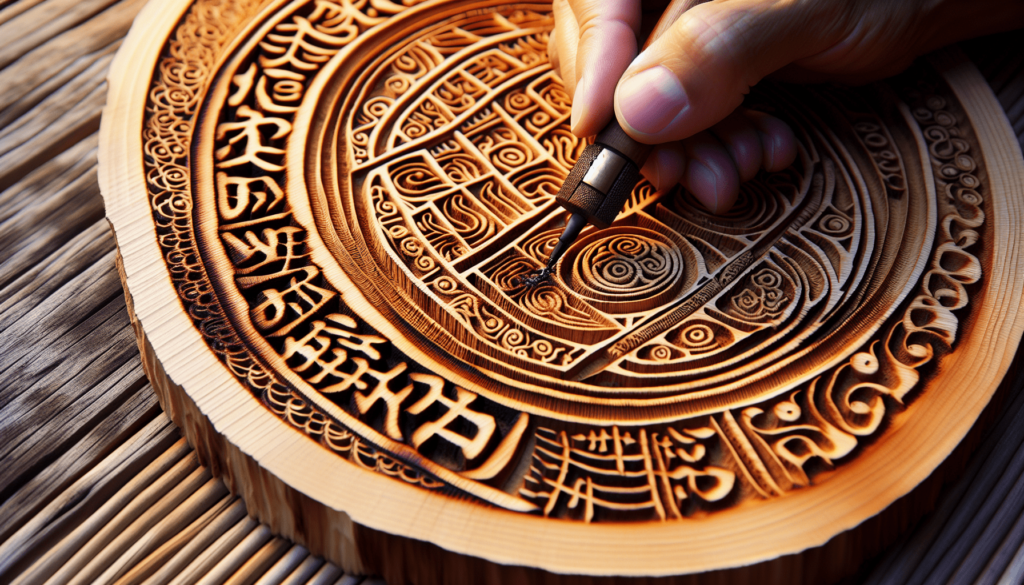
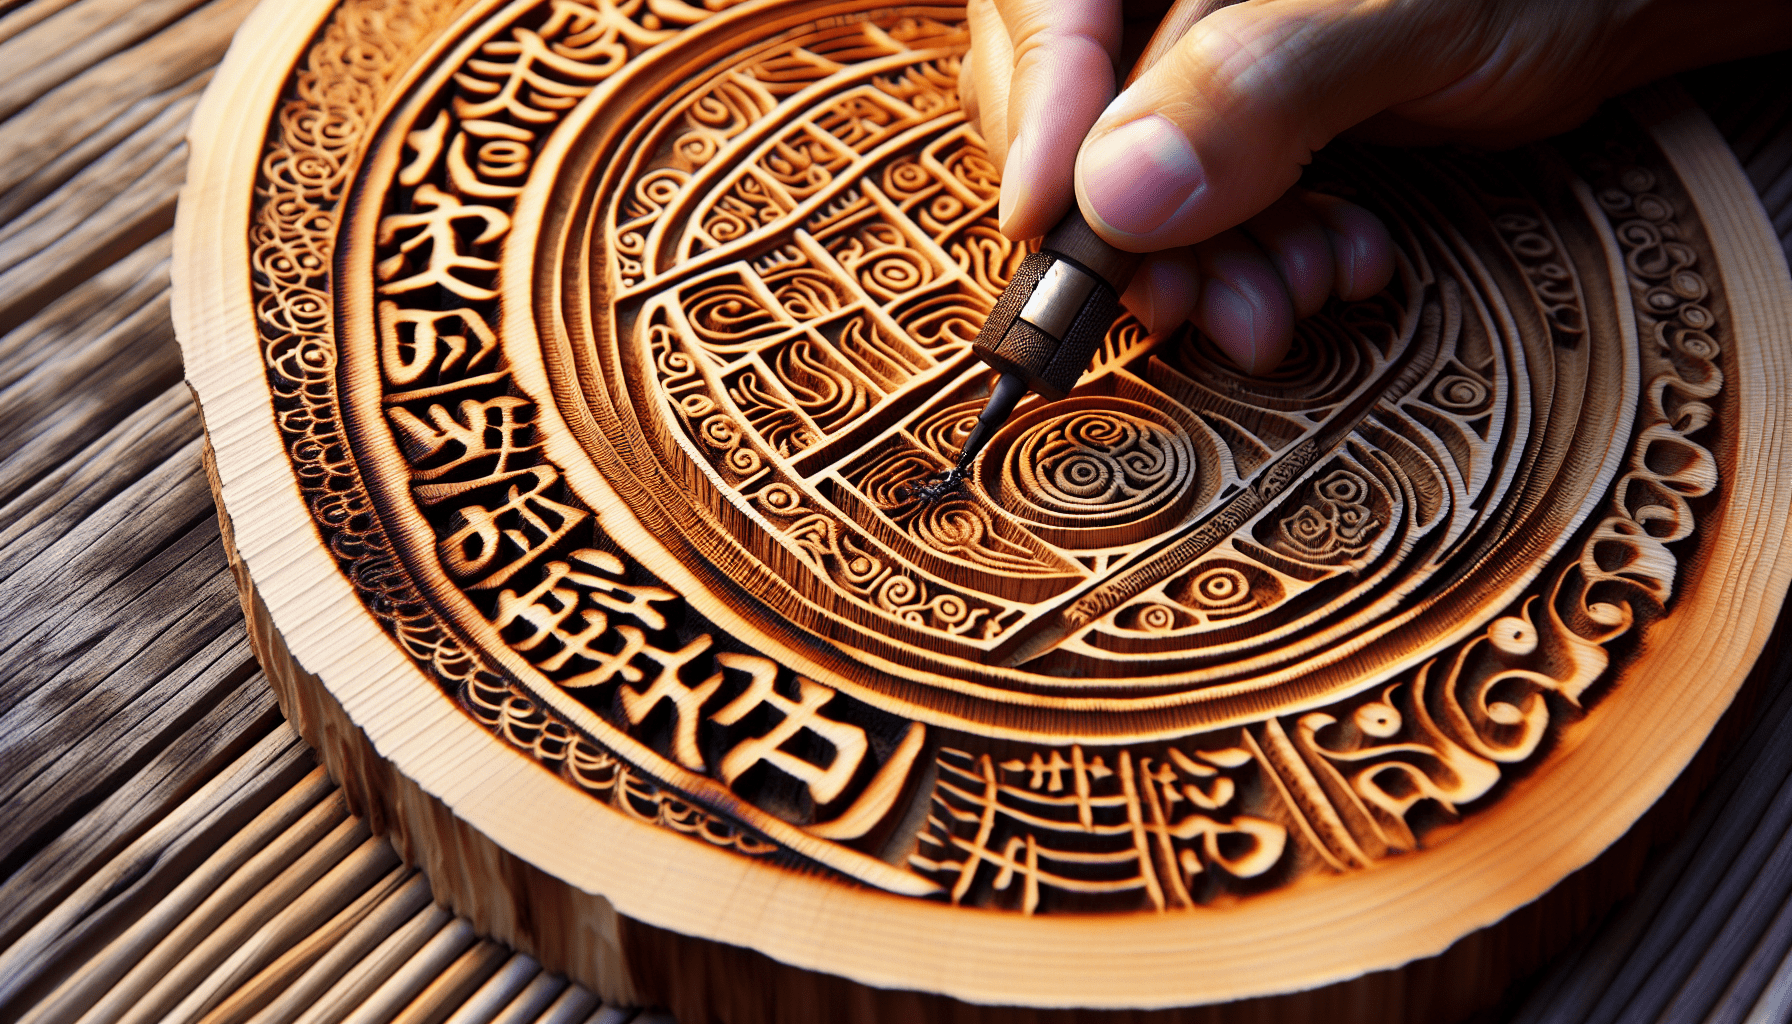
I’ve always loved the idea of personalizing wooden items with meaningful words, but the thought of needing fancy tools seemed daunting. Imagine my delight when I stumbled upon a method that requires nothing but an ordinary household item! In this article, I’ll share the surprisingly simple process of burning words into wood without using traditional tools like pyrography kits or lasers. This technique, accessible to everyone, is perfect for adding a rustic charm to gifts, art projects, or home decor. Let’s dive into this fun and easy way to bring your wooden creations to life with just a touch of creativity. Have you ever looked at a piece of wood and thought, “Wouldn’t it be cool if I could burn a message into this without using any tools?” Well, guess what? It’s totally possible! Let me take you on a journey of discovery—an unexpected, crafty adventure where we’ll turn that piece of wood into a stunning, personalized masterpiece without reaching for any specialized tools at all.
Why Burn Words into Wood?
There’s something incredibly satisfying about seeing words etched into wood, isn’t there? It brings a rustic charm that’s both timeless and trendy. Maybe it’s a quote that resonates with you, your name, or even a heartfelt message. Burning words into wood not only allows for a touch of personalization but also makes for a memorable gift or a compelling piece of home décor.
Nature’s Tools: Fire and Patience
The first thing you’ll need is patience. Remember, we’re doing this without the benefit of modern tools. Think of it as an exercise in mindfulness or a chance to connect with ancient methods.

Method Overview
You might be wondering how on earth this is going to work without so much as a soldering iron. Trust me, we’re all about to feel like wizards using a practical form of magic.
Materials You’ll Need
Let’s start by gathering our materials. Nothing fancy here; most of this you could probably find around the house.
- Wood: Any piece of wood will do, but softer woods like pine or cedar will be easier to work with.
- Magnifying Glass: This is optional but can be handy for focusing sunlight.
- Sunlight or Fire Source: Natural sunlight works best, but a steady flame can be an alternative.
- Protective Gear: Gloves and maybe some safety glasses.
- Patience: Did I mention you need this already?
Choosing Your Wood
The first step is to choose your piece of wood. Not all wood is created equal when it comes to burning. Softer woods like pine or cedar are easier to work with. Hardwoods like oak or walnut will be tougher but offer a richer texture.
Preparing the Wood
Before you start, smooth out the wood. A sanded surface not only looks better but also makes the burning process more consistent. You don’t want those words looking like they’re suffering from a bad case of stage fright.
Designing Your Words
Planning is key. Sketch out your words on a piece of paper first. Once you’re happy with the design, you can lightly sketch it onto the wood in pencil. This will serve as your guide.
The Sun as Your Burning Tool
Using the sun to burn words into wood is probably the most eco-friendly and ancient method. Here’s how you can do it:
Step-by-Step Guide
Step 1: Set Up Your Workspace
Find a spot with plenty of direct sunlight. A makeshift outdoor studio should do.
Step 2: Focus the Sunlight
Using a magnifying glass, focus the sunlight on a small area of the wood. You need to balance the magnifying glass to get a tiny, intense spot of light.
| Tip | Why It’s Useful |
|---|---|
| Hold the magnifying glass closer to the wood at first | This allows you to find the focal point where the light is most concentrated. |
| Move slowly and steadily | Fast movements can disrupt the focus, halting the burning process. |
Step 3: Start Burning
Once you have a focused beam of light, slowly move it along your pencil sketch. Be patient; this takes time. The wood will start to burn, leaving behind a darkened trail.
Step 4: Consistency is Key
Keep the magnifying glass at the same distance from the wood to maintain a consistent burn. This will ensure your lines are even and clear.
Troubleshooting Common Issues
- Cloudy Days: If nature isn’t cooperating, try another day. You need strong, direct sunlight.
- Uneven Burning: Make sure you’re maintaining a consistent distance between the magnifying glass and the wood.
- Fire Hazard: Always have a bucket of water or a fire extinguisher nearby just in case things get a little too heated.

Using Chemical Reactions
When fire and sunlight aren’t an option, let’s turn to chemistry. You can achieve stunning results with just a few household items. Shall we dive into it?
Materials You’ll Need
- Baking Soda: The unsung hero of kitchen chemistry.
- Paintbrush: An old one will do.
- Vinegar: White vinegar works best.
- Bottle or Spray Bottle: For dispensing the vinegar.
- Paper Towels: For cleanup.
Step-by-Step Guide
Step 1: Mix Your Solution
Mix baking soda with a bit of water to form a thick paste. You’re basically creating a makeshift “ink.”
Step 2: Apply the Paste
Using your paintbrush, apply the baking soda paste to the areas you want to burn. Be generous but neat.
Step 3: Let It Dry
Patience, my friend. Let the paste dry completely. It may take a few hours.
Step 4: Apply Vinegar
Using a spray bottle or a cloth, apply vinegar over the dried baking soda paste.
| Step | Details |
|---|---|
| Mixing the Paste | Consistency is crucial. Too watery, and it won’t settle well. Too thick, and it’s hard to apply. |
| Applying Vinegar | Spray sparingly to avoid drips that can mess up your design. |
Step 5: Watch the Magic Happen
The chemical reaction between the baking soda and vinegar will cause the paste to darken and burn into the wood. You’ll notice the words becoming more defined as the reaction progresses.
Troubleshooting Issues
- Uneven Burning: Make sure the paste is applied evenly.
- Excessive Drips: Be cautious with the vinegar application.
Burning Words with Fire (Candle Method)
Another low-tech way to burn words into wood is by using a simple candle. This method may take a bit more practice but can yield stunning results.
Materials You’ll Need
- Candle: A tall one works best.
- Matches or Lighter: To light the candle.
- Metal Tool: Like a nail or small rod to ignite and transfer heat.
Step-by-Step Guide
Step 1: Light the Candle
Light the candle and let it burn for a bit to get a steady flame.
Step 2: Heat the Tool
Hold the metal tool in the flame until it’s hot enough to burn wood.
| Tip | Why It’s Useful |
|---|---|
| Use pliers or a heat-resistant glove | This protects your hands from getting burned. |
| Rotate the tool evenly | This ensures the heat is distributed evenly. |
Step 3: Burn the Wood
Gently press the heated tool into the wood along your pencil sketch. You’ll need to reheat the tool frequently, as it cools quickly.
Troubleshooting Issues
- Overheating: Too much heat can char the wood and ruin your design.
- Underheating: If the tool isn’t hot enough, it won’t burn effectively.
The Ancient Art of Friction: Fire Plow or Bow Drill
Feeling uber-primitive? Let’s delve into some ancient methods. This requires a bit more effort but is immensely satisfying.
Materials You’ll Need
- Fire Plow or Bow Drill: Look up basic tutorials on how to create these. They’re fascinating!
- Wood for Drill and Plow: Softer wood for the plow, harder wood for the base.
- String (for Bow Drill): A strong, durable string works best.
- Knife or Sharp Tool: To carve out the notches.
Step-by-Step Guide
Step 1: Build Your Fire Plow or Bow Drill
This tool consists of a spindle and a hearth board. Look up some basic designs and follow along.
Step 2: Create a Notch
Carve a notch in the hearth board where you want to concentrate your friction.
| Tool | Description |
|---|---|
| Fire Plow | A simple rod that you push back and forth. |
| Bow Drill | Uses a bow to rotate the spindle. |
Step 3: Generate the Ember
Apply steady pressure and move quickly. The friction between the spindle and the hearth board will generate an ember.
Step 4: Transfer the Ember
Carefully transfer the ember to your wood design.
Troubleshooting Issues
- Wood Choice: Make sure you’re using appropriate types of wood for both the spindle and hearth board.
- Pressure and Speed: Balance these to generate heat efficiently.
Combining Techniques
Life is all about balance, right? Why not combine a few techniques to achieve the most spectacular results? Pairing sunlight with a chemical reaction or using fire with a magnifying glass can lead to intricate designs and deeper burns.
Step-by-Step Guide
Step 1: Design First
Always start with a well-thought-out design. Sketch it out on paper and then transfer it onto the wood lightly with a pencil.
Step 2: Initial Burn
Use the magnifying glass to outline your design. This sets a foundational burn line.
Step 3: Heighten the Contrast
Once you’ve got a basic burn, use the baking soda and vinegar method to darken and deepen the words. This dual technique ensures an even, bold design.
Troubleshooting Issues
- Complex Designs: Always break down complex designs into simpler components.
- Burn Overlaps: Watch out for overlapping burns, which can muddy the design.
Safety First
Before you dive headlong into your wood-burning adventure, let’s talk safety. We’re dealing with fire and sunlight, both of which deserve respect.
Essential Safety Tips
- Wear Protective Gear: Gloves, safety glasses, and long sleeves.
- Fire Safety: Always have a fire extinguisher or water nearby.
- Sun Safety: If you’re using sunlight, take breaks to avoid sunburn.
- Ventilation: Ensure you’re working in a well-ventilated area.
The Final Touch
Once you’ve burnt your words into the wood, it’s time for some final touches.
Sanding Down
Use fine-grit sandpaper to smooth out any rough edges around your design. This gives it a polished look.
Sealing the Design
To protect your work, apply a sealant like polyurethane or a natural oil like linseed to the wood. This enhances the grain and ensures your design lasts longer.
Displaying Your Masterpiece
Now comes the fun part—deciding where to showcase your work! Whether it’s a wall-hanging, a nameplate for your desk, or a unique gift, displaying it proudly is the cherry on top.
Conclusion
So there you have it—how to burn words into wood without tools. It’s a journey that blends patience with creativity and gives you a chance to step back into a simpler, slower-paced crafting world. Whether you’re doing it for fun, for art, or for meditation, it’s a skill that leaves a lasting impression—literally and figuratively. Now, go grab a piece of wood and let the magic begin!
What do you think? Ready to give it a try?

