
I create wood-burned art through pyrography with basic equipment that costs between $15-50 for starter kits, plus essential safety gear like respirators and ventilation systems to guard against harmful fumes.
Getting Started with Pyrography
Basic Equipment Costs
My first designs became recognizable after just a few practice sessions, though I spent nearly two years perfecting advanced techniques for detailed portraits and realistic nature scenes. **Basic wood burning equipment** is affordable, with **starter kits ranging from $15-50** and professional tools priced between **$100-300**.
Essential Safety Gear
Safety is crucial when working with pyrography. **Respirators, proper ventilation, and heat-resistant stands** are necessary to protect against harmful fumes and high temperatures.
Choosing the Right Wood
Beginners should start with **soft woods like basswood, birch, or poplar**, as they are easier to burn and provide better results with less effort.
Developing Your Skills
- Simple techniques like line work and basic shading can be learned quickly.
- Advanced skills, such as realistic portraits and nature scenes, take **months to years** to master.
Learning Resources
Many useful resources can help you improve your pyrography skills, including:
- Online tutorials that provide step-by-step guides.
- Books with detailed instructions and project ideas.
- Local workshops where you can learn from experienced artists.
- Community forums that offer support, feedback, and inspiration.
My Pyrography Journey
I refined my skills through **focused practice on fundamentals** before advancing to more intricate designs. The craft allows me to explore artistic expression while staying within a modest budget.
Prioritizing Safety
Safety remains my top priority. I always wear **proper protective gear** and ensure **good airflow** in my workspace to minimize any health risks.
Why Soft Woods Are Ideal for Beginners
Starting with the right wood makes a significant difference in results. I recommend **soft woods** for new artists since they **accept burn marks more easily** and **forgive minor mistakes** better than hardwoods.
What You Need to Get Started with Wood Burning
Basic Equipment and Costs
Starting with wood burning doesn’t have to break the bank. I recommend checking out essential pyrography supplies before making any purchases. A basic starter kit, which includes a wood-burning pen and several tips, typically costs between $15-50. The Walnut Hollow Creative Versa Tool and TRUart Stage 1 stand out as reliable options for beginners. For those ready to commit to professional equipment, expect to invest between $100-300 for higher-quality tools that offer better temperature control and durability.
Materials and Safety Equipment
Beyond the basic tools, here’s what you’ll need to get started:
- Wood selection: Basswood, birch, or poplar are perfect for beginners and cost between $5-30 depending on size and quality.
- Surface preparation: Fine-grit sandpaper ($5-10) for smoothing wood surfaces.
- Finishing supplies: Various sealants and finishing products ($10-20).
- Safety equipment: A proper respirator or mask ($20-50) is crucial for protecting your lungs.
I’ve found that choosing the right wood type can make a significant difference in your early success. While it might be tempting to skip safety equipment, it’s an essential investment for your health. Before starting any project, I suggest practicing basic wood burning patterns on scrap pieces to build confidence and skill.
With these fundamentals in place, you’ll have everything needed to start creating beautiful burned wood art. The initial investment is relatively modest compared to many other crafting hobbies, and you can always upgrade your equipment as your skills improve.

Essential Safety Practices Before You Begin
Protecting Yourself and Your Workspace
I always stress that safety comes first when learning wood burning basics. Wood burning tools can heat up to 900°F (482°C), making proper safety measures crucial before starting any project.
Setting up your work area correctly makes pyrography much easier to master. A heat-resistant stand keeps your tool secure when not in use, preventing accidental burns or damage to your work surface. I’ve found that a metal stand works best, as it won’t melt or catch fire from the hot tip.
Good ventilation is non-negotiable. I recommend working near an open window or using a fume extractor to remove smoke and fumes. This isn’t just about comfort – it’s about protecting your lungs from harmful particles. A respirator or mask rated for fine particles adds another essential layer of protection.
Working with the right materials is critical for safe wood burning practice. Here are the key safety points I follow:
- Only use untreated, natural woods – treated woods can release toxic fumes
- Keep a fire extinguisher within reach
- Work on a clear, non-flammable surface
- Keep water or a damp cloth nearby for emergency cooling
- Maintain adequate distance from flammable materials
- Store tools properly after use, allowing full cooling time
For those starting with wood burning patterns, I can’t stress enough the importance of adult supervision for younger artists. The combination of high temperatures and sharp tools demands constant attention and mature judgment.
Before starting any project, I make sure to research wood types for safety compatibility. Some woods can emit harmful substances when burned, so I stick to popular options like **pine, maple, or birch**. Having the right pyrography supplies and tools makes a significant difference in both safety and results.
These safety tips for beginners might seem basic, but they’re fundamental to a safe and enjoyable wood burning experience. By following these safety practices, I’ve created a secure environment where I can focus on developing my skills without worrying about accidents or health risks.
From Beginner to Master: Time and Skill Requirements
Starting Your Wood Burning Journey
I’ve found that learning basic wood burning skills can take just a few hours of focused practice. The simple techniques, like straight lines and basic lettering, are great starting points that build confidence quickly. While mastering the craft takes dedication, you’ll likely create your first recognizable designs within your initial practice sessions.
A beginner can start with these fundamental skills:
- Basic line work and lettering
- Simple geometric patterns
- Basic shading techniques
- Elementary dot work
- Single-tone designs
Moving beyond basics into intermediate pyrography techniques requires several months of regular practice. You’ll notice significant improvements in your shading and texture work during this period. Projects at this stage might take anywhere from a few hours for simple designs to several days for more detailed pieces.
The path to advanced skill levels typically spans 1-2 years of steady practice. At this stage, you’ll tackle complex projects like detailed portraits and realistic nature scenes. These intricate pieces can take weeks to complete, but the results are worth the investment of time.
Wood burning challenges vary with each project, but I’ve noticed that steady progression comes from practicing specific techniques repeatedly. Starting with simple wood burning patterns helps build muscle memory and control over your pyrography pen.
The journey from beginner to master isn’t just about time invested – it’s about smart practice with the right tools. I recommend getting quality beginner supplies that won’t hold you back as your skills grow. Your progress will speed up significantly once you master essential wood burning techniques like temperature control and consistent pressure application.
Professional expertise develops through years of dedicated practice and countless completed projects. Many skilled artists spend 3-5 years honing their craft before taking on commission work. Each project builds upon previous experience, gradually expanding your technical abilities and artistic vision.
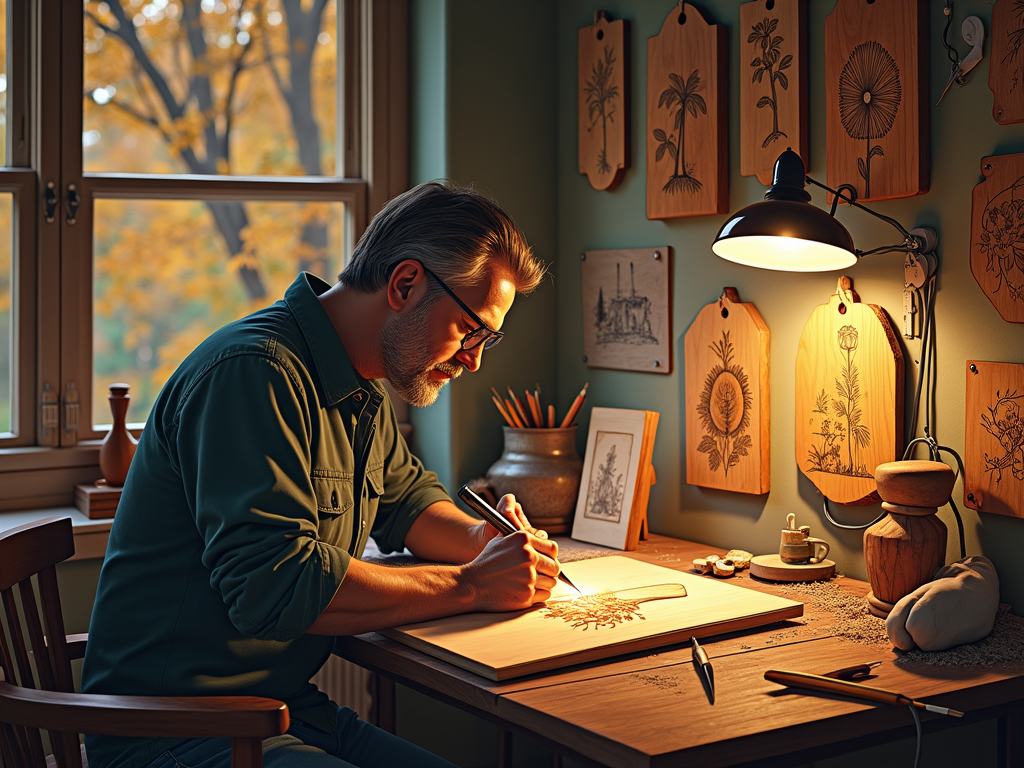
Mastering Different Burning Techniques
Starting with Basic Burns
I find that starting your wood burning journey with simple techniques makes it easier to build confidence. Line tracing and outlining serve as perfect entry points into pyrography. These foundational skills let you create clean, precise marks while getting familiar with your wood burning tool.
Shading adds depth to your work but needs careful attention to heat settings and pressure control. I’ve learned that lighter pressure with moderate heat creates soft, gradual shading, while firmer pressure produces darker tones. Burning wood effectively requires practice with these varied pressures to achieve the results you want.
Advanced Techniques and Applications
Creating textures opens up fresh creative options in your wood burning patterns and designs. Different tips produce unique effects – shader tips make smooth gradients, while ball tips create stippled textures. I recommend practicing these specialized techniques on scrap wood first.
Lettering needs steady hand control and consistent spacing. I suggest starting with simple block letters before trying cursive or decorative styles. Tips for beginners include marking guide lines and maintaining even letter width.
Realistic portraiture stands as one of the most challenging aspects of pyrography. It demands understanding of facial features and mastery of subtle shading techniques. Success comes from building up tones gradually and paying attention to light and shadow relationships.
Factors That Affect Your Burning Results
- Temperature settings: Higher heat burns faster but risks scorching
- Wood type: Softer woods burn more quickly than hardwoods
- Pressure control: Light touch for subtle marks, firm pressure for bold lines
- Tip selection: Different tips create varied textures and line weights
- Speed of movement: Slower movements create darker burns
Learning pyrography takes time, but starting with basic techniques builds a solid foundation for more complex projects. Before attempting advanced work, make sure you have all your essential pyrography supplies ready and properly maintained.
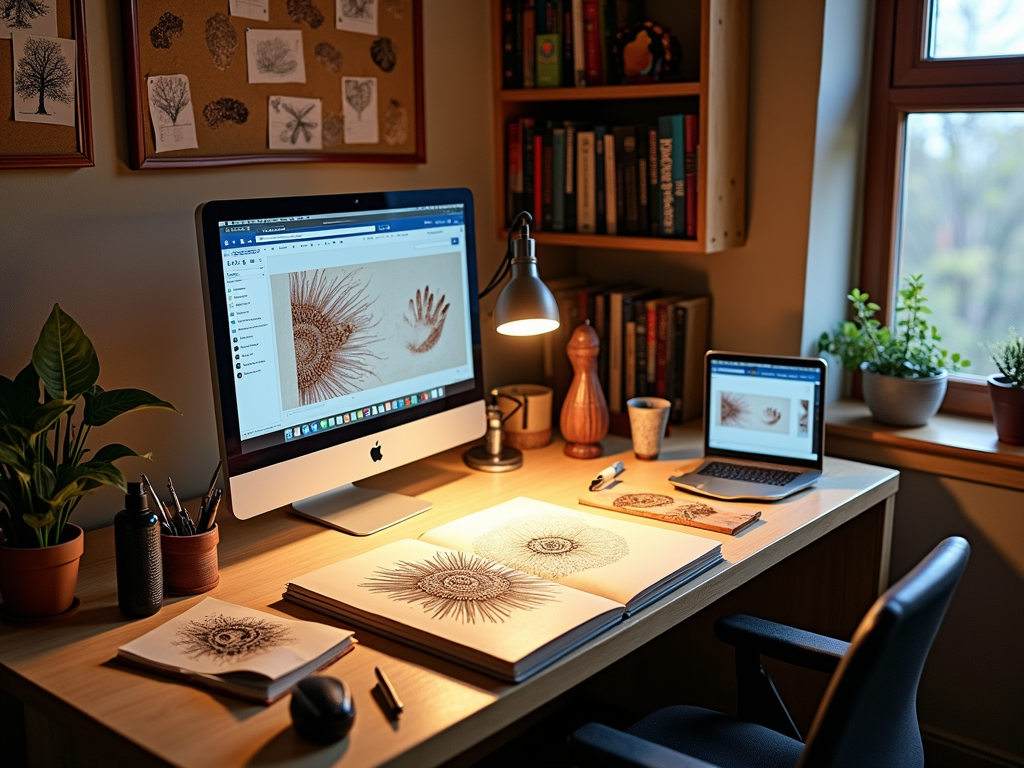
Where to Learn and Get Support
Online Learning Resources
Learning wood burning has become much easier thanks to the wealth of digital resources available. I’ve found wood burning techniques and skills are best absorbed through visual demonstrations, making YouTube an excellent starting point. The platform offers countless tutorials covering everything from basic strokes to advanced shading techniques.
Sue Walters’ book ‘Pyrography Made Easy‘ stands out as a cornerstone resource for beginners, offering clear step-by-step instructions and practical exercises. Similarly, ‘The Complete Pyrography‘ by Stephen Poole delivers comprehensive guidance on mastering pyrography skills through detailed illustrations and expert tips.
Community Support and Hands-on Learning
Connecting with other wood burning enthusiasts can significantly speed up your learning process. Active online communities on forums and social media platforms offer valuable feedback, troubleshooting help, and inspiration for wood burning patterns and designs. These spaces are perfect for sharing your progress and getting constructive criticism from experienced artists.
For hands-on instruction, local workshops and classes provide direct guidance and immediate feedback. Here’s what you can typically expect from these learning environments:
- Direct interaction with experienced instructors
- Practice with different wood burning tools and techniques
- Safety demonstrations and proper tool handling
- Tips for selecting appropriate materials
- Guidance on essential supplies and equipment
Lora Irish’s website serves as an excellent resource hub, offering patterns, tutorials, and helpful tips for beginners. Her detailed guides help tackle common challenges like difficult wood burning situations and selecting the right wood types for your projects.
Sources: