Pyrography welcomes beginners with simple shapes and lettering. Mastering shading and texture takes months of practice. Skill level, patience, and design complexity determine the difficulty.
Key Takeaways
- Start with basic patterns and lettering, then move to intricate designs.
- Shading and texture improve with steady practice.
- Softwoods like basswood and birch work best for learning because they burn easily and have smooth surfaces.
- Project completion time varies—quick designs take less than an hour, while detailed pieces can exceed 10 hours.
- Temperature-controlled pyrography pens offer better precision and control.
Is Pyrography Difficult to Learn?
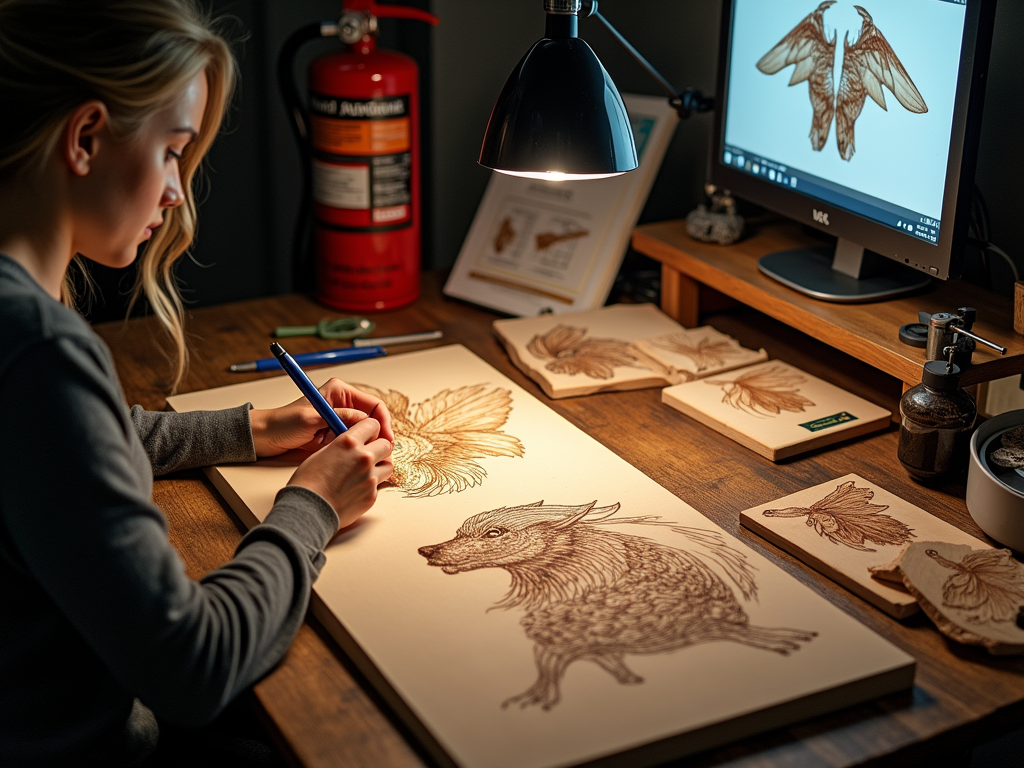
Pyrography suits all skill levels. It’s easy for beginners to pick up while offering plenty of challenges for advanced artists. With patience and practice, anyone can create impressive designs.
Starting with simple shapes and patterns helps newcomers build confidence. A basic outline or lettering project is a great first step. As skills improve, shading techniques and textured details become the next challenge. Advanced pyrography includes hyper-realistic images and complex textures, which can take months to master.
How long it takes to get comfortable depends on the individual. Basic designs may take just a few hours to grasp, while refined shading and depth techniques require weeks or months of practice. Wood burning takes dedication, but progress is easy to see along the way.

What Tools and Materials Do You Need?
Choosing the Right Pyrography Pen
A pyrography pen is the most important tool. Basic models, like the Walnut Hollow Creative Versa-Tool, are affordable at around $20-$40 and work well for beginners. These pens often come with interchangeable tips but may lack precision control. If you’re serious about wood burning, a temperature-controlled unit like the Razertip SK offers better performance, but expect to pay over $150. Higher-end models allow for smoother lines and detailed shading.
Selecting the Best Wood
Wood choice impacts both ease of burning and the final look. Softwoods like basswood and birch are perfect for beginners since they burn easily without requiring excessive heat. Hardwoods such as oak and maple offer durability but need higher temperatures and greater control. Wood blanks vary in cost depending on size and type, but starting with small, inexpensive pieces is a practical approach.
Other supplies that help improve results include:
- Sandpaper – Smooths the surface for even burning.
- Finishing Sealant – Protects and enhances the design.
- Patterns – Useful for planning intricate designs before burning.
The right gear makes learning easier. If you’re wondering what is needed for pyrography, start with a simple kit and experiment with different woods to develop your technique.
How Long Does Pyrography Take?
Factors That Affect Project Time
The time a pyrography project takes depends on its size, detail, and my skill level. Simple designs on coasters or ornaments might take 30 minutes to an hour. A complex portrait or large wall art can demand over 10 hours. The type of wood can also impact burn speed, with softer woods allowing for quicker results.
Steps That Take Time
Each stage of a pyrography project influences the total time needed:
- Wood Preparation – Sanding and treating the wood ensures a smooth surface.
- Burning Process – Outlining, shading, and detailing require patience and controlled strokes.
- Finishing Touches – Sealing protects the artwork and enhances its longevity.
By understanding these steps, I can plan effectively, whether I’m working on a quick design or a time-intensive masterpiece. If I’m just getting started, learning how difficult pyrography is helps set realistic expectations.

Staying Safe While Practicing Pyrography
Pyrography uses high heat, which means safety comes first. Always work in a well-ventilated space to reduce smoke exposure. If ventilation is limited, use a small fan to direct fumes away or wear a respirator designed for filtering fine smoke particles.
A heat-resistant surface, like a ceramic tile or metal sheet, prevents accidental burns or fire. Avoid working near flammable materials, such as paper or fabric, that could ignite from stray sparks.
Protective gear makes a big difference:
- Heat-resistant gloves shield hands from accidental contact with the heated tip.
- Safety glasses prevent debris from getting in your eyes.
- A respirator helps if you’re burning woods that produce more smoke.
Fire safety is a must. Keep a fire extinguisher nearby, just in case, and never leave your burner unattended. Staying cautious ensures you can enjoy this craft without unnecessary risks.

Best Ways to Learn Pyrography
Exploring Online Tutorials
Online tutorials make learning pyrography more accessible. Platforms like YouTube, Skillshare, and Udemy feature video lessons that guide you through techniques step by step. Watching an experienced pyrographer work in real time can help you understand how to control the heat and pressure for different effects. These lessons often include beginner-friendly projects, making it easier to practice at your own pace.
Books and Hands-on Workshops
If you prefer books, Pyrography Workbook: A Complete Guide to the Art of Woodburning by Lora S. Irish is a solid resource. It covers everything from basic strokes to detailed patterns. In-person workshops offer an even more interactive approach. These allow you to receive direct feedback, refine your skills, and ask experienced pyrographers for advice. A structured setting can boost your confidence, especially when tackling tricky details.
For more insights on skill-building, check out how difficult pyrography is to learn.
Sources:
Walnut Hollow website
Razertip website
Skillshare website
Udemy website
YouTube
“Pyrography Workbook: A Complete Guide to the Art of Woodburning” by Lora S. Irish