I advise against using treated wood for pyrography due to its toxic chemical preservatives. These chemicals release harmful fumes during burning, including dangerous compounds like Chromated Copper Arsenate (CCA) and newer preservatives such as ACQ and CA-B. Modern pressure-treated lumber, though safer for outdoor projects, still creates hazardous fumes when heated that can damage your health immediately and over time.
Key Takeaways
- Treated wood contains toxic preservatives that become extremely dangerous when heated during pyrography.
- Burning treated wood can cause severe respiratory problems, eye irritation, headaches, and long-term health issues.
- Natural, untreated woods like maple, birch, and basswood are safe alternatives for pyrography.
- Treated wood can be identified by its greenish tint, surface incisions, and manufacturer stamps.
- Always use proper safety equipment, including an N95/P100 respirator, when doing any pyrography work.
I’ve learned through experience that treated wood’s risks far outweigh any potential benefits for pyrography. The fumes create both short-term breathing problems and potential chronic health conditions. Stick to natural, untreated woods to protect your health while practicing this art form. Safety should guide every pyrography project from start to finish.
Why You Should Never Use Treated Wood for Pyrography
Dangerous Chemical Composition
I strongly advise against using treated wood for any burning projects due to its hazardous chemical makeup. Pressure-treated lumber contains powerful preservatives that become extremely toxic when heated. Before 2003, most treated wood contained Chromated Copper Arsenate (CCA) – a particularly dangerous compound loaded with arsenic and chromium, both known carcinogens.
Modern pressure-treated wood alternatives like ACQ (Alkaline Copper Quaternary) and CA-B (Copper Azole) aren’t any safer for pyrography. While these newer treatments might be better for outdoor use, they still release harmful fumes when burned.
Health Risks and Safety Concerns
The health risks of burning treated wood through pyrography are serious and immediate. When heated, these chemical preservatives release toxic fumes that can cause:
- Severe respiratory problems
- Eye irritation
- Headaches
- Nausea
- Long-term health complications
Instead of treated wood, I recommend using natural, untreated wood types like maple, birch, or basswood for pyrography projects. These woods are safe to burn and create beautiful results. Before starting any project, I make sure to properly prepare the wood surface by checking for any signs of chemical treatment.
If you’re unsure whether wood has been treated, look for a greenish tint or small incisions along the surface. Treated lumber often has these identifying marks. I always sand and inspect the wood thoroughly before burning to ensure it’s natural and untreated.
How to Spot Treated Wood Before You Burn
Key Visual Indicators of Treatment
I’ve learned that identifying treated wood before starting any pyrography project is crucial for safety. Burning treated wood can release toxic fumes, so taking time to inspect your materials properly makes all the difference.
The first telltale sign is color – treated lumber typically shows a distinct greenish or brownish tint that differs from natural wood tones. According to the American Wood Protection Association (AWPA), this coloring comes from the chemical preservatives used during treatment.
Main Identifiers of Treated Wood
Here are the main identifiers I look for when checking wood:
- End tags or stamps showing treatment certifications (particularly UC3 for above-ground or UC4 for ground contact)
- Small, regular patterns of incisions or holes across the wood surface
- Manufacturer stamps with AWPA standard markings
- A slightly oily or chemical smell compared to natural wood
- A notably heavier weight than untreated pieces of similar size
Proper wood preparation starts with selecting untreated stock, which should have consistent natural coloring and grain patterns without any treatment marks. I always make sure to inspect both sides and ends of the wood thoroughly, as treatment indicators might only be visible on certain surfaces.
If I’m unsure about a piece of wood, I’ll check for any protective coating by adding a small drop of water – treated wood often repels moisture while untreated wood absorbs it quickly. Selecting the right wood for pyrography means choosing pieces that are clearly untreated and natural.
I recommend keeping a sample of known untreated wood as a reference point. This makes it easier to spot the subtle differences in color and texture that might indicate treatment. Pressure-treated wood is particularly dangerous for pyrography and often has more obvious signs of treatment, including a greener tint and more visible incision patterns.
Best Woods for Safe Pyrography Projects
Top Wood Choices for Burning Success
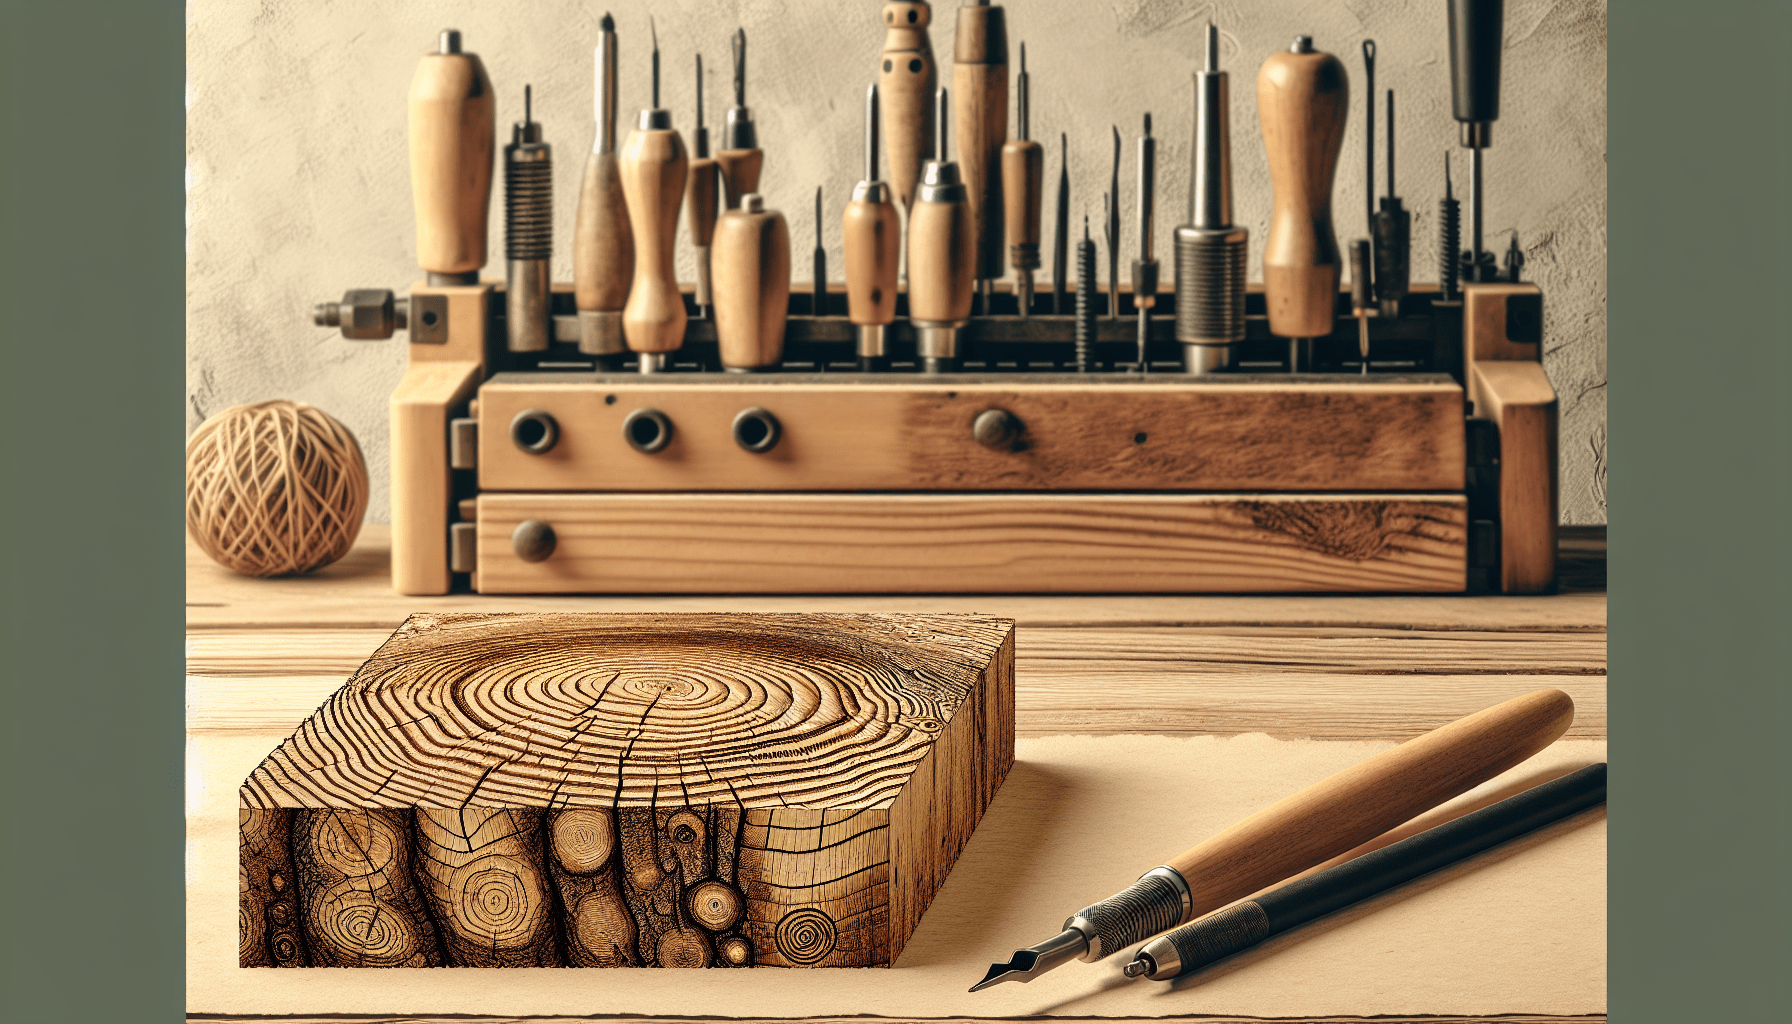
I’ve found that selecting the right wood makes a massive difference in pyrography results. Before getting started with wood burning projects, it’s essential to prepare your wood properly for pyrography.
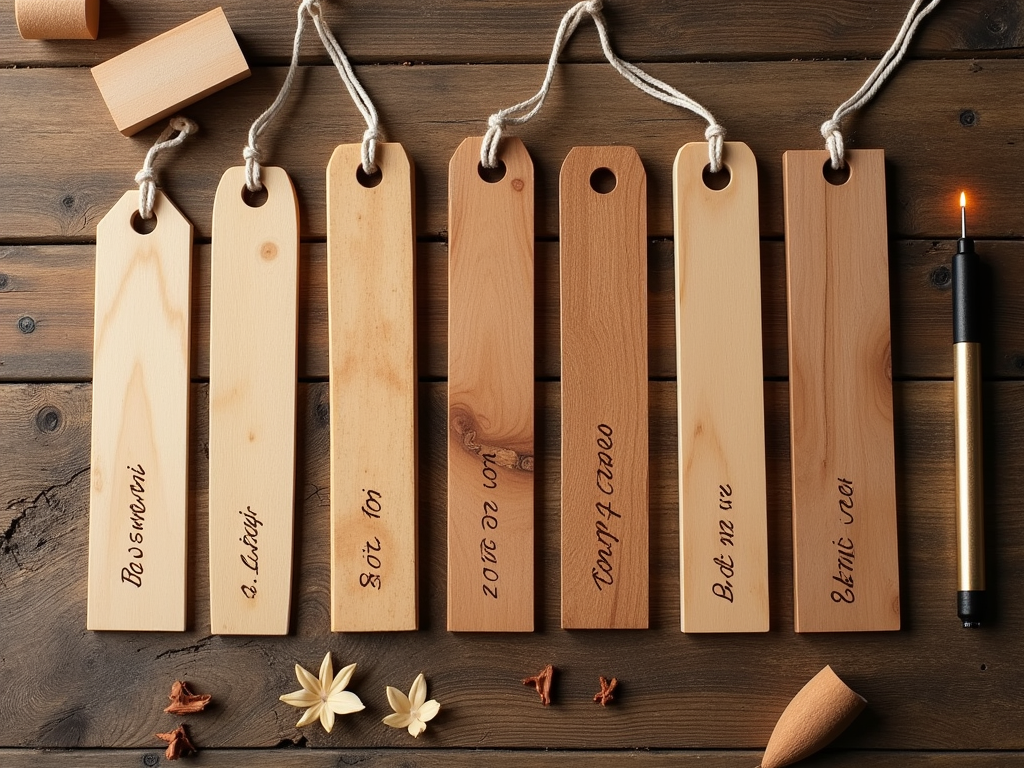
Basswood stands out as my top choice for pyrography. Its light, creamy color creates the perfect canvas for burning designs, while its fine, consistent grain structure allows for exceptional detail work. The soft nature of basswood means it responds beautifully to burning tools, making it ideal for both beginners and advanced artists.
Poplar offers another excellent option with its straight grain and medium hardness. This wood burns cleanly and takes detail well, though it can be slightly harder to work with than basswood. For those looking to choose the best wood for pyrography, birch provides a smooth surface and predictable burning characteristics.
Key Factors to Consider
Here’s what I consider when selecting wood for pyrography projects:
- Maple works well for advanced projects due to its hardness and fine grain.
- Cherry delivers rich, warm tones and burns with strong contrast.
- Aspen provides a soft, light-colored surface perfect for detailed work.
- Pine can work but often burns unevenly due to its resin content.
I strongly recommend buying wood from craft stores or dedicated pyrography suppliers to ensure safety and quality. It’s crucial to avoid burning treated wood as it can release harmful chemicals. Before starting any project, I make sure to sand the wood surface properly for the best results.
How Wood Type Affects Pyrography
Each wood type offers unique characteristics that affect burning patterns and detail capabilities. Softer woods like basswood and aspen burn more quickly and easily, while harder woods like maple require more time and pressure but can produce sharper lines.
When preparing for a project, I always check that my chosen wood hasn’t been pressure treated or chemically altered. You should never attempt to burn pressure treated wood as it poses serious health risks. Instead, focus on natural, untreated woods that let you create safely and effectively.
Preparing Your Wood for Pyrography
To get started with your pyrography project, it’s important to properly prepare your wood. This includes checking for any treatments, sanding the surface smooth, and ensuring the wood is completely dry before burning.
Essential Safety Equipment for Wood Burning
Protection Against Harmful Fumes and Particles
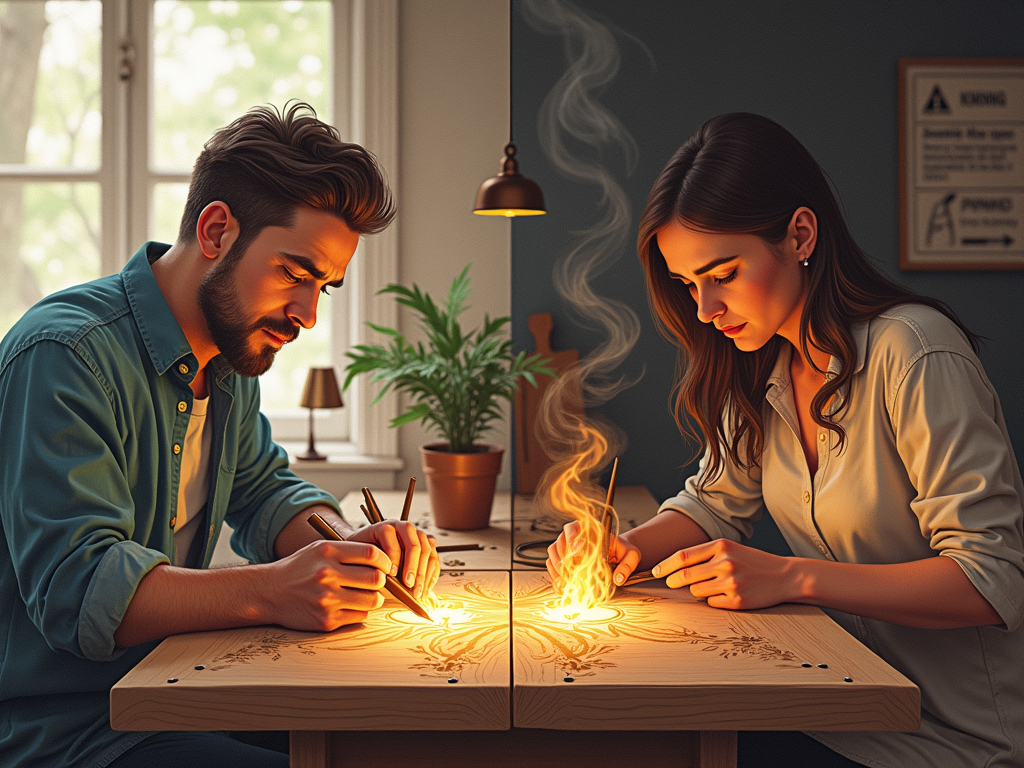
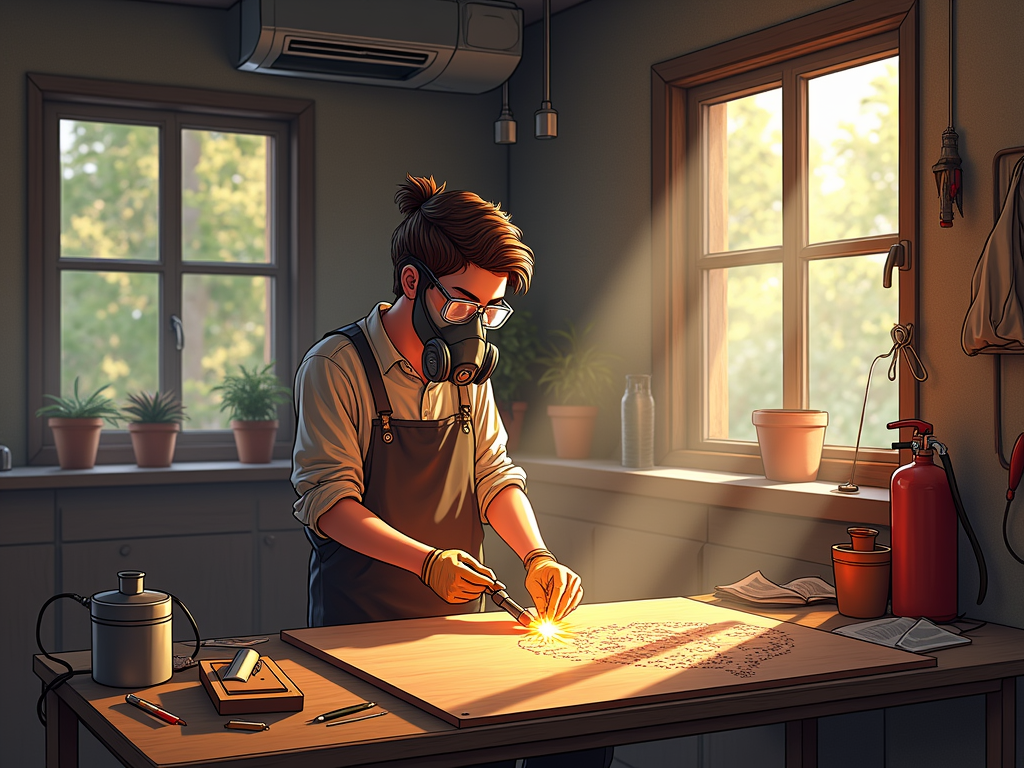
I strongly advise against burning treated wood which can release toxic fumes. But even with untreated wood, proper safety gear is crucial. A high-quality respirator rated N95 or P100 should be your first investment – standard dust masks won’t cut it for pyrography work. These specialized respirators filter out the tiny wood particles and fumes that can harm your lungs.
Safety glasses or goggles are non-negotiable to protect your eyes from flying wood particles and smoke. Heat-resistant gloves shield your hands from accidental burns while preparing wood for burning. A protective apron adds an extra layer of safety, keeping hot fragments away from your clothes and skin.
Creating a Safe Work Environment
Setting up a proper workspace makes a huge difference in safety. I always recommend working outdoors when possible – it provides natural ventilation and keeps harmful fumes from building up. If you’re working indoors, install a dedicated ventilation system that pulls fumes and particles away from your breathing zone.
Here’s what I look for in a well-ventilated workspace:
- A powerful exhaust fan positioned to draw fumes away
- Open windows on opposite sides for cross-ventilation
- A clean work surface away from flammable materials
- Easy access to a fire extinguisher
- A metal container for disposing of wood shavings and dust
Remember to clean up thoroughly after each session. Wood shavings and dust can pose fire hazards if left around, so dispose of them properly in a metal container. When working with any wood for pyrography, these safety measures aren’t optional – they’re essential for protecting your health and preventing accidents.
Before starting any project, I make sure to properly prepare and sand the wood. This preparation step reduces harmful dust during the burning process. Taking these precautions might seem like extra work, but they’re vital for long-term safety in pyrography.
Sources: