The Art of Layering in Pyrography: Techniques and Tips
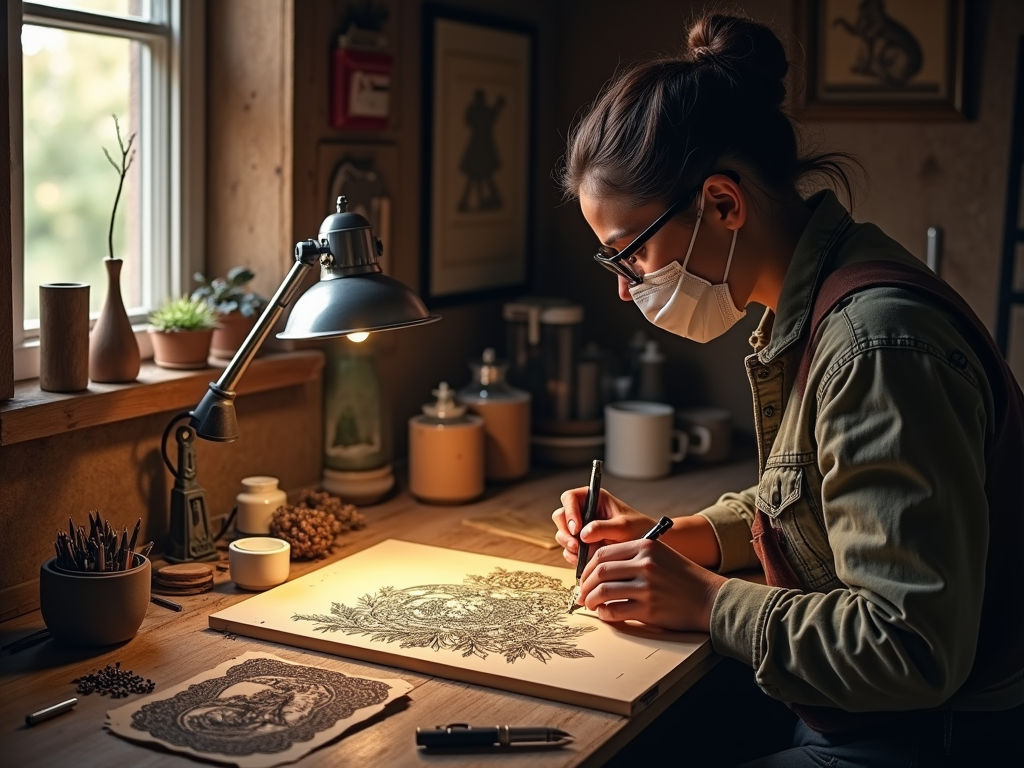
When diving into the world of pyrography, one of the most captivating techniques is layering. This method not only enhances the depth and dimension of your artwork but also allows for a more intricate design process. Whether you are a beginner or an experienced pyrographer, mastering the art of layering can elevate your work to new heights.
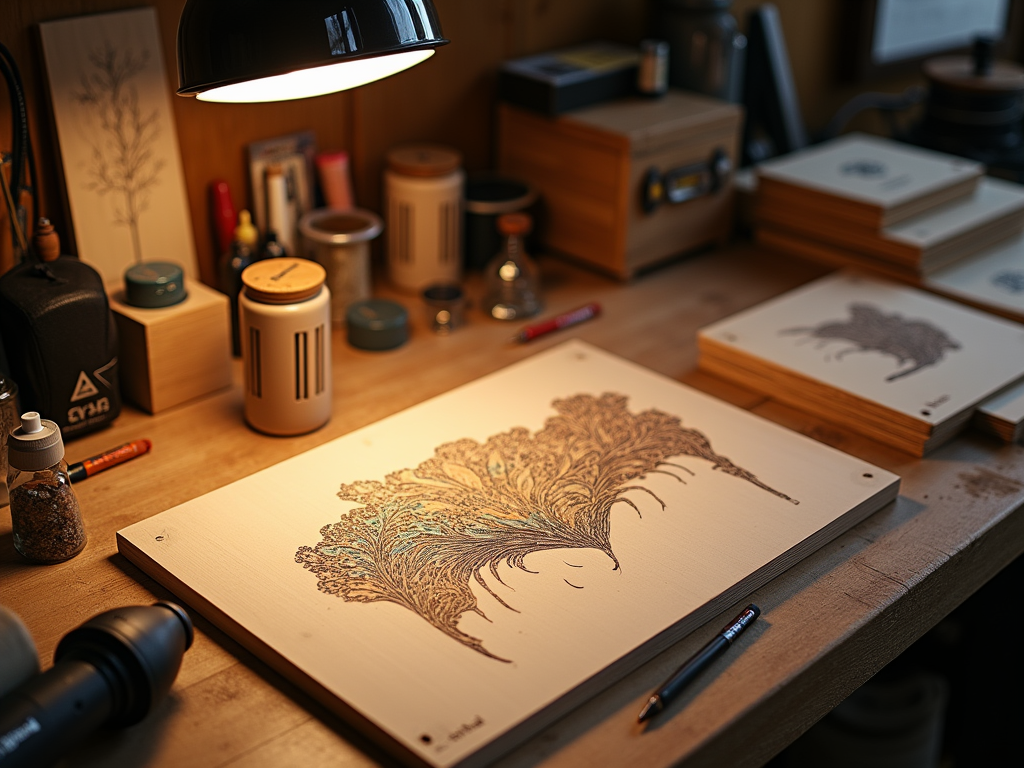
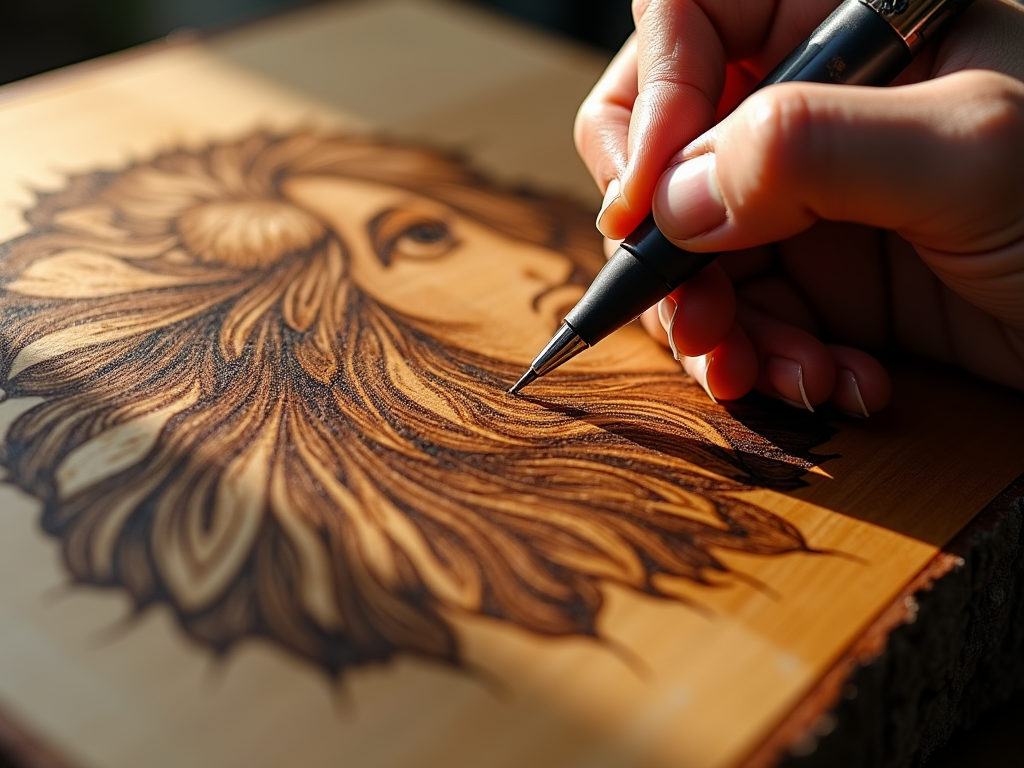
Layering in pyrography involves applying multiple shades and textures to create a rich visual experience. By using varying degrees of heat and different burning tools, artists can achieve a spectrum of effects, from soft shadows to bold lines. Adopting this technique might seem daunting, but with the right approach and practice, you can truly refine your skills.
Understanding the Basics of Layering
At its core, layering requires you to think in terms of adding dimensions. Start by sketching your design lightly on the wood surface, ensuring you leave room for additional layers. The key steps in layering include:
- Preparation: Choose a suitable wood type, such as birch or pine, which accepts heat well and provides a smooth surface.
- Initial Burn: Begin with a light burn to establish your base layer. This serves as a guide for subsequent layers.
- Adding Depth: Gradually increase the heat and pressure to define shapes and shadows. Use a lighter hand for subtle details and a heavier touch for bold features.
Techniques for Successful Layering
To create captivating layered effects, consider these techniques:
- Cross-hatching: This technique involves creating intersecting lines that add texture and dimension to your design.
- Shading: Vary your burner settings to achieve different tones. A lower temperature can produce soft shades, while a higher temperature yields darker ones.
- Blending: Use softer burning tips to blend colors and create seamless transitions between layers.
Tools and Materials
Having the right tools can make a significant difference in your layering technique. Here’s a list of essential equipment:
Tool | Purpose |
---|---|
Pyrography Pen | Primary tool for burning designs into wood. |
Various Tips | Diverse effects from fine lines to broad strokes. |
Sandpaper | Smoothen wood surface for better burn quality. |
Pencil | Sketch your design before burning. |
Wood Sealant | Protects the finished product and enhances durability. |
Tips for Mastering Layering
To truly master the art of layering, keep these tips in mind:
- Practice Patience: Layering takes time; don’t rush the process. Allow each layer to cool before adding the next for better control over the effects.
- Experiment: Use scrap wood to test different techniques and settings before committing to your final piece.
- Analyze Light: Consider how light interacts with your layers. Shadows and highlights can significantly enhance the three-dimensional look of your work.
Common Mistakes to Avoid
Even seasoned pyrographers can stumble. Here are some pitfalls to steer clear of:
- Too Much Pressure: Applying excessive pressure can lead to burns that are too deep or uneven.
- Ignoring Wood Grain: Always align your strokes with the wood grain when layering; this enhances the overall visual appeal.
- Skipping the Base Layer: Never skip on your initial light burn. It acts as a basic roadmap for your project.
The art of layering in your pyrography can transform simple designs into striking works of art. With patience and consistent practice, you’ll see significant improvement in the depth and beauty of your creations. Remember, the journey of mastering pyrography is as enjoyable as the finished piece itself.
Exploring Different Types of Wood for Pyrographic Layering
When diving into the world of pyrography, one of the first decisions an artist encounters is the choice of wood. Different types of wood not only affect the aesthetics of the artwork but also influence the techniques and layering methods used. Understanding these variations is crucial for achieving desired effects and crafting intricate designs.
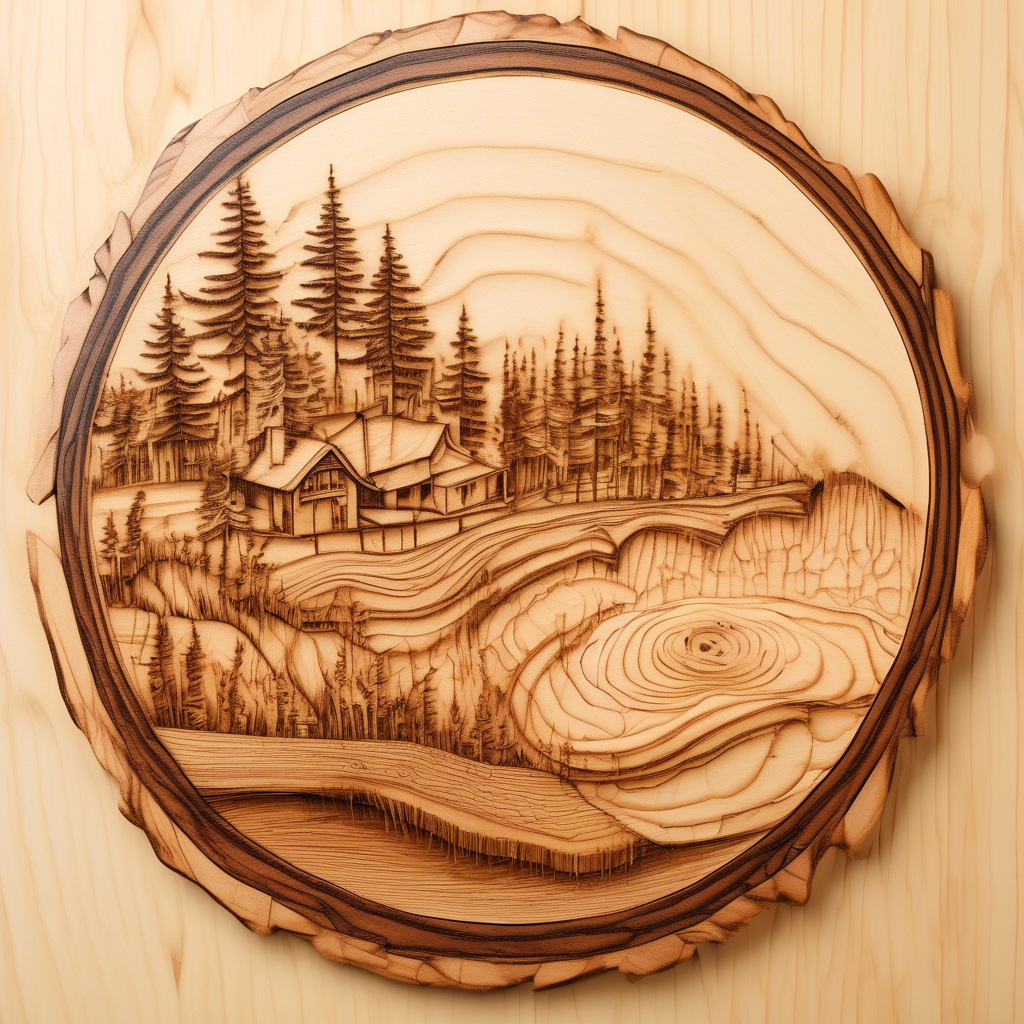
The choice of wood has a significant impact on the layering technique in pyrography. Denser woods generally produce darker burn marks, while softer woods may yield lighter, more subtle tones. Here’s a closer look at various types of wood commonly used in pyrographic layering:
Wood Type | Grain Pattern | Density | Burning Characteristics |
---|---|---|---|
Pine | Straight grain with occasional knots | Low | Easy to burn, produces light, soft marks. |
Birch | Fine grain with uniform texture | Medium | Burns evenly, allowing detailed layering. |
Maple | Fine, consistent grain | Medium | Harder to burn but offers great detail. |
Oak | Open grain, distinct patterns | High | Provides rich, bold designs with deep layers. |
Cedar | Straight grain with knots | Low to medium | Burns well, can create interesting textures. |
Each type of wood brings its unique characteristics that influence how the pyrographer can layer their work. For instance, pine is an excellent choice for beginners because of its affordability and ease of burning. Its softness allows artists to experiment with light shading and intricate patterns without the worry of burning too deeply.
As one progresses in their skills, birch becomes a popular option. Its fine grain makes it conducive for detailed art, allowing for thoughtful layering and intricate designs. Additionally, the smooth surface enhances the overall finish of the artwork, making it an appealing choice for seasoned pyrographers.
Maple, while slightly denser, allows for incredibly fine detailing with its tight grain. Although it requires more skill to handle effectively, the results can be rewarding. Artists can achieve a range of tones through careful manipulation of heat and pressure, making it perfect for layered textures and gradients.
On the other hand, oak stands out for creating bold, striking pieces. Its open grain adds depth and character to designs, making it ideal for more complex artworks where defined layers are critical. Its sturdiness means it can withstand multiple burning sessions, which is often necessary for achieving a well-layered effect.
Cedar, with its natural resistance to decay, also provides a unique aromatic experience during the burning process. The distinct grain offers varied textures, allowing artists to explore different effects in their layering. When burned, cedar can produce beautiful smoky effects that add an additional layer of depth to the artwork.
When considering layering techniques, the effects can be vastly different based on the wood chosen. For example, burning multiple layers on softer woods like pine can create soft transitions, whereas with harder woods like oak, the layering may need to be approached more cautiously to avoid unintentional deep burns.
Layering colors and textures is essential in pyrography, and the choice of wood can profoundly influence this process. Artists should experiment with different woods to develop an understanding of how each one interacts with their specific burning tools. This experimentation will enhance their artistic voice and encourage their growth as a pyrographer.
Selecting the right wood type should not be underestimated. It plays an integral role in the art of pyrographic layering, affecting everything from the ease of burning to the final aesthetic of the artwork. As artists explore various types of wood, they will not only enhance their technical skills but also discover new possibilities in their creative journey.
Color Enhancement in Pyrography: Beyond the Burn
Pyrography, often referred to as “wood burning,” is an art form that captivates with its intricate designs and captivating visuals. While the primary technique focuses on burning the surface of materials like wood or leather, artists now explore exciting dimensions beyond the burn, incorporating color enhancement. This approach transforms traditional pyroglyphs into vibrant works of art, expanding its creative possibilities.
To effectively integrate color into pyrography, one key strategy is understanding the different media available for enhancement. Watercolor, acrylics, and colored pencils are the primary options artists utilize. Each medium contributes unique qualities, but knowing how to apply them effectively can be a game changer for any pyrographer.
Understanding Media for Color Enhancement
- Watercolor: Transparent and easily blendable, watercolors can create soft washes of color that add depth to pyrographic designs. They’re ideal for creating subtle backgrounds.
- Acrylics: These quick-drying paints offer vibrancy and versatility. Artists can use them for bold highlights or as a primary color source in their work.
- Colored Pencils: Perfect for adding fine details, colored pencils allow for precision in shading and texture. They can be layered on top of burnt lines for a more dynamic look.
Combining pyrography with these color media requires careful planning. For example, artists should decide on the areas to burn first before applying color. This method ensures the burn marks remain crisp and defined against the vibrant backgrounds. It is also crucial to let each layer dry sufficiently between applications to prevent colors from bleeding into one another.
Techniques for Enhancing Color
Multiple techniques can be utilized to achieve remarkable effects in pyrography when integrating color. Here are some effective methods:
- Layering: Start with lighter tones and gradually build up to darker shades. This technique gives an organic feel and creates depth.
- Dry Brushing: Using a dry brush technique with acrylics allows you to create texture without overwhelming the burn marks.
- Glazing: Apply thin, transparent layers of color over the burnt area. This method allows the original burn to show through while adding a color tint.
Realistic renderings often benefit from a technique known as “color mixing.” By blending colors directly on the surface of the object or palette, an artist can achieve intricate gradients and hues that further enhance the design. Understanding color theory plays a significant role here, as it helps ensure harmony and balance in artwork.
Preserving Pyrographic Art with Color
While adding color can elevate the visual appeal of pyrography, it’s essential to protect the artwork to ensure longevity. Here are a few preservation techniques:
- Apply a clear sealant once all layers are fully dry. This step will protect the work from moisture, dust, and UV light.
- Store artworks in a cool, dry place to prevent warp or degradation of both the wood and colors.
- Avoid direct sunlight as prolonged exposure can fade the colors over time.
Design Elements
When integrating color into pyrographic projects, designs can be more than just images. Adding elements like borders, backgrounds, or even mixed media can significantly enhance the visual complexity of the piece. Artists can consider using patterns or motifs that blend seamlessly with both the burn and color applications.
For instance, combining stenciled designs with colored backgrounds can elevate a simple piece into a stunning focal point. Additionally, experimenting with different surfaces, such as colored wood or treated leather, can lead to unexpected and beautiful results.
Ultimately, the journey into color enhancement in pyrography is an exploration of creativity. It allows artists to express emotion, add depth, and create breathtaking pieces that go beyond traditional burning techniques. By understanding the tools available and experimenting with various techniques, pyrographers can truly elevate their craft to new heights.
Creating Depth and Dimension: The Role of Shadows in Pyrography
Creating stunning pyrographic art requires a keen understanding of various techniques, one of the most essential being the use of shadows. Shadows can add incredible depth and dimension to your pieces, transforming a flat image into a lifelike representation. Mastering the art of incorporating shadows into your pyrography can enhance your work significantly, making it more engaging and realistic.
To start, it’s important to understand how light interacts with objects. When you envision a three-dimensional object, consider where the light source is coming from. The areas that receive direct light will appear brighter, while the opposite side will naturally fall into shadow. This contrast is what gives your artwork depth. By carefully planning where to put these shadows, you can create a more dynamic composition.
For instance, when drawing an object like a tree, imagine where the sun is shining. The side of the tree facing the light should be lighter, while the side turned away should be darker. Use a burner with varying heat levels to achieve this effect. A lighter touch will give you a subtle, soft shadow, while a firmer press will create rich, dark shadows.
Employing techniques such as stippling or cross-hatching can effectively build up shadows without making the artwork look flat. Stippling, which involves creating countless tiny dots, can give a softer, more gradual shadow effect. On the other hand, cross-hatching—drawing overlapping sets of parallel lines—can deliver sharper, more defined shadows. Here’s a quick guide on how to utilize these methods effectively:
Technique | Description | Best For |
---|---|---|
Stippling | Create shadows using small dots | Soft, gradual transitions |
Cross-Hatching | Overlay lines to form darker areas | Sharp, defined shadows |
When layering shadows, it’s vital to consider the colors and tones used. Even in pyrography, the notion of color can be translated through varying degrees of burn depth. For a more dramatic effect, consider adding darker shades first, then gradually building up lighter tones. This strategy allows the viewer’s eye to perceive depth and creates a sense of realism.
Practice is crucial in perfecting this technique. Begin with simple objects, like spheres or cubes, to understand how shadows fall on them. You can gradually progress to more complex subjects, such as animals or human figures. Always keep in mind that consistency is key; if you decide on a light source, make sure every object adheres to that light direction.
One common misconception about shadows is that they should be uniformly dark. In reality, shadows can vary in intensity and softness depending on the surface texture and ambient light. For example, a rough surface may cast harsher shadows than a smooth one. Experimenting with these nuances can create a more vivid portrayal of your subject.
It’s also beneficial to observe nature. Look at how shadows change throughout the day as the sun moves. This study can provide inspiration and practical knowledge when creating your artwork. Take notes or even sketch out what you see; this practice can significantly enhance your understanding of light and shadow.
Furthermore, layering shadows involves balancing the dark and light areas. Too many dark spots can overpower the overall composition, while insufficient shadowing may make your work look flat. Aim for a harmonious blend that maintains the viewer’s interest while still conveying realism.
Don’t shy away from digital tools to complement your pyrography. Software like Photoshop can be instrumental in simulating shadow effects before committing them to wood. By practicing digitally, you can experiment without the fear of ruining your pieces. Use the software’s layering feature to see how different shadow placements affect your overall composition.
In mastering shadows within pyrography, you’re not just adding depth; you’re telling a story. Each shadow guides your audience’s gaze and evokes emotions. With time and practice, your ability to use shadows can turn your pyrographic art into captivating, multidimensional masterpieces.
Common Mistakes in Pyrography Layering and How to Avoid Them
Creating depth and dimension in pyrography hinges on the art of layering. However, many artists, both novices and experienced, often encounter pitfalls in this intricate process. Understanding common mistakes related to layering can significantly enhance your pyrographic artworks. Below, we address these mistakes and offer practical solutions to help you refine your technique.
Not Understanding Wood Grain
Every type of wood has its unique grain pattern, which can greatly affect how your design looks once burned. Ignoring the characteristics of the grain could lead to a piece that falls flat.
To avoid this, take the time to observe the wood surface before you start. Adjust your technique based on the grain’s direction and texture. For example, when working with woods like birch or maple, remember that they are less forgiving. Practice on scrap pieces first before committing to your final design.
Overworking Layers
One of the most common mistakes in pyrography layering is overworking a layer. Too much heat can burn the wood excessively, leading to a muddied effect where the details are lost.
To prevent this, work with a controlled pace. Layer lightly, then review your work before adding more details. Working in smaller increments allows you to build intensity gradually, giving you greater control over the final look.
Tip: If a layer feels too dark, you can often lighten it by sanding gently with fine-grit sandpaper.
Poor Tool Selection
Selecting the wrong pyrography tool can hinder your ability to achieve beautiful layers. Different tips serve different purposes—some are better for shading while others excel at fine detail.
Before starting, ensure your toolkit includes a variety of tips, such as:
- Standard Point – Best for outlines and general work.
- Shading Point – Ideal for softer transitions.
- Writing Point – Great for fine lines and detailed work.
Experiment with these tools on practice wood to see which ones best serve your style. The right tool can greatly enhance your layering technique.
Neglecting the Importance of Color
Adding color to pyrography can elevate your work but can also cloud the effectiveness of your layers. Failing to recognize how colors interact with your burnt layers can result in a piece that appears disjointed.
When incorporating color, choose hues that complement your burning technique. For example, earthy tones like browns and greens work beautifully with natural wood tones. Always test colors on scrap wood first to ensure they harmonize with the burned effect.
Inconsistent Pressure
Maintaining consistent pressure while burning is vital for effective layering. Inconsistent pressure can create uneven tones, ruining the flow of your work.
To get better at this, practice controlling your hand movements. Use a relaxed grip, and train your hand to apply uniform pressure across the surface. Consider setting a deliberate rhythm as you burn, which can help you maintain steadiness.
Ignoring Light and Shadow
Light and shadow play a crucial role in giving depth to your pyrography. Many artists overlook how light sources affect their work, leading to flat-looking images.
Always visualize where your light source is coming from and how it affects the layout of your drawing. Understanding this concept can guide where to emphasize light tones and where to add shadow.
Skipping the Sketch
Jumping straight into burning without a preliminary sketch is a risky move. A well-planned sketch serves as a blueprint, guiding your layering technique.
Before starting, sketch your design lightly on the wood. This initial step helps you visualize your layers and predict how best to approach the burning process. It also decreases the likelihood of making mistakes that are hard to fix after burning.
Table: Common Mistakes and Solutions
Mistake | Solution |
---|---|
Not understanding wood grain | Observe and adjust technique based on wood type. |
Overworking layers | Work slowly; review and layer lightly. |
Poor tool selection | Use a variety of tips; test them on scrap wood before applying. |
Neglecting color interaction | Choose harmonious colors; test on scrap. |
Inconsistent pressure | Practice steady hand movements and control grip. |
Ignoring light and shadow | Visualize light sources to enhance depth. |
Skipping the sketch | Create a preliminary sketch for better guidance. |
By being aware of these common mistakes and implementing the solutions, you can elevate your pyrography layering skills. Embrace the practice of refining your techniques, and remember, every error offers a lesson in your artistic journey. With patience and persistence, your layering will become more confident, producing stunning works of art that captivate and inspire.
Conclusion
Mastering the art of layering in pyrography is a multifaceted journey that goes beyond mere wood burning; it’s a rich tapestry of techniques, material choices, and creative expression. As we’ve explored, effective layering can transform a simple piece of wood into an intricate work of art that captivates the viewer. This process requires a harmonious blend of skill, understanding of materials, and an artistic vision.
The techniques and tips we discussed highlight the importance of patience and practice. Layering involves building up textures and tones patiently, which can significantly enhance the final outcome of your pyrographic artwork. Using a variety of tools and approaches, from fine tips for detail work to broader tools for shading, allows artists to achieve greater depth and richness in their projects. Keeping a steady hand while focusing on your techniques not only showcases your skill but also allows for ample flexibility in your artistic expression.
Choosing the right type of wood is crucial in pyrographic layering. Each type of wood offers unique patterns and grains that can dramatically influence the finished piece. The softer woods such as pine can be easier to burn but may not always hold the detail as well as denser woods like maple or birch. Understanding the characteristics of the wood you are working with will aid you in determining the best techniques to achieve desirable results. Each wood type brings its own set of challenges and rewards, allowing artists to experiment and cultivate their distinctive styles.
Color into pyrography represents another exciting frontier that can elevate your work. Beyond the burn, color enhancement techniques—such as watercoloring or using wood stains—can add vibrancy and bring the layers to life. Strategically applying these colors can create stark contrasts that not only highlight the intricate details but also help convey emotions or themes within your artwork. This intersection of pyrography and color not only adds visibility but also depth, making the art more engaging and inviting.
Depth and dimension play a significant role in enhancing the visual appeal of pyrographic works. Using shadows effectively can create a three-dimensional feel, making elements pop off the surface. By employing lighter and darker tones skillfully, artists can create realistic representations, giving their work a lifelike quality. Shadows can guide the viewer’s eyes through the artwork, emphasizing focal points and adding layers of narrative depth to the piece. Understanding light sources and how they interact with your subject will dramatically elevate your capacity to create compelling imagery.
However, as with any art form, there are common pitfalls that pyrographers might encounter. Mistakes such as uneven burning, overworking a specific area, or inconsistent pressure can detract from the beauty of your layered artwork. Learning how to avoid these pitfalls involves gaining awareness through experience and continuous practice. Regular self-assessment of your techniques will help you recognize areas for improvement, allowing you to refine your skills progressively. Engaging with fellow pyrographers and participating in communities can also offer valuable insights and tips that will spare you from common missteps.
Ultimately, the art of layering in pyrography is as much an emotional journey as it is a technical one. Each layer added is a step towards revealing your individual artistic voice. Every piece you create allows for experimentation, growth, and self-discovery. As you continue to hone your craft, continue embracing both the successful elements and the learning opportunities that arise from your artwork.
In a world where artistry thrives on creativity, the art of layering in pyrography becomes an expression of individuality. By understanding and implementing the techniques discussed, choosing complementary materials, enhancing your pieces with colors, mastering the play of light and shadows, and learning from mistakes, you are well on your way to creating stunning pyrographic pieces that resonate with others. Whether you are a beginner or a seasoned pyrographer, remember that every stroke, every shadow, and every layer counts in this beautiful craft. Let your creative journey unfold with passion, and may your pyrographic artworks inspire others just as they reflect the depth of your artistic soul.