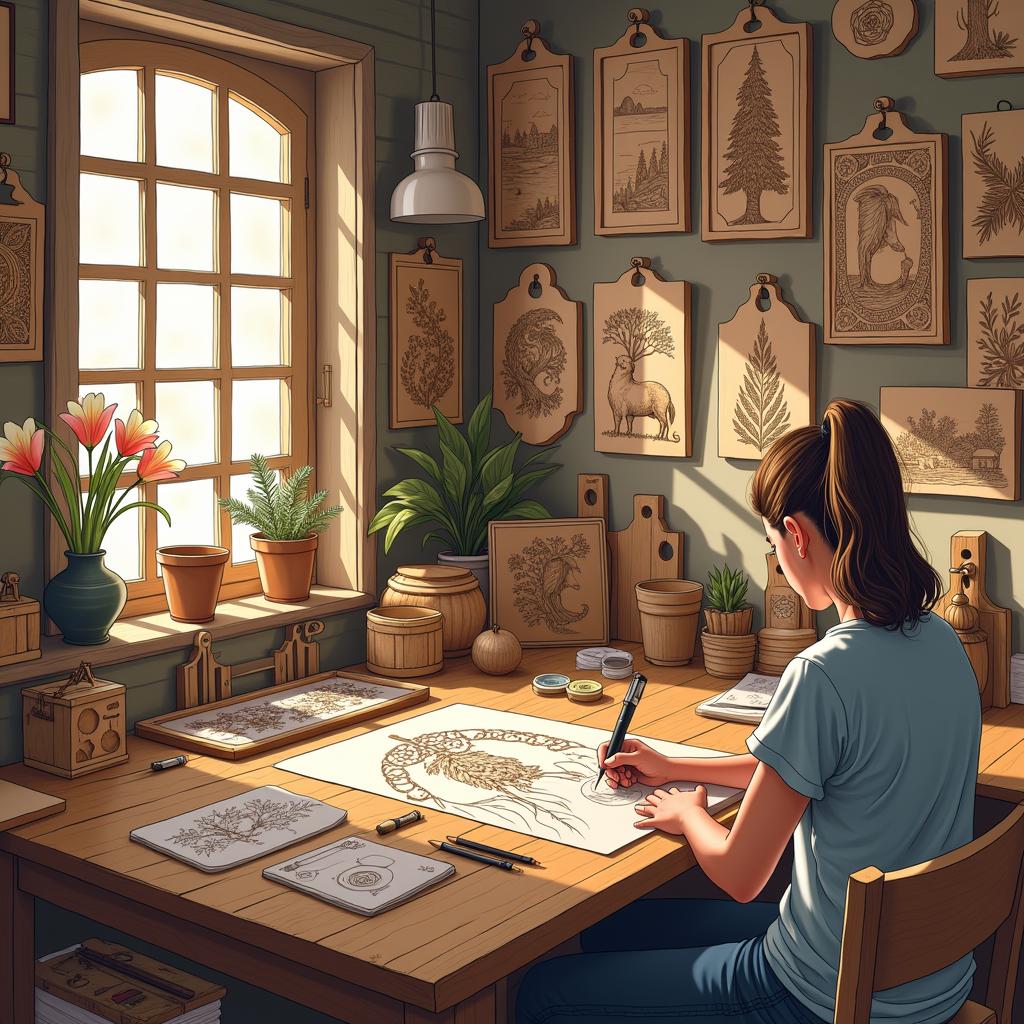
I create wood burning art by blending technical expertise with artistic vision, while maintaining strict safety protocols. This ancient art form demands proper tools, techniques, and protective gear for the best outcome.
Key Takeaways
- Always use proper safety equipment including an N95 respirator, safety glasses, and heat-resistant gloves.
- Start with soft woods like basswood or pine for practice before progressing to harder woods.
- Temperature control and steady hand movements are crucial for achieving consistent burn quality.
- Essential techniques include stippling, cross-hatching, and layering for creating depth and texture.
- Protect completed work with appropriate sealants like spray finishes or polyurethane for longevity.
Safety in Pyrography
Safety stands as my top priority in pyrography. I never start a project without wearing an N95 mask, protective eyewear, and heat-resistant gloves. My workspace stays well-ventilated to prevent smoke inhalation.
Selecting the Right Wood
Selecting the right wood makes a significant difference in results. I recommend basswood or pine for beginners—these softer woods burn easily and forgive minor mistakes. As skills improve, harder woods like maple or oak offer new creative possibilities.
Mastering Temperature Control
Temperature control defines the quality of burns. I maintain consistent heat settings and practice steady hand movements to create clean, precise lines. Different tips and pressure levels produce varied effects, from light shading to deep, bold marks.
Essential Techniques
My go-to techniques include stippling for texture, cross-hatching for shading, and layering for depth. These methods build upon each other to create rich, dimensional pieces. Regular practice with each technique develops muscle memory and control.
Protecting Your Artwork
After completing a piece, I protect it with sealants. Spray finishes or polyurethane guard against damage while preserving the artwork’s details. This final step ensures my work lasts for years to come.
Stay Safe While Creating Your Wood Burned Art
Safety takes center stage in wood burning artistry. I can’t stress enough how important proper protection is before starting any pyrography project.
Essential Safety Equipment and Practices
Your safety gear should start with respiratory protection – an N95 or P100 respirator is essential to protect your lungs from harmful wood smoke and particles. Safety glasses shield your eyes from flying bits of wood and smoke, while heat-resistant gloves protect your hands from accidental burns when practicing wood burning techniques.
Good ventilation is critical in your workspace. I recommend setting up near a window with a fan to pull smoke away from your face, or better yet, working in a well-ventilated garage or outdoor space. This helps prevent dangerous carbon monoxide buildup, which can occur in enclosed spaces.
Here’s what you’ll need to set up a safe pyrography workspace:
- A Class A fire extinguisher within arm’s reach
- A heat-resistant work surface (ceramic tiles work great)
- A stable, solid workbench that won’t wobble
- A metal stand for your pyrography pen when not in use
- A designated area for hot tools to cool down completely
Personal safety starts with what you wear. I always:
- Tie back long hair securely
- Avoid loose-fitting clothes that could catch fire
- Remove dangling jewelry
- Wear natural fiber clothing (synthetic materials can melt)
- Keep sleeves rolled up and away from heat sources
Remember to give your tools proper attention. I never leave hot tools unattended – they can reach temperatures high enough to start fires. When creating shading effects, keep your pyrography pen on its stand between uses. Once you’re done, let tools cool completely before storing them away.
Select the Perfect Wood for Your Projects
Starting with Beginner-Friendly Woods
I’ve found that choosing the right wood makes all the difference in creating beautiful wood burned designs. For those just starting out, soft woods offer the perfect canvas for practicing wood burning techniques and achieving realistic results. Here are my top recommendations for beginners:
- Basswood – Exceptionally soft with minimal grain patterns
- Pine – Affordable and readily available
- Poplar – Smooth surface with consistent texture
- Balsa – Ultra-soft and perfect for practice
- Birch – Light color with subtle grain patterns
Advanced Wood Selection Tips
As you develop your shading and texturing skills, harder woods can create stunning results. I prefer maple, oak, and cherry for their durability and rich character. These woods need higher heat settings and more controlled movements, but they reward you with deeper, more defined burns.
Light-colored woods create the best contrast for burned designs. I always check for a smooth surface texture – any roughness can catch your pyrography tip and create unwanted marks. The grain pattern plays a crucial role too. I look for straight, even grains that won’t interfere with intricate details or realistic shading techniques.
Safety is paramount in wood selection. I never use treated or painted woods because they release toxic fumes when burned. Fresh, natural wood is always the safest choice. Before starting any project, I thoroughly sand the surface and ensure it’s free from dirt or oil that might affect the burning process.
The wood’s moisture content can impact your results. I store my wood in a dry place and let new pieces acclimate to my workspace for several days. This prevents warping and ensures consistent burning. Testing your pyrography tool on a scrap piece of the same wood helps you gauge the right temperature and pressure needed for your design.
Essential Tools and Equipment for Wood Burning
Choosing the right wood burning tools can make a significant difference in your pyrography results. I’ve found that starting with a quality wood burning pen is crucial for creating beautiful wood burned designs.
Primary and Support Equipment
Wood burning pens fall into two main categories. Solid-point burners like the Walnut Hollow Creative Versa-Tool and TRUArt Stage 1 offer excellent control for different wood burning effects. Wire-nib burners, such as the TRUArt Stage 2 and Colwood Super Pro II, provide superior heat control and precision for achieving detailed shading and texturing.
Here’s what you’ll need in your pyrography toolkit:
- Universal/shading tips for broad strokes and creating realistic shading
- Flow points for fine lines and details
- Cone tips for precise dot work
- Ball tips for creating uniform texture
- Knife tips for sharp edges and layering techniques
Support tools are just as important as your burning equipment. A temperature control unit helps maintain consistent heat levels, while a pen stand keeps your hot tools safely positioned. I always keep a brass wire brush handy for cleaning tips between uses – it’s essential for maintaining clear, crisp lines in your work.
For transferring designs, you’ll need transfer paper or graphite paper to get your patterns onto the wood surface. Before starting any project, proper surface preparation is vital. I start with coarse sandpaper and work my way through multiple grits, finishing with 220-grit for a smooth surface that’s perfect for achieving realistic results.
https://www.youtube.com/watch?v=FfgavEJYWHY
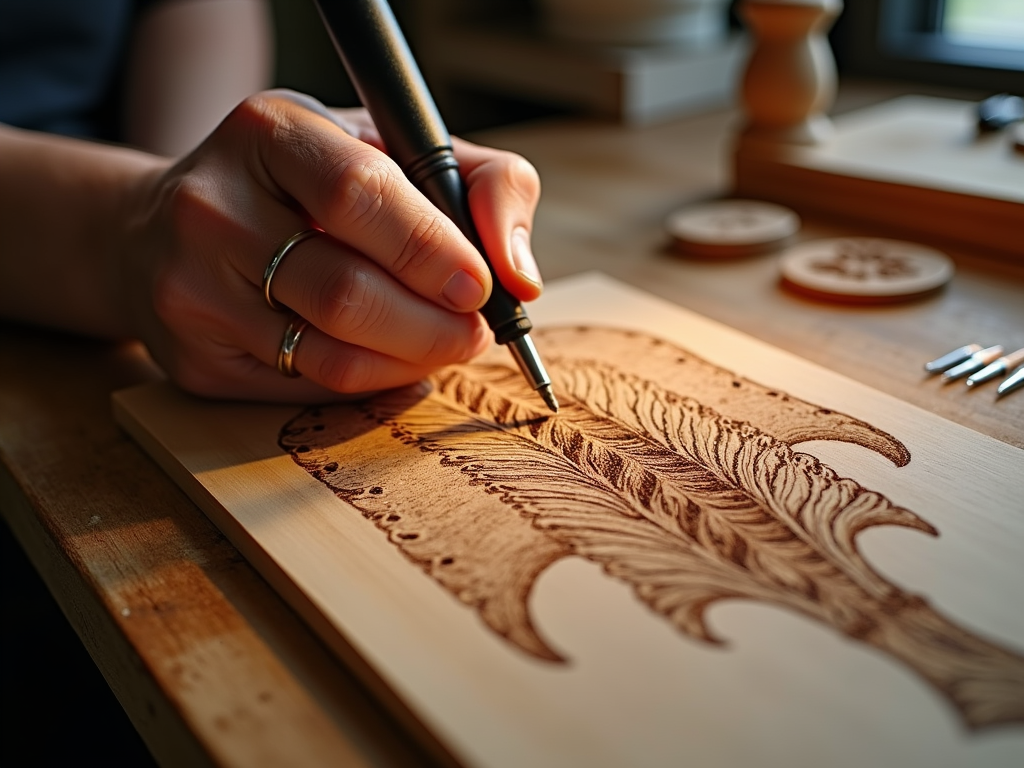
Master These Burning Techniques
Essential Control Methods
Temperature management stands as the foundation for creating stunning professional wood burning designs. I recommend starting with a low temperature setting and gradually increasing it while testing on scrap wood. This approach helps prevent scorching and gives me better control over the burn intensity. The key lies in maintaining light, consistent pressure – pushing too hard can damage the wood fibers and create uneven burns.
My experience has shown that movement speed directly impacts burn darkness. By moving the pyrography pen slowly, I create darker, more defined lines. Quick movements produce lighter marks, perfect for creating subtle details and achieving delicate shading effects. Steady hand control takes practice, but it’s essential for producing clean, professional-looking results.
Artistic Techniques
Several burning techniques can add depth and interest to your pyrography projects. Stippling creates beautiful texture through a series of tiny dots – the closer together the dots, the darker the area appears. For shading, I use hatching and cross-hatching techniques, making parallel lines in one or multiple directions to build up tone gradually.
Here are the core techniques I use to enhance my wood burning projects:
- Outlining: Create clean, defined edges by burning the outline first at a consistent temperature.
- Layering: Build up darkness gradually by applying multiple light passes.
- Cross-hatching: Make intersecting lines at different angles for rich textures.
- Stippling: Use dots to create gradual shading and unique textures.
- Circular motion: Perfect for filling large areas with even tone.
Using the right tip for each technique makes a significant difference in the final result. I suggest selecting specific pyrography tips based on the effect you’re trying to achieve. A shader tip works perfectly for large areas, while a fine point gives me precise control for detailed work.
To get realistic results in pyrography, I focus on maintaining consistent pressure and speed throughout each stroke. This attention to detail helps create smooth transitions between light and dark areas, adding professional polish to the finished piece. Practice these techniques on scrap wood until they feel natural – muscle memory plays a big part in achieving consistent results.
Protect and Preserve Your Work
Choosing and Applying the Right Finish
Once I’ve completed my wood burning artwork, protecting it becomes crucial for long-term preservation. Spray sealants offer a quick and effective solution – Krylon and Mod Podge Acrylic Sealer stand out as reliable options that won’t damage your pyrography work. These sprays create an invisible protective layer while maintaining the natural wood texture and detailed shading effects.
For projects requiring extra durability, I rely on brush-on finishes. Polyurethane provides outstanding protection against moisture and wear, while varnish adds a rich, warm glow to the wood. Lacquer creates a hard, clear finish that’s perfect for pieces that’ll see frequent handling.
Natural finishes add a subtle, organic touch to your work. I’ve found that beeswax brings out the wood’s natural beauty while offering decent protection. Wood polish can enhance the grain pattern and add a soft sheen without overwhelming the layered burn details.
Here’s my proven approach to applying finishes:
- Start with a clean, dust-free surface
- Apply thin, even coats rather than one thick layer
- Wait for each coat to dry completely (usually 24 hours)
- Sand lightly with 400-grit sandpaper between coats
- Add 2-3 coats for optimal protection
- Let the final coat cure for 72 hours before handling
The key to a professional finish lies in patience and attention to detail. I make sure to work in a well-ventilated area and keep the piece dust-free during the drying process. For spray sealants, I maintain a consistent distance of about 12 inches and use smooth, overlapping strokes. With brush-on finishes, I follow the wood grain direction and use high-quality brushes to avoid streaks.
Before applying any finish, I test it on a scrap piece with similar burning to ensure it won’t smear or fade the pyrography details. This step has saved me from potentially ruining countless hours of work.
Sources:
Woodburning Tips and Techniques. Rachel Strauss.
The Art and Craft of Wood Burning. Sue Waters.
Learn to Burn. Simon Easton.
Burning Basics. Lora Irish.