
Softwoods like pine and basswood give pyrography beginners an excellent foundation thanks to their low cost, easy access, and steady burn patterns. Hardwoods produce beautiful results but need advanced skills, so I save them for experienced artists.
Key Takeaways:
- Basswood stands out as the best material for beginners because of its pale color, subtle grain, and reliable burning response
- Safety requires caution – I strictly avoid treated lumber, recycled materials, MDF, and any wood with unknown coatings
- I select wood pieces at least 1/4 inch thick and sand them thoroughly to stop warping and create crisp lines
- Affordable light woods like birch and poplar make great practice materials and suit different project needs
- I always prepare surfaces with careful sanding and complete dust removal to achieve professional-quality results
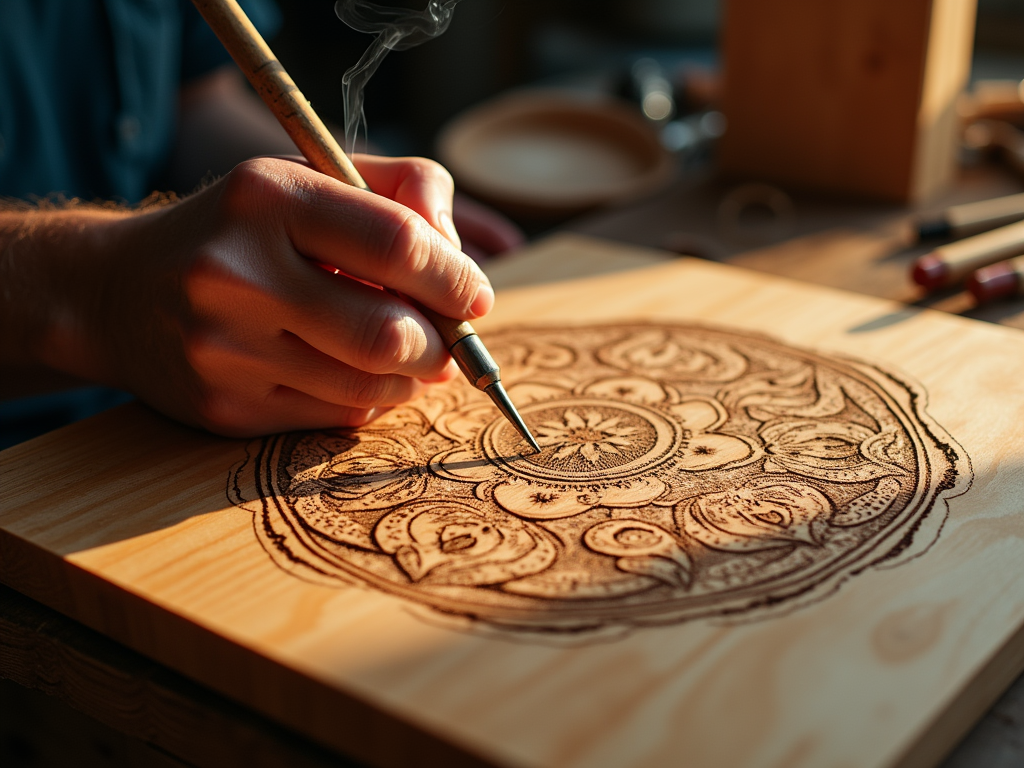
The direct nature of this light wood helps me learn pyrography techniques without fighting against challenging grain patterns. I focus on mastering basic skills before moving to more demanding materials. This approach builds confidence and develops essential techniques that transfer well to advanced projects later.
By starting with these beginner-friendly materials, I create a solid skill foundation while minimizing frustration and material waste. Clean surfaces and proper preparation remain essential regardless of wood choice or skill level.
The Ultimate Guide to Safe and Easy Woods for Pyrography
Best Woods to Start Your Pyrography Journey
I recommend starting with light-colored softwoods like pine or basswood for your first pyrography projects. These woods are perfect for beginners learning wood burning techniques because they’re affordable, readily available at craft stores, and burn consistently.
Choosing the right wood type can make a significant difference in your success rate. While hardwoods like oak and maple create stunning results, they require more heat and pressure, which can be challenging for newcomers.
Safety should be your top priority when selecting wood. Here are essential guidelines to follow:
- Avoid pressure-treated lumber as it contains harmful chemicals
- Skip recycled or reclaimed wood that might harbor unknown substances
- Stay away from MDF or particle board which release toxic fumes
- Choose unfinished wood without varnish, paint, or stains
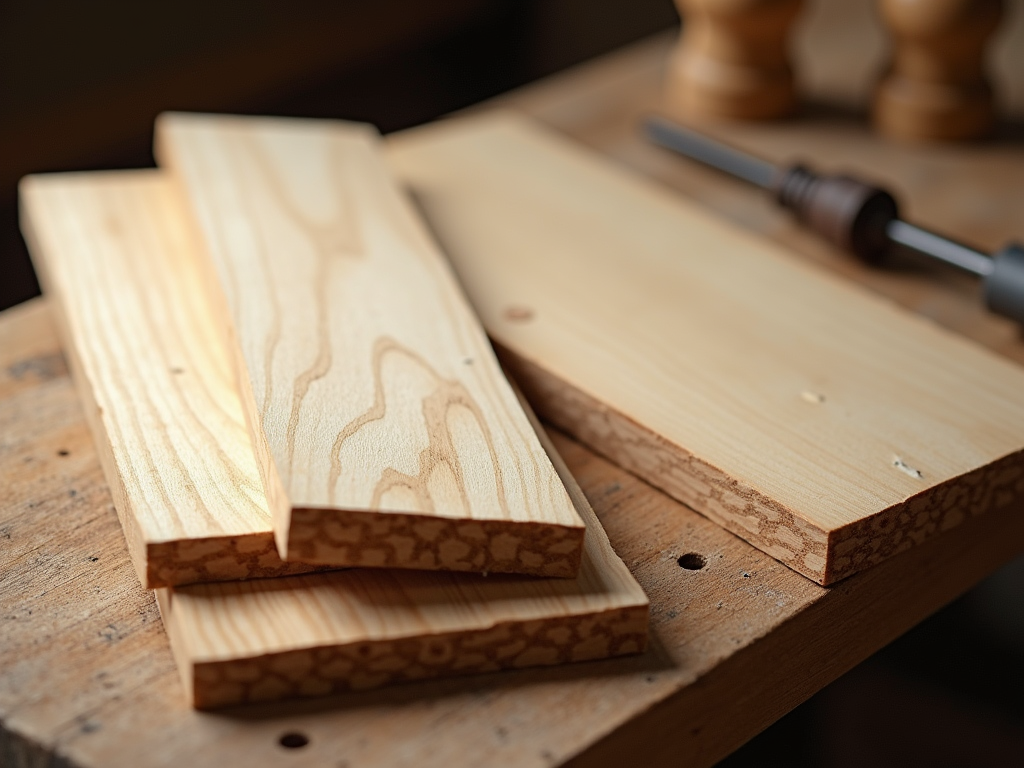
Pine makes an excellent starting point thanks to its soft texture and light color that shows burn marks clearly. Before burning, I always ensure the wood is completely dry and properly sanded – this creates the best surface for detailed work. For optimal results, I suggest using wood that’s at least 1/4 inch thick to prevent warping during the burning process.
Best Woods to Start Your Pyrography Journey
Starting with Basswood
I recommend basswood as your first choice for wood burning art. Its light color and minimal grain pattern create the perfect canvas for practicing your pyrography techniques. Unlike pine which can be problematic due to its sap content and uneven burning, basswood burns smoothly and predictably.
The ideal thickness for your basswood pieces should be around 3/8 inch (0.95 cm), giving you enough depth to work with while maintaining stability. You’ll find basswood at most craft stores at budget-friendly prices, making it perfect for:
- Creating clean, crisp lines
- Learning temperature control
- Practicing shading techniques
- Developing consistent burning speeds
- Experimenting with different tips
Popular Alternatives for Different Projects
Budget-Friendly Wood Options
I find birch and poplar to be excellent starter woods for pyrography projects. Birch makes an ideal wood choice for beginners with its light blonde color and subtle grain pattern that won’t interfere with your designs. It’s readily available in both plywood and solid forms at local hardware stores.
Poplar stands out as another smart choice, featuring a light color with a slight greenish tint and smooth grain that takes burning well. Its affordable price point makes it perfect for practicing new techniques without breaking the bank. Both woods burn consistently and cleanly, though birch tends to produce crisper lines while poplar requires slightly more heat for the same effect.
Here’s what to consider when selecting between these woods:
- Birch plywood works best for larger flat projects like wall art
- Solid birch suits smaller items like boxes or ornaments
- Poplar’s wider boards are great for furniture pieces
- Thin poplar boards are perfect for beginner practice pieces
When working with plywood, I recommend choosing pieces labeled for interior use and avoiding those with strong adhesives. The ideal thickness for most projects is 1/4 inch to 1/2 inch, providing stability without excess weight.
Advanced Woods for Detailed Work
Mastering Maple and Hard Woods
I recommend maple for creating highly detailed pyrography pieces once you’ve gained confidence with basic woods. Maple’s tight grain pattern lets me achieve crisp, clean lines that really pop in finished pieces.
Making the switch from softer woods like pine to maple requires some adjustments. You’ll need to:
- Increase your pyrography tool temperature by 15-20% compared to softer woods
- Apply slower, steadier strokes to achieve even burns
- Plan for longer project completion times due to maple’s density
- Budget more, as maple costs 3-4 times more than beginner woods
Working with harder woods like maple opens up new project possibilities, particularly for detailed portraits, intricate nature scenes, and precision geometric patterns. I suggest transitioning to maple after completing at least 5-10 successful projects on softer woods and feeling confident with basic shading techniques.
Dangerous Woods to Avoid in Pyrography
Toxic and Problematic Woods
I strongly advise staying away from pressure-treated lumber for pyrography, as burning these chemically-treated woods releases dangerous toxins into the air. While pine might seem like an easy starting point, its high resin content can create uneven burns and release sticky sap that clogs burning tips. Oak presents a different challenge – its deep grain pattern makes it hard to achieve clean, consistent lines.
Safe Alternatives and Warning Signs
Instead of these risky options, I recommend starting with safer wood choices like basswood or birch. These alternatives offer smooth surfaces and predictable burning characteristics perfect for beginners. Here are key warning signs that indicate unsuitable wood for pyrography:
- Strong odors when burning
- Sticky residue on burning tips
- Excessive smoke during burning
- Uneven coloring or burn patterns
- Wood that feels damp or oily
Before starting any project, I make sure to check that my wood hasn’t been treated with chemicals – you can spot this by looking for greenish tints or small holes in the surface. Choosing the right wood is crucial not just for artistic results but for your health too. Always work in a well-ventilated area and use a mask when burning any type of wood.
Essential Wood Preparation Steps
Surface Preparation
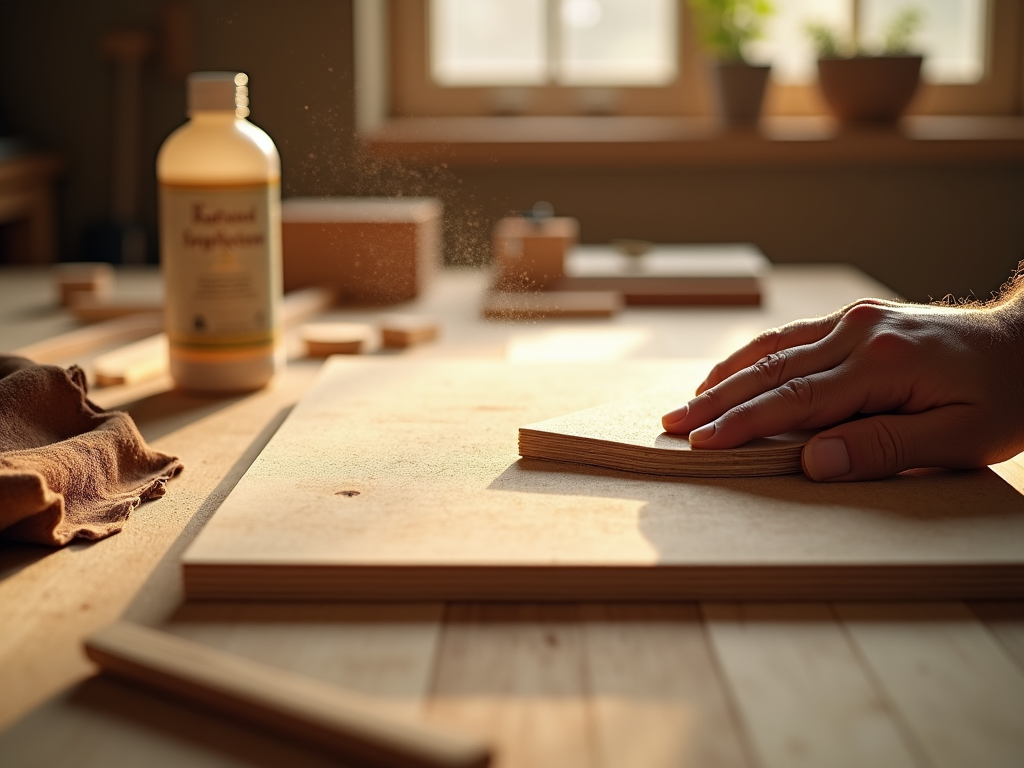
I recommend starting with a thorough sanding process using 220-grit sandpaper or higher to create a silky-smooth surface for your wood burning art. Just like painting, proper sanding before pyrography creates the perfect foundation for crisp, clean lines. After sanding, remove all dust with a tack cloth or compressed air – any leftover particles can affect the quality of your burns.
Pre-Burning Steps
Before diving into your design, applying wood conditioner helps prevent blotchy burns, especially on softer woods like pine. A test burn in an inconspicuous spot is crucial – it lets you gauge how the wood responds to heat and helps adjust your technique accordingly. The right preparation can make the difference between amateur-looking results and professional-quality artwork.
- Clean the surface with mineral spirits
- Apply wood conditioner evenly
- Let the wood dry completely
- Perform a test burn
- Transfer your design
Sources:
Burn Savvy
Wood Burn Corner
Pyro Crafters
Pyrography Made Easy