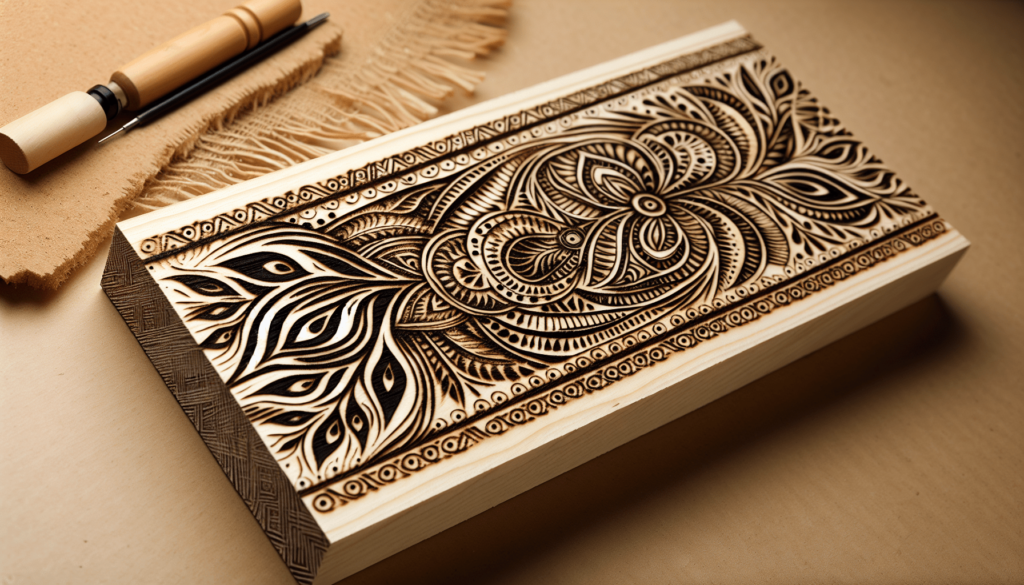
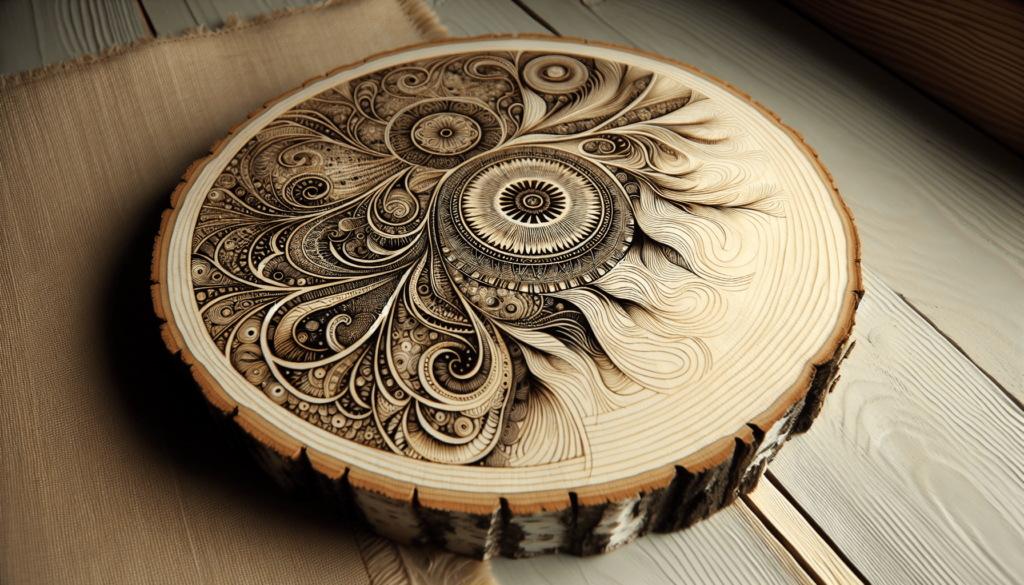
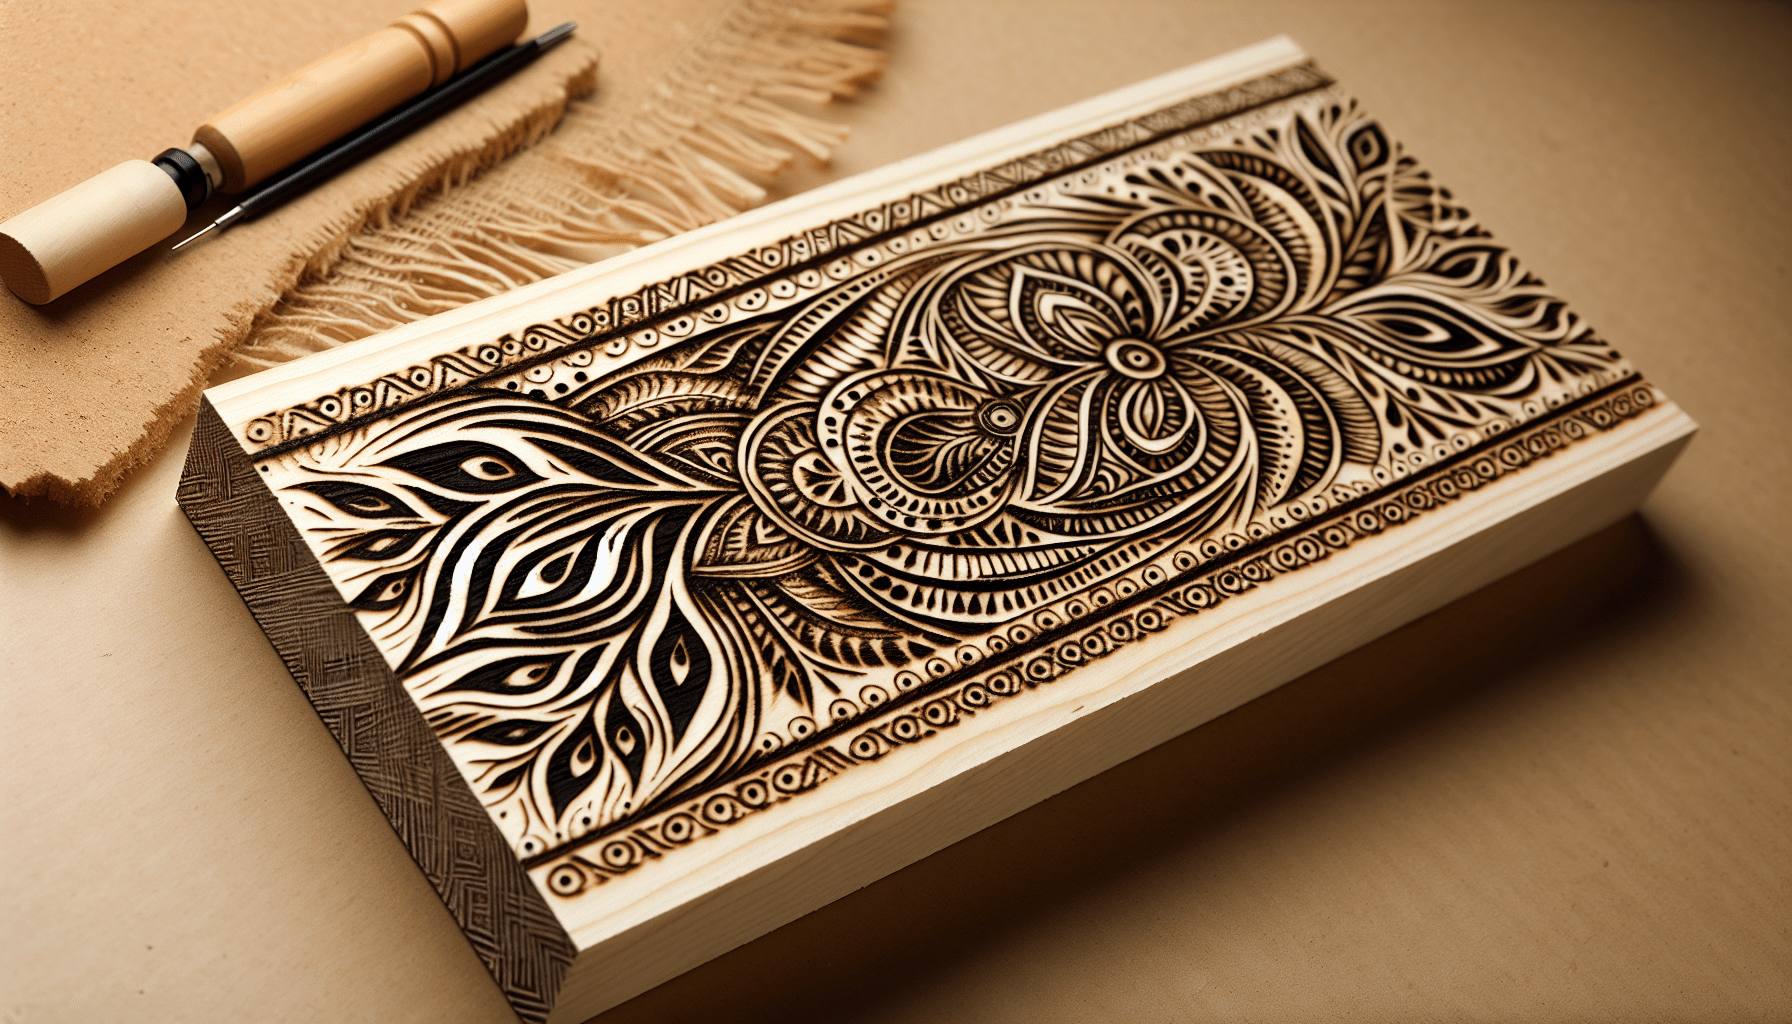
When I first delved into pyrography, the art of burning designs onto wood, I quickly discovered that not all wood types are created equal. The key to a successful piece lies in selecting the right wood, which can enhance the detail and finish of your artwork. Woods like basswood, birch, and maple emerged as clear favorites due to their smooth grain and light color, which provide an ideal canvas for intricate designs. Each wood type brings its unique characteristics to the table, making the selection process an integral part of planning any pyrography project. Have you ever wondered what wood can be used for pyrography?
What Wood Can Be Used For Pyrography?
Ah, pyrography. Just saying the word makes me think of something straight out of Harry Potter. But no, it’s not some esoteric wizardry; rather, it’s the enchanting art of burning designs into wood. So, whether you’re a seasoned pyromancer (that’s what I like to call pyrography enthusiasts) or a beginner who’s still figuring out which way to hold the soldering iron, I’ll be your guide through the mystical forest of suitable woods for this beautiful craft.

What is Pyrography?
Before diving into the specifics of wood types, let’s clear up some basics about pyrography. Pyrography, literally meaning “fire writing,” involves using a heated tool to burn designs into a surface, primarily wood. Imagine taking a hot, very precise branding iron and etching intricate designs, names, or even elaborate portraits onto a piece of wood. If you’re a beginner, you might start with simple lettering, but as you get more comfortable, you can move on to sophisticated designs that look like they belong in an art museum.
Choosing the Right Wood
Alright, let’s talk wood. Pyrography can technically be done on almost any type of wood, but not all woods are created equal. Some offer smooth, even surfaces that are a joy to burn, while others can be a real problem, either because they’re too hard, too soft, or filled with unpredictable grain patterns.
Factors to Consider
There are a few elements you need to think about:
- Hardness: Softer woods are generally easier to burn because your tool will glide smoothly over the surface, whereas harder woods might require more pressure.
- Grain: Tight, uniform grain makes for a more predictable and easier surface to burn on. Woods with chaotic grain patterns might make your life a lot harder.
- Color: Lighter woods are usually preferred as they provide a better contrast against the burned lines and designs.
The Go-To Woods
After my research and own experience, I’ve come up with a list of woods that I believe are excellent for pyrography.
| Wood Type | Pros | Cons |
|---|---|---|
| Basswood | Soft, uniform grain, light color, easy to work with | Can be too soft and prone to dents |
| Birch | Tight grain, moderate hardness, good for detailed work | Can sometimes have unpredictable grain |
| Maple | Very light color, smooth surface | Harder, needs more heat |
| Poplar | Economical, fine grain | Can have greenish tint, uneven burning |
| Pine | Affordable, widely available | Lots of resin, softwood, uneven grain |
| Alder | Light, easy to burn, tight grain | Variable quality |
| Beech | Harder, with a smooth finish | Needs more experience due to hardness |
| Aspen | Soft and light, fine texture | Less durable, slightly harder to find |
| Cherry | Beautiful finish, smooth grain | Expensive, harder |
Let’s explore these woods in more detail, so you’re armed with all the information you need to make a decision.
Basswood
When someone says pyrography, the word “basswood” should immediately come to mind. This wood is the darling of the pyrography world and for good reason. Basswood is soft enough that your tool glides effortlessly but not so soft that it’s like burning into a marshmallow. The grain is very tight and uniform, which means you won’t encounter any weird surprises halfway through your design.
Why You’ll Love Basswood
It has a nice, pale color that provides fantastic contrast. Whether you’re doing intricate illustrations or simple lettering, the details will stand out brilliantly against the light background.
The Downside?
It’s a bit prone to dents and scratches. If you’re heavy-handed or simply like to throw your materials around the room in a fit of artistic fervor, you might end up with a few unexpected marks.
Birch
Now, Birch is another good option. It’s a bit harder than basswood but still manageable for most pyrography projects. Birch plywood, in particular, is a favorite among many pyrography artists because it’s relatively inexpensive and easy to find.
The Bright Side of Birch
It has a smooth surface and tight grain, making it perfect for detailed, intricate designs. Whether you’re burning landscapes or working on portraiture, Birch has got you covered.
The Catch?
Sometimes the grain can be unpredictable. One minute you’re in artistic bliss, and the next, you’re dealing with a knot or a sudden change in grain direction. It’s not a deal-breaker, but it does keep you on your toes.
Maple
Maple is like the Susan Boyle of woods: it’s understated but can really impress you once it gets going. Maple is a hardwood, so it’s a bit more challenging than softer woods like basswood or birch, but it has its own set of benefits.
The Sweet Side of Maple
The most notable feature is its very light color. It’s almost white, which makes it a beautiful canvas for any pyrography project. Plus, it has a smooth, even grain, ideal for those fine, intricate designs.
The Challenge with Maple
Because it’s harder, you’ll need a bit more heat and pressure. If you’re a beginner, it might take some getting used to, but once you’ve mastered the technique, the results are stunning.
Poplar
Poplar is like the reliable friend who’s always there when you need them. It’s affordable, easy to find, and relatively easy to burn. What more could you ask for?
Why You Should Consider Poplar
It has a fine, straight grain, which makes it less likely that you’ll encounter any surprises while working on your design. Plus, it’s softer than maple but harder than basswood, offering a middle ground that’s just right for many artists.
The Downside to Poplar
Sometimes it has a greenish tint, which can throw off your design if you’re looking for a consistent appearance. Also, the grain can be uneven, which sometimes leads to patchy burning.
Pine
Ah, Pine. Pine has a bit of a love-hate relationship in the pyrography world. It’s everywhere, it’s affordable, but working with it can be a nightmare.
The Good in Pine
It’s dirt cheap. If you’re just starting and don’t want to splurge on fancy wood, Pine is a good option. It’s also widely available; you could probably find some in your backyard.
The Not-So-Good
Where do I start? It’s a softwood filled with resin, so it can get sticky and uneven. The grain is often chaotic and unpredictable. One second you’re happily burning your design, and the next, you’re stuck in a knot. If you decide to work with Pine, just go in knowing that it’ll be a bit of a wild ride.
Alder
Alder is another softwood, but unlike Pine, it’s a bit easier to manage. It has a tight, uniform grain, making it a popular choice for many pyrography artists.
The Advantages of Alder
It’s light, easy to burn, and usually has a fine texture that captures intricate details beautifully. If you’re into detailed work, Alder won’t let you down.
The Sticking Point
The quality can vary. Some batches of Alder are fantastic, while others might have tiny imperfections or inconsistent grain. It’s a bit of a gamble, but often one that pays off.
Beech
Beech is like the unsung hero of woodworking. It doesn’t get as much love as some of the more popular choices, but it’s a solid performer.
The Perks of Beech
It’s a bit harder than some of the other woods on this list, which means it’s durable and can hold really fine, detailed work. The grain is smooth, making it an ideal canvas for pyrography.
The Challenges
Because it’s harder, it requires more practice and control. If you’re new to this, you might want to spend some time getting comfortable with your tools before tackling Beech.
Aspen
Aspen is like the dark horse in the race. It’s not always the first wood people think of, but it’s got a lot to offer.
The Aspen Appeal
Aspen is soft and light, with a fine texture that’s fantastic for detailed designs. Plus, it’s often less prone to warping than some other softwoods.
The Downside
It’s not as durable and can be slightly harder to find depending on where you live. But if you can get your hands on some Aspen, you’ll likely be pleased with the results.
Cherry
Finally, let’s talk about Cherry. If you’re looking to splurge on something really special, Cherry wood is a fantastic option.
What Makes Cherry Special
It has a smooth, fine grain and a beautiful finish. The wood is durable and takes to burning very well, allowing for intricate, stunning details.
The Catch
It’s pricey and harder to work with because it’s a hardwood. So if you’re just starting or on a tight budget, Cherry might be something to save for special projects.
Personal Preferences and Subjectivity
One thing I’ve learned from doing pyrography is that choosing wood is a bit like picking out clothes. What works wonderfully for one person might be a total disaster for someone else. Your preferences will depend on what kind of designs you’re working on, your skill level, and even the type of burning tool you’re using.
Tips for Beginners
If you’re just starting out and feeling overwhelmed by all these choices, let’s narrow it down.
- Start with Basswood: It’s forgiving, easy to find, and inexpensive. You really can’t go wrong.
- Experiment: Buy small pieces of different woods and see what you like best. You might be surprised by what you find.
- Work with the Grain: Some woods have more pronounced grain than others. Try to incorporate the wood’s grain into your design rather than fighting against it.
- Practice, Practice, Practice: The more you burn, the more comfortable you’ll get. You’ll start to learn how different woods respond to heat and pressure.

Advanced Techniques and Considerations
If you’re advanced and looking to challenge yourself, why not try mixing different woods in a single piece? It adds texture and visual interest. Cherry and Maple, for instance, could be combined for an eye-catching project.
Maintenance and Storage
Once you’ve selected your wood and completed your pyrography masterpiece, taking care of it is crucial.
- Seal and Protect: Use a clear sealant to protect the wood and your design.
- Proper Storage: Keep your wood in a cool, dry place to prevent warping and cracking.
- Clean Tools: Ensure your burning tools are kept clean and in good working condition to produce the best results.
The Joy of Experimentation
Finally, remember that the best part of pyrography is the joy of doing it. Experimentation is half the fun. Don’t stress too much about finding the “perfect” wood, because every piece you create will teach you something new. And who knows, you might just discover a hidden gem of a wood that becomes your new favorite.
In summary, whether you’re burning your first piece or adding to an extensive portfolio, the type of wood you choose can make a big difference. So grab your burning tool, pick your wood, and start creating some magic!

