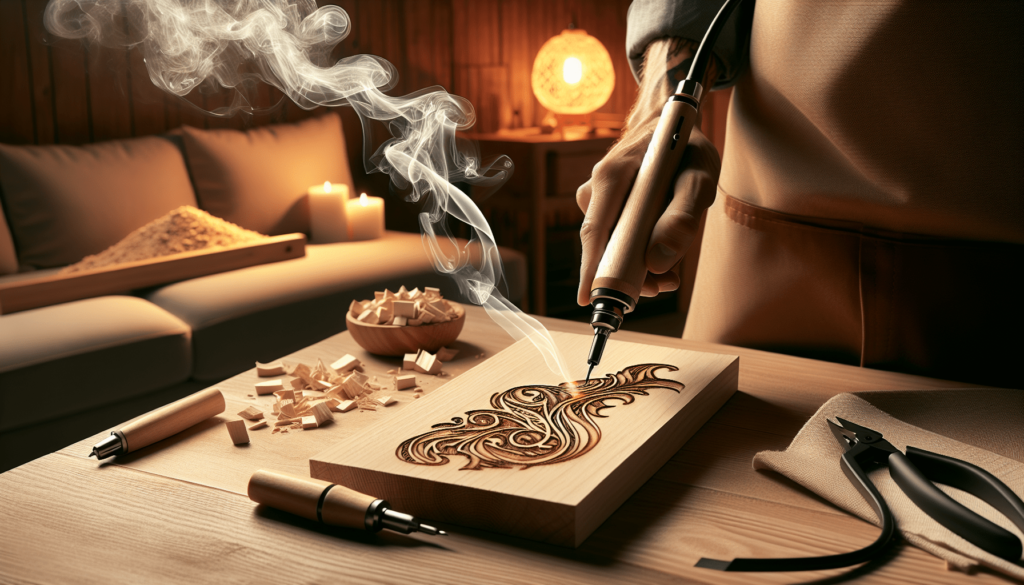
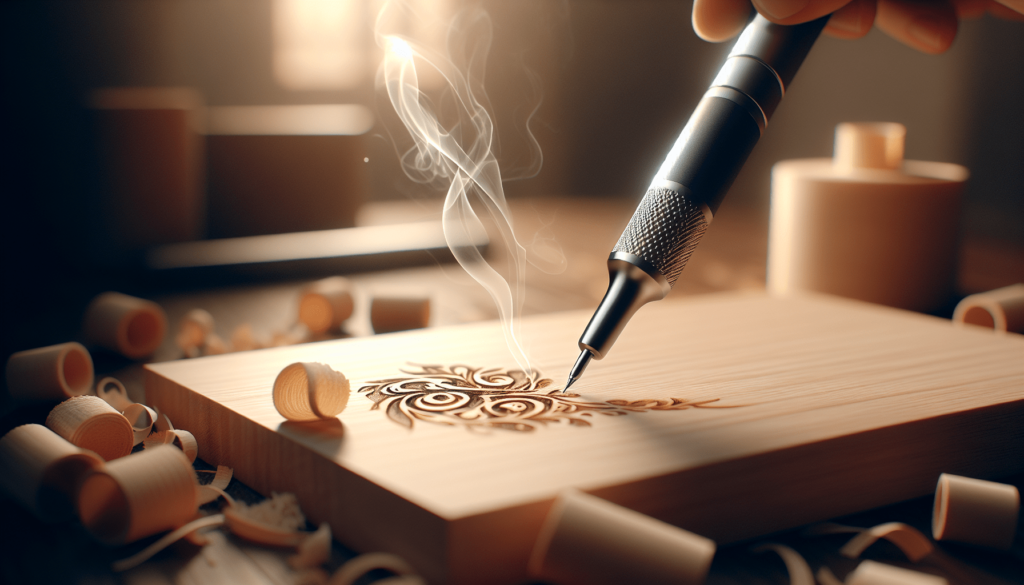
Have you ever looked at a wooden sign with beautifully burned words on it and wondered how in the world they got there? I know I have. Wood burning, or pyrography, is an art form that has been around for centuries. It’s this fascinating mix of artistry and technique that allows you to etch graphics or text into wood, creating something unique and expressive.

The Magic of Wood Burning
Pyrography, derived from the Greek words “pur” (fire) and “graphos” (writing), is essentially the art of burning designs into various mediums such as wood, leather, or gourds. You might think it involves a lot of fancy tools, but in reality, the process can be surprisingly straightforward, especially when you have the right equipment.
What Tool Do You Use to Burn Words Into Wood?
So, let’s get to the heart of the matter: what is this magical tool that lets you turn simple pieces of wood into personalized art? The primary tool you’d use is a wood burning pen or tool, also known as a pyrography pen. It’s a bit like a soldering iron but designed specifically for wood work.
I know, describing a pyrography pen as “magical” sounds a bit dramatic, but once you’ve tried it, you’ll understand where I’m coming from. The pen heats up metal tips that you use to burn your design into the wood. You can create anything from intricate patterns to simple text, depending on your level of skill and the type of tip you’re using.
Different Types of Pyrography Pens
If you’re new to this, you may not know that not all pyrography pens are created equal. There are generally two main types: solid-point burners and wire-nib burners. Each has its own strengths and weaknesses, which can make a significant difference in your wood burning experience.
| Type | Description | Pros | Cons |
|---|---|---|---|
| Solid-point | Single heating element with interchangeable tips | Affordable, great for beginners, versatile | Takes longer to heat up and cool down, limited to the tips provided |
| Wire-nib | Uses a heated wire to create designs | Heats up and cools down quickly, precise control, variety of wire shapes | More expensive, can be fragile, requires experience to handle properly |
Finding the Right Pen for You
Choosing between a solid-point and a wire-nib pyrography pen can depend on a number of factors like your budget, your level of experience, and the kind of projects you’re looking to tackle.
Solid-point Burners
Solid-point burners are excellent for beginners. They are relatively simple to use and quite versatile, which makes them an ideal choice if you’re just learning the ropes. The main downside is the limited selection of tips, which can restrict the kinds of lines and textures you can create. If versatility is important to you, make sure to check what kind of interchangeable tips come with the burner.
Wire-nib Burners
On the other hand, if you’ve got a bit more experience or if you’re looking for something that offers more precision, you might find a wire-nib burner to be more suitable. Wire-nib burners are fantastic for detailed work due to the fine control they offer. Plus, they heat up and cool down much faster than their solid-point counterparts, making it easier to switch between different types of nibs.
Essential Tips and Techniques
Once you’ve picked out your wood burning pen, the next step is to get familiar with some essential tips and techniques. Trust me, a little bit of knowledge goes a long way in ensuring your first project isn’t a complete disaster.
Choosing Your Wood
Not all wood is created equal when it comes to pyrography. Soft woods like pine or basswood are generally easier to work with and less likely to burn unevenly. On the other hand, hardwoods like oak can produce more defined lines but require a steadier hand and more control.
Prepping Your Wood
Before you start burning, you’ll want to sand your wood to create a smooth surface. This minimizes the chances of your pen snagging or creating uneven lines. A fine-grit sandpaper usually works best for this purpose.
Practicing Your Strokes
Before diving into your main project, it’s a good idea to practice different strokes and techniques on a scrap piece of wood. Try out straight lines, curves, and shading to get a feel for how your pen behaves. It’s sort of like practicing scales on the piano – it might seem tedious, but it builds muscle memory and improves your technique.
Transferring Your Design
One of the easiest ways to transfer a design onto wood is by using carbon paper. Lay the carbon paper over your wood, place your design on top, and trace over it with a pencil. This creates a faint outline for you to follow with your pen.

Advanced Techniques and Patterns
Once you’ve mastered the basics, you can start exploring more advanced techniques to make your work stand out even more. Let’s be honest; adding a bit of flair can turn a simple word or phrase into a real work of art.
Shading and Gradients
Creating gradients or shaded areas can add depth and dimension to your piece. You can achieve this by varying the heat and pressure of your pen. Light strokes with a cooler pen can give a soft, shaded effect, while heavier strokes with a hotter pen will produce dark, solid lines. It’s a bit like shading with a pencil, but with the added challenge of heat management.
Texturing
Texturing can make your work visually interesting and tactilely pleasing. By experimenting with different tips and varying your technique, you can create a wide range of textures. For example, using a stippling method (tapping the wood with your pen) can produce a dotted texture, while dragging the pen in quick, short strokes can mimic the look of fur or grass.
Inlay and Embellishments
For those who are feeling particularly adventurous, adding inlays or embellishments can elevate your pyrography project. You can carve out sections of the wood and fill them with colored epoxy or insert small stones, beads, or even metal accents. The combination of wood burning and other materials can create a visually stunning piece that really pops.
Safety First: Pyrography Precautions
Burning wood can be incredibly rewarding, but it’s important to keep safety in mind. When working with heat and smoke, precautions are essential to ensure a safe and pleasant experience.
Ventilation
Always work in a well-ventilated area to avoid inhaling smoke and fumes. Wood burning produces smoke that can be harmful if inhaled in large quantities. Using a small fan or working near an open window can help dissipate the smoke and keep the air clear.
Protective Gear
Wearing protective gear such as safety goggles and a mask can also be a good idea. Gloves can protect your hands from accidental burns, and an apron can shield your clothes from wood dust and other debris.
Fire Safety
Never leave your wood burning pen unattended, and always unplug it when it’s not in use. Keep a fire extinguisher or a bucket of water nearby just in case something goes awry. It might seem like overkill, but better to be safe than sorry.
Taking Care of Your Tools
Maintaining your wood burning tools is crucial for their longevity and your overall experience. A well-kept tool can last for years and ensure consistent performance.
Cleaning the Tips
Residue can build up on the tips of your pyrography pen, affecting its performance. Use a brass wire brush or a bit of sandpaper to clean the tips regularly. This ensures that the pen heats evenly and produces clean, consistent lines.
Storing Your Equipment
Store your tools in a dry, cool place to avoid any damage. Keeping them organized and properly stored makes it easier to find what you need when you need it, and it helps protect the tools from accidental damage.
Regular Checks
Regularly inspect your pyrography pen for any signs of wear or damage. Check the cords, plugs, and tips to make sure everything is in good working condition. If something looks off, it’s better to replace or repair it than risking a mishap.
Inspiration and Projects to Try
Once you’re comfortable with your wood burning skills, there’s a whole world of projects waiting for you to explore. Whether you’re making personalized gifts or home decor, the possibilities are endless.
Personalized Cutting Boards
One of my favorite projects is making personalized cutting boards. They make fantastic gifts and add a touch of personalized charm to any kitchen. Just make sure to use a food-safe finish if the cutting board will be used for food preparation.
Custom Signs
Creating custom signs is another popular project. Whether it’s a “Welcome” sign for your front door or a whimsical quote for your living room, custom signs allow for a ton of creativity and personalization.
Ornaments and Decorative Pieces
Seasonal ornaments or small decorative pieces can also be a lot of fun to make. They’re usually quick projects, which makes them great for practicing new techniques or trying out different designs.
Wrapping Up
Wood burning is a delightful blend of art and technique that offers endless possibilities for creativity. From choosing the right tool to mastering advanced techniques, there’s always something new to learn and explore.
Final Thoughts
Remember, the key to any new skill is practice and patience. Don’t be too hard on yourself if your first few projects don’t turn out exactly as planned. Each piece you create will teach you something new, and before you know it, you’ll be burning words into wood like a pro.
So, what are you waiting for? Grab your wood burning pen and a piece of wood, and let your creativity run wild. Trust me; once you start, it’s hard to stop!

