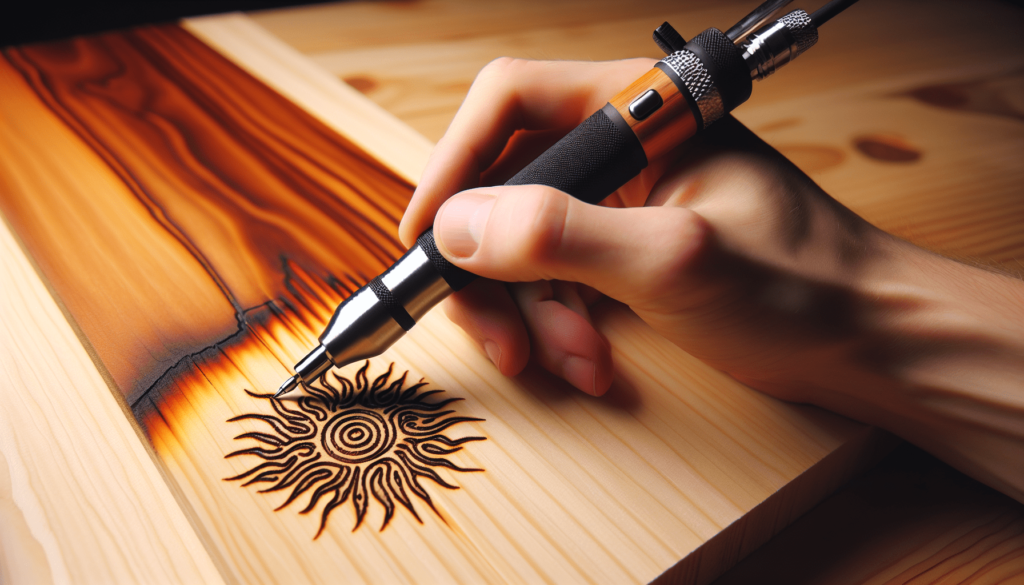
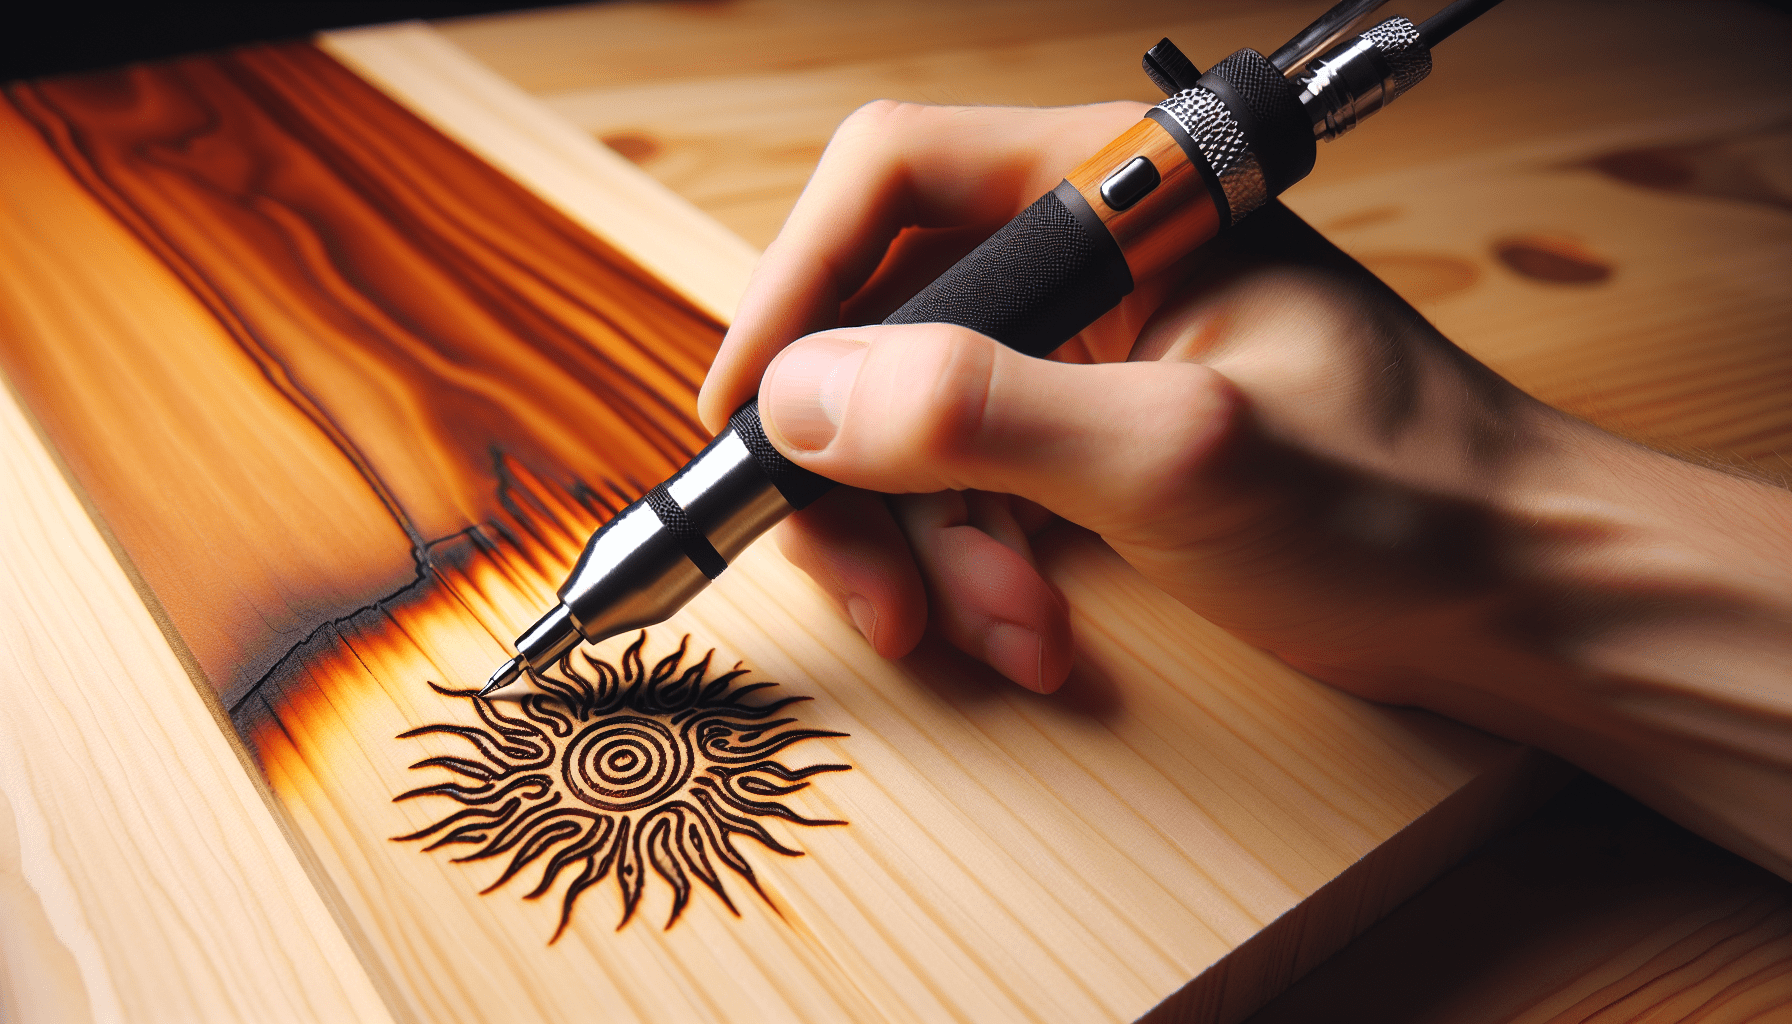
I recently embarked on a woodworking project and felt the urge to personalize it by burning words into the wood. The tool I discovered for this task is a woodburning pen, also known as a pyrography pen. These specialized pens come with interchangeable tips that get hot enough to etch designs and text into the wood’s surface. The different tips allow for a range of detailing, from fine lines to broader strokes, making it a versatile tool for anyone looking to add a unique touch to their work. Using a woodburning pen turned out to be not only effective but also incredibly satisfying, transforming a simple piece of wood into a meaningful, customized keepsake. Have you ever thought about etching your thoughts or favorite quotes permanently into wood? I mean, maybe making a gift with a personal touch or just branding your creations. But what tool do you use to burn words into wood? It might sound daunting initially, but I promise it’s a fantastic adventure once you get into it. Let’s delve into the world of pyrography together!
What Is Pyrography?
First things first. Pyrography, which quite literally means “writing with fire,” is the technique of using heat to burn designs onto various materials, primarily wood. It’s similar to drawing but with a much more permanent twist. With pyrography, you can go from a simple word or name to elaborate portraits and designs, all burned right into the wood’s surface.
The Fascination Behind Pyrography
So why would anyone want to burn words into wood? Aren’t pens good enough? Well, pyrography goes beyond simple writing. It creates a sense of permanence and craftsmanship that often lacks in our fast-paced, digital world. It’s therapeutic, too. Watching those smoky lines appear as you glide the tool across the wood can be both mesmerizing and oddly satisfying—like popping bubble wrap, but with a bit more artistry involved.
Essential Tools for Pyrography
Okay, now that we’ve established why pyrography is so cool, let’s talk about the tools you’ll need. Surprisingly, you don’t need a whole lot to get started. But quality does matter.
Pyrography Pen
The main tool you’ll use is a pyrography pen. Think of it as the magic wand of the pyrography world.
Solid Point Burner
This is a simpler, beginner-friendly tool. It comes with a fixed tip that heats up uniformly. This type is great for basic lines, shading, and filling in areas.
Wire-Nib Burner
For those who decide to take their pyrography more seriously, wire-nib burners are the way to go. These come with interchangeable tips and offer more control and variety in your designs. They heat up and cool down faster and can produce finer, more precise lines.
| Type of Pyrography Pen | Advantages | Disadvantages |
|---|---|---|
| Solid Point Burner | Beginner-friendly, simple to use, cost-effective | Limited tip variety, slower heating and cooling |
| Wire-Nib Burner | Greater control, more tip options, faster heating and cooling | Can be more expensive, steeper learning curve |
Wood
Ah, the canvas of your fiery masterpiece! Not all wood is created equal when it comes to pyrography. Some woods are easier to work with than others.
Best Woods for Pyrography
- Basswood: Soft and light-colored, it’s often the first choice for beginners.
- Birch: Another light and forgiving wood.
- Maple: Slightly harder, provides a fine texture.
- Poplar: Light and easy to burn, albeit with some greenish hues sometimes.
Woods to Avoid
- Pine: Can be resinous, which means it can produce uneven burns and might even gum up your pen.
- Oak: Harder on your tools and hands, and the grain can be distracting.
| Wood Type | Ease of Use | Color | Notable Characteristics |
|---|---|---|---|
| Basswood | Very Easy | Light | Ideal for beginners |
| Birch | Easy | Light | Smooth surface |
| Maple | Moderate | Light to Medium | Fine texture |
| Poplar | Easy | Light with greenish hues | Even surface |
Additional Supplies
You didn’t think it was just wood and a pen, did you? Like any good craft, you’ll need a few more things to make everything go smoothly.
- Graphite Paper: For transferring your design onto the wood.
- Sandpaper: To smooth the wood before you start and sometimes between stages.
- Masking Tape: For securing your graphite paper as you transfer your design.

Choosing the Right Design
So now you have your tools and wood. What next? The design, of course! Your design can be anything from a pre-drawn stencil, an image, or even freehand if you’re feeling adventurous.
Transferring Your Design
This is where your graphite paper and masking tape come in. Place the graphite paper on the wood, secure it with masking tape, and trace over your design. Voila! You’ve now got your outline perfectly (or as perfectly as possible) transferred to the wood.
Practice Makes Pyrography Perfect
Before diving into your main piece, it’s always good to practice on scrap wood. Get a feel for how the pen moves, how long it takes to get the right shading, and what different tips do to the wood.
The Burning Process
Alright, now the fire part. Not literally fire, of course—unless something has gone very, very wrong.
Safety First
Before you start, make sure you’re in a well-ventilated area. No one likes breathing in wood smoke, and it’s not great for your lungs either. Have a fire extinguisher nearby, just in case. Also, tie your hair back and avoid loose clothing. We’re aiming for “artistic” here, not “arsonist.”
Getting Started with Your Pyrography Pen
Once everything is set up, it’s time to heat your pyrography pen. If you’re using a solid-point burner, this might take a few minutes. Wire-nib burners heat up much faster, so you’ll be ready to go almost immediately.
Techniques and Tips
- Lines and Outlines: Start with simple lines to get a feel for how the pen burns the wood.
- Shading: Adjust the pressure and speed of your hand to create lighter or darker areas.
- Texture: Use different tips to add texture to your artwork.
Common Mistakes and How to Avoid Them
Pyrography isn’t all smooth sailing. But hey, what’s life without a few challenges?
- Overburn: Applying too much heat can scorch the wood. Keep your hand steady and don’t linger in one spot too long.
- Uneven Lines: This often comes from inconsistent pressure. Practice makes perfect, as the old saying goes.
- Smudging: Don’t touch the wood where you’ve burned until it’s cooled. Simple but effective advice.

Finishing Touches
You’ve made it to the end of the burning process. Congratulations! But wait, there’s more.
Sanding
Light sanding can help get rid of any carbon that’s settled on top of the wood. It’s like giving your masterpiece a little polish.
Adding a Sealant
To protect your work, you might want to add a sealant. A clear wood finish or varnish usually does the trick. It not only protects the wood but also enhances the burned design, making it stand out.
Taking Your Skills to the Next Level
So you’ve burned a few words into wood and you’re looking for more? Great! Pyrography can be as simple or as complex as you make it.
Exploring More Complex Designs
Start incorporating images, shadows, and even different wood types. The more you practice, the better your control and creativity will become.
Joining a Community
There are plenty of pyrography communities online full of people who love burning wood as much as you do. You can find tips, share your work, and get inspired by others.
Turning Your Hobby Into a Business
If you get really good, who knows? Maybe you could start selling your creations. Handmade, custom pyrography pieces make for great gifts and decor. There’s always someone out there looking for that unique touch.
Final Thoughts
Burning words into wood—who knew it could be so rewarding? From picking up the right tools to mastering the technique and creating stunning pieces, the journey of pyrography is as fulfilling as the end product. So what are you waiting for? Grab that pyrography pen, pick a piece of wood, and start creating your fiery masterpieces. Trust me; it’s an experience that will ignite your artistic spirit. Happy burning!
By now, I hope your questions about what tool to use to burn words into wood have been thoroughly answered. And maybe, just maybe, I’ve sparked a new passion in you. Keep experimenting and enjoy the process as much as the results.

