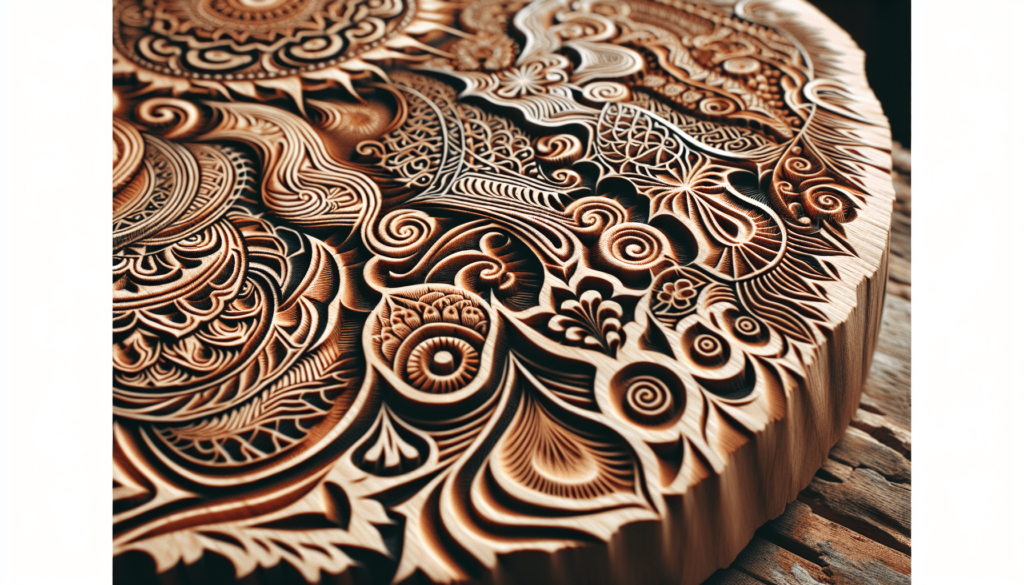
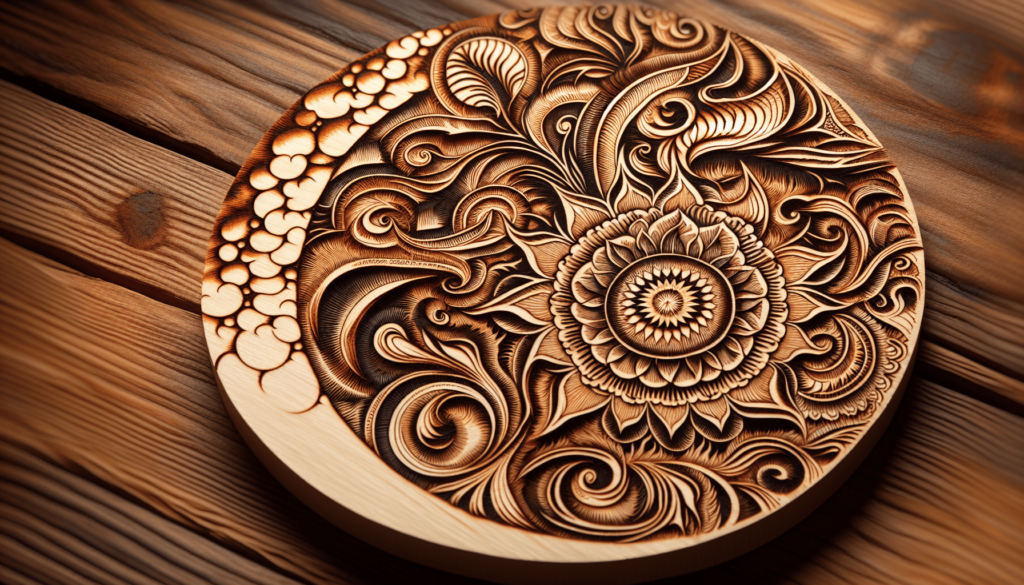
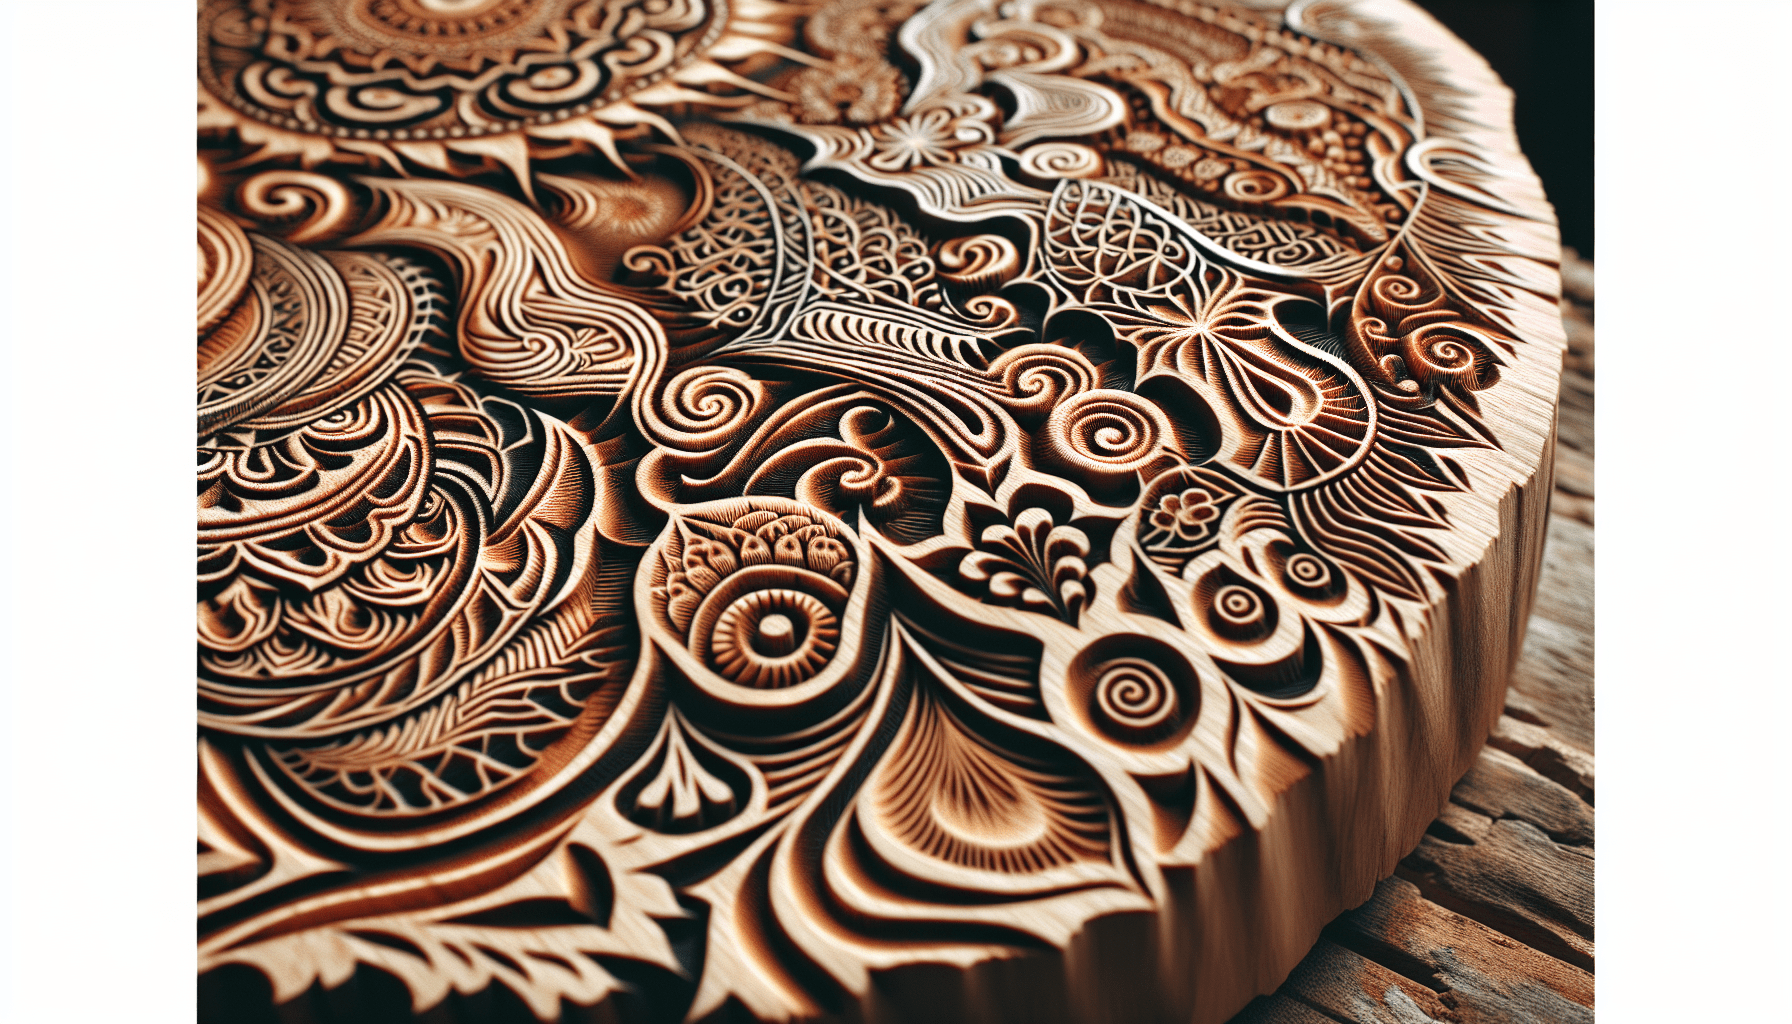
Have you ever stared at a piece of wood art, beautifully scorched and detailed, and wondered what the process behind it is called? Yeah, me too. It turns out, there’s this fantastic blend of art and technique that makes it all happen. It’s called pyrography. Yup, a fancy word for an age-old craft. Let’s unpack it, shall we?

The Magic Behind the Name – Pyrography
So, pyrography. It sounds like something out of a mad scientist’s laboratory, but it’s actually pretty straightforward. The word itself breaks down from Greek roots with “pyro” meaning fire and “graphy” meaning writing. Put them together and bam! You get fire writing. This is essentially the art of decorating wood (or other materials) by burning designs into it with a heated tool.
The History of Pyrography
Pyrography isn’t some newfangled trend. Folks have been etching designs into wood ever since they figured out fire wasn’t just for roasting meat. Those prehistoric cave dwellers probably didn’t call it pyrography—more like survival art—but it laid the groundwork for what we know today. Ancient cultures from Egypt to Peru have utilized some form of this art for decorative or ceremonial purposes.
Jumping forward a few millennia, the Victorian era saw pyrography become quite the hobby. Ladies (and perhaps a few gentleman hobbyists) were known to dip heated pokers into fire and impress patterns onto wooden surfaces for everything from picture frames to furniture.
Understanding the Tools of the Trade
Nowadays, we’ve traded fire pokers for electric pyrography pens. But understanding these tools is crucial to mastering the art. If you’re a beginner, this might look like a bunch of complicated gadgets, but don’t worry, it’s simpler than it appears. Think of it like learning to cook; you start with basic tools and ingredients before moving onto exotic spices and fancy techniques.
Pyrography Pens
The modern pyrography pen might resemble a soldering iron because, honestly, they’re cousins in the tool family. These pens come with various tips—each one serving a specific function, kinda like the different kinds of knives in a chef’s toolkit. The most common tips include:
| Tip Type | Purpose |
|---|---|
| Universal Tip | General purpose, good for beginners |
| Shading Tip | Great for creating different shades and tones |
| Writing Tip | For detailed, fine lines and text |
| Calligraphy Tip | Perfect for ornate, flowing designs |
Other Tools You Might Need
Besides the pyrography pen, you’ll also need some other essentials. An assortment of sandpaper is handy for prepping and smoothing the wood. Safety gear like gloves and a mask can protect you from fine dust and the occasional burn mishap. Last but not least, you’ll want a pair of pliers or tweezers to switch out those hot tips without singing your fingerprints off.
The Different Techniques in Pyrography
Just like painting isn’t just about slapping colors on a canvas, pyrography involves a range of techniques that add texture, depth, and dimension to your work. This is where things get interesting because your style can reflect a unique blend of these techniques.
Basic Line Work
Line work forms the skeleton of your design. Using a fine-tipped pen, you can create outlines and basic shapes. Think of it like sketching with a pencil—but, you know, with heat.
Shading
This is where your art gets some soul. By varying the pressure and speed, you can create different shades and tones. A shading tip is your best friend here, allowing you to create gradients that add realism and depth.
Stippling
If your patience is next-level, stippling might be for you. It’s the technique of using numerous small dots to create your design. The effect can be stunning but fair warning, it’s a time-consuming process.
Smooth Shading vs. Rough Texturing
Smooth shading gives a silky finish, making your piece look polished and clean. Rough texturing, on the other hand, adds a rustic or rugged look. Combining both can give a compelling contrast and really make your artwork pop.
Choosing Your Medium
While wood is the traditional medium for pyrography, you’re not limited to it. Leather, gourds, and even paper can be burned with designs, although each has its nuances.
Different Woods for Different Moods
Choosing the right wood can make or break your project. Some woods burn easier and more evenly than others. Here’s a simplified guide:
| Wood Type | Characteristics |
|---|---|
| Basswood or Linden | Light, soft, easy to burn, minimal grain |
| Birch | Slightly harder, fine and even grain |
| Poplar | Soft, affordable, may have green streaks |
| Maple | Hard, fine grain, takes time but worth it for detail |
Non-Wood Materials: The Leather Dilemma
Leather can be a beautiful canvas for pyrography, but it’s a whole different beast. It burns at lower temperatures and can give off some pretty nasty fumes, so make sure you ventilate your workspace.

What Can Pyrography Be Used For?
Pyrography isn’t just a pretty hobby; it has practical applications too. From adding intricate details to furniture to creating personalized gifts, the possibilities are vast.
Functional Art
Think custom cutting boards, coasters, and kitchen utensils. Not only do these pieces showcase your artistic talent, but they’re also functional items that folks use daily.
Decorative Art
Wall hangings, plaques, and sculptures—the kind of stuff you’d proudly put on display in your home. Decorative items often require more intricate designs and can make fantastic conversation pieces.
Personalized Gifts
How about a custom piece for someone’s wedding, anniversary, or birthday? Few gifts carry the personalized touch quite like pyrography does. It shows you put thought, time, and effort into creating something uniquely for them.
Safety Precautions: Because Burns Hurt
Alright, not to be a buzzkill, but safety is crucial when working with heat. Those pens get hot! And that’s not just a turn of phrase—they really do. Here are a few tips to keep your fingers and lungs intact.
Gloves and Goggles
While gloves can protect your hands from accidental burns, goggles can keep your eyes safe from flying bits of wood and ash.
Ventilation
Burning wood releases smoke and particles that you really don’t want to inhale. A well-ventilated area is a must. Better yet, invest in a small fan or fume extractor.
Fire Safety
Keep a small fire extinguisher or at least a bucket of water nearby. It’s better to be overly cautious than regretful later.
The Learning Curve
Like any skill, pyrography has a learning curve. Don’t expect your first masterpiece to, well, be a masterpiece. You’ll burn some wood. You’ll mess up a design. And that’s perfectly okay.
Starting Simple
Your first project should be something simple. Maybe a coaster or a small plaque. As you get more comfortable with how the pen handles and how the wood reacts, you can move on to more complex projects.
Resources for Learning
Books, online tutorials, and even community classes can offer invaluable guidance. Websites and forums dedicated to pyrography can also be a goldmine of tips, tricks, and inspiration.
Maintaining Your Tools
You wouldn’t want to cook with a rusty pan, would you? The same applies to your pyrography tools. Keeping your gear in good shape ensures better results and a longer life for your tools.
Cleaning the Tips
Over time, residue from the wood can build up on your tips, making them less effective. A quick wipe with sandpaper or a cleaning cloth can keep them in peak condition.
Storage
Store your tools in a dry, cool place. Many pyrography kits come with their own cases, which makes it easier to keep everything organized and protected.
Going Beyond: Advanced Pyrography Techniques
Once you’ve mastered the basics, you might want to venture into more advanced techniques. These can really elevate your artwork and set your pieces apart from the rest.
Mixed Media
Why not mix pyrography with other art forms? You could paint sections of your burned design, or add inlays of different materials like metal or glass. The sky’s the limit.
Layering
Layering involves burning multiple layers of wood to create a three-dimensional effect. It’s a complex and meticulous process but can result in truly breathtaking pieces.
Sculpting
Believe it or not, some artists combine wood burning with carving to add even more depth and texture to their projects. Imagine a sculpture with detailed burned designs—talk about a wow factor.
The Community: Finding Your Tribe
Like any niche interest, there’s a whole community of pyrography enthusiasts out there. They gather in forums, social media groups, and even in real-world clubs and workshops. Connecting with others can offer more than just camaraderie; it can inspire you and push your skills further.
Online Forums
Websites like Reddit or specialized forums can be a fantastic resource for asking questions, sharing your work, and getting feedback.
Social Media
Platforms like Instagram and Pinterest are goldmines for inspiration. Plus, following artists you admire can provide a constant source of new ideas and techniques to try.
Local Clubs and Classes
Many communities have art clubs or workshops where you can meet fellow pyrography enthusiasts. These can be great places to get hands-on tips and tricks, not to mention make some new friends who share your passion.
The Emotional Connection: Why We Burn
So why do we do it? Why spend hours heating up pieces of wood into art? There’s something deeply satisfying about pyrography. Maybe it’s the tactile nature of the work. Or the smell of wood as it burns, a scent full of warmth and history. Or just the meditative state you enter, focusing so intently on each line and shade. It’s a labor of love, a blend of patience, precision, and creativity.
The Zen of Pyrography
There’s something almost meditative about the process. The repetitive motion, the focus, the slow but steady progress. It pulls you into a zone, a state of flow where the outside world melts away.
Celebrating Imperfections
Unlike digital art where a mistake can be erased with an undo button, pyrography is more forgiving of flaws. Those small imperfections add character, they tell a story. It’s a reminder that art, just like life, isn’t perfect—and that’s okay.
Your Next Steps
So, now that you know a bit (or a lot) more about pyrography, what’s next? If you’re curious and excited, why not give it a try? Grab a basic kit, find some scrap wood, and get burning. Experiment, make mistakes, learn, and most importantly, have fun with it.
Starter Kits
Investing in a beginner’s kit is a great way to start. These kits often come with a pen, a variety of tips, and even some pre-sanded wood to practice on.
Join a Class or Workshop
Sometimes, a little guidance can go a long way. Check out local art centers or community colleges; you might be surprised at the classes available.
Keep Practicing
Like any skill, the more you do it, the better you’ll get. Keep experimenting with different techniques, tools, and materials. Each project you finish will teach you something new.
Share Your Work
Whether it’s on social media, a forum, or in a local art show, don’t be shy about sharing your creations. You never know—the feedback you get might inspire your next big project.
So, why not add a spark to your creativity? Pyrography, with its rich history and versatile techniques, offers endless opportunities for artistic expression. It’s a journey of discovery—of the craft, of the material, and of yourself. Happy burning!

