
I use a pyrography pen, also called a woodburning tool, to burn artistic designs into wood surfaces. Two main types exist – solid-point burners work well for beginners while wire-nib burners give professionals better control and precision.
Key Takeaways
- Pyrography pens feature interchangeable tips and temperature controls for creating different effects and textures.
- Solid-point burners cost $20-50 and are best for beginners, while professional wire-nib burners range from $100-300.
- Light-colored woods like basswood, birch, and poplar are ideal for woodburning projects.
- Essential safety equipment includes heat-resistant mats, pliers, and proper ventilation.
- Temperature control and proper tip selection are crucial for achieving different shading effects and details.
Choosing the Right Pyrography Pen
I find that each type of burner serves specific needs. Solid-point burners let me create basic lines and simple shading at a lower cost. Wire-nib burners allow me to make detailed designs with varying line weights.
Temperature Control and Wood Selection
My temperature control helps me achieve subtle gradients and bold contrasts. The right wood choice makes a significant difference – light woods show burned designs more clearly than dark varieties.
Safety Considerations
Safety remains my top priority, so I always use proper protective gear and ensure good airflow in my workspace. Through careful tip selection and heat adjustment, I create various artistic effects in my woodburning projects.
Understanding Pyrography: The Art of Writing with Fire
The Essential Wood Burning Tool
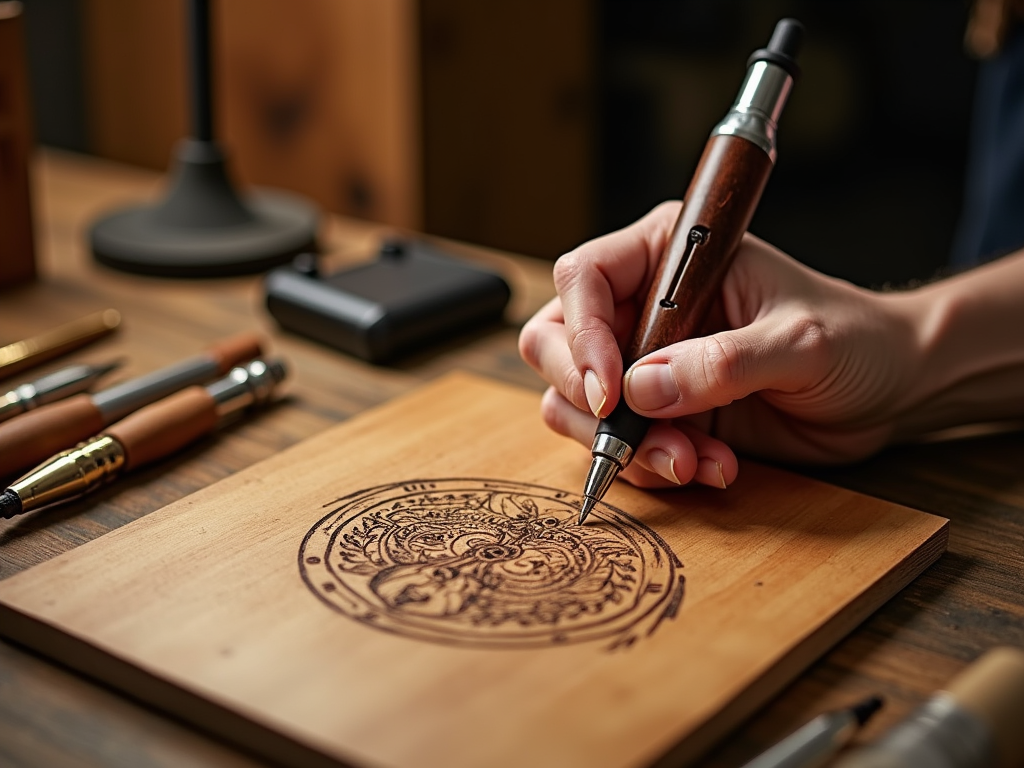
A pyrography pen is the primary tool used to create stunning burned designs on wood. This specialized instrument, also called a woodburning tool, acts as my personal writing implement when I’m creating art through controlled burning. Think of it as a pen that uses heat instead of ink to make its mark.
The basic structure of a woodburning pen includes a handle and interchangeable tips, letting me switch between different effects as I work. These tips heat up to high temperatures, giving me the power to burn precise marks into wooden surfaces.
Types of Pyrography Pens
I’ve found that choosing between the two main types of pyrography pens can make a big difference in my work. Here are the key options available:
- Solid-point burners: These are perfect for beginners due to their straightforward design and lower cost. They feature solid brass or steel tips that hold heat well.
- Wire-nib burners: These offer more control and faster temperature changes. The thin wire tips let me create fine details and subtle shading effects.
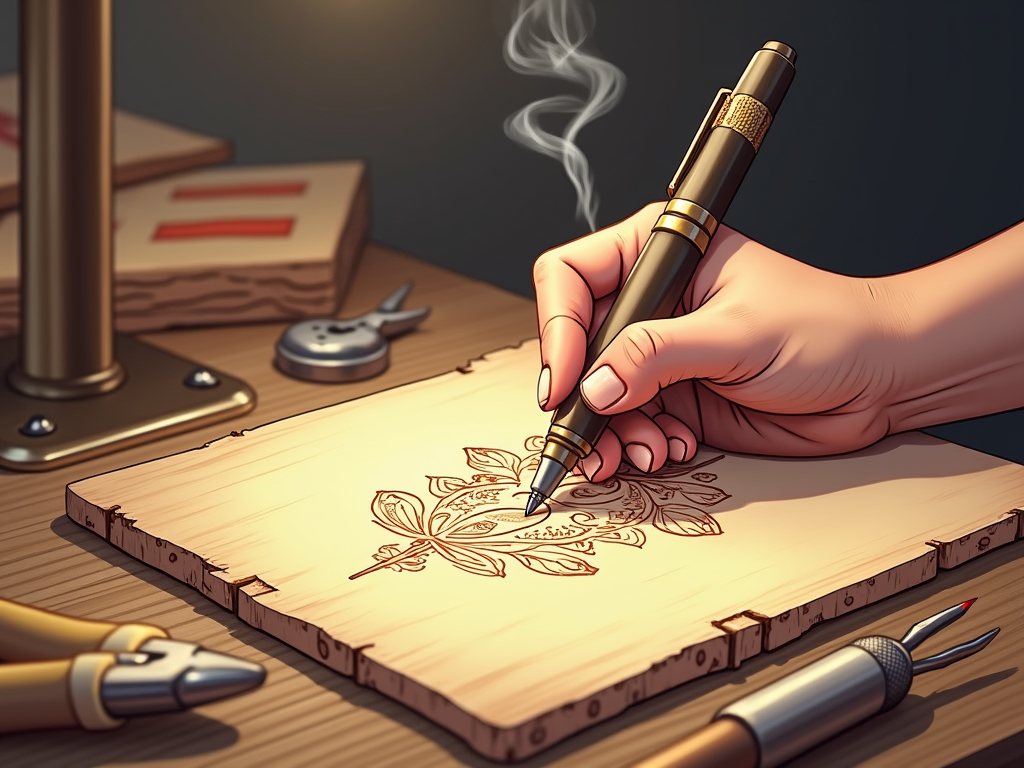
Each tip shape creates distinct marks on the wood surface, from fine lines to bold textures. The essential pyrography tools I use include shader tips for filling large areas, writing tips for text, and various specialty nibs for unique effects. The temperature control on modern wood burning tools lets me adjust the heat based on the wood type and desired effect, making them versatile for both detailed work and bold statements.
Professional vs Beginner Tools: Choosing Your Woodburning Pen
Solid-Point Burners: The Beginner’s Gateway
I’ve found that solid-point wood burning tools offer an excellent starting point for newcomers to pyrography. These tools share similarities with soldering irons, making them familiar and easy to handle. They use brass tips and operate within a 15W-30W power range, providing steady heat for basic wood burning projects.
The TRUArt Stage 1 stands out as a popular solid-point option, combining reliability with user-friendly features. These burners won’t break the bank, typically costing between $20-50, making them perfect for testing the waters of wood burning art without a major investment.
Wire-Nib Burners: Professional-Grade Performance
For those ready to take their wood burning craft to new heights, wire-nib burners offer superior control and precision. These professional-grade tools use nichrome wire tips that heat up and cool down quickly, giving artists the ability to create fine details and subtle shading effects.
The Colwood Super Pro II represents the premium end of pyrography equipment, showcasing what’s possible with professional gear. While the $100-300 price range might seem steep, the investment pays off in the following ways:
- Faster temperature changes for varied burning techniques
- Better control over line weight and shading
- Higher durability and longer-lasting performance
- More versatile tip options for different effects
- Smoother burning experience with less drag
These advanced features make wire-nib burners the go-to choice for creating detailed wood burning designs and professional artwork. The precise temperature control allows for creating everything from bold, dark lines to soft, subtle shading effects that would be challenging to achieve with basic tools.
Before choosing between these options, I recommend considering your commitment level and project goals. Starting with a solid-point burner lets you master the basics without feeling overwhelmed, while a wire-nib burner opens up advanced techniques once you’re ready to expand your pyrography skills.
Essential Tips and Techniques for Different Effects
Understanding Pyrography Nibs
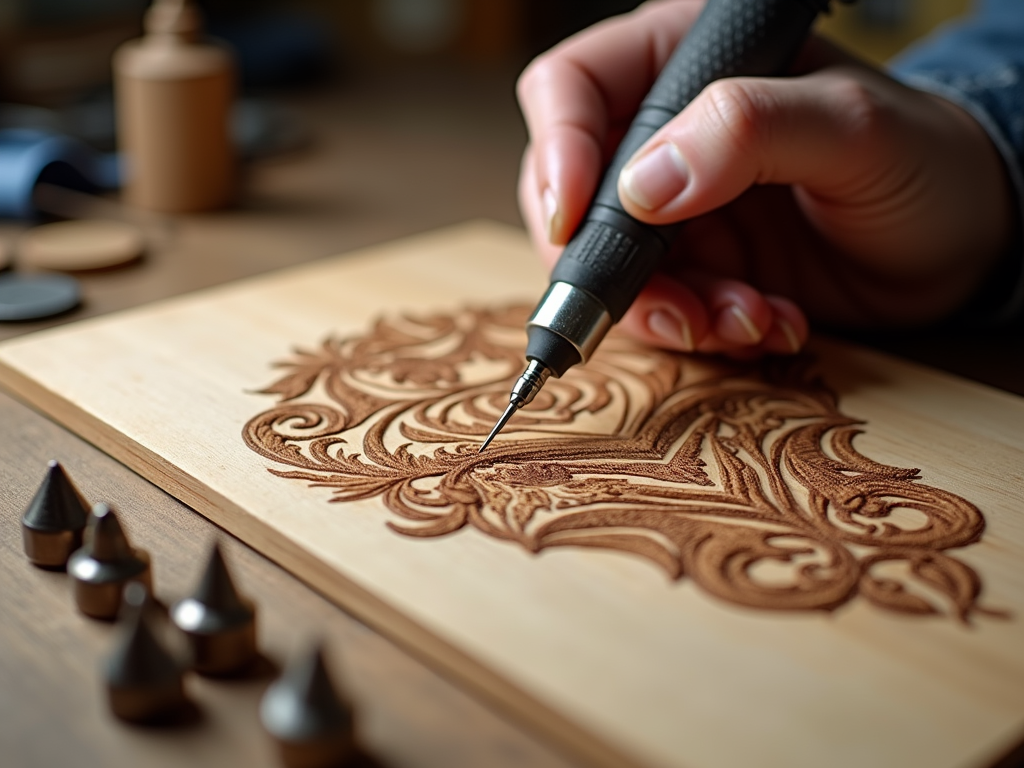
The right nib selection can make a dramatic difference in your wood burning artwork and designs. I’ll share how each nib type brings its own unique capabilities to your pyrography projects. A universal or loop nib serves as your go-to tool for basic line work and general burning. Think of it as the all-purpose pencil in your wood burning toolkit.
For creating smooth gradients and rich textures, a shading nib proves indispensable. The broader surface area lets you build up tone gradually, perfect for creating depth in your pieces. When precision matters most, I reach for the spear or knife nib – these sharp-pointed tips excel at intricate details and fine lines. The ballpoint nib, similar to a regular pen, offers exceptional control for creating dots, stippling effects, and precise mark-making.
Temperature and Power Control
Mastering temperature control is crucial for achieving the desired effects with your pyrography pen. I’ve found that lower wattage settings (around 10-15 watts) work best for delicate details and thin lines. The reduced heat gives you more control and prevents unwanted burning or scorching. For bold, dramatic lines or rapid shading, higher wattage settings (20-30 watts) deliver the intensity needed.
Temperature adjustments can be made through your tool’s wattage settings or by using a rheostat – a variable power control device. The key benefits of using a rheostat include:
- Precise temperature control for consistent burning
- Ability to adjust heat levels while working
- Reduced risk of overburning or scorching
- Better control over shading and texture creation
- Extended tip life through proper heat management
When working on detailed wood burning lettering or text, I start with a lower temperature and gradually increase it until I achieve the perfect mark-making sweet spot. This approach helps prevent mistakes and gives you time to build confidence with each nib type. Remember that different woods respond differently to heat, so you’ll need to adjust your temperature settings based on the material you’re using.
Best Woods and Materials for Pyrography
Wood Selection for Burning
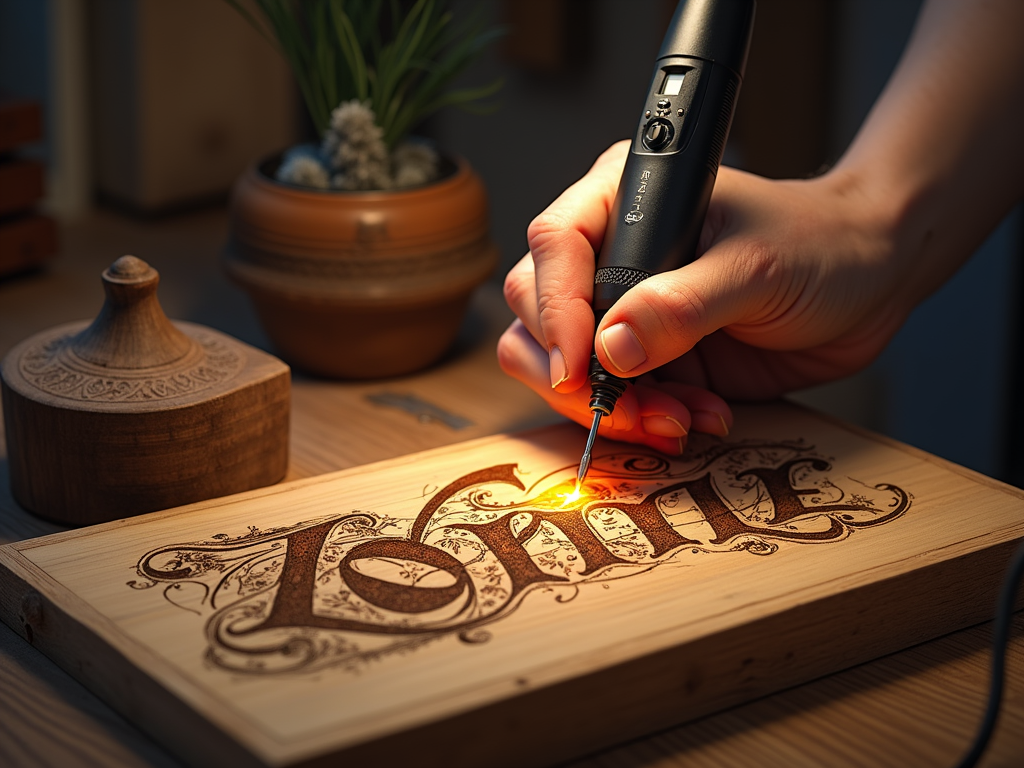
I recommend starting with light-colored woods like basswood, birch, or poplar when beginning your wood burning art projects. These woods have minimal grain patterns and consistent density, making them perfect for creating crisp, clean lines with your pyrography pen. Their lighter shades also provide excellent contrast for your burned designs.
Essential Safety Equipment and Accessories
Safety should be your top priority when practicing pyrography techniques. I can’t stress enough the importance of having the right safety equipment and accessories. A sturdy metal stand is crucial for holding your hot pen between uses, preventing accidental burns or damage to your work surface.
Here are the must-have items for safe and effective wood burning:
- A brass wire brush for removing carbon buildup from nibs
- Special heat-resistant pliers for changing hot nibs safely
- A heat-resistant mat or work surface to protect your table
- Untreated, natural woods free from chemicals or preservatives
Working with treated woods can release toxic fumes during the burning process, so I always make sure to use raw, natural wood pieces. If you’re unsure about the wood’s treatment status, it’s better to skip it and find a piece you know is safe. The right combination of quality wood and proper safety equipment will help you create beautiful wood burning artwork while protecting yourself and your workspace.
Mastering Temperature Control and Shading
Temperature Control Basics
I’ve found that the key to creating stunning pyrography lies in mastering your wire-nib wood burning tool. These specialized instruments let you adjust heat settings with incredible precision, making them perfect for both detailed line work and subtle shading techniques. The temperature control gives you the power to shift from light, gentle burns to deep, rich marks instantly.
Temperature adjustments directly affect how your pyrography designs turn out. Higher temperatures create darker, deeper burns, while lower settings produce lighter, more delicate marks. This versatility makes the wire-tip burning tool essential for creating depth and dimension in your artwork.
Shading Techniques and Maintenance
Creating different shading effects requires a combination of temperature control and pressure variation. I’ve learned that light pressure with moderate heat creates soft, subtle shadows, while firm pressure with higher heat delivers bold, dramatic burns. The essential pyrography tools you’ll need include various tips that can produce different textures and patterns.
Here are the key factors that affect shading quality:
- Heat setting – start low and gradually increase for better control
- Pressure application – lighter touch for subtle effects, firmer for deeper burns
- Tip selection – different shapes create unique textures
- Movement speed – slower movements create darker burns
- Wood grain direction – working with the grain produces smoother results
Your pyrography equipment needs regular maintenance to perform at its best. I clean my tips after each use to prevent carbon buildup, which can interfere with heat transfer and create unwanted marks. A clean tip ensures consistent burns and helps maintain precise control over your shading work.
Creating beautiful wood burning designs takes practice, but understanding these temperature and shading principles will help you develop your skills faster. Start with simple patterns and gradually work your way up to more complex designs as you become comfortable with your tool’s temperature settings and shading capabilities.
Essential Safety Guidelines
Personal Protection Equipment
Safety comes first when using pyrography burning tools, which can reach temperatures over 800°F. I always put on my safety glasses before starting any project to protect against potential sparks or debris. A high-quality respiratory mask is essential since wood burning artwork produces smoke and fumes that shouldn’t be inhaled. Heat-resistant gloves provide crucial protection for my hands while handling hot tools and materials.
Workspace Safety Measures
Creating a safe workspace is vital for wood burning projects. I make sure to:
- Set up in a well-ventilated area with open windows or use a fan to disperse fumes
- Keep flammable materials like paper, cloth, and solvents far from my work surface
- Use a heat-resistant mat or metal stand for my pyrography pen
- Place my tools on a stable, fireproof surface
- Keep a fire extinguisher nearby
- Never leave hot tools unattended
A dedicated workspace helps me maintain control over safety conditions while I’m creating wood burned designs. I’ve found that good airflow is particularly important – proper ventilation protects my lungs and keeps the area clear of smoke accumulation. My wood burning equipment always has a designated spot where it can cool down safely after use, away from any items that could catch fire.
Sources: