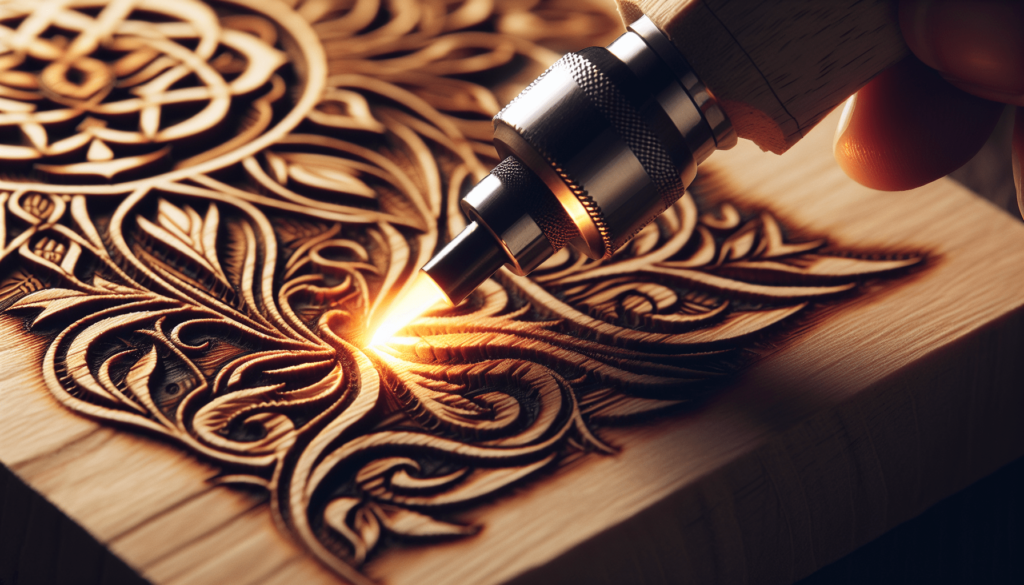
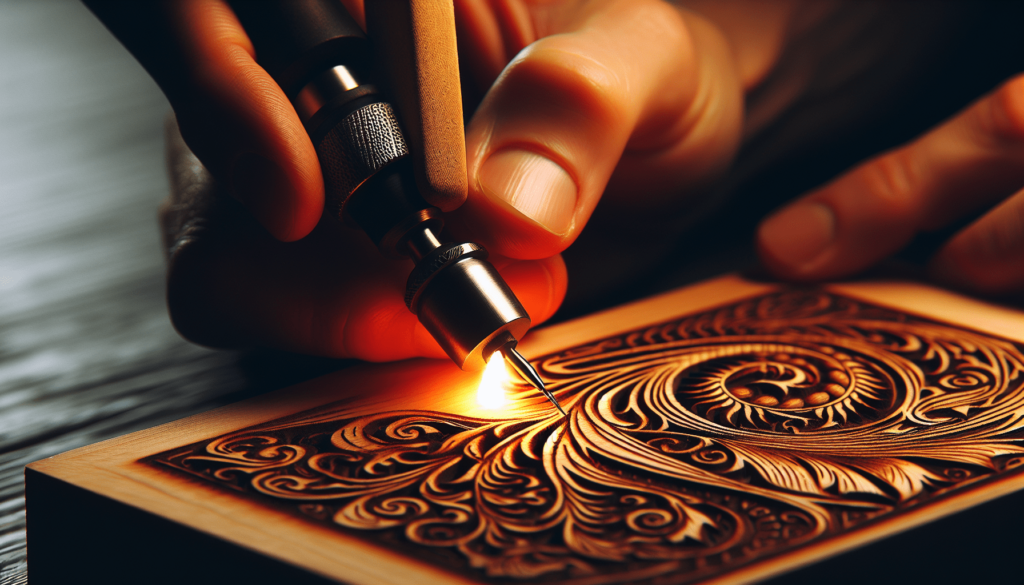
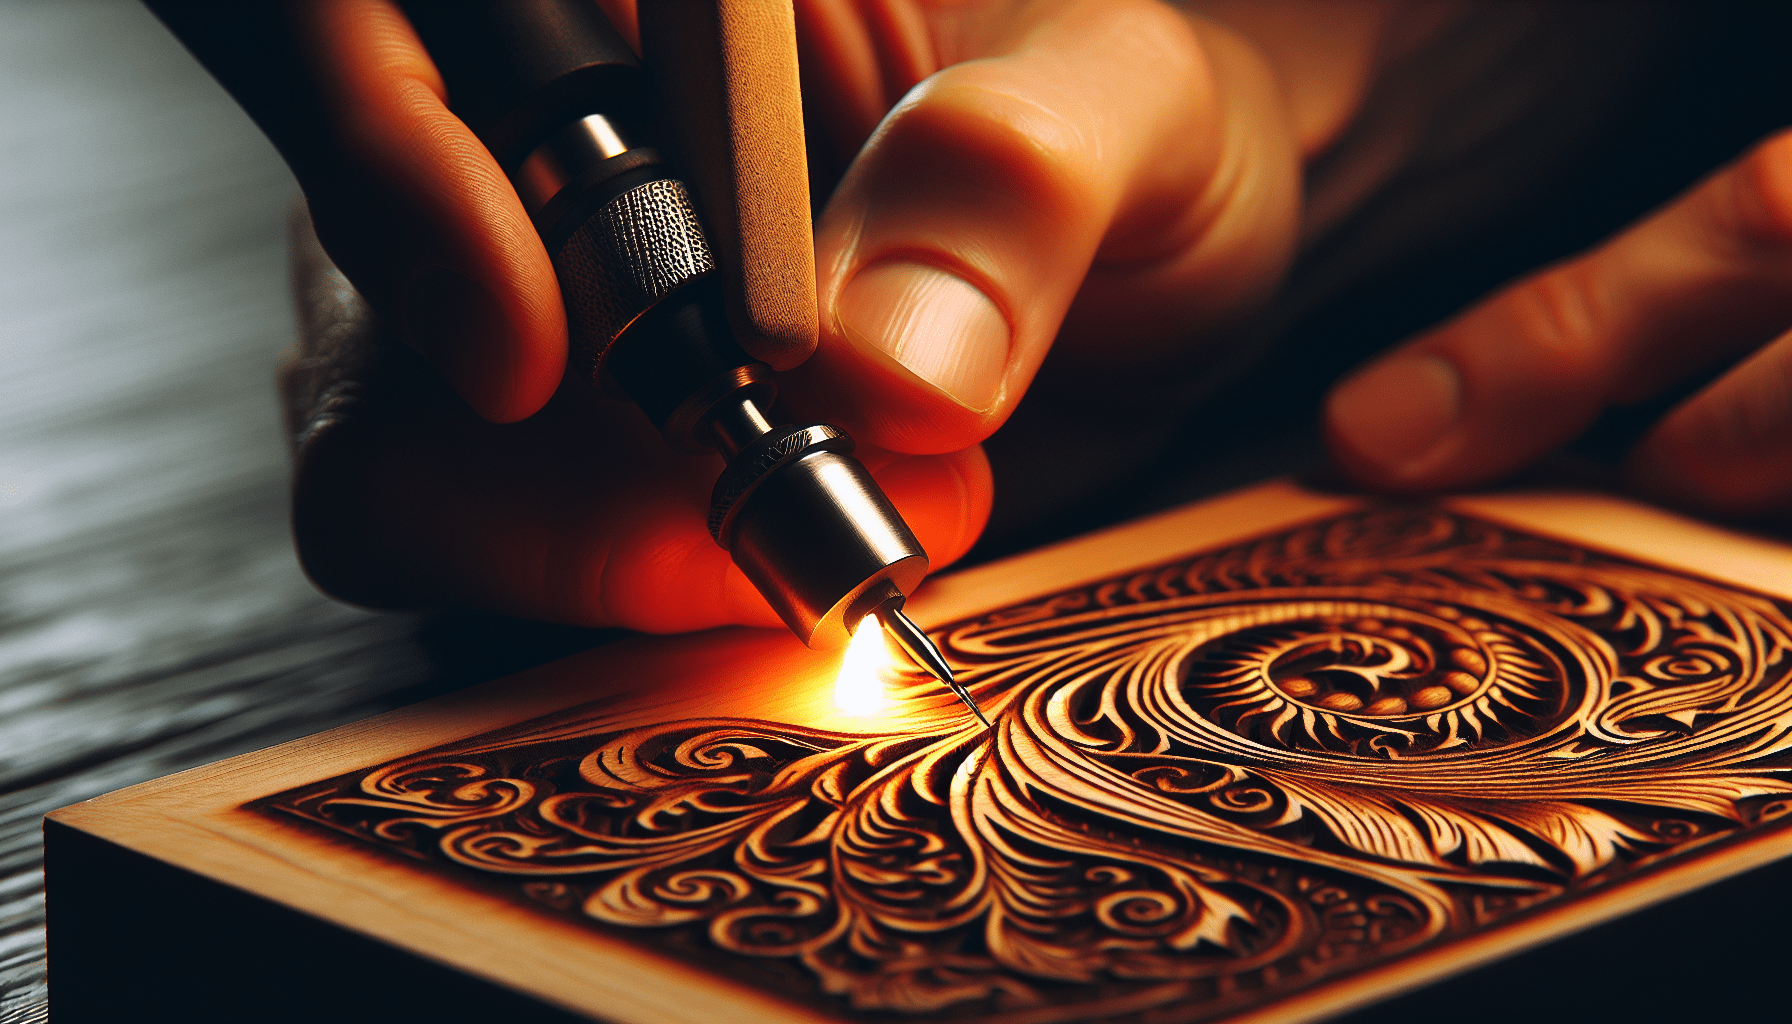
I’ve always found it fascinating how a simple material like wood can be transformed in so many creative ways. One process that caught my attention is called pyrography. The term for wood burning, pyrography, comes from the Greek words “pur” and “graphos,” meaning fire and writing, respectively. It’s an art form that involves using heated tools to create intricate designs on wood surfaces. Pyrography opens a whole new realm of artistic possibilities, allowing us to etch beautiful patterns and images with just a touch of controlled fire. Have you ever found yourself sitting around a campfire, gazing at the glowing embers, and wondered what the term for wood burning is? No, I’m not talking about when your uncle accidentally sets his DIY woodworking project aflame. I’m referring to the artistic technique of creating designs on wood using a heated tool. Well, if you have, you’re not alone, my friend. Strap on your flannel shirt and let’s dive into the world of wood burning, otherwise known as pyrography.

What Is Pyrography?
Pyrography, which literally means “writing with fire,” is the art of decorating wood or other materials with burn marks resulting from the controlled application of a heated object. It’s an ancient technique that dates back to ancient Egypt and China, but it really gained popularity in the Victorian era. Just imagine Victorian ladies delicately scorching floral patterns onto tea trays while their corsets dug grooves into their ribs. This was multitasking in the 19th century.
Why Pyrography?
You may wonder why someone would want to burn wood in such a controlled manner. As it turns out, pyrography is a therapeutic, rewarding, and versatile art form. With just a few tools and some practice, you can create anything from intricate landscapes to simple monograms. Plus, it’s much safer than juggling chainsaws or attempting sword swallowing.
Tools of the Trade
Before we dive into the technique itself, let’s talk tools. After all, every craftsman needs the right instruments. Here are some essentials to get you started on your pyrographic journey:
Wood Burning Tool
You’ll need a basic wood burning tool. Think of it as a pen, but instead of ink, you’re using glorious, red-hot heat. These tools come in different varieties, from a simple fixed-temperature model to more advanced options with interchangeable tips and adjustable heat settings.
| Tool Type | Features |
|---|---|
| Fixed-Temperature | Basic, cost-effective, suitable for beginners |
| Variable Temperature | Adjustable heat, more control, better for advanced designs |
| Interchangeable Tips | Offers versatility with different shapes and sizes of tips |
Wood Selection
Not all wood is created equal, at least not for pyrography. Softwoods like pine, basswood, and birch are your best bets. They burn more easily and give you better control. Avoid treated or reclaimed wood unless you enjoy inhaling noxious fumes.
Safety Equipment
Let’s not turn a relaxing hobby into a trip to the ER. A mask to avoid inhaling smoke and fumes, and a pair of gloves just in case you get too enthusiastic with that hot pen. Safety goggles wouldn’t be a bad idea either. You know, just to keep that whole “safety first” theme going strong.
Mastering the Basics
Okay, so you’ve got your tools, you’ve got your wood, and you’re ready to make your mark—literally. But before you turn into Picasso of the pyro world, you’ve got to master the basics.
Preparing Your Wood
First things first, you need to prep your wood. Sand it down until it’s smoother than a politician during an election year. This removes any rough patches and ensures that your design will come out clean and even.
Transferring Your Design
You can’t just start burning willy-nilly—unless abstract chaos is your thing. If so, more power to you! For the rest of us, we typically start with a design. You can either draw it directly onto the wood with a pencil or transfer it using transfer paper.
Heat Control
Here’s where the magic happens. Depending on your tool, you may have to adjust the heat. Different temperatures yield different shades and textures. Think of it as playing an instrument. Press too hard, and you’ll produce an unpleasant sound—or in this case, a scorch too deep to fix.
The Art of Pyrography
At this point, you’re ready to become a pyrography virtuoso. Or at least, a fairly competent wood burner.
Shading Techniques
Shading is where you give your piece depth and dimension. It’s akin to putting mascara on—you don’t want to overdo it and look like a raccoon, but just a small touch can make everything pop beautifully. Use light, quick strokes for lighter areas and slower, prolonged contact for darker patches.
Texture Creation
Oh, the sweet satisfaction of engraving textures. Switching out your tips can help here. A round tip for soft, cloud-like patterns; a sharp, pointed tip for fine, detailed lines. Play around until you find what tickles your fancy.
Adding Color
Feeling adventurous? Some pyrographers like to add colored pencils or watercolors to their pieces after burning. It’s like discovering your cupcake has a filling. A delightful surprise that takes it to the next level.

Common Mistakes and How to Avoid Them
You can’t talk about learning without discussing some pitfalls. You will make mistakes, but knowing the common ones can help you avoid a full wood-burning fiasco.
Overheating
It’s easy to get carried away and crank up the heat, but trust me, overcooked wood is not a good look. Always start at a lower temperature and work your way up.
Inconsistent Strokes
Nothing ruins a good piece like inconsistent lines. Ensure steady hand movements and practice, practice, practice. Consistency is key.
Forgetting Safety Measures
Pyrography is fun, but it’s still playing with fire. Always work in a well-ventilated area and remember all those safety tips I mentioned earlier. You’ll thank me later; or at the very least, you won’t be cursing me out while nursing a burn.
Taking Your Skills to the Next Level
Now that you’re no longer a rookie, it’s time to elevate your game. Advanced techniques and styles await.
Doodle Art and Mandalas
For those who love intricate details, try creating mandalas or other complex patterns. They are not only visually stunning but also meditative to create.
Portrait Burnings
Turning a photo into a wood-burned masterpiece is not for the faint of heart, but it is incredibly rewarding. Use a reference photo and start slowly. It takes time but seeing a face emerge from the grains of wood is nothing short of magical.
Layering Techniques
Layering involves burning over your previous burns to deepen the color and add more depth. It’s similar to layering paint, but you’re using fire. Sounds intense, right? Do it right, and your piece will have rich, velvety tones.
Using Mixed Media
Combine pyrography with other art forms for truly unique pieces. Adding acrylic paint, resin, or even metal inlays can take your wood-burning art from great to extraordinary.
The Community and Resources
Every great artist needs a community. Luckily, the internet is brimming with places where you can learn, share, and grow.
Online Forums and Social Media
Websites like Reddit have pyrography subreddits where you can share your work, ask for advice, and see what others are up to. Instagram and Pinterest are also fantastic for inspiration. #Pyrography will become your new favorite hashtag.
Workshops and Classes
Many local craft stores offer workshops, and online courses from platforms like Udemy can help you hone your skills. Sometimes, learning face-to-face or through video tutorials can make all the difference.
Books and Guides
There’s a wealth of knowledge to be found in books on pyrography. Some of my favorites include “Pyrography Basics” by Lora S. Irish and “The Art of Pyrography: Taking Woodburning to New Decorative Heights” by Daniel Wright. These books can be your wooden torch to illuminating this art form.
Conclusion
So, what’s the term for wood burning? Now you know it’s pyrography. An age-old technique, yet eternally captivating. Whether you’re scorching your first piece of basswood or adding the finishing touches to a masterful work of art, remember that every burn tells a story. And if it also tells the story of you accidentally burning your fingers, well, that’s just character-building.
Wood-burning is more than just a hobby—it’s a journey. A journey filled with the aroma of singed wood, the satisfaction of completing a piece, and the never-ending thrill of improving your craft. So go ahead, pick up that wood-burning tool, and start your adventure. The world of pyrography awaits.

