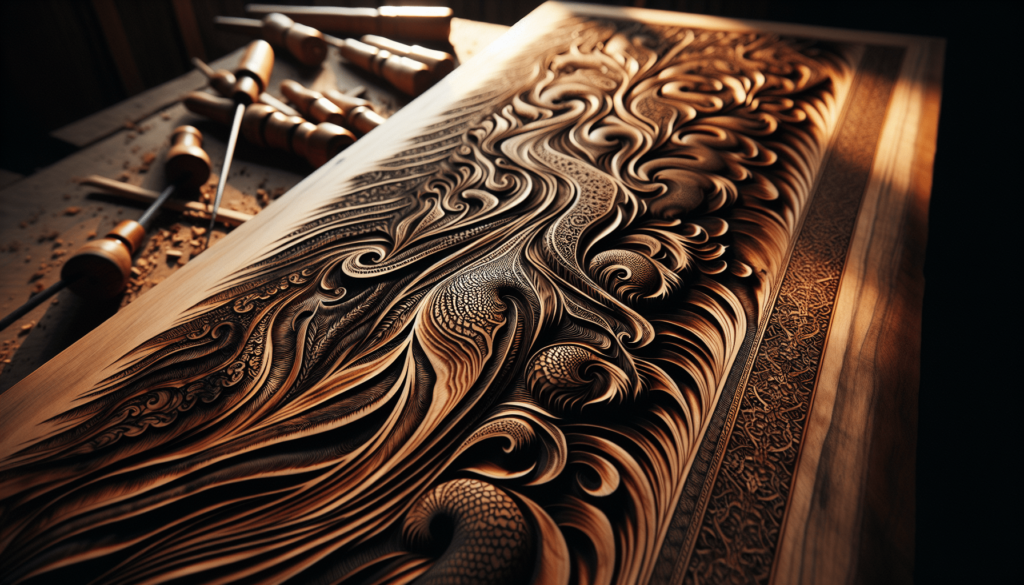
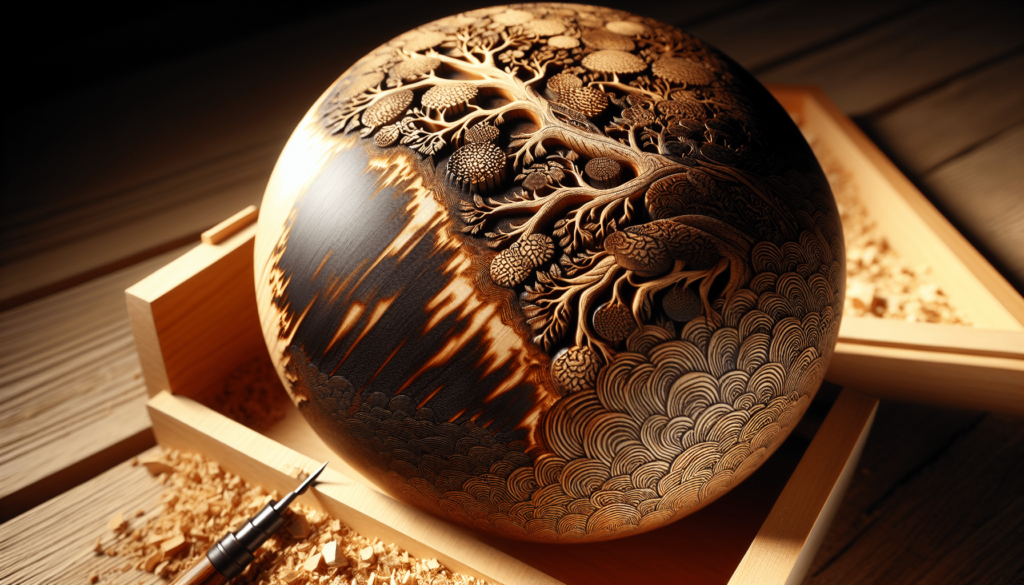
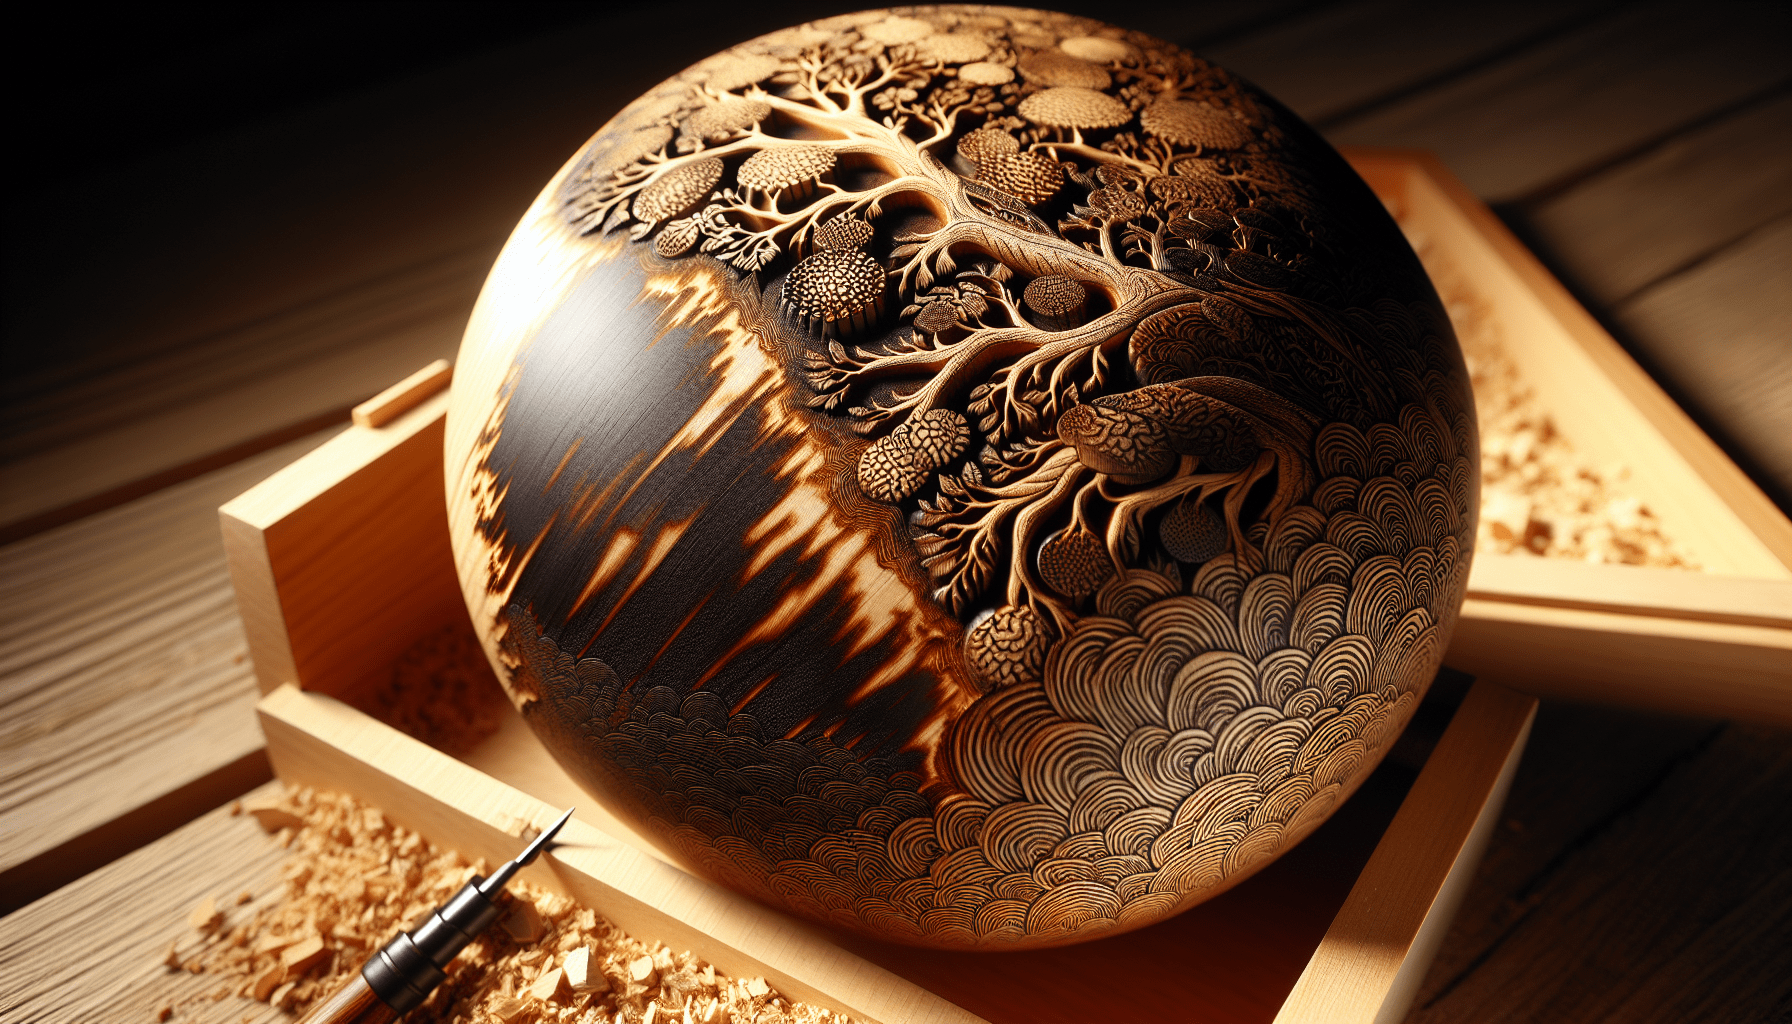
Have you ever come across a beautifully decorated wooden piece and wondered how in the world someone managed to create such intricate designs? I was in this exact predicament the other day while browsing through a local craft fair. Turns out, the answer lies in a fascinating technique called pyrography. Intrigued? I certainly was. So, let’s talk about this age-old art form a bit more, shall we?
What Is Pyrography?
Pyrography, which literally means “writing with fire,” is the technique of decorating wood (or other materials) by burning designs onto its surface. It’s an art that’s been around for centuries, but it still captivates people today. The process involves using a heated metal pen to burn images, patterns, or even text onto wood.
A Brief History of Pyrography
Believe it or not, pyrography dates back to ancient cultures. We’re talking ancient Egyptians and Chinese artisans who elevated this craft to an art form. Fast forward to the 19th and 20th centuries, and you’ll see an evolution brought about by the invention of modern tools, like electrically heated pens. This change made the technique more accessible, and its popularity soared.
Tools and Materials You’ll Need
When it comes to pyrography, having the right tools makes a world of difference. Here’s what you’ll generally need:
| Tool | Purpose |
|---|---|
| Pyrography Pen | The main tool for burning designs |
| Tips/Points | Different shapes for varying effects |
| Wood | Your canvas – different types yield different results |
| Sandpaper | To smooth out the wood surface |
| Graphite Paper | For transferring designs onto the wood |
| Safety Gear | Gloves, masks, or goggles to protect yourself |
Choosing the Right Wood
Not all wood is created equal when it comes to pyrography. Some woods burn more easily and yield better results. Here’s a quick rundown:
| Type of Wood | Characteristics |
|---|---|
| Basswood | Soft, easy to burn, ideal for beginners |
| Birch | Slightly harder, good for detailed work |
| Pine | Soft, but can have resin spots that affect burning |
| Maple | Harder wood, great for fine detail |
Getting Started with Pyrography
Okay, so you’ve got your tools and materials. Now, what? The first step is to prepare your wood. Trust me, this initial setup is worth the effort.
Prepping the Wood
First, use sandpaper to smooth the wood’s surface. A smooth surface ensures that your pen glides effortlessly, giving you cleaner, more precise lines. I usually start with a coarser sandpaper (around 120-grit) and then move to a finer one (220-grit). Dust off the sawdust with a cloth afterward.
Transferring Your Design
If you’re like me and not particularly confident in freehand drawing, you can transfer a pre-drawn design onto your wood. This is where graphite paper comes in handy. Place it between your design and the wood, then trace over the design with a pencil. The graphite paper will leave a faint outline on the wood for you to follow with your pyrography pen.

Mastering the Pyrography Pen
Alright, you’ve got your design all set. Now, let’s get to the fun part—actually burning the wood. The first time I held a pyrography pen, it felt like wielding a wand. It’s both thrilling and nerve-wracking.
Getting to Know Your Pen
Modern pyrography pens come with adjustable temperature settings and interchangeable tips. If you’re new to this, start with a medium temperature until you get the hang of it. Different tips are good for various effects, like shading, bold lines, or fine details.
Basic Techniques
There are a few fundamental techniques you’ll want to master:
- Lines: Start with simple lines, practicing their thickness by holding the pen in place longer or moving it faster.
- Shading: Achieved by varying the pressure and duration you hold the pen on the wood.
- Dots: For stippling effects, ideal for intricate designs.
- Hatching: Parallel lines used for shading.
Practicing on Scrap Wood
Don’t test your new skills on your final piece right away. Use scrap wood to practice different techniques and get a feel for the pen. Trust me, it’s better to make mistakes here rather than on your prized project.
Adding Complexity to Your Designs
Once you feel comfortable with the basics, it’s time to add some flair to your designs. Complex designs can elevate a simple wooden object into an impressive work of art.
Incorporating Textures
Using different tips, you can create textures like fur, feathers, or even the grainy appearance of tree bark. Texture adds depth and realism to your work, making it more visually captivating.
Layering and Overlapping
Don’t be afraid to layer your lines and patterns. Overlapping different elements can add depth and complexity, much like shading in pencil sketches.
Adding Color
Pyrography isn’t limited to just shades of brown caused by burning. You can add color by using watercolor paints or colored pencils after you’ve done the burning. Just be cautious with how much water you use, as it can warp the wood.
Assembling a Piece
Sometimes, your project might require assembling different wooden parts. For example, a decorative box or a picture frame can have multiple pieces that require pyrography. Burn your designs on individual pieces first before assembling to ensure every part looks pristine.

Safety Measures You Shouldn’t Ignore
Now, I know talking about safety isn’t the most thrilling topic, but it’s crucial. A pyrography pen can get dangerously hot—hotter than a curling iron, to put it into perspective.
Ventilation is Key
Woodburning releases smoke, and hence, ventilation is crucial. Make sure you’re working in a well-ventilated area. I usually set up a small fan to keep air circulating. Some folks even use a specialized ventilation system if they’re serious about their craft.
Using Safety Gear
Don’t forget your safety gear. Gloves can save you from burns, and a mask can protect you from inhaling smoke particles. Safety goggles are also a good idea to guard against any wood splinters or debris.
Troubleshooting Common Issues
Even seasoned artists run into problems, so don’t get disheartened if you hit a snag.
Uneven Lines
If your lines are uneven, it could be due to inconsistent pressure or temperature. Keep your hand steady and ensure the temperature is consistent.
Splotches and Marks
Random splotches often occur because of lingering on one spot for too long. Practice consistent movements to avoid these.
Fixing Mistakes
Made a mistake? It happens. Light sanding can sometimes fix small errors, but be cautious not to overdo it. For more severe mistakes, consider incorporating the error into your design—sometimes, a happy little accident can turn into an unexpected feature.
Caring for Your Finished Piece
Once you’ve completed your masterpiece, you’ll want to protect it. A finish will safeguard the wood and the design from wear and tear.
Types of Finishes
Several options to consider:
| Type of Finish | Characteristics |
|---|---|
| Clear Varnish | Provides a shiny and durable finish |
| Wood Oil | Enhances the wood’s natural appearance |
| Polyurethane | Highly protective, but can be glossy |
Applying the Finish
Always apply finishes in thin layers, allowing each to dry thoroughly before adding the next. This ensures an even coat and better protection. Sand lightly between coats for a smooth, professional finish.
Exploring Advanced Techniques
Ready to take your skills to the next level? There are advanced techniques and projects to consider once you’ve got the basics down.
Layered Designs
This involves burning multiple layers to create a sense of depth. You can start with lighter shading and gradually add darker lines and patterns on top.
Mixed Media Projects
Combine pyrography with other forms of art like acrylic painting or resin work. These mixed media projects can add a new dimension to your creations.
3D Wood Burning
3D wood burning involves creating a sense of three-dimensionality by varying line thickness, shading intensity, and texture. It requires a keen eye and steady hand but yields stunning results.
Joining Pyrography Communities
One of the best ways to keep improving your skills is to join a community of like-minded individuals. Whether online forums, social media groups, or local clubs, these communities can provide invaluable tips, inspiration, and support.
Sharing Your Work
Social media platforms like Instagram and Pinterest are great for sharing your projects. Not only does it provide motivation, but it can also lead to opportunities for selling your work or even commissions.
Attending Workshops
Workshops can be incredibly informative and are often tailored for varying skill levels. They provide an opportunity for hands-on learning and real-time feedback from experienced artists.
My Journey with Pyrography
You know, diving into pyrography has been quite a journey for me. What started as curiosity turned into a genuine passion. Sitting down with my wood and pen, I lose track of time, entranced by the smells and the gentle motion of the pen gliding over the wood. It’s a beautiful blend of precision and creativity, and that’s what keeps pulling me back to it.
Finding My Style
Everyone has a unique style that develops over time. Initially, my designs were simplistic; think doodles more than art. But as I grew more confident, my pieces evolved. Nowadays, I love adding elements of nature into my work—birds, trees, waves. The organic lines lend themselves beautifully to wood.
Learning from Mistakes
There were plenty of mistakes along the way—a charred piece of wood, uneven lines, and over-ambitious projects that ended up as firewood. Each mistake taught me something valuable, pushing me to refine my techniques and be more patient.
Sharing Pyrography with Others
I’ve also started teaching pyrography to friends and family. People are always fascinated, and it’s gratifying to share something I love. Plus, seeing their creations adds a new layer of enjoyment to the craft.
Conclusion
So, there you have it: a detailed guide on the technique of decorating wood by burning, commonly known as pyrography. From gathering the right tools and materials to mastering basic and advanced techniques, it’s a rewarding journey of creativity and skill-building. You don’t have to be an expert to start, and trust me, you’ll get better over time. Whether you’re looking to pick up a new hobby or aiming to create intricate wooden art, I can tell you from experience—pyrography is a path worth taking.
Who knows? You might just find yourself lost in the captivating dance of fire and wood, creating something both unique and timeless. Happy burning!

