
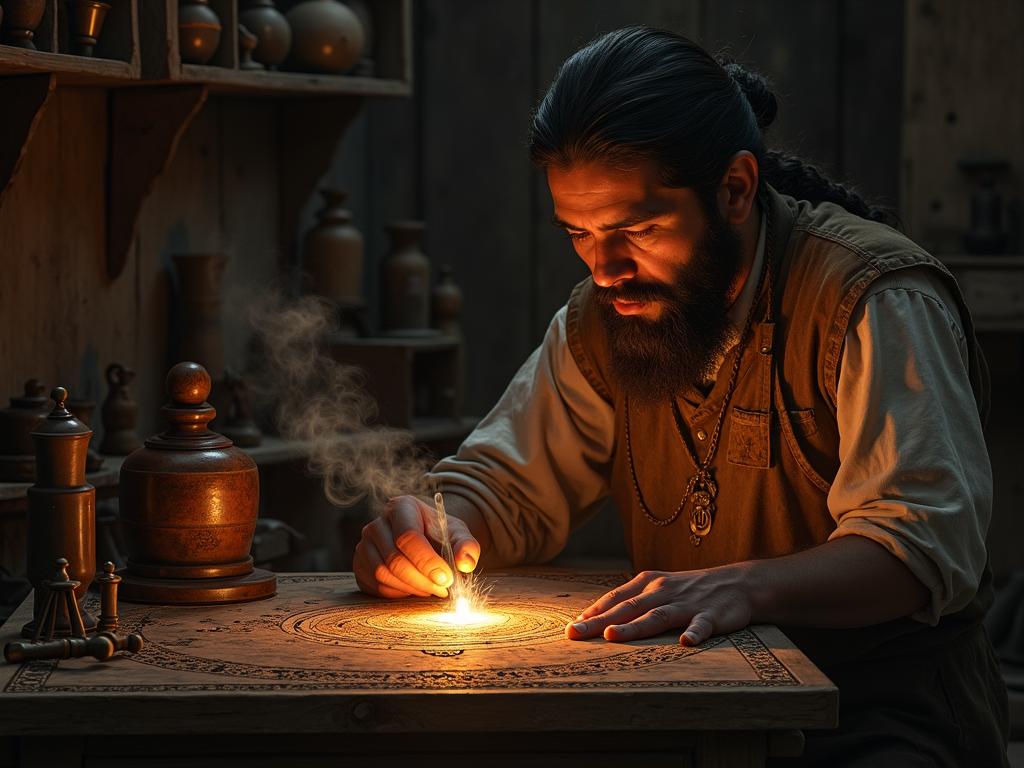
Fire-based art techniques have existed since ancient times, with pyrography emerging as a refined method of burning designs into surfaces. Modern artists create intricate patterns and images on wood, leather, and other materials using specialized tools.
Key Takeaways
- Pyrography is the proper technical term for woodburning, though woodburning specifically refers to burning designs only into wood.
- The craft dates back to ancient civilizations, with evidence found in Egyptian tombs and other early cultures.
- Modern pyrography uses specialized tools like solid-point and wire-nib burners for precise control and detailed work.
- The art form can be applied to various materials besides wood, including leather, gourds, paper, and cork.
- Proper safety measures, including ventilation and protective equipment, are essential for practicing pyrography safely.
Evolution and Precision in Pyrography
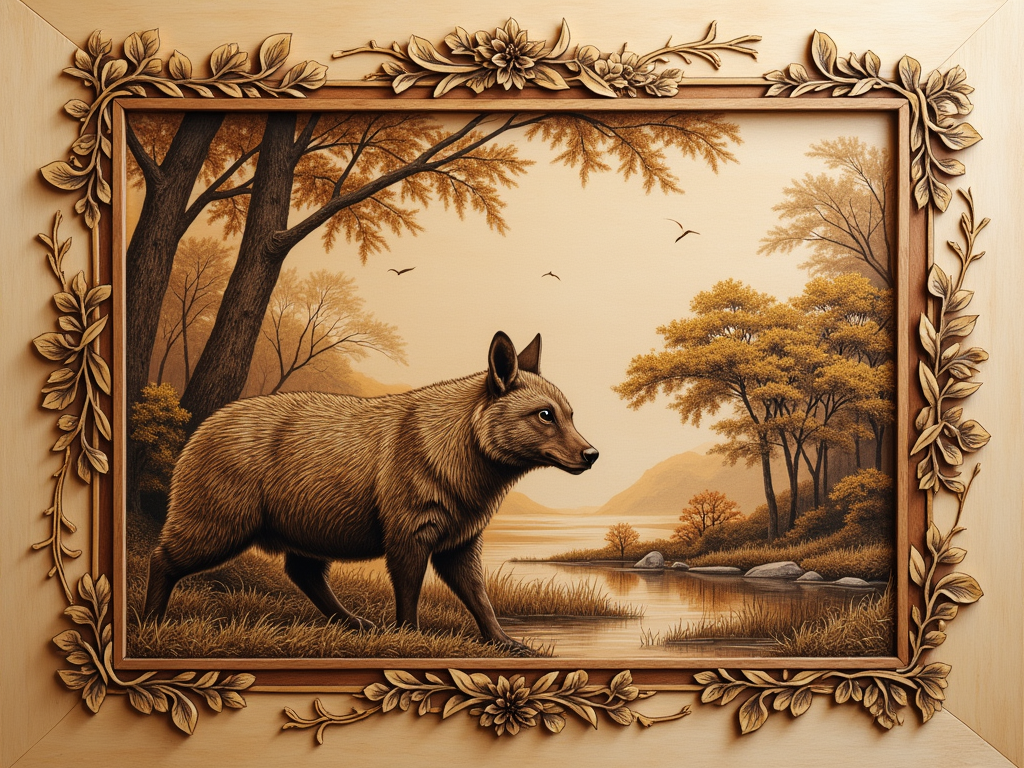
I’ve seen this art form transform from basic scorched patterns to sophisticated designs that rival detailed paintings. My experience spans both traditional woodburning and contemporary pyrography techniques. The precision of modern tools allows for subtle shading and fine lines that early artisans could only dream of achieving.
Material Adaptation in Pyrography
Each material accepts the burning process differently – wood grain enhances natural patterns, while leather creates sharp contrasts. Artists now combine pyrography with other media like watercolors or acrylics to produce mixed-media pieces that push creative boundaries.
The Ancient Art of Writing with Fire
Origins and Etymology
I find the origins of wood burning’s proper name, pyrography, fascinating in its Greek roots. Breaking down the word, ‘pur’ means fire and ‘graphos’ means writing – giving us the direct translation of “writing with fire.” This ancient term perfectly captures the essence of pyrography, an art form that’s stood the test of time.
The practice of decorating wood through burning has left its mark across multiple civilizations and centuries. Archaeological findings have uncovered remarkable examples in Egyptian tombs, showcasing how early artisans mastered this technique. Parallel developments appeared independently in ancient China and Peru, where the Nazca civilization created stunning burned designs on various surfaces.
This artistic practice gained significant momentum during the Victorian era. The introduction of benzoline-fueled machines transformed what was once a painstaking manual process into a more controlled art form. This technological advancement sparked a surge in popularity, making pyrography accessible to both professional artists and hobbyists.
The distinction between casual wood burning and professional pyrography lies in the level of detail and control. While many people might refer to it simply as “wood burning,” understanding the difference between basic wood burning and pyrography helps appreciate the craft’s true depth. Modern pyrographers use specialized tools to create intricate designs, carrying forward a tradition that spans millennia.
Today’s practitioners recognize this storied history through their work, whether they’re creating simple decorative pieces or complex artistic compositions. The technical mastery required in pyrography connects modern artists to those ancient craftspeople who first discovered the beauty of burning designs into wood.
Why Woodburning Is Just Part of the Story
Understanding the Broader Scope
Let me clear up a common misconception – woodburning is actually just one aspect of pyrography. While you might hear these terms used interchangeably, they’re not exactly the same thing. Woodburning specifically refers to burning designs into wood, but pyrography opens up a whole new world of creative possibilities.
I’ve found that the key difference between woodburning and pyrography lies in the variety of materials you can work with. Here are the surfaces that fall under the pyrography umbrella:
- Leather – perfect for creating custom designs on bags and accessories
- Gourds – popular for decorative pieces and containers
- Paper – adds unique texture to art pieces
- Canvas – creates distinctive mixed-media artwork
- Bone – often used in cultural and decorative items
- Cork – great for practical items like coasters
The art of burning designs goes far beyond just wood. This broader application of heat-based design makes pyrography a more accurate term than woodburning. Think of woodburning as a chapter in the bigger story of pyrography – it’s an important one, but there’s so much more to explore. Each material brings its own unique challenges and creative opportunities, making pyrography a truly versatile art form.
Essential Tools for the Modern Pyrographer
Understanding Woodburning Tools
Getting started with pyrography as an art form requires familiarity with the right tools. I’ve found that two main types of burners stand out in the field of wood decoration through burning: solid-point burners and wire-nib burners.
Solid-point burners work like soldering irons, maintaining steady heat throughout your work session. These tools are perfect for beginners learning the basics of wood burning. They’re typically more affordable and simpler to use, making them an excellent starting point for those exploring this craft.
Wire-nib burners offer more control and flexibility in your wood burning journey. With adjustable temperature settings and swappable tips, these tools let you create diverse effects and intricate details. Leading brands like Walnut Hollow, Colwood Detailer, Razertip, and Burnmaster produce reliable wire-nib burners that suit different skill levels and needs.
Key Techniques for Pyrography
The key techniques I use with these tools include:
- Shading: Creating gradual transitions from light to dark
- Outlining: Defining clear boundaries and shapes
- Cross-hatching: Making intersecting lines for texture
- Stippling: Using dots to build up areas of tone
- Lettering: Burning text and decorative writing
These fundamental methods form the foundation of technical wood burning work. Each technique requires practice and patience to master, but they’re essential skills for creating detailed pyrography artwork. Starting with basic shapes and patterns helps build confidence before moving on to more complex designs.
Staying Safe While Writing with Fire
Essential Safety Equipment and Workspace Setup
Safety forms the foundation of successful wood burning artwork and decoration. I recommend setting up your workspace with proper ventilation before starting any pyrography project. A well-ventilated area paired with a fume extraction system helps remove harmful smoke and particles that occur during the wood burning process. Heat-resistant gloves are non-negotiable – they protect your hands from accidental burns while handling hot tools.
Your work surface needs protection too. A heat-resistant mat or metal sheet underneath your project prevents scorching or fire damage to your table. Keep a fire extinguisher nearby and clear the area of flammable materials like paper, fabric, or solvents.
Material Safety and Tool Management
Understanding pyrography techniques includes knowing which materials are safe to burn. Not all woods are suitable for this craft. Here are the key safety points for material selection and tool handling:
- Use only natural, untreated woods – synthetic materials, pressure-treated lumber, or painted surfaces can release toxic fumes
- Clean your wood thoroughly before burning to remove dust and debris
- Never leave hot tools unattended
- Place hot tools in their stands between uses
- Allow tools to cool completely before changing tips or storing
- Keep cords organized and away from your working area
- Unplug tools when not actively using them
I practice pyrography art regularly and can’t stress enough the importance of taking breaks. This helps prevent fatigue and maintains focus on safety procedures. If you notice irritation from fumes, step away immediately and assess your ventilation setup.
Working with any hot tool demands respect and attention. By following these safety guidelines, you can focus on creating beautiful wood burning artwork while protecting yourself and your workspace. Remember that different woods produce different amounts of smoke and require varying levels of ventilation – adjust your safety measures accordingly.
Mastering Different Pyrography Techniques
Essential Pyrography Methods for Stunning Results
Pyrography art techniques offer countless ways to create stunning designs on wood surfaces. I’ve found that mastering these methods can transform basic wood burning into captivating artwork.
Shading brings life and dimension to your pieces through varied pressure and temperature control. By adjusting the heat settings and maintaining steady hand movements, I create smooth transitions from light to dark tones. This technique is particularly effective when depicting natural elements like leaves or animal fur.
Wood burning decoration starts with precise outlining. I always establish clear boundaries for my designs using a sharp-tipped pyrography pen at a consistent temperature. This creates clean, well-defined lines that form the foundation of professional-looking artwork.
Cross-hatching adds remarkable texture and depth through intersecting lines. Here’s how I approach different pyrography techniques:
- Single-direction lines: Perfect for creating basic shading and texture
- Overlapping lines at 45-degree angles: Ideal for deeper shadows and dimensional effects
- Multiple layer cross-hatching: Used for achieving the darkest tones and richest textures
Wood burning and pyrography techniques include stippling, which creates texture through small dots. By varying the density and size of dots, I build gradients and subtle shading effects that work beautifully for creating smoke, clouds, or skin textures.
Calligraphy and lettering in pyrography demand steady hand control and consistent temperature. I typically use specialized nibs for different letter styles:
- Round tips: Best for cursive and flowing scripts
- Shader tips: Perfect for block letters and bold text
- Fine points: Ideal for intricate details and small text
Traditional wood burning methods combine these techniques to create depth and interest. I often layer multiple approaches within a single piece – starting with basic outlines, adding shading, and finishing with detailed stippling or cross-hatching for maximum impact.
For text-based designs, I combine basic pyrography techniques with artistic elements. This might include decorative borders, flourishes, or background textures that complement the lettering while adding visual interest to the overall composition.
Each method requires practice and patience to master. I recommend starting with simple patterns and gradually incorporating more complex techniques as your skills improve. Temperature control remains crucial across all techniques – too hot can cause unwanted burns, while too cool might result in unclear lines.
The Professional’s Guide to Materials
Pyrography art requires specific material knowledge to create stunning pieces. I’ve found that different woods respond uniquely to burning techniques, making material selection crucial for achieving desired results.
Material Properties and Techniques
Hardwoods like maple and oak need higher temperatures and more pressure, while softer woods such as pine and basswood burn easily at lower temperatures. Using proper temperatures for each wood type makes a significant difference in the final outcome.
Here are the key materials and their characteristics:
- Basswood – Perfect for beginners due to its consistent grain and easy burning properties
- Maple – Ideal for detailed work but requires higher heat settings
- Pine – Burns quickly but can produce uneven results due to varying density
- Oak – Excellent for bold, dark burns but needs significant heat control
Alternative materials offer exciting possibilities for wood burning artists looking to expand their repertoire. Leather burning demands careful temperature control to avoid scorching – I start with lower heat settings and gradually increase as needed. Gourds need special preparation, including thorough cleaning and drying before burning.
Paper pyrography is particularly delicate. I maintain minimal contact time and use lower temperatures to prevent burning through the material. Canvas presents similar challenges but can withstand slightly more heat than paper.
Bone and cork create distinctive effects that can’t be achieved with traditional wood. Bone requires high temperatures and produces a unique ivory-like finish, while cork burns easily and creates interesting textural elements.
Safety Considerations
Safety considerations vary by material:
- Natural woods – Check for treatment chemicals
- Leather – Ensure proper ventilation due to specific fumes
- Gourds – Wear a mask to protect from dust during preparation
- Paper/Canvas – Keep a fire-safe workspace with proper ventilation
- Bone – Use extra ventilation and wear protective gear
- Cork – Monitor heat carefully to prevent rapid burning
Professional pyrography techniques adapt to each surface’s unique properties. I always test new materials on a small, hidden area before starting the main project to understand how they respond to heat and pressure.
Sources: