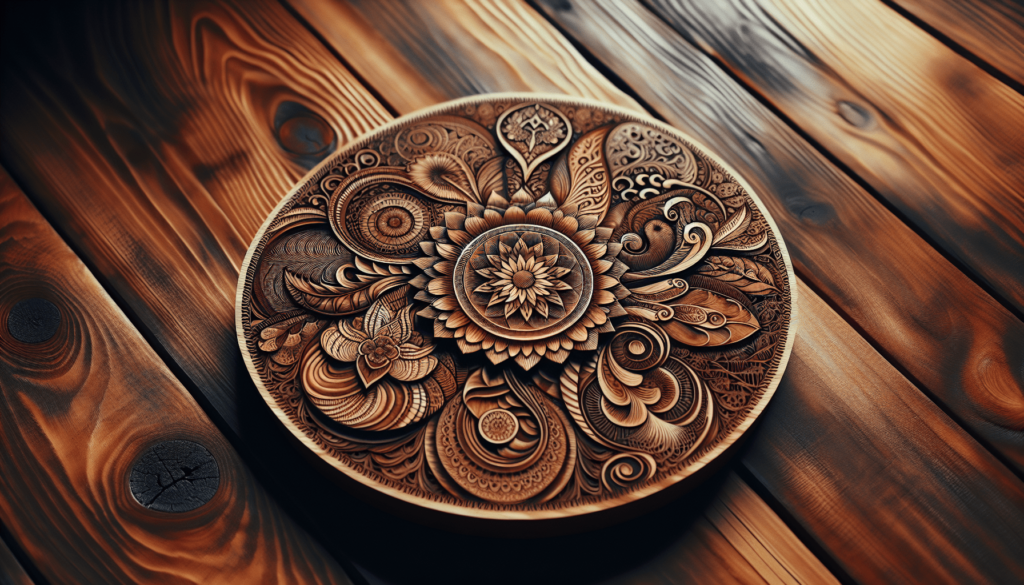
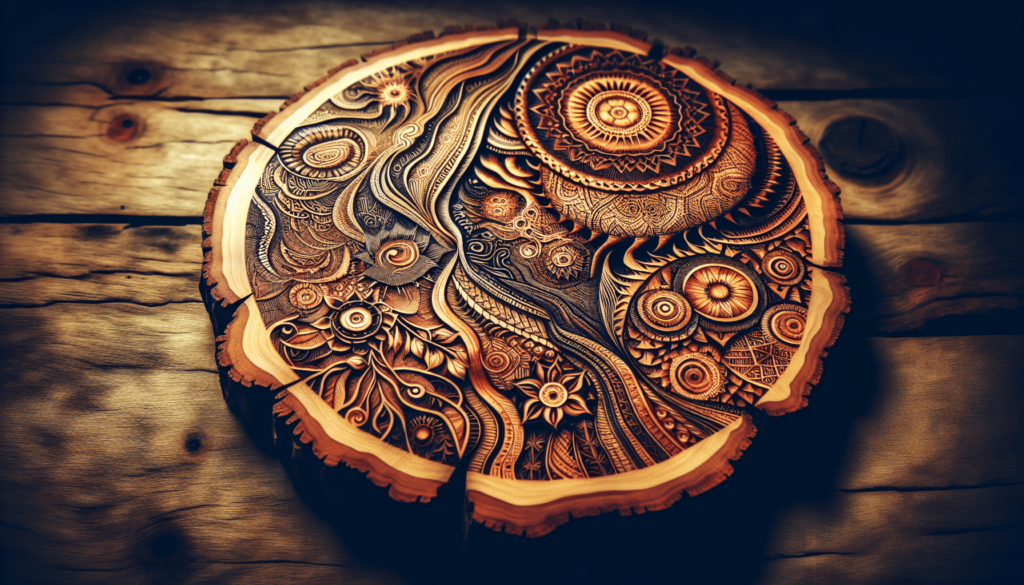
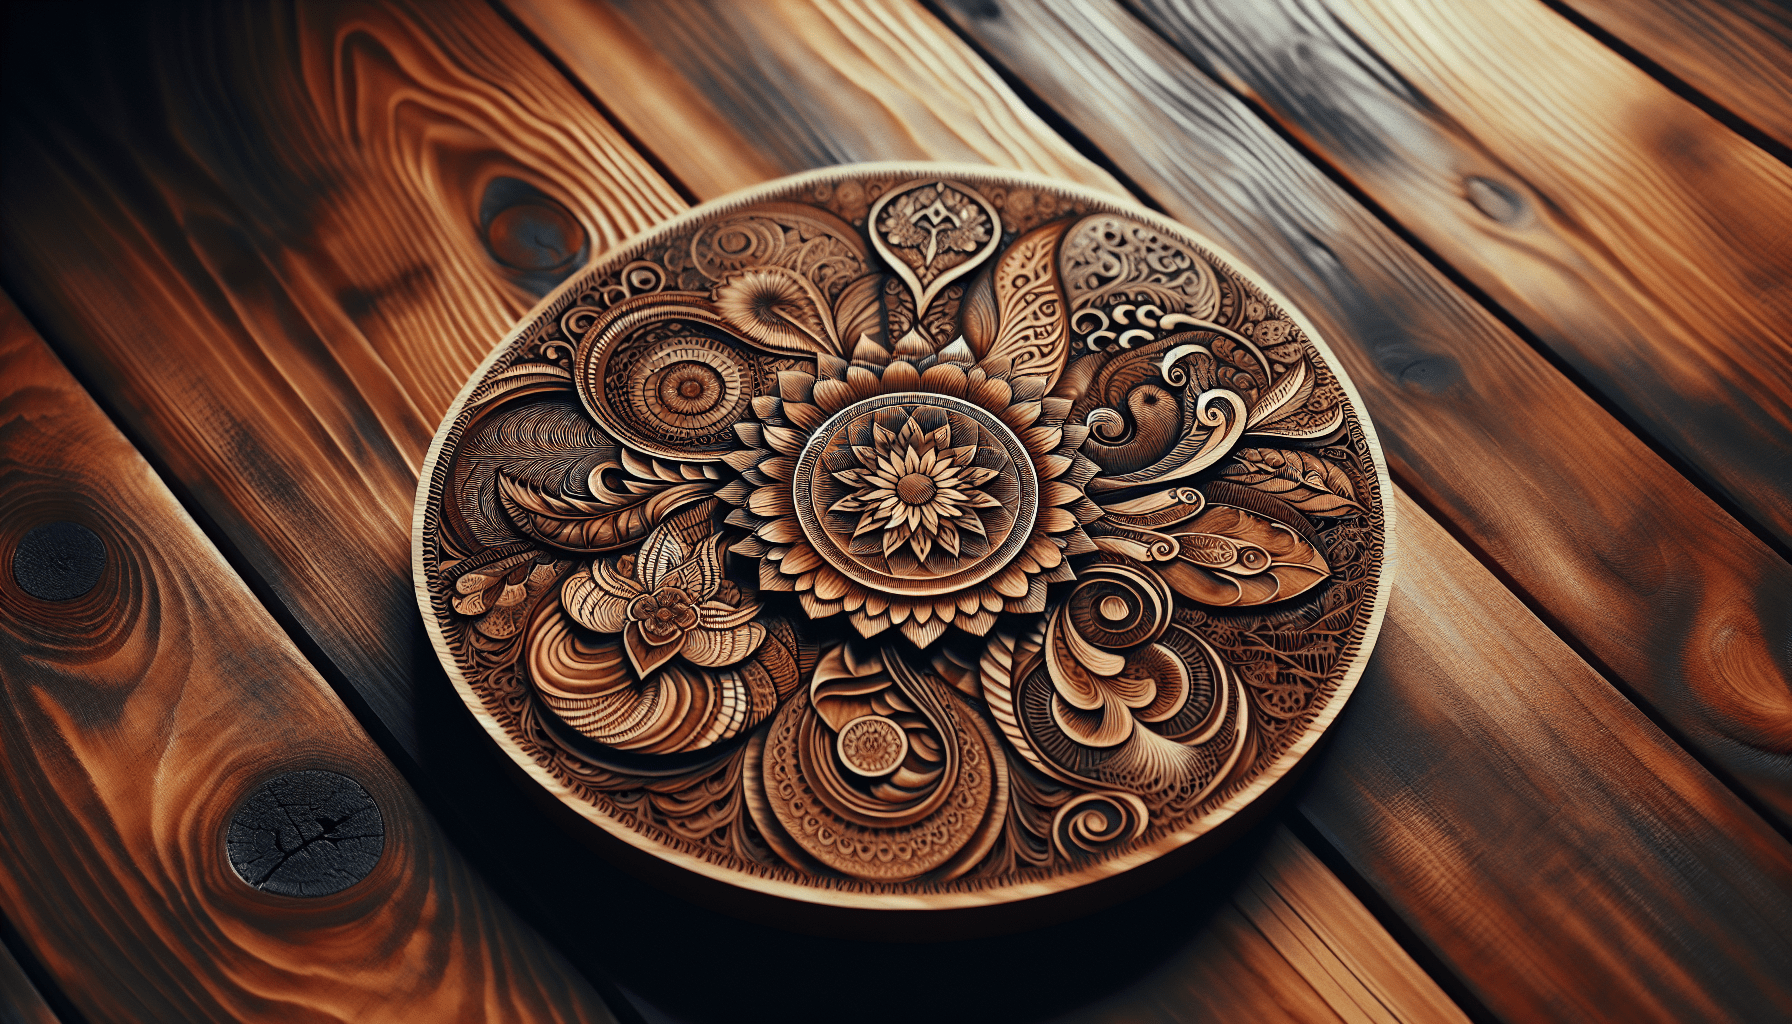
When I first stumbled upon the art of wood burning, I was amazed at how a simple piece of wood could be transformed into a stunning work of art. This fascinating craft, known as pyrography, involves using heated tools to burn designs onto wood surfaces, creating intricate patterns and beautiful images. As I delved deeper into the hobby, I discovered that it offers endless creative possibilities and a unique way to express artistic skills. The rewarding process of watching a design come to life from mere wood and heat has made pyrography a cherished passion of mine. Have you ever wondered what the hobby of wood burning is called? If you’re scratching your head, you’re not alone. You might have seen pretty wooden plaques or kitchenware adorned with intricate designs or words. It’s mesmerizing, isn’t it? That hobby, my curious friend, is known as pyrography.
What Is Pyrography?
Pyrography comes from the Greek words “pur” (fire) and “graphos” (writing). So, essentially, it means “writing with fire.” This fascinating art form involves using a heated tool to burn designs onto materials like wood, leather, and more. I know, it sounds intense, but trust me; once you see it, you’ll be enchanted.
A Brief History of Pyrography
Pyrography isn’t some modern fad. It’s been around since humans discovered fire—a time when decorating weapons, tools, and sacred objects with burnt designs was the rage. Fast forward a few millennia, and in the Victorian era, it evolved into a more refined craft. Lucky Victorians had pyrography machines, the fancy ancestors of the modern tools we use today.
What Do You Need to Get Started?
No need to raid a dragon’s lair for its flames; a basic pyrography kit will do. Here’s a rundown of what you’ll need:
| Tool | Purpose |
|---|---|
| Pyrography Pen | The wand that does the real magic. |
| Wood | The canvas for your masterpiece. |
| Carbon Paper | To transfer designs to the wood. |
| Sandpaper | For smoothing out your wood surface. |
| Safety Gear | Safety glasses and a dust mask, because safety first. |
See? No ancient runes or dark incantations required.
Types of Pyrography Pens
Not all pyrography pens are created equal. You have your options, and each brings something different to the table.
Solid-point Burners
These are like the training wheels of the pyrography world. They’re more affordable and suitable for beginners. You’ll usually find them in starter kits at your local craft store.
Wire-nib Burners
The wire-nib burners are for the more adventurous. They offer more precision and control, letting you create detailed designs. They heat up faster and allow for a smoother workflow.

Choosing the Right Type of Wood
Now, you’ll need a worthy canvas for your fiery artistry. Not all woods are equally eager to be burned, though.
Softwoods vs. Hardwoods
Softwoods like pine and basswood are your best buddies when starting out. They’re more forgiving and easier to work with. Hardwoods? They’re the tough crowd. Oak and mahogany look stunning with pyrography, but they require a deft hand and a lot of patience.
| Type of Wood | Ease of Burning | Ideal For |
|---|---|---|
| Pine | Easy | Beginners |
| Basswood | Very Easy | Intricate Designs |
| Oak | Difficult | Experienced Crafters |
| Mahogany | Challenging | High Contrast Designs |
Techniques and Tips
I remember when I first began—my lines were shakier than a caffeine addict in a coffee shop. But with some practice and guidance, I earned my pyrography stripes. Here are some tips to smooth your journey.
Stippling
Stippling involves creating a series of dots that combine to form an image. The closer the dots, the darker the image. It’s like playing connect-the-dots, but with fire.
Shading
Shading can turn a flat design into a 3D marvel. By varying the pressure and speed, you can create light and dark zones, adding depth to your work. Think of it as the art of not-so-gentle caressing.
Line Art
Line art is where most of us start. Draw or transfer a design onto the wood and simply trace over it with your pyrography pen. It’s deceptively simple but can look stunning with some practice.

Safety First
Before you convince yourself you’re a fire artist, remember safety. No one wants to lose their home to a rogue spark.
Proper Ventilation
Burnt wood smells pretty, but those fumes? Not so much. Keep your workspace well-ventilated. Better yet, invest in a small fan to direct the fumes away from you.
Fire Safety Gear
Even if you’re channeling your inner fire mage, always wear safety goggles and a dust mask. You’ve only got one pair of lungs and two eyes—protect them.
Keep a Fire Extinguisher Handy
Look, accidents happen. Keep a fire extinguisher in reach, and familiarize yourself with its use. An ounce of prevention and all that jazz.
Practice Makes Perfect
Start with simple designs before tackling that epic dragon you’ve been dreaming of. My first work was a wobbly heart; now, I can manage a semi-decent phoenix. Progress takes time, but every heartbeat you put into it is worth it.
Finishing Techniques
Finishing can make a huge difference. It’s like the final touch that turns a dish from good to gourmet.
Sanding
Start and finish with a good sand. A rough piece of wood messes with the pen’s smoothness, while sanding afterward removes any residual marks and smoothens the design.
Sealing
Sealing your work protects it from dust and moisture. A natural oil finish or a polyurethane sealant works wonders. Just make sure to pick a non-toxic one if it’s for kitchenware.
Advanced Pyrography: Leveling Up
Once you’ve gotten comfortable with the basics, it’s time to unleash your inner Van Gogh.
Mixed Media
Don’t limit yourself to wood. Leather, paper, and even gourds can be burned to create unique pieces. The world is your flamellaneous oyster.
Color Pyrography
Adding colors takes your pyrography to another dimension. You can use colored pencils, inks, or even acrylic paints. Just remember to burn first and color later.
Joining the Pyrography Community
Don’t go setting wood on fire all alone in your basement. Join clubs, online forums, or social media groups. Sharing your burning passion (pun intended) with others is half the fun.
Keeping It Social
Instagram, Pinterest, Reddit—all these platforms are bustling with pyrography enthusiasts. Post your work, seek advice, and get inspired by others.
My Pyrography Journey
Now, if you’re still with me, let’s talk a little about my own pyrography voyage. I started because I needed a creative outlet that didn’t involve screen time. Finding a community of like-minded fire aficionados only fueled my passion.
I began with a simple kit and, believe me, my first pieces were nothing to write home about. But with practice, patience, and a fair amount of burnt fingers, I grew better. My favorite piece? A wooden plaque of a raven, full of detailed feathers and shaded wings.
What Pyrography Can Do For You
Apart from spiking your love for fire, pyrography offers a therapeutic experience. The rhythmic motions, the smell of burning wood, the focus required—all of these can be incredibly meditative.
Personal Growth
You’ll learn patience, focus, and even humility (especially after your first few attempts). Watching yourself improve and create something beautiful is immensely rewarding.
Gifts and Keepsakes
Handmade gifts have a charm that store-bought items can’t match. A personal touch goes a long way.
Final Thoughts
So, what’s stopping you from trying your hand at pyrography? Armed with a little knowledge and a lot of enthusiasm, you can create something truly unique. Whether it’s a hobby or a new side hustle, the world of pyrography offers endless possibilities.
If you do decide to pick up the pen and start burning, remember to take it slow, embrace the learning curve, and most importantly, have fun with it.
Now, go forth and create something extraordinary, you budding pyromancer, you!

