Shou Sugi Ban (Yakisugi): The Japanese Wood Preservation Technique
The Japanese wood preservation technique, Shou Sugi Ban, or more accurately Yakisugi, gives ordinary lumber remarkable durability through charring. This 18th-century method creates weather-resistant surfaces that last 80-100 years with proper maintenance, making it perfect for traditional and modern buildings.
Key Takeaways
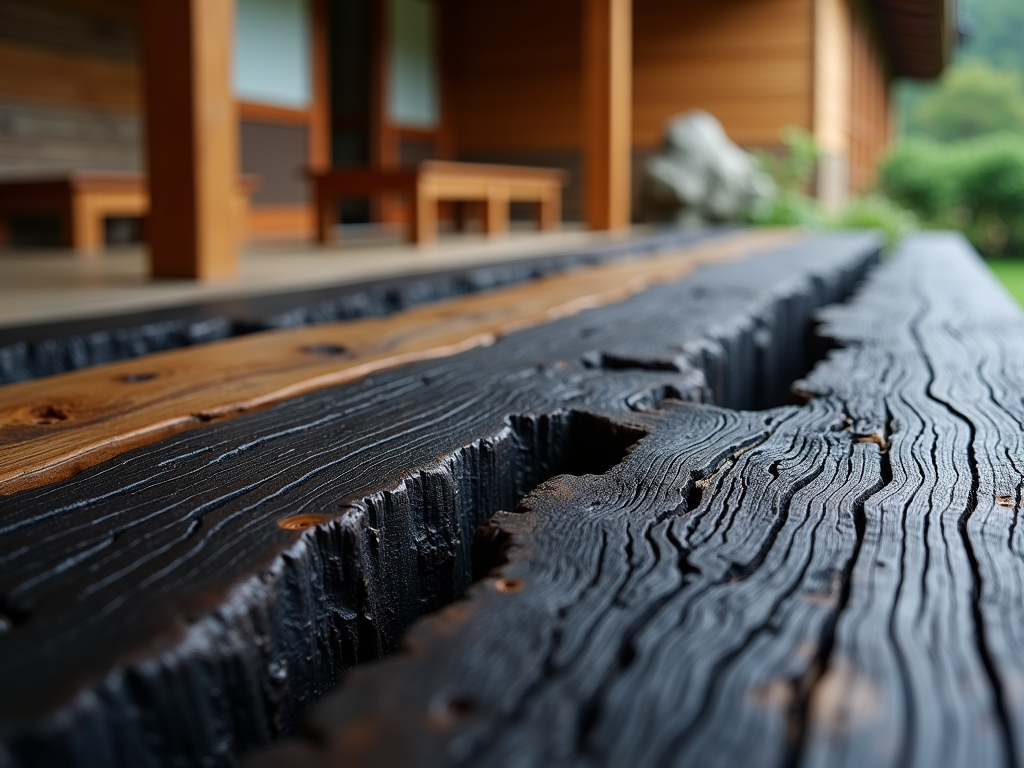
- The technique involves burning wood surfaces until they form a crocodile-skin-like texture that resists water and deters pests.
- Japanese Cedar (Sugi) stands out as the traditional and best wood choice, though Western Red Cedar and other species work well too.
- The correct Japanese term is “Yakisugi,” meaning “burnt cedar,” while people outside Japan commonly use “Shou Sugi Ban” incorrectly.
- Regular re-oiling helps treated wood last up to 80-100 years.
- The process creates fire-resistant properties and UV protection while delivering a striking aesthetic with deep black tones.
The Ancient Japanese Art of Charred Wood Revealed
Origins and Evolution of Shou Sugi Ban
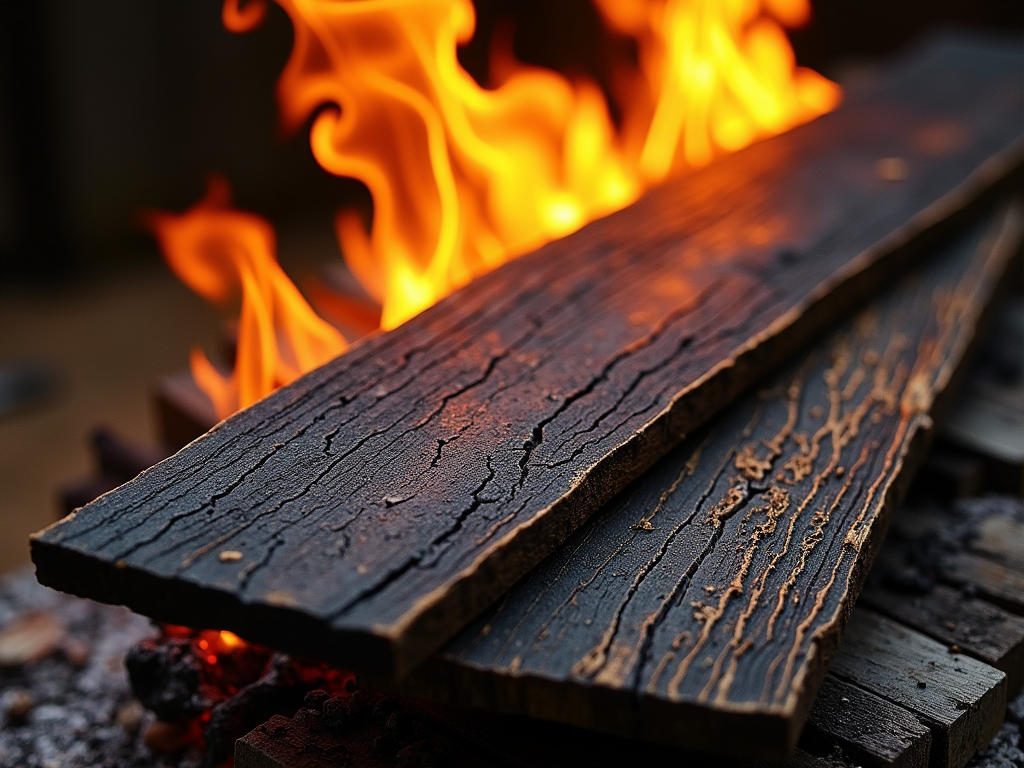
The Japanese wood preservation method known as Shou Sugi Ban dates back to the 18th century, where it was first used to protect exterior siding on homes and buildings. This stunning ancient wood burning technique transforms ordinary lumber into remarkable, long-lasting material through a careful charring process.
My research into this traditional wood burning practice has revealed its impressive durability. When properly maintained, Shou Sugi Ban treated wood can last 80-100 years, making it an excellent investment for both residential and commercial projects. The technique’s name itself has variations – while ‘Shou Sugi Ban‘ is commonly used internationally, in Japan it’s often called ‘Yakisugi‘, which directly translates to ‘burned cedar board’.
Benefits and Applications
The wood burning treatment process creates multiple protective qualities that set it apart from other finishing methods. Through controlled charring, the wood surface develops:
- A natural water-resistant barrier that prevents moisture damage
- Fire-retardant properties that increase safety
- Pest resistance that keeps insects at bay
- A unique aesthetic with deep black tones and striking grain patterns
- UV protection that reduces sun damage
I’ve found that this distinctive wood burning method works particularly well on cedar, though other wood species can also be treated successfully. The process involves carefully burning the wood surface until it develops a crocodile-skin-like texture. After charring, the surface is cleaned and sealed, resulting in a finish that’s both striking and protective.
Today, this traditional wood burning technique has gained popularity beyond Japan, finding its way into modern architecture and design. Architects and designers appreciate its sustainability, minimal maintenance requirements, and the way it creates depth and character in their projects.
Understanding the True Name: Yakisugi vs Shou Sugi Ban
Origins of Yakisugi
The authentic name for traditional wood burning in Japan is Yakisugi, which directly translates to “burnt cedar” in English. I find it fascinating how this specific term captures the essence of the technique, as it was originally created for use with Japanese Cedar (Sugi). The practice gained prominence in Japanese architecture during the Edo period, where craftsmen discovered that burning cedar created an incredibly durable and visually striking surface.
Setting the Record Straight
While many people often refer to this wood burning technique as Shou Sugi Ban, that’s actually a misinterpretation. I’ve learned that this confusion stems from an incorrect reading of the Japanese characters. The proper term Yakisugi reflects both the process (burning) and the material (cedar) in its most accurate form.
Here’s what makes the Yakisugi technique stand out:
- Creates a deep, charred surface that protects the wood
- Enhances the natural grain patterns through controlled burning
- Produces a unique black finish that varies in intensity
- Forms a protective layer that resists weather, insects, and decay
- Results in reduced maintenance requirements over time
This burning technique transforms ordinary cedar into something extraordinary, with each piece telling its own story through the varied patterns of char. The process creates subtle variations in texture and color, making every project unique. I’ve found that the resulting surface doesn’t just look striking – it’s also incredible at protecting the wood underneath, serving both practical and aesthetic purposes in modern architecture and design.
Choosing the Right Wood for Charring
Traditional and Premium Wood Options
Japanese Cedar (Sugi) stands out as the prime choice for wood burning decoration techniques. Its distinctive grain pattern and natural resistance to decay make it perfect for creating stunning charred finishes. I’ve found that Western Red Cedar and Alaskan Yellow Cedar serve as excellent alternatives, offering similar characteristics at a more accessible price point.
Practical Wood Selections
Pine species have proven themselves remarkably suitable for wood burning projects. Southern Yellow Pine delivers consistent results with its pronounced grain pattern, while Radiata Pine offers a smoother surface for more detailed work. I regularly recommend Cypress and Larch as durable options that take well to charring. Accoya, a modified wood product, has caught my attention for its exceptional stability and charring properties.
Here are the key factors I consider when selecting wood for charring:
- Grain density and pattern visibility
- Local availability and cost effectiveness
- Natural resistance to decay
- Moisture content and drying time
- Surface texture and workability
The Janka hardness scale helps me determine a wood’s suitability for artistic wood burning. Softer woods like cedar score between 350-580, making them ideal for detailed char work, while harder options like Larch (550-830) provide more durability. I’ve learned that geographic location significantly impacts wood choice – what’s readily available in Japan might be cost-prohibitive in North America. That’s why I suggest exploring local alternatives that match the desired characteristics of traditional options.
Transform Your Space with Charred Wood
Versatile Applications for Modern Living
The striking beauty of charred wood techniques can transform both interior and exterior spaces. I’ve seen stunning exterior siding installations that create a bold, modern statement while providing natural weather resistance. The deep, rich textures make an immediate impact on any building facade.
Beyond siding, this ancient wood burning technique shines in various applications:
- Fence designs that stand out with unique patterns and textures
- Durable decking that resists weather and wear
- Statement interior accent walls that catch the eye
- Custom furniture pieces for both indoor and outdoor settings
- Decorative beams and architectural elements
The beauty of wood burning artistry goes beyond aesthetics. This treatment method offers significant sustainability benefits since it doesn’t require harmful chemicals to protect the wood. The charring process actually enhances the wood’s natural fire resistance, making it a smart choice for various applications.
To maintain the stunning appearance of charred wood, I recommend regular maintenance through re-oiling. This simple step helps preserve the wood’s rich color and protective properties. The frequency of re-oiling depends on the specific application and exposure to elements, but typically ranges from every 5-15 years for exterior applications.
Wood burning decoration has gained popularity in modern architecture and design, thanks to its perfect blend of traditional craftsmanship and contemporary appeal. The technique creates a distinctive carbon layer that shields the wood from moisture, insects, and decay, making it practical and beautiful.
The process, also known as traditional wood burning, results in a surface that’s both tactile and visually interesting. Each piece develops its own unique character, with variations in char depth and texture creating one-of-a-kind patterns. This natural variation means no two pieces are exactly alike, adding to the material’s appeal in custom design projects.
From DIY to Professional: Making the Right Choice
Wood burning techniques can be approached from either a DIY or professional angle, with each path offering distinct benefits. Safety stands as my primary concern for anyone taking the DIY route – proper protective equipment like heat-resistant gloves, safety goggles, and a respirator mask are non-negotiable items.
Essential Tools and Safety Considerations
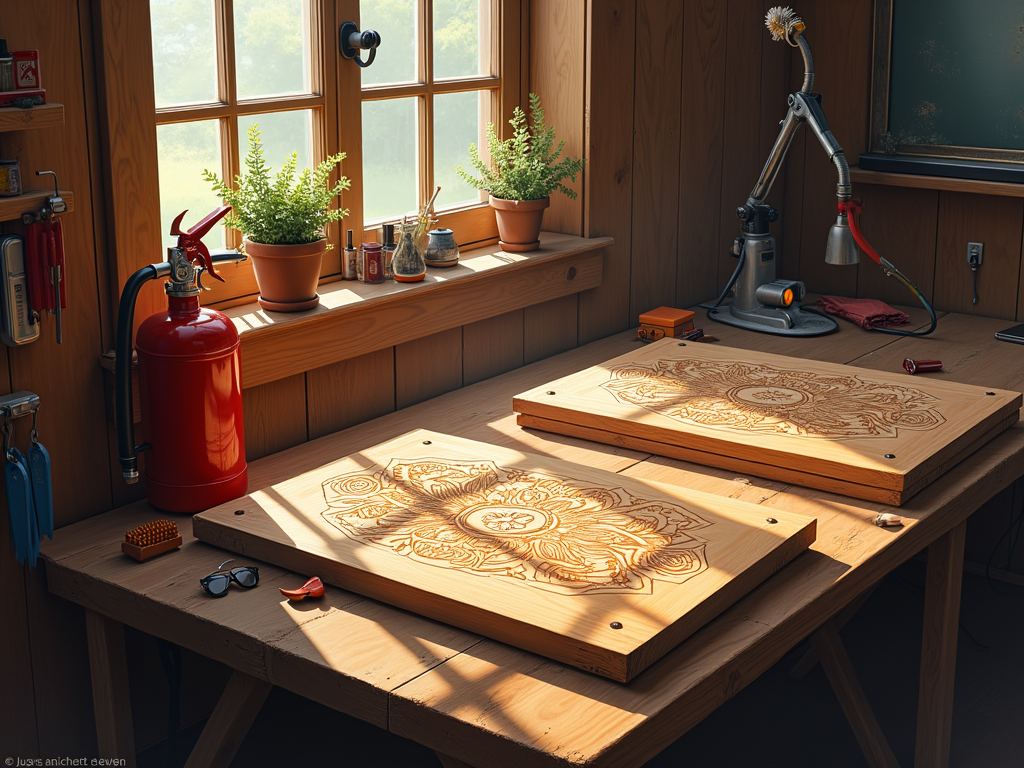
Before starting your wood burning art project, I’ve found these basic tools crucial for success:
- A quality propane torch with adjustable flame control
- Wire brushes in various sizes for texture creation
- A heat-resistant work surface
- A fire extinguisher within reach
- A proper ventilation system or outdoor workspace
- A temperature gauge for monitoring wood heat
Professional services typically bring specialized equipment and deep expertise to the table. While I can confirm that DIY projects might save money initially, professional work often delivers superior results through years of hands-on experience and access to commercial-grade tools.
The cost difference between DIY and professional work varies significantly. A basic DIY setup might run $100-300 for tools and materials, while professional services can range from $500-2000 depending on project scope. I believe the choice often comes down to your comfort level with tools and available time commitment.
Time investment differs dramatically between the two approaches. Traditional wood burning as a DIY project might take several weekends to master basic techniques, while professionals can complete complex projects efficiently due to their experience and specialized equipment.
Your skill level plays a crucial role in the decision-making process. If you’re new to woodburning craft techniques, starting with simple patterns on scrap wood helps build confidence. Professional services become particularly valuable for intricate designs or when working with expensive wood species.
I recommend assessing these key factors before deciding:
- Project complexity and desired outcome
- Available time for learning and execution
- Budget constraints and tool investments
- Safety requirements and workspace limitations
- Long-term plans for future projects
The wood burning decoration technique requires patience and practice to master. Professional services might be worth considering for important pieces or when specific results need guaranteeing. However, DIY projects can provide personal satisfaction and skill development opportunities if you’re willing to invest time in learning proper techniques.
Sources: