
Pyrography demands the right tools, proper materials, and essential safety precautions. Choosing between a solid-point or wire-nib burner, working with suitable woods, and ensuring a ventilated, fire-safe workspace all contribute to better results and a safer experience.
Key Takeaways
- Pyrography pens come in two types: solid-point burners work well for beginners, while wire-nib burners provide precise temperature control for intricate details.
- Surface selection matters. Light-colored hardwoods like basswood and birch offer fine grain and strong contrast, making them the best choices.
- Safety measures keep hazards in check. Good ventilation, fume extractors, and fire safety tools like extinguishers and first-aid kits are essential.
- Tool maintenance boosts performance. Cleaning with brass wire brushes and stropping leather keeps tips in top condition for smooth burning.
- Optional enhancements like sanding tools, rotary tools, and airbrushing can bring added depth, texture, and color to your designs.
Choosing the Right Pyrography Pen
Picking the right pyrography pen makes a big difference in how detailed and controlled your work turns out. There are two main choices: solid-point burners and wire-nib burners.
Solid-Point Burners vs. Wire-Nib Burners
Solid-point burners work like soldering irons. They usually come with brass tips that you can swap out for different effects. These are great for beginners because they’re simple to use. However, they often have limited temperature control, typically with just an on/off or high/low setting. If you’re just starting, a solid-point burner gives you a good feel for how wood reacts to heat without overwhelming you with settings.
Wire-nib burners, on the other hand, are built for precision. Instead of a solid tip, these pens use thin nichrome wire that heats up quickly and allows fine adjustments to temperature. This makes them perfect for creating intricate details. Most wire-nib burners give you precise temperature control, usually ranging from 392°F to 1472°F (200°C to 800°C).
The type of nib you use also affects your design. You’ll find ballpoint, loop, shading, spear, writing nibs, and skews. Each one lets you achieve different textures and details, so having a variety on hand expands your creative options. If you’re unsure which pen suits you best, check out this guide on choosing the right pyrography tool for different surfaces.

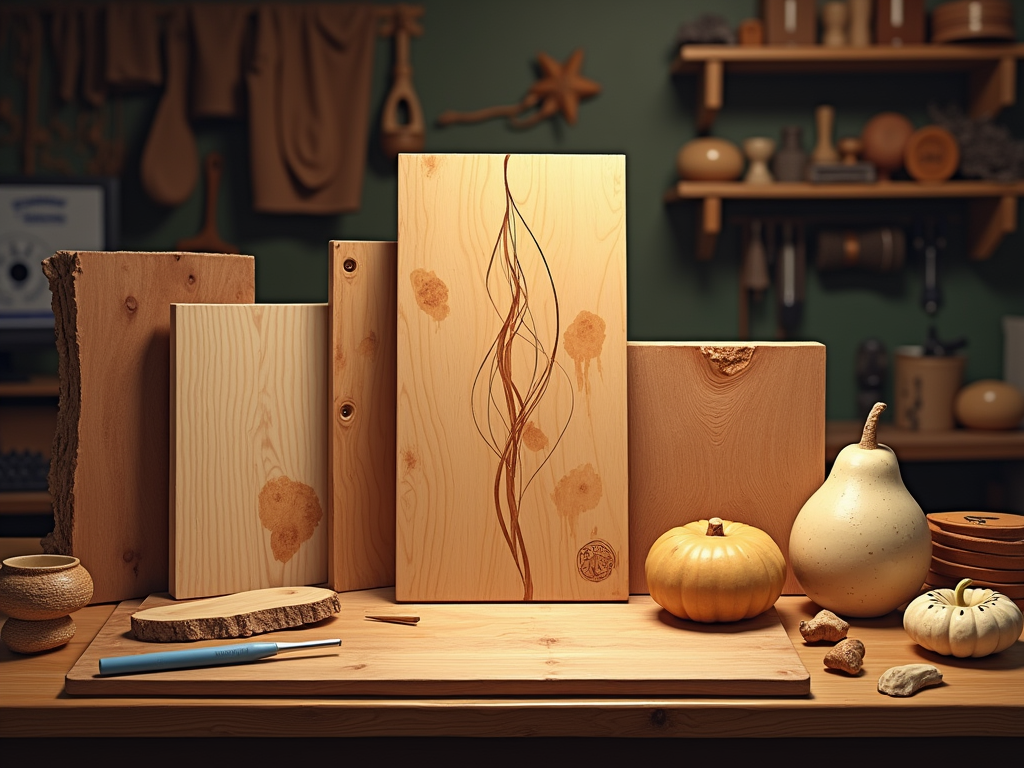
Selecting the Best Surface for Pyrography
The surface you choose affects how well your design turns out. Wood is the most common choice, but leather, gourds, paper, and even bone work too. Light-colored hardwoods like basswood, birch, poplar, maple, and aspen are ideal because of their smooth grain and strong contrast.
Choosing the Right Wood
Some woods are easier to burn than others. The best options have a fine grain and fall within a Janka Hardness Scale range of 400 to 1500 lbf. Consider these choices:
- Best: Basswood, birch, poplar, maple, aspen
- Usable but tricky: Pine (uneven grain), oak (tougher to burn)
- Avoid: MDF, particleboard, plywood (toxic fumes)
Working with Other Materials
Leather must be vegetable-tanned to avoid harmful chemicals. Gourds should be thoroughly dried and cleaned first. Always work in a well-ventilated space and use a respirator when needed to protect against harmful fumes.
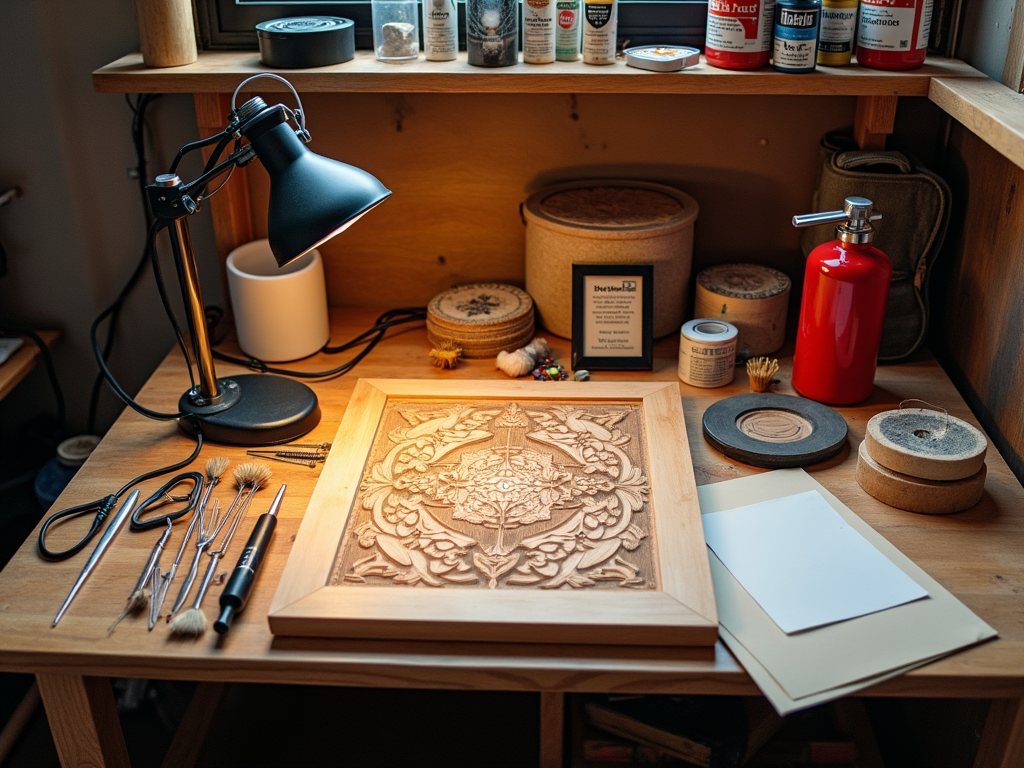
Must-Have Accessories for a Safe and Smooth Experience
Keeping Your Workstation Safe
Stands and holders keep hot pyrography pens from burning unintended surfaces. A metal stand is the go-to choice because it resists heat and prevents accidental fires.
Proper ventilation is just as important. A fume extractor with an activated carbon filter helps pull harmful smoke away while a basic fan improves airflow. If you’re working for long periods, an N95 or P100 respirator adds another layer of protection.
Fire safety gear should never be overlooked. A fire extinguisher is a must, along with a fire blanket and a first-aid kit. It’s always better to have them within reach than to wish you did.
Maintaining Tools and Improving Your Craft
Pyrography tips collect carbon buildup, which can affect performance. Tools like brass wire brushes, stropping leather, and polishing compounds keep tips clean and ensure smooth burning.
Transferring designs onto wood is easier with the right materials. Graphite paper, carbon paper, and tracing paper help replicate patterns with accuracy. These tools save time and keep layouts consistent.
Finishing supplies bring out the best in pyrography pieces. Polyurethane, varnish, and wax add protection while sandpaper smooths out rough surfaces. A well-finished piece not only looks polished but also lasts longer.
If you’re just starting, getting a complete pyrography kit for beginners ensures you have the essentials from the start.
Optional Tools That Elevate Your Work
A smooth surface makes all the difference in pyrography. Sanding tools—ranging from fine to coarse sandpaper—help prepare wood before burning. A well-sanded surface allows the tool to glide effortlessly, creating clean and precise lines.
For added texture and depth, rotary tools with sanding bits bring another level of detail. These tools make it easier to carve sections or smooth rough edges after burning. They’re especially useful for enhancing contrast and creating more dynamic artwork.
Adding color to your pieces takes pyrography beyond traditional burned designs. Airbrushes make blending shades seamless, whether you’re adding natural wood tones or vibrant hues. Layering color over burned details can give artwork a more three-dimensional look.
To push your skills further, choosing essential pyrography tools alongside these extras ensures better results. Investing in the right add-ons transforms basic designs into professional-quality creations.
https://www.youtube.com/watch?v=FfgavEJYWHY
Sources:
The Complete Pyrography by Stephen Poole
Pyrography Basics: Techniques and Exercises for Beginners by Lora S. Irish
Great Book of Woodburning by Lora S. Irish
Woodburning 101 by Bob and Corine Walkup
Pyrography For Beginners Handbook by Stephen Fleming