I’ve always been fascinated by the art of wood burning—it’s like creating a timeless piece of art with just heat and imagination. So, when I first started, one of my burning questions (pun intended) was, “What is this nifty tool actually called?” Well, it turns out, the term you’re looking for is a “pyrography pen” or “wood burning pen.” This intriguing tool allows you to etch intricate designs and patterns into wood, leaving behind beautifully charred lines that can range from delicate and subtle to bold and striking. If you’re curious about diving into this artistic craft, getting yourself a pyrography pen is the first step to turning plain pieces of wood into extraordinary works of art. Have you ever wondered exactly what that tool is called that’s used to create those beautiful, intricate designs on wood? It’s called a wood burning tool, but if you’re like me and prefer to sound fancy at your next dinner party, you might refer to it as a pyrography pen. Pyrography, a term that sounds like something you’d hear in a Harry Potter spell, actually comes from Greek words that mean “writing with fire.” This name alone should clue you in on just how cool and intricate the art of wood burning can be.
The Basics of Pyrography
Let’s start with the basics, shall we? Pyrography is an art form that involves decorating wood or other materials with burn marks created by a heated tool. It’s an ancient practice, dating back to the time when cavemen were using hot sticks to mark on the walls of their caves. Sure, our tools have evolved since then, and now we have something more sophisticated.
What Exactly is a Pyrography Pen?
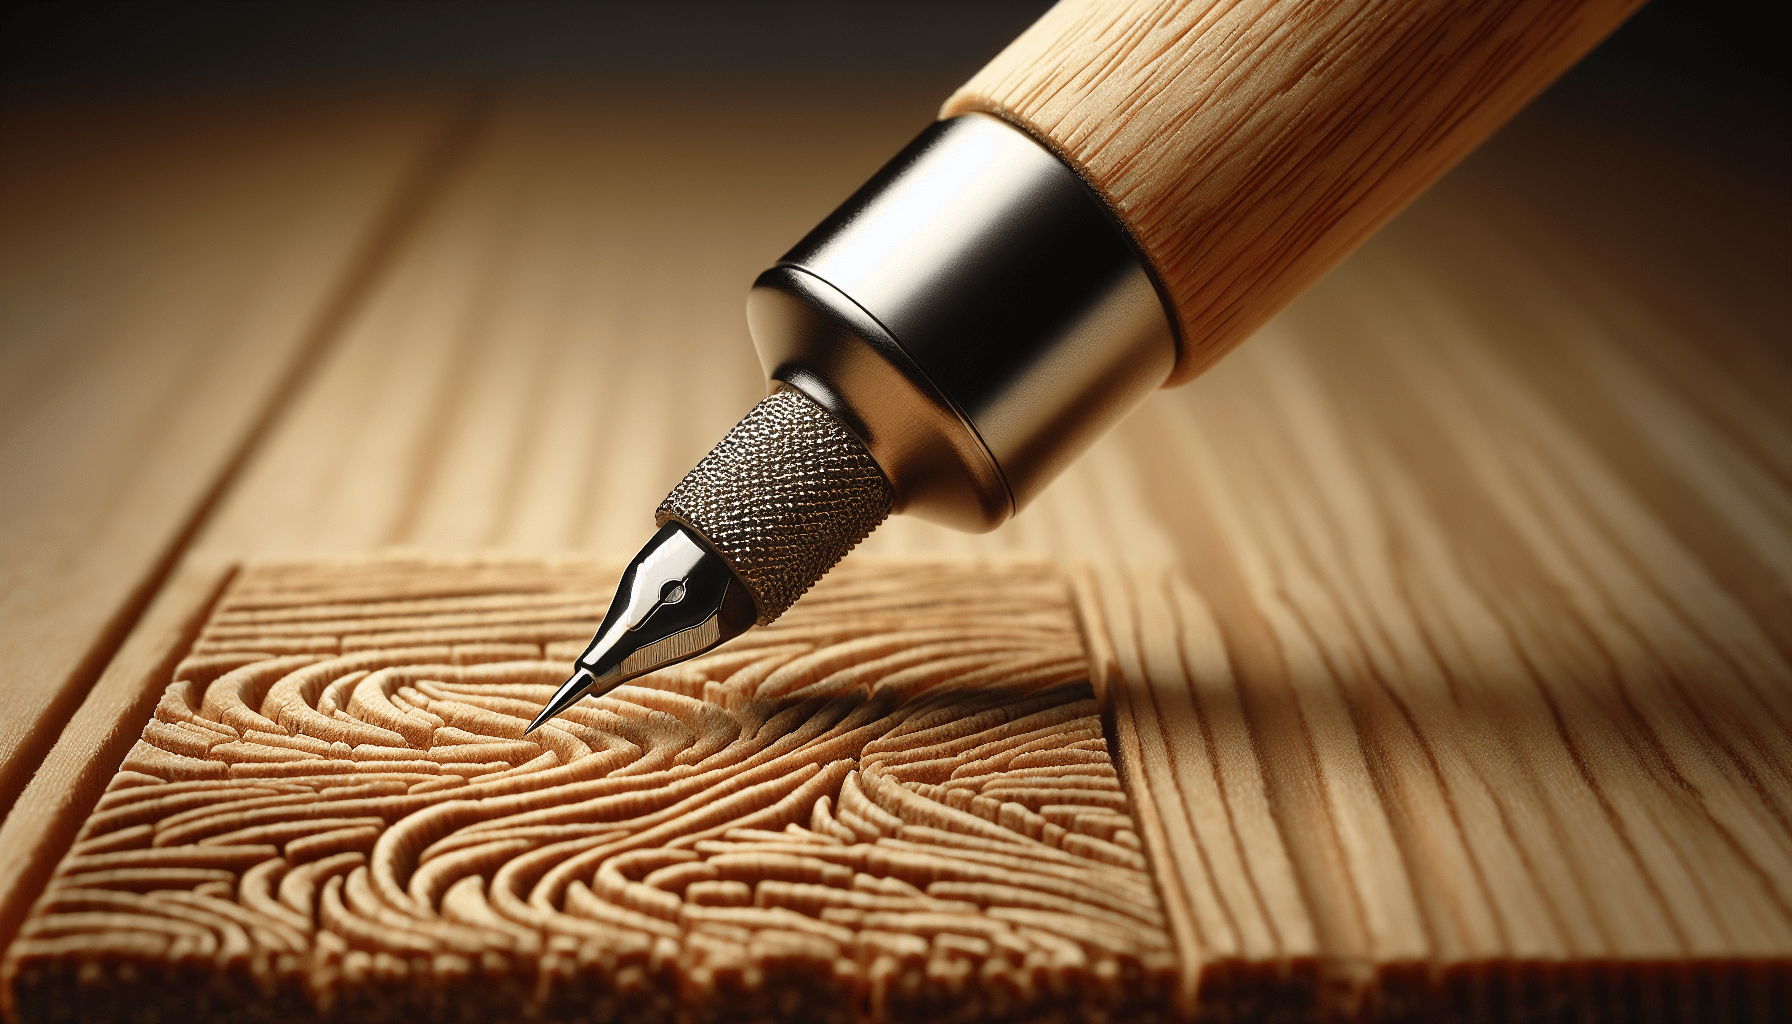
A pyrography pen is the modern equivalent of those hot sticks but is far more advanced. Essentially, it’s a handheld device that gets extremely hot at the tip, allowing you to burn images or designs into the wood. You might find various types and models, ranging from basic ones you’d gift to a child (who you trust not to burn down your house), to professional-grade models with temperature controls and interchangeable tips.
Types of Pyrography Pens
There are primarily two types of pyrography pens: solid-point burners and wire-nib burners. Here’s a simple table to help you understand the differences:
| Type | Features | Best Suited For |
|---|---|---|
| Solid-Point Burners | Basic models, fixed tips, heats up slower | Beginners, simple projects |
| Wire-Nib Burners | Interchangeable tips, heats up quickly, temperature control | Experienced users, intricate designs |
Why Choose Pyrography?
Now, you might ask, “Why bother with this whole pyrography thing?” Well, for one, it’s incredibly therapeutic. There’s something mesmerizing about the smell of burning wood and watching your designs come to life. It’s almost meditative.
The Therapeutic Benefits
When I first got my hands on a pyrography pen, I thought it would be just another hobby. But it’s become more than that. It’s a stress reliever. After a long day of dealing with life’s little adversities, sitting down with a pyrography pen can be extremely calming.
The Satisfaction of Creation
The satisfaction of seeing a finished piece is another perk. Imagine gifting someone a personalized wooden plaque that you’ve spent hours perfecting. Not only is it a unique gift, but it also comes with a piece of your heart and a faint scent of singed pine.

Getting Started with Pyrography
Alright, let’s get down to the nitty-gritty. How do you get started with this delightful art form? It’s simpler than you might think, and I’ll walk you through it step-by-step.
Gathering Your Supplies
First thing’s first, you need to gather your supplies. Basic starter kits are available at most arts and craft stores and usually include a pyrography pen, several tips, and a piece of practice wood. Here’s a quick list of what you’ll need:
- Pyrography Pen: Obviously, you can’t burn without the pen.
- Tips/Nibs: Different tips for varying line widths and textures.
- Wood: Some softwoods are best for beginners.
- Sandpaper: To smoothen the wood surface.
- Graphite Paper: For transferring designs.
Preparing Your Work Area
You’ll need a well-ventilated area because, let’s be honest, burning wood doesn’t exactly smell like roses. Make sure you have good lighting and a stable surface to work on. I use my kitchen table, much to my partner’s chagrin, but hey, art requires sacrifices!
Choosing the Right Wood
This is crucial. Not all wood is created equal when it comes to pyrography. Soft woods like pine and basswood are great for beginners. Avoid woods with high resin content like cedar or redwood; they can get sticky and difficult to burn cleanly.
Here’s a brief table of types of wood with their pros and cons:
| Wood Type | Pros | Cons |
|---|---|---|
| Basswood | Soft, easy to burn | May need sanding |
| Birch | Fine grain, smooth burns | Slightly harder than basswood |
| Pine | Readily available, easy to use | High resin content |
| Maple | Durable, professional finish | Harder, may require stronger heat |
Transferring Your Design
You can either freehand your design or use a stencil. Being someone who can barely draw a stick figure, I opt for using graphite paper to transfer my designs. Just place the graphite paper shiny side down on the wood, place your design on top, and trace over it with a pencil.
The Art of Burning
Now comes the fun part: burning your design into the wood. This is where your pyrography pen and chosen tips come into play.
Temperature Control
This is crucial. Think of it like cooking; too little heat and nothing happens, too much and you’ve got a charred mess. Wire-nib burners usually come with temperature controls, which can make a huge difference in the outcome of your work.
Types of Strokes and Techniques
There are several different strokes and techniques to master:
- Straight Lines: Keep your hand steady.
- Curved Lines: Pivot your wrist for smoother curves.
- Dots: Best for creating textures.
- Shading: Vary the pressure for different shades.
Practice Makes Perfect
Honestly, don’t expect your first couple of projects to be gallery-worthy. Pyrography, like any art form, requires practice. Your hand will become steadier, and you’ll get a better feel for how different woods react to heat.

Pyrography Projects for Beginners
Once you’ve got the basics down, you’re probably eager to dive into your first project. Here are a few beginner-friendly projects that can help you hone your skills.
Personalized Coasters
Everyone needs a good coaster, right? Start with small wooden disks and practice simple designs. Maybe your initials or a fun geometric pattern.
Wooden Spoons
Buy a set of wooden kitchen spoons and personalize them. Not only are they functional, but they also make great gifts. I made one for my grandma last Christmas, and she was thrilled—though she did question the artistic merits of my stick-figure family portrait.
Name Plaques
Create a name plaque for your room or as a gift for someone else. This project gives you the chance to practice both your lettering and decorative skills.
Advanced Pyrography Techniques
Once you’re comfortable with the basics, you can move on to more advanced techniques that allow for greater detail and artistry.
Using Pre-Treated Wood
Some advanced artists swear by pre-treating their wood with a light coat of oil or varnish. This can create a smoother surface and allow for more delicate lines. However, it also requires a well-ventilated area and some experience.
Layering and Blending
Much like painting, advanced pyrography involves layering and blending different shades and strokes. This technique can make your design looks more dimensional and realistic.
Safety First!
Though pyrography is fun, it’s also dangerous if not done correctly. Always prioritize safety.
Ventilation
Ensure your workspace is well-ventilated to avoid inhaling smoke or fumes. Trust me, the smell doesn’t get any better with prolonged exposure.
Fire Safety
Keep a fire extinguisher or a bucket of sand nearby. I know it sounds a bit excessive, but when you’re working with high heat, better safe than sorry.
Personal Protective Equipment
Use heat-resistant gloves to protect your hands, and consider wearing a mask if you’re sensitive to smoke.
Troubleshooting Common Problems
Now, not everything will go smoothly. Here are some common issues and how to fix them.
Uneven Burns
If your burns are uneven, it’s usually a temperature issue. Make sure your pen is hot enough and that you’re applying even pressure.
Splotchy Shading
Splotchy shading can ruin an otherwise perfect design. Practice shading on scrap wood first to get a feel for how much pressure and heat you need.
Burnt Tips
If your pen tip gets burnt or gunked up, it will affect your work’s quality. Clean it regularly as per the manufacturer’s instructions.
Getting Inspired
One of the best things about pyrography is that it draws inspiration from all different art forms and cultures. You can incorporate designs from Native American art, Celtic knots, or even manga characters.
Online Communities
There are vibrant online communities filled with tips, advice, and inspiration. From Reddit forums to Facebook groups, these communities are invaluable for learning new techniques and solving common problems.
Traditional Art Techniques
Consider learning about traditional art techniques such as pointillism, cross-hatching, and shading. These can all be applied to pyrography to create more intricate designs.
The Future of Pyrography
While pyrography is an ancient art, it has adapted wonderfully to the modern age. Advances in technology have resulted in more sophisticated tools and materials, expanding the horizons of what can be achieved with a simple wood-burning pen.
New Tools and Materials
For example, laser engravers are becoming increasingly popular. While more expensive and less hands-on than traditional pyrography pens, they offer incredible precision and can be used for more complex projects.
Environmental Considerations
As we become more eco-conscious, using sustainably sourced woods and environmentally friendly finishes is becoming more important. Research reputable suppliers and consider the environmental footprint of your art.
Incorporating Other Mediums
Many modern artists are combining pyrography with other media, such as painting, sculpting, and even digital art. The possibilities are endless, limited only by your imagination.
Wrapping Up
So there you have it—the ins and outs of what a wood-burning tool is called and how you can dive into the art of pyrography. It’s an incredibly rewarding craft that allows for endless creativity. Whether you’re a complete beginner or looking to hone your skills, there’s always something new to learn and create.
Don’t fear the fire; embrace it! And soon enough, you’ll find yourself hooked, just like I am, unable ever to look at a plain piece of wood the same way again.
Happy burning!