When it comes to adding words on wood, I’ve explored an array of creative techniques. From the precision of wood burning and the durability of stencils to the charm of vinyl decals and the artisanal appeal of freehand painting, each method offers its unique touch. My journey started with simple DIYs and grew into a passion for crafting personalized wooden signs, gifts, and decor. In this article, I’ll walk you through the tools, materials, and techniques that have become my go-to choices for putting beautiful words on wood, making each piece a personalized treasure. What Do You Use To Put Words On Wood?
Have you ever looked at a beautifully crafted wooden sign and wondered, “How on Earth do they get those perfect letters on there?” I have, and let me tell you, it’s both simpler and more complex than you might think. Today, we are diving headfirst into the world of wood lettering to uncover the mysteries of how to put words on wood. So, grab a cup of coffee, and let’s get into it.
Let’s Talk About Materials
Before we dive into the various methods—because trust me, there are several—it’s essential to know the tools you’ll need. Whether you’re a fan of old-school hand tools or you prefer the high-tech gadgets, there’s something for everyone.
Wood Types
First thing’s first: not all wood is created equal. Depending on the wood, the method you choose might vary. Here’s a quick rundown:
| Wood Type | Texture | Suitability |
|---|---|---|
| Pine | Softwood | Good for beginners |
| Oak | Hardwood | Durable but harder to work with |
| Birch | Medium Hardwood | Smooth and works well |
| MDF | Engineered Wood | Cheap and uniform |
Now, I know what you’re thinking: “Can I just use any scrap wood I find in my garage?” Well, yes and no. While you can technically use any wood, the results might not be what you’re aiming for. Quality materials yield quality results. A wise person once said, “The bitterness of poor quality remains long after the sweetness of low price is forgotten.”
Essential Tools
Next up, the tools. Here’s a list of things you might need:
- Pencil and Ruler: For the perfectionists who need precise guidelines.
- Carbon Paper: If you’re transferring a design.
- Stencils: For those who are artistically challenged, like me.
- Painter’s Tape: To secure stencils or carbon paper.
- Sandpaper: To prep the surface.
- Sealant: To protect your finished work.
Writing Instruments
Ah, the meat and potatoes! When it comes to actually putting words on wood, you have a plethora of options:
| Method | Difficulty Level | Cost |
|---|---|---|
| Paint | Medium | Low |
| Wood Burning (Pyrography) | High | Medium |
| Laser Engraving | High | High |
| Stickers/Decals | Low | Low-Medium |
Paint: The Classic Option
For many, paint is the go-to choice for putting words on wood. It’s accessible and forgiving, and as a bonus, it allows for a lot of creativity.
Getting Started with Paint
If you’re opting for paint, grab your pencils, paintbrushes, and paint (acrylic works best on wood). You’ll also want to lay down some newspapers because splatters are inevitable, no matter how careful you think you are.
- Prep Your Wood: Sand it down. You don’t need to go crazy, just make sure it’s smooth.
- Sketch Your Design: Use a pencil to lightly sketch out your design. This is where your ruler will come in handy.
- Secure Your Stencil (Optional): If freehand isn’t your thing, use painter’s tape to secure a stencil.
- Paint Away: Use a fine-tip brush for outlines and a thicker one for filling in. Slow and steady wins the race here.
- Let It Dry: Give it a good few hours—overnight if you can.
- Seal It: A clear sealant will keep your work protected and looking fresh.
Painting is sort of like cooking; patience and attention to detail go a long way. And remember, it’s paint—we can always sand it down and start over. No harm, no foul.

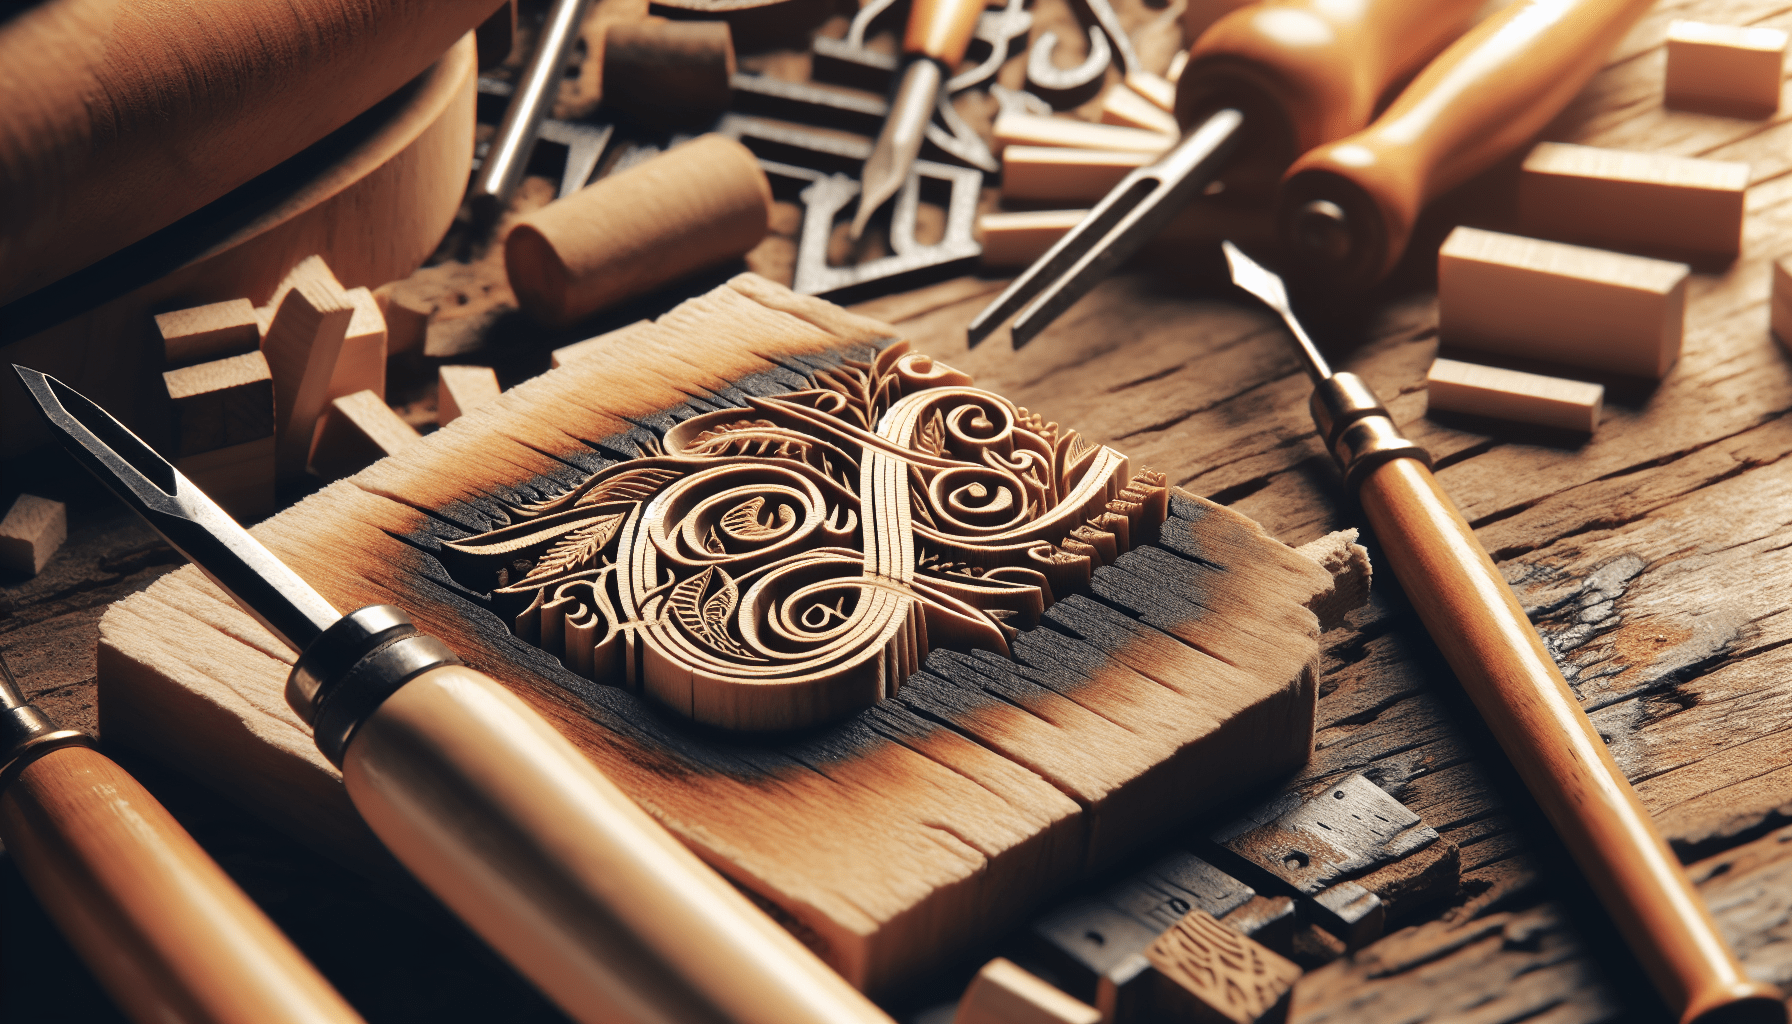
Wood Burning (Pyrography): A Touch of Flair
Now, if you’re feeling a bit more daring and want to add some long-lasting flair, wood burning might be for you. It’s like tattooing, but for wood.
Getting Started with Pyrography
Before you roll up your sleeves and turn on that wood-burning tool, read the manual. Trust me, you don’t want to skip this step. Safety first!
- Prep Your Wood: Just like with paint, sand the wood.
- Sketch Your Design: Lightly draw your design with a pencil.
- Heat Up the Tool: Give it a few minutes to get nice and hot.
- Start Burning: Gently trace over your pencil lines. Slow and steady—rushing will lead to mistakes.
- Clean Up: Lightly sand the burnt areas to smooth out any roughness.
Burning words into wood is an experience like no other. The smell of the burning wood, the sound it makes—it’s almost meditative. Plus, it looks incredible when done right.
Laser Engraving: For the Tech Enthusiasts
Maybe you’ve embraced the future, and you’re looking at a laser engraving machine. This method offers precision that’s hard to beat but comes with a steeper learning curve and upfront cost.
Getting Started with Laser Engraving
Lasers—specifically CO2 lasers—are commonly used for wood engraving. Here’s what you need to know:
- Choose the Right Machine: Do your research. Not all laser engravers are the same, and prices can range widely.
- Prep Your Wood: Sanding again! You’re probably tired of it by now, but it’s vital.
- Software Setup: Most laser engravers come with software. Import your design, set your parameters, and let the machine do its magic.
- Engraving Time: Place your wood in the machine, hit ‘start,’ and stand back. These things are fascinating to watch.
Laser engraving takes a bit more investment but once you’ve got the hang of it, your designs will look professionally made.

Stickers/Decals: Quick and Easy
If you’re not quite ready to dive into paint or pyrography just yet, stickers and decals are perfect for a quick fix. This method is great if you’re short on time or if your artistic talents aren’t quite where you’d like them to be.
Getting Started with Stickers and Decals
This method involves the least amount of elbow grease but still yields satisfying results.
- Choose Your Design: Either create your own or buy pre-made decals.
- Prep the Surface: Yep, more sanding!
- Apply Your Decal: Peel off the backing and carefully place your sticker.
- Seal It In: A coat of clear sealant will ensure your sticker stays put and looks great.
Stickers and decals are like a cheat code for great-looking designs. It’s the least commitment-heavy method and ideal for DIYers at any skill level.
Comparing Methods
Sometimes, visuals help. So, let’s break down the pros and cons in another easy-to-read table.
| Method | Pros | Cons |
|---|---|---|
| Paint | Versatile, Inexpensive | Time-consuming, Skill needed |
| Wood Burning | Unique look, Long-lasting | Steeper learning curve, Requires skill |
| Laser Engraving | High precision, Professional look | Expensive, Requires setup |
| Stickers/Decals | Easy, Quick, Affordable | Less durable, Less “handmade” feel |
Tips and Tricks
Now that we’ve covered the basics, here are a few pro tips to make your project stand out:
Practice Makes Perfect
Don’t start on your final piece of wood. Get some scrap pieces and practice your techniques—especially with paint and wood burning. Mistakes happen and it’s better to make them on a throwaway piece than on your final masterpiece.
Patience is Key
No one creates a masterpiece in a rush. Take your time. If the paint needs to dry, give it the proper time to do so. If you’re tired, step away and come back later. A rushed job will always look like a rushed job.
Use Templates
There’s no shame in using templates or stencils. Sometimes even the pros do it. It’s better to get your lettering looking top-notch with the help of a stencil than to have a wobbly freehand mess.
Experiment
Try mixing mediums. Burn your outline and then paint within the lines. Or paint a base layer and then add decals on top. The combinations are endless and can lead to some truly unique pieces.
When Things Go Wrong
No matter how careful we are, sometimes things go wrong. Here’s a quick troubleshooting guide:
Paint Smudges
If your paint smudges, don’t panic. Let it dry completely and then lightly sand off the smudged area. You can then repaint that section.
Burn Marks Too Dark
If you go a bit too heavy-handed with the pyrography tool, you can often sand the surface to even out the burn marks. Just be gentle.
Sticker Misaligned
If your sticker went on crooked, carefully peel it off. Use a hairdryer to warm the adhesive if needed, then try reapplying. Sometimes it helps to cut the sticker into smaller parts for easier alignment.
Wrap-Up
So, my friends, that’s the down-low on how to put words on wood. Whether you decide to go the traditional paint route, the artisanal wood burning path, the high-tech laser engraving way, or the quick and easy sticker method, remember that the key is to have fun and enjoy the process.
I hope this guide not only answered your question but also inspired you to try something new. And just maybe, next time you see a beautifully crafted wooden sign, you’ll smile knowingly, appreciating the craft that went into making it. Happy crafting!