Starting a new hobby can be both exciting and a bit overwhelming, especially when it involves a craft as intricate as wood burning. When I began wood burning, I quickly realized that having the right tools and materials made a world of difference. My journey started with selecting the appropriate wood and investing in a quality wood-burning tool with adjustable temperature settings. Additionally, safety gear like gloves and a mask were essential to protect myself from heat and fumes. I’d also recommend having a variety of tips and stencils on hand to practice different techniques and designs. All in all, with the right preparation and a bit of patience, wood burning can be a truly rewarding and creative pastime. What do I need to begin wood burning? Perhaps you’ve seen those stunning designs etched into cutting boards or maybe a friend showed off a personalized, hand-burned gift, and now you’re itching to try it yourself. Well, you’re in luck because wood burning, also known as pyrography, is an incredibly rewarding hobby that not only allows you to create beautiful art but also doesn’t require a massive investment to get started. Let’s dig into all the essentials you’ll need to embark on this creative journey.
Understanding Wood Burning
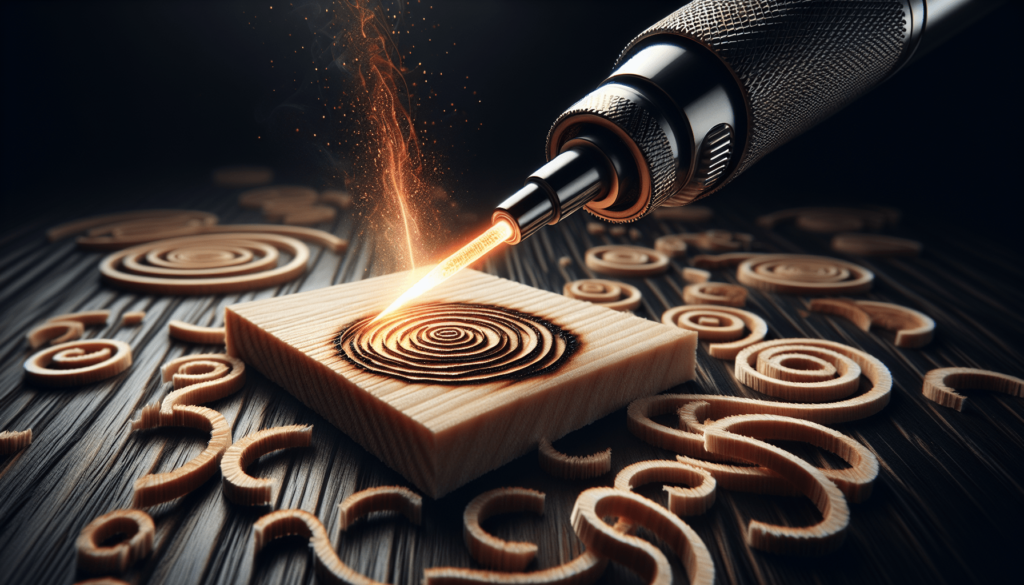
Before diving into the supplies and techniques, it’s crucial to understand what wood burning is. Pyrography, derived from the Greek words “pur” (fire) and “graphos” (writing), is the art of decorating wood with burn marks. The marks are made using a heated tool, essentially a specialized pen with interchangeable metal tips that get hot enough to burn designs into the wood.
The Basic Tools
Wood Burning Tool
Just like a chef wouldn’t be caught without a good knife, the cornerstone of your wood burning adventure is the wood burning tool. These tools vary in complexity and price, and your choice will likely depend on your commitment level and budget.
Basic Wood Burning Pen
For beginners, a basic wood burning pen, which heats to a single temperature, is perfectly adequate. These usually come with a set of interchangeable tips and cost anywhere from $10 to $40.
| Pros | Cons |
|---|---|
| Affordable | Limited temperature control |
| Simple to use | Less versatile for advanced techniques |
| Great for beginners | May not last as long |
Variable Temperature Wood Burning Pen
As you get more comfortable and maybe a little more obsessed, you might want a pen that offers variable temperature settings. These usually range from $30 to $100 and allow for more detailed and varied work.
| Pros | Cons |
|---|---|
| More control over burn depth and color | More expensive |
| Useful for advanced techniques | Slightly steeper learning curve |
| Generally more durable |
Tips and Nibs
Those interchangeable metal tips I mentioned earlier? They’re called nibs, and they come in several shapes and sizes. Each shape is suited for different techniques, from creating fine lines to shading larger areas. Most beginner sets come with a handful of basic nibs, but as your skills evolve, you might find yourself expanding your collection.
| Tip Shape | Best Use |
|---|---|
| Universal Point | Basic lines, shapes, and curves |
| Calligraphy | Elegant, flowy letters |
| Shading | Gradations, soft textures |
| Stamping | Patterns, repetitive designs |

Choosing Your Canvas: The Wood
Not all woods are created equal, especially when it comes to wood burning. Some woods burn more evenly and are easier to work with, while others can be downright frustrating.
Softwoods vs. Hardwoods
For beginners, it’s usually best to start with softwoods, like pine or basswood, because they are easier to burn and less expensive. Hardwoods like oak or maple, while beautiful, are more challenging and require a bit more experience to control.
| Type of Wood | Pros | Cons |
|---|---|---|
| Pine | Affordable, easy to burn | Can have resin, which is messy |
| Basswood | Smooth texture, beginner-friendly | Slightly more expensive than pine |
| Birch | Durable, smooth surface | Can be harder to find in larger pieces |
| Maple | Harder surface, durable | Requires more experience to burn evenly |
| Oak | Rich texture, highly durable | Very challenging for fine details |
Preparing the Wood
Once you’ve chosen your wood, you’ll need to prepare it. Sanding is crucial because a smooth surface ensures your design transfers cleanly and your tool moves effortlessly. Start with a medium-grit sandpaper (around 120), then finish with a fine-grit (220 or higher) for a smooth finish.
Designing Your Work
Drawing Your Design
This is where the magic begins! Some people prefer to freehand their designs directly onto the wood with a pencil, while others might use carbon paper to transfer more intricate designs. If you’re artistically inclined, sketching your design directly allows for more spontaneity. If you’re more like me—relying on Pinterest for inspiration—then transferring an existing design is just fine.
Using Stencils
If you think your artistic skills are closer to a stick figure than a Van Gogh, stencils are an excellent way to get started. You can find stencils in all sorts of designs at craft stores or make your own using thick paper or plastic sheets.

Techniques to Master
Basic Outlining
Start with basic outlines to get a feel for how your tool works. You can practice on scrap wood before moving to your final piece. Remember, slow and steady wins the race. It’s better to go slow and have a clean line than to rush and make jagged errors.
Shading
Once you’re comfortable with outlining, shading is the next step. This can add depth and texture to your work. Shading techniques vary, but the simplest method is to adjust the pressure and speed of your strokes. The slower you go and the harder you press, the darker the burn will be.
Dotting and Stippling
Dotting and stippling involve creating designs through a series of small dots. This technique is especially useful for adding texture or creating gradient effects. It’s a bit time-consuming but incredibly rewarding.
Safety First
Okay, let’s get real for a second. You are working with a tool that heats up to around 750 degrees Fahrenheit, so safety is paramount.
Ventilation
First and foremost, ensure that you are working in a well-ventilated area. Burning wood releases fumes that, while not usually harmful in small amounts, are better off not inhaled. A small fan or open window can make a world of difference.
Protective Gear
Consider wearing safety goggles and a face mask, especially when sanding or burning for prolonged periods. And always, always have a fire extinguisher nearby—just in case.
Essential Accessories
Aside from the wood burning tool and wood, a few accessories can make your work easier and more enjoyable.
Pyrography Pen Holder
A wood burning pen holder is a simple stand that keeps your tool secure when not in use. This prevents any accidental burns on your work surface or, worse, on yourself.
Cleaning Tools
Your tips will get gunky from the burned resin and wood particles. Brass or steel wool, and even a simple damp cloth, can help keep them clean and functioning properly. No one likes a dirty tip, right?
Sandpaper
I mentioned it earlier, but it bears repeating. Keep a variety of sandpaper on hand to prep your wood and even to smooth out any burning errors.
Projects for Beginners
Alright, let’s get into the fun part—project ideas! Here are a few beginner-friendly projects to get you started:
Coasters
Small and manageable, coasters are a perfect starting project. They allow you to practice basic designs and techniques without feeling overwhelmed.
Cutting Boards
Personalized cutting boards make fantastic gifts. Just make sure you choose a food-safe finish for any cutting boards that are going to be used with food.
Wall Décor
From inspirational quotes to intricate mandalas, wall decor is a great way to express your newfound skills. Start with simple designs and gradually work your way up to more complex patterns.
Keychains
Another small project, keychains can be as simple or as detailed as you like. Plus, they make for lovely, personalized gifts.
Tips for Success
Practice Makes Perfect
Like any art form, the more you practice, the better you’ll become. Don’t get discouraged if your first few attempts are less-than-perfect. Keep practicing, and you’ll see improvement over time.
Take Breaks
Wood burning can be arduous, especially if you’re working on a large piece. Take breaks to rest your hands and eyes. Trust me; your future self will thank you.
Join a Community
Whether online or in-person, joining a community of fellow wood burning enthusiasts can provide inspiration, tips, and support. It’s always great to share your successes and failures with people who understand the joys (and frustrations) of pyrography.
Advanced Techniques
Once you’re comfortable with the basics, you might want to explore some advanced techniques.
Color Pyrography
Adding color to your burns can create stunning effects. You can use watercolor pencils, acrylic paint, or wood stains to add that extra pop to your designs.
Layering and Texturing
Building layers and textures can add depth and interest to your pieces. Experiment with different nibs and techniques to find what works best for you.
Mixed Media
Why not mix things up? Combine your wood burning with other mediums like painting, inking, or even carving to create unique, multi-dimensional pieces.
Conclusion
So, what do you need to begin wood burning? You’ll need a wood burning tool, some wood to practice on, and a few basic accessories. But more than that, you’ll need patience, a willingness to practice, and a dash of creativity. It’s a exciting journey that allows you to combine art with a bit of craftsmanship. And believe me, there aren’t many things as satisfying as transforming a simple piece of wood into a work of art. Happy burning!

