What do I need for wood burning? That’s the million-dollar question, right? I’ve recently gotten into the whole wood burning scene, and let’s just say, it’s not as simple as just picking up a tool and going to town on a piece of wood. No sir, it takes some serious equipment, preparation, and a sprinkle of creativity. If you’re anything like me, you’ll want to know all the ins and outs before embarking on this artistic adventure. So, let’s fill in the blanks and make sure we’re fully equipped and ready to burn some wood.
Essential Tools and Equipment
Wood Burning Tool
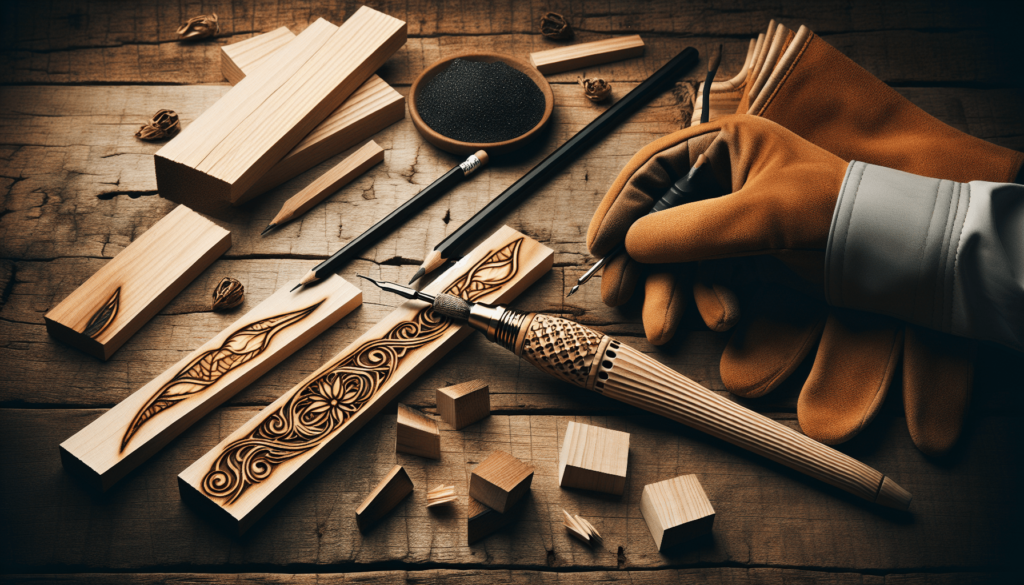
First things first, you need a wood burning tool. This gadget is really the star of the show. When I first started looking, I was baffled by the variety, from simple soldering irons to sophisticated pyrography machines. Here’s a straightforward breakdown:
| Tool Type | Description |
|---|---|
| Basic Soldering Iron | Inexpensive, great for simple projects. Limited temperature control and tip variety. |
| Pyrography Pen Sets | Mid-range pricing, more control over temperature. Multiple pen tips for different textures and detailing. |
| Professional Kits | Pricier, designed for serious artists. Highly adjustable temperature, a plethora of tips for every conceivable effect, and ergonomic designs for prolonged use. |
Pen Tips
The type of pen tip you use can make a huge difference. Think of it like choosing the brush for a painting. There’s a plethora of them, each serving a different function:
| Pen Tip Type | Use |
|---|---|
| Universal Point | Great for general purposes, including straight lines and basic texturing. |
| Cone Point | Ideal for detailed work and fine lines. |
| Shading Tip | Perfect for creating even shades and gradients. |
| Calligraphy Tip | Excellent for writing or fancy lettering. |
| Flow Point | Smooth burn for creating bold lines and filling larger areas quickly. |
Work Surface
Don’t even think about starting without a proper work surface. Trust me, you don’t want to ruin your dining room table. Opt for a fireproof mat or a dedicated craft table to work on. It’s safer and more practical.
Wood
The type of wood you use matters a lot. Softwoods like pine and basswood are great for beginners because they’re easier to burn. Hardwoods like oak and maple, on the other hand, offer more durability but require a steadier hand and more patience.
| Wood Type | Characteristics | Recommended For |
|---|---|---|
| Pine | Soft, easy to burn, inexpensive | Beginners, practice exercises |
| Basswood | Smooth texture, fairly easy to work with | Both beginner and intermediate levels |
| Birch | Fine-grained, less prone to splintering | Detailed and intricate designs |
| Oak | Hard, durable, resistant to impact | Advanced projects, longevity |
| Maple | Hard, takes time but provides a polished finish | Professional-level projects |
Safety First
Ventilation
When you’re burning wood, smoke and fumes are inevitable. Trust me, proper ventilation is crucial. Open windows, use fans, or consider working outside if weather permits. Some artists even invest in small exhaust fans specifically designed for craft work.
Safety Gear
Don’t skimp on safety gear. Here’s what you need:
| Safety Gear | Purpose |
|---|---|
| Heat-Resistant Gloves | Protect your hands from burns and intense heat. |
| Safety Glasses | Shield your eyes from any accidental sparks. |
| Apron | Keeps your clothes free from burns and stains. |
| Mask | Protects you from inhaling wood smoke and fine particles. |

Preparation Steps
Design Planning
Before you start burning, have a design in mind. Sketch it out on paper first. I usually use tracing paper to outline my design and then transfer it onto the wood using carbon paper. This way, you have a clear guide to follow.
Wood Preparation
Always sand your wood surface to make it as smooth as possible. Rough patches can mess up your design and make burning more difficult. A fine-grit sandpaper works best.
Tip Heating
Different pen tips require different heating times. It’s crucial to let your tip heat up properly, usually about 5-10 minutes. Most kits come with a temperature guideline, but always refer to your user manual for the best results.
Techniques and Tips
Basic Lines and Shading
Start simple. Basic lines and shading can go a long way. Practice consistent pressure and steady hand movements. Use lighter pressure for thinner lines and more pressure for bolder lines.
Texture Creation
Different textures can be achieved by changing the angle and type of pen tip. Experimenting is key. Try stippling (dotting) for a unique texture, or crosshatching for shading effects. You’ll know what works best through trial and error.
Layering
Layering is a fantastic technique for adding depth to your project. Start light and build up to darker shades. It’s easier to go darker than to lighten an area that’s too dark.

Advanced Techniques
Stippling
Stippling involves creating a series of dots on the wood. I find it great for adding texture and depth. The closer the dots, the darker the area will appear.
Feathering
Feathering can add a soft, wispy look to your burns. It’s perfect for things like fur or feather details. Use a light, quick touch with the pen to achieve this.
Wood Stain and Sealants
After spending hours on your masterpiece, you’ll want to protect it. Wood stains can add a charming hue, and sealants like polyurethane will preserve your work from wear and tear.
| Product Type | Use | Example |
|---|---|---|
| Wood Stain | Adds colors and highlights wood grain | Minwax Wood Finish |
| Sealants | Protects from moisture and UV damage | Polyurethane |
| Natural Oils | Enhances wood’s natural beauty and adds protection | Linseed Oil, Tung Oil |
Troubleshooting Common Problems
Uneven Burns
Uneven burns can be frustrating. First, check if your tip is clean. Second, ensure your tool maintains a consistent temperature. Sometimes it’s just a matter of practice.
Burnt Smell
A strong burning smell can indicate you’re working with a too-high temperature. Adjust accordingly and always work in a well-ventilated area.
Smoke
Excessive smoke usually means incomplete combustion. This often happens with oily woods or if your tip hasn’t fully heated. Always adjust your tool settings as necessary.
Inspiration and Resources
Books
A ton of books are out there to give you step-by-step guides and ideas. “Pyrography Basics” by Lora S. Irish is an excellent one to start with.
Online Communities
Online forums and social media groups can offer support and inspiration. Websites like Reddit and Facebook have active wood burning communities where you can share your work and get feedback.
Classes and Workshops
If you’re more of a hands-on learner, consider taking a class or workshop. Many local craft stores offer courses, or you can find tutorials and classes online through platforms like Skillshare or Udemy.
Conclusion
So, what do I need for wood burning? As you can see, it’s a mix of the right tools, preparation, and a bit of artistic flair. Whether you’re just starting out or looking to improve your technique, having the correct equipment and knowledge will make your wood burning experience enjoyable and rewarding. Now, grab your tools, pick a beautiful piece of wood, and start creating your next masterpiece. Who knows, maybe one day, you’ll need a display case for all your fantastic works of art.

