When it comes to creating the perfect wood fire, there are a few essential items and tips that I swear by. First and foremost, I always ensure I have well-seasoned firewood, as it burns hotter and cleaner. I also keep a stash of kindling—small sticks or twigs—to get the fire started, and some newspaper or fire starters to make the initial ignition easier. A good fire grate is crucial for proper airflow, and a set of fireplace tools, like tongs and a poker, helps me manage the fire safely. Of course, a fire screen is important for keeping sparks at bay, and having a bucket of water or a fire extinguisher nearby gives me peace of mind. With these essentials in place, I can enjoy the warmth and ambiance of a wood fire, knowing I’m both prepared and safe. Have you ever wondered, “What do I need for a wood fire?” I mean, who hasn’t? There’s something magical about the crackle and warmth of a wood fire that makes you feel like you’re living in a cabin in the woods, even if you’re in the middle of Suburbia Central. So let’s get to it. I’m here to answer all those burning (pun entirely intended) questions you’ve got about starting and maintaining a wood fire.

The Foundation: Gathering Your Materials
Before I even strike a match, I need to make sure all my ducks are in a row. Or, more accurately, all my logs, kindling, and tools. Here’s where preparation is paramount, because there’s nothing worse than standing by a cold fireplace or firepit wondering where it all went wrong. Trust me, I’ve been there.
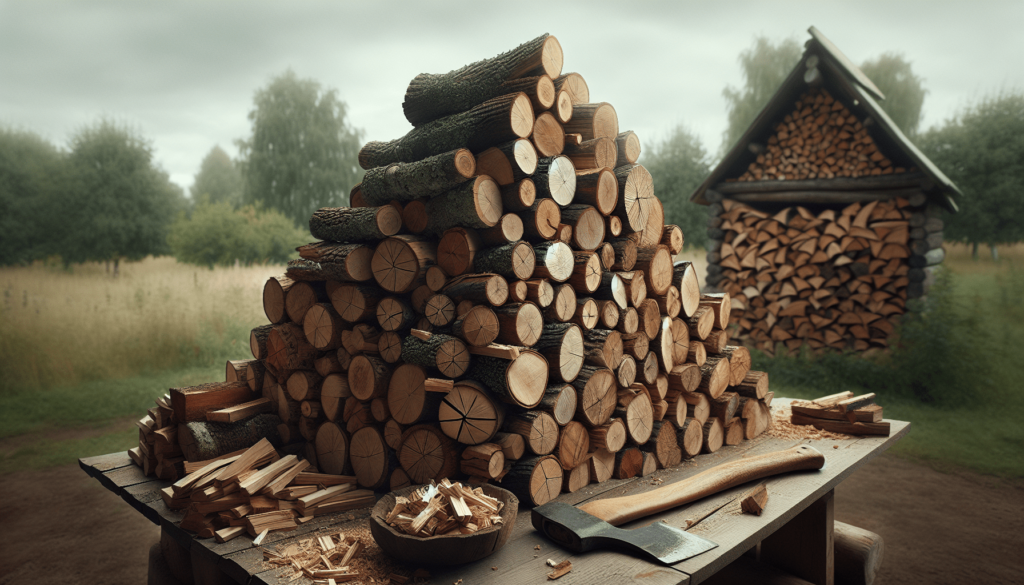
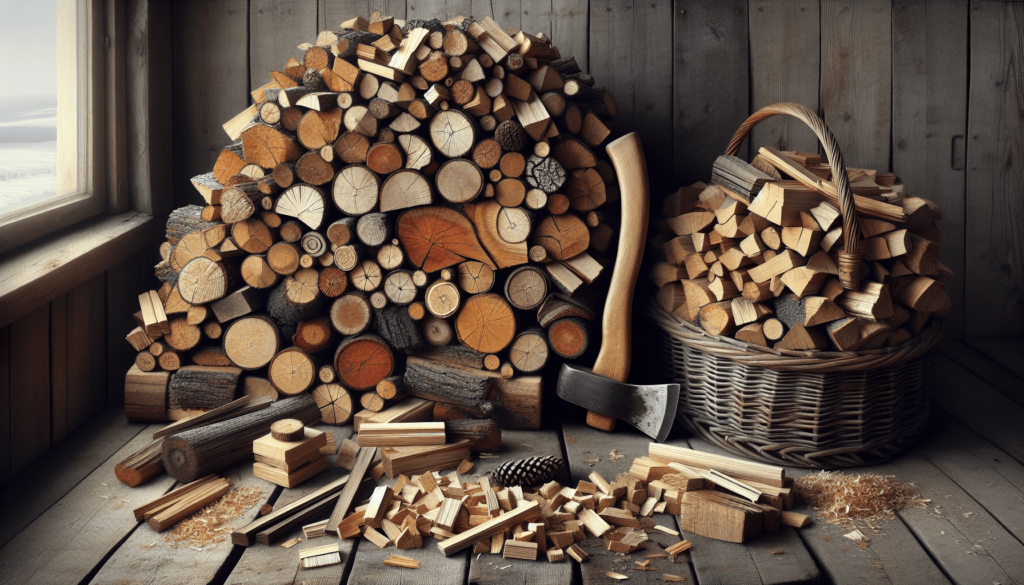
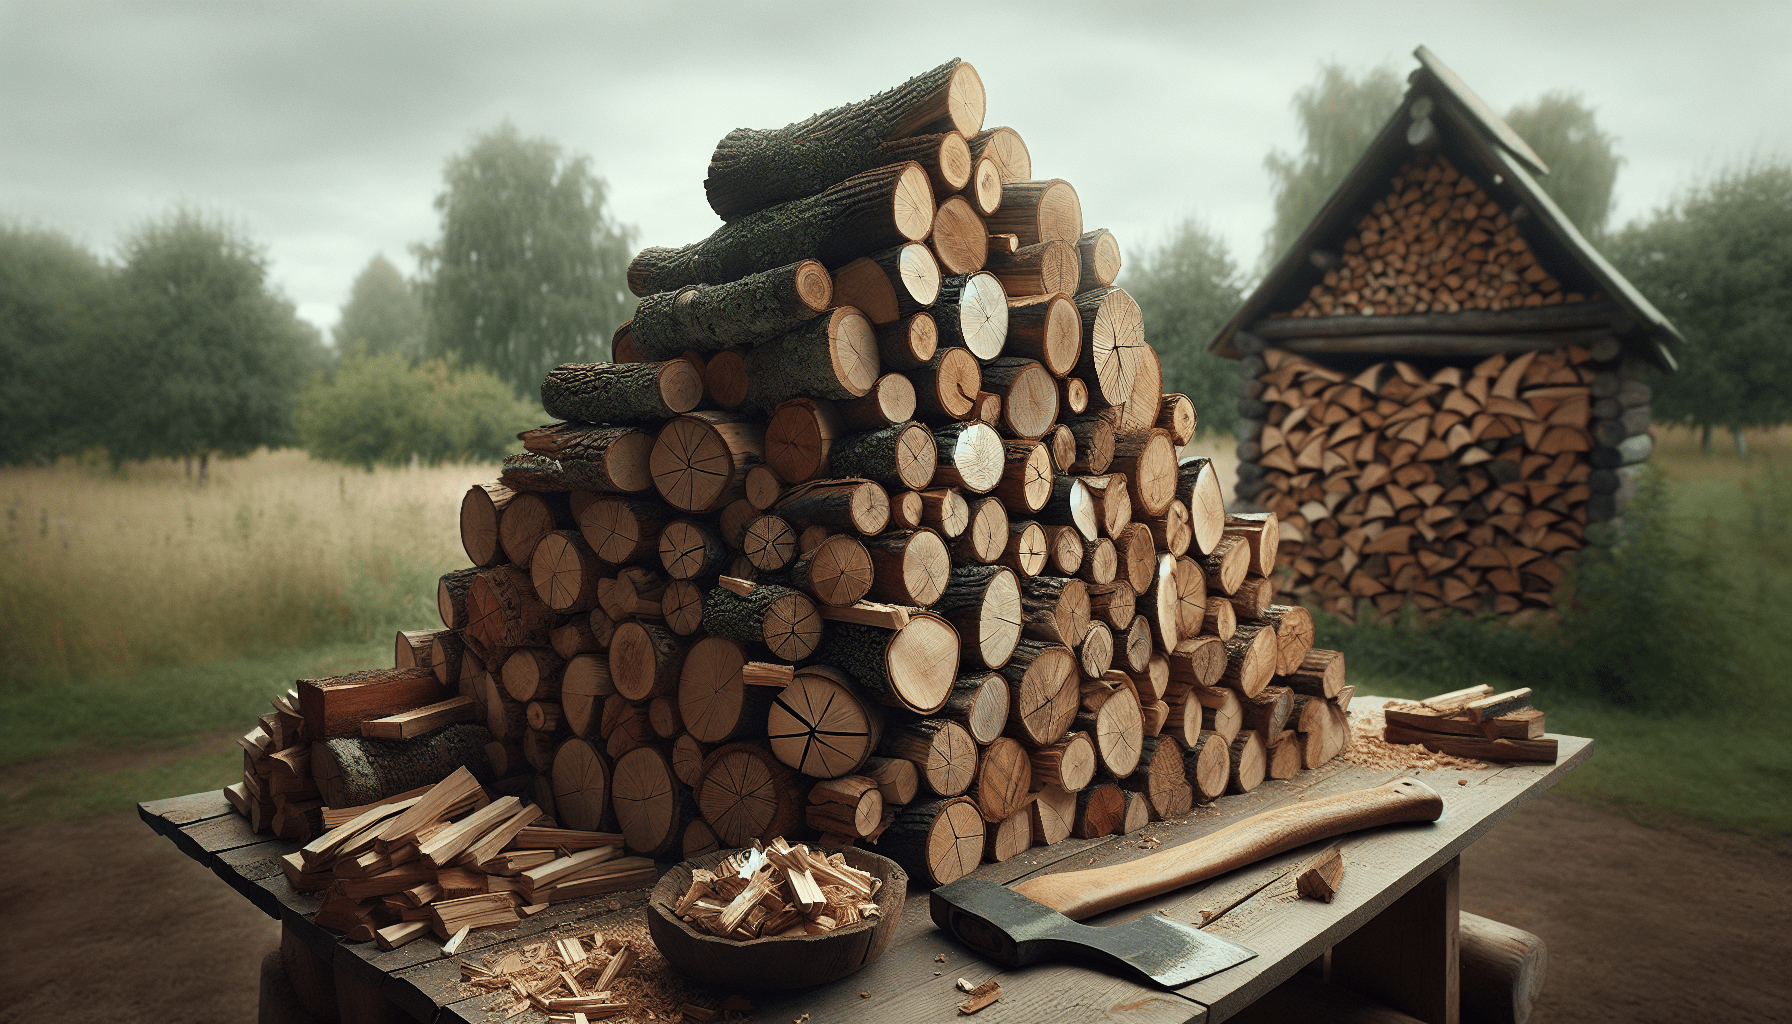
The Wood
Ah, the star of the show. Not all wood is created equal; some wood types are great for burning, and others… not so much. Let’s break it down.
Hardwood vs. Softwood
- Hardwood: Ideal for a long, steady burn. Think oak, maple, hickory. You want this for those cozy, slow evenings.
- Softwood: Burns quickly and can be great for starting a fire, but it produces more creosote, which can build up in your chimney. Think pine and spruce.
| Wood Type | Characteristics | Best Used For |
|---|---|---|
| Hardwood | Dense, burns slowly | Long-lasting fires |
| Softwood | Less dense, burns quickly | Kindling, quick heat |
Seasoning the Wood
Freshly cut wood, known as green wood, is full of moisture and won’t burn well. It’ll smoke like mad and end in a sputtering mess. Seasoned wood has been cut and stored for at least six months to dry out. How can you tell if it’s seasoned? Look for cracks in the ends of the logs and a dull sound when two pieces are clapped together.
The Kindling and Tinder
Kindling and tinder are like the opening act at a concert: they set the stage. Tinder is small, easy-to-ignite material (like dry leaves or newspaper) and kindling is slightly larger (small sticks or splintered wood).
| Item | Description | Role |
|---|---|---|
| Tinder | Small, easily ignitable material | Starts the fire |
| Kindling | Larger than tinder but smaller than firewood | Helps bring fire to the logs |
The Tools
You wouldn’t go on a grand adventure without the right gear, right? Starting a wood fire is no different. Here’s my trusty tool list:
- Fireplace or Firepit: Because setting your living room rug ablaze might void your home insurance.
- Fireplace Screen: This protects against flying embers and keeps the fire contained.
- Fireplace Tools: I’m talking pokers, tongs, and brushes. Yes, like a miniature medieval arsenal, and just as important.
- Matches or Lighter: Obvious but essential. I don’t recommend the old “rub two sticks together” method unless you’re Survivor-ready.
Setting the Stage: Building the Fire
You’ve got your materials. Now, let’s talk architecture. Building a good fire is more an art than science, but there are some tried-and-true methods.
The Teepee Method
This is my go-to. It involves arranging the kindling in a small teepee shape with tinder at the center. Once the kindling is burning steadily, you slowly add larger logs in a similar shape. This allows airflow, which is essential for sustaining the fire.
The Log Cabin Method
This one’s for you if you like a little structure in your life. Stack two logs parallel to each other, then place two more logs on top perpendicular, like Lincoln Logs. Fill the center with tinder and kindling. This method provides a more robust structure but can be a bit more complicated to get started.
The Lean-To Method
Place a large log down as a base and lean smaller logs or kindling against it at an angle. This creates a kind of windbreak and can be extremely effective if it’s a bit breezy outside.
| Method | Description | Air Flow |
|---|---|---|
| Teepee | Kindling arranged in a teepee shape | Excellent |
| Log Cabin | Logs stacked like a cabin | Good, but more structured |
| Lean-To | Logs/kindling leaned against a larger log | Good for windbreak |
Safety First: Precautions and Tips
Yes, a wood fire is romantic and all that jazz, but it’s also a big ol’ collection of flames capable of turning your night from cozy to catastrophic. So let’s chat safety.
Chimney Maintenance
If you’re using a fireplace, keep that chimney clean. Creosote buildup is not just annoying; it’s a fire hazard. Get it inspected and cleaned at least once a year. A chimney cap can also keep out unwanted guests like birds or bats. I once met a bat in my chimney. It was not cute.
Fire Extinguisher
This is non-negotiable. Always have one nearby. Read the instructions before you need to use it, because the middle of a crisis is not the time for deciphering a manual.
Fireplace Screen and Fireproof Mat
A screen will keep those pesky embers from leaping out onto your carpet. And a fireproof mat can save your floors from any hot debris.
Proper Ventilation
Ensure your room is well-ventilated to avoid carbon monoxide buildup. Open a window just a crack to let the fresh air in.
Never Leave Unattended
This should go without saying, but I’ll say it anyway: Do not leave a burning fire unattended. Not to run an errand, not for a quick nap. Just don’t.
Keeping it Alive: Maintaining the Fire
Starting the fire is one thing, keeping it alive is another. Here’s what I do to keep those flames dancing.
Adjusting Logs
As the fire burns, logs will shift, which can smother parts of the fire. Use your fire poker to reposition logs to ensure continuous airflow and a steady burn. Think of it as a game of Tetris but warmer.
Adding Fuel
Be mindful of how much fuel you add. Too much all at once can smother the flames. Add one or two logs at a time, waiting until the fire is burning steadily again before adding more.
Stoking the Fire
Stoking isn’t just an archaic term—it’s essential. Moving the coals around and repositioning the logs keeps the fire alive by reintroducing airflow and burning up pockets of fuel.

Troubleshooting: Common Problems and Solutions
Even the best-laid fires can run into trouble. Here are some common issues I’ve run into, and the fixes that have saved the day.
Fire Won’t Start
This always feels like the universe is personally out to get you. Usually, the problem is either wet wood or not enough kindling. Swap in some dry tinder and kindling. If the wood is damp, you might have to wait it out or go find some dry logs.
Smoky Fire
A smoky fire can have a couple of causes: too little airflow, or too much moisture in the wood. Make sure your fireplace or firepit has good ventilation. If the wood hisses and spits a lot, it’s too wet.
Fire Burns Too Quickly
Are you feeding it softwood? That’ll do it. Switch to hardwood logs. Also, check that you’re not adding too much kindling; balance is key.
Fire Keeps Going Out
If your fire keeps petering out, it’s likely due to poor airflow. Make sure your setup allows for air to circulate. Adjust your logs and kindling to keep that oxygen flowing.
Wrapping It Up: Enjoying the Fire
Once everything’s flowing smoothly, it’s time to reap the rewards of your labor. Grab that cocoa, those marshmallows, or maybe even a cozy book.
The sound of crackling wood, that flickering light casting shadows that dance on your walls… It’s pure magic. And you did that! All it took was a bit of know-how, some patience, and a touch of daring. So next time someone asks, “What do I need for a wood fire?” you can dazzle them with your newfound expertise.
The Aftermath: Cleaning Up
When the magic dwindles and it’s time to call it a night, cleaning up is crucial. Here’s what I do to make sure my next fire goes off without a hitch.
Removing Ashes
Once everything has cooled down—which can take up to 24 hours—scoop out the ashes using a metal shovel. Place them in a metal container, and ideally, let them sit for a few days before disposal.
Inspecting The Area
Make sure there are no lingering embers or hot spots. It’s easy to overlook, but a leftover ember can flare up and reignite.
Storing Unused Wood
Keep your woodpile covered and off the ground to protect it from moisture. A wood rack with a cover works well. This ensures your wood stays dry and ready for the next fire.
That’s it! You’ve now got everything you need to become a wood fire aficionado. So, break out the marshmallows, put on your coziest sweater, and relish in the primal joy of a well-made fire. Cheers to warmth, light, and many memorable nights around the flames!

