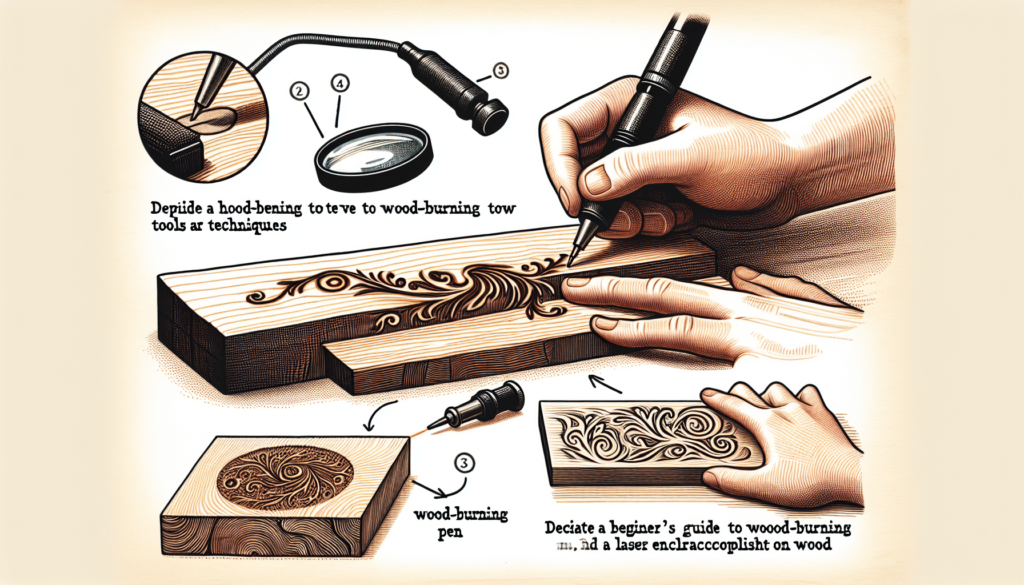
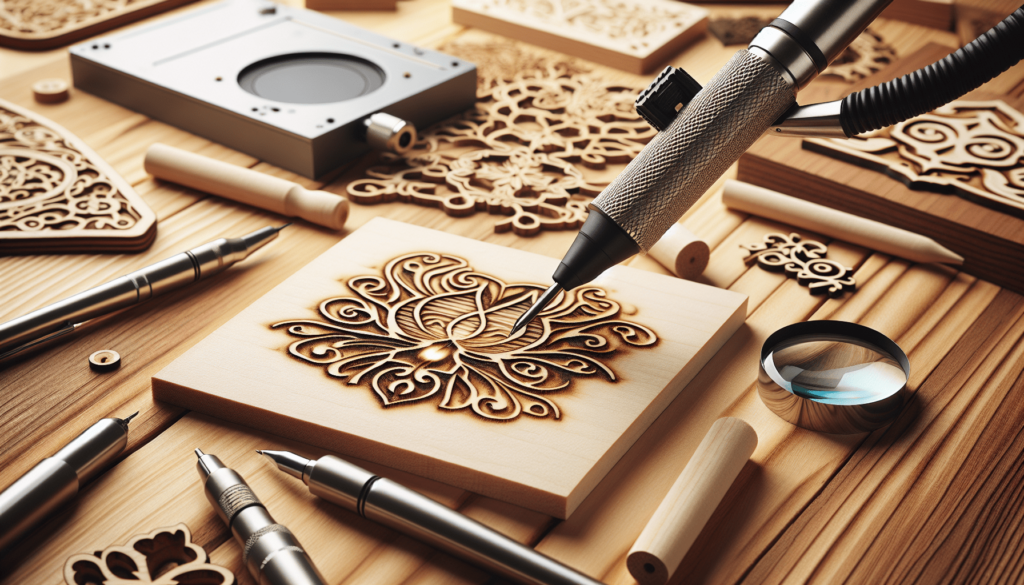
What can I use to burn words into wood? I asked myself this question when I first saw a beautifully crafted wooden sign at a friend’s house. The precision and elegance of the letters, perfectly scorched into the planks, fascinated me. How could I recreate something like that? I had to delve into the world of wood burning. Today, I’ll share what I’ve learned with you.

Understanding Pyrography
What Is Pyrography?
Pyrography, also known as wood burning, is the art of using heat to burn designs into wood. The term comes from the Greek words “pur” (fire) and “graphos” (writing), quite literally “writing with fire.” It’s been around for centuries, and cultures all over the world have used it to decorate everything from everyday household items to intricate art pieces.
Why Burn Words Into Wood?
For me, burning words into wood carries a rustic charm and personal touch that paint or engraving can’t match. Whether you want to create custom signs, personal gifts, or simply hone a new craft, there’s something immensely satisfying about the process.
Essential Tools for Wood Burning
Wood Burning Pens
Wood burning pens are akin to a magic wand in the hands of a skilled wizard. These tools come in two main types: solid-point burners and variable-temperature burners.
- Solid-point burners: These are straightforward and easy to use. They heat to a single, pre-set temperature, making them ideal for beginners.
- Variable-temperature burners: These offer more control and can adjust heat levels, which is useful for more detailed or nuanced work.
| Type | Pros | Cons |
|---|---|---|
| Solid-point burners | Easy to use, affordable | Limited control over temperature |
| Variable-temperature burners | Greater control, precision | Higher cost, steeper learning curve |
Wood
Not all wood is created equal when it comes to pyrography. Here are some suitable options:
- Basswood: Soft and smooth, making it easy to burn.
- Birch: Slightly harder but still user-friendly.
- Pine: Often readily available, though it has a grain that can be tricky for precise designs.
I like to keep some scrap pieces around for testing out new designs or getting a feel for the heat and pressure I need.
Safety Gear
Safety should never be an afterthought. You’re working with heat and wood, both of which pose risks. I always have these on hand:
- Heat-resistant gloves: To protect your hands.
- Safety goggles: To shield your eyes from any flying debris.
- Ventilation mask: To avoid inhaling smoke and harmful fumes.
Getting Started with Pyrography
Setting Up Your Workspace
Trust me, a well-organized workspace can make a world of difference. Choose a well-ventilated area. I recommend setting up near a window or even outside if weather permits. Ensure you have a sturdy table to work on and all your tools within arm’s reach.
Transferring Your Design
Before you even think about plugging in that burner, decide on your design. I like to print out fonts and patterns on paper first. This way, I can trace them onto the wood using carbon paper. It keeps the design consistent and saves me a lot of headache later on.
Techniques for Burning Words Into Wood
Basic Strokes
I remember my first attempts at wood burning. My lines were wobbly, and the burn marks were inconsistent. Here are some basic techniques I’ve picked up:
- Straight lines: Start with light pressure and move at a consistent speed.
- Curved lines: Just like drawing, slow and steady wins the race. Sometimes I practice on paper first to get the motion right.
- Shading: Use varying pressure and different tips to achieve depth and texture.
Going With the Grain
Understanding the wood grain can make or break your project. When you work against the grain, you might find the burner catches and jumps. I learned the hard way to always work with the grain for smooth results.

Advanced Techniques
Stippling
Stippling involves creating patterns using small dots. This technique can add remarkable texture to your lettering. I use a fine-point tip for this, carefully adjusting the heat and pressure to create a consistent effect.
Layering
For more complex designs, layering can be a game-changer. Start with a lighter burn to map out your design. Once you’re satisfied with the basic outline, go over it again with a higher temperature or increased pressure. This method allows for greater depth and more intricate detailing.
Heat Control
Heat control is crucial for achieving different tones and effects. Variable-temperature pens are especially useful here. I always start with a lower heat setting and slowly increase it until I find the perfect temperature for my design. Heat control also helps in avoiding accidental burn marks, which can ruin your piece.
Practicing Your Craft
Starting Small
Rome wasn’t built in a day, and neither is a wood-burning masterpiece. Start with small projects. Practice on scrap wood to get a feel for the pen and the material. I remember my first successful project was a small keychain with my initials. It was a proud moment that encouraged me to tackle bigger challenges.
Building Consistency
Consistency is the hallmark of a skilled wood burner. Practice different letter styles and techniques until you can produce uniform results. I like to keep a practice board where I can test new ideas and refine my skills. Each session, I try to improve my consistency and precision.
Maintenance and Care
Cleaning Your Tools
A clean tool is a happy tool. Residue can accumulate on your burner tips, affecting performance and the quality of your work. I regularly clean my tips with a light abrasive material or tip cleaner, ensuring they stay in top condition.
Storing Your Equipment
Proper storage prolongs the life of your tools. After each session, I let my tools cool down completely before storing them in a designated wooden box. This keeps them protected and makes it easy to find everything for my next project.
Common Mistakes and How to Avoid Them
Rushing the Process
Patience is key in pyrography. I’ve learned the hard way that rushing through a project can lead to mistakes. Take your time, especially with intricate designs. Allow the wood and tool to guide your hand, maintaining a steady rhythm.
Inconsistent Pressure
Inconsistent pressure can result in uneven lines and burns. I pay close attention to how hard I’m pressing, adjusting as needed. Sometimes I practice on a scrap piece to get a feel for the right pressure before working on the main piece.
Ignoring Safety
Safety is paramount when working with high temperatures and wood. Always use your safety gear and work in a well-ventilated area. Over time, it becomes second nature, ensuring your craft is both enjoyable and safe.
Troubleshooting
Uneven Burns
Uneven burns can be frustrating. I check my tool’s temperature settings and ensure I’m applying consistent pressure. If the problem persists, I examine the wood grain—sometimes it’s just a matter of following the natural patterns of the wood.
Burn Mark Removal
Mistakes happen. Lightly sanding the area with fine-grit sandpaper can often remedy small burn marks. For more significant errors, I sometimes incorporate the mistake into the design, turning it into a “happy accident.”
Final Touches
Sealing Your Work
Sealing your finished piece protects the wood and enhances the burned design. I use a clear, non-toxic sealant, applying it with a soft brush in light, even strokes. It adds a polished look to the final product.
Displaying Your Art
Once your piece is complete, find a special place to display it. Whether it’s a custom sign for your home or a personalized gift, showcasing your work brings a sense of accomplishment. Seeing it every day reminds me of the time and effort invested in creating something unique.
FAQs
How Long Does It Take To Learn Pyrography?
Learning pyrography varies from person to person. I found the basics took me a few weeks to grasp, but mastering the craft is an ongoing journey. Regular practice and experimenting with different techniques will gradually improve your skills.
Can I Use Regular Wood for Pyrography?
While you can use various types of wood, softer, lighter woods like basswood and birch are ideal for beginners. They are easier to burn and offer a smoother surface for your designs.
Is Pyrography Safe?
Yes, with proper precautions. Always use heat-resistant gloves, safety goggles, and a ventilation mask. Ensure your workspace is well-ventilated, and never leave a hot tool unattended.
What Are Some Common Projects for Beginners?
Starting with small, simple projects can build your confidence. Keychains, coasters, and small plaques are great for beginners. As you gain experience, you can move on to more complex designs and larger pieces.
Conclusion
Burning words into wood can be a deeply rewarding experience. From the moment I first held a wood-burning pen, I was hooked. The tactile sensation of creating something permanent, combined with the rustic beauty of scorched wood, is unlike any other art form. Whether you’re a seasoned artist or a curious beginner, I encourage you to give pyrography a try. Like any craft, it takes time and practice, but the results are truly worth it.

