Basswood stands out as the perfect starting point for pyrography beginners, thanks to its soft texture and predictable burning qualities. Its Janka hardness rating of 410 lbf makes it easy to work with and control. Light-colored woods like basswood, aspen, and poplar respond well to burning while creating clean, visible marks. I recommend staying away from pine and other resinous woods that can create sticky residue and uneven burns.
Key Takeaways
- Soft woods like basswood, aspen, and poplar are optimal for beginners due to their quick heat response and forgiving nature.
- Wood pieces should be at least 1/4 inch thick to prevent warping during the burning process.
- Light-colored woods create better contrast and show burn marks more clearly.
- Proper surface preparation and sanding to at least 220-grit is essential for clean burns.
- Dense woods like maple offer superior results for detailed work but require more skill and patience.
I find basswood particularly appealing because it accepts burn marks consistently and lets artists focus on technique rather than fighting against the material. The smooth grain patterns in these lighter woods create an ideal canvas for both simple designs and intricate details. Proper preparation makes a significant difference – I always sand my pieces to at least 220-grit before starting any project. While maple and other dense woods produce stunning results for detailed work, they demand advanced skills and extra time to master. Starting with softer woods builds confidence and fundamental skills that transfer well to more challenging materials later.
The Best Woods for Beginner Pyrographers
Starting with Soft Woods for Success
Basswood stands out as my top pick for anyone starting their pyrography journey. Its softness lets you create clean, defined lines without applying excessive pressure. With a Janka hardness rating of 410 lbf, basswood offers the perfect balance of durability and workability for mastering basic pyrography techniques.
I’ve found that aspen and poplar make excellent alternatives to basswood, sharing similar characteristics that benefit beginners. Their light, uniform colors create an ideal canvas for your burns, while their fine grain patterns help maintain consistency in your designs. These woods are readily available and won’t break the bank, making them perfect for practicing new techniques.
Benefits of Working with Softer Woods
Soft woods give you a significant advantage when you’re learning pyrography. They need less heat and pressure to achieve beautiful burns, which means you’ll have better control over your tool and reduce the risk of mistakes. Popular wood choices like basswood let you focus on developing your technique rather than fighting against the material.
Here are key advantages of starting with soft woods:
- Quick response to heat application
- Less physical strain during extended burning sessions
- Reduced risk of tool slippage
- Consistent burn results
- Greater forgiveness for beginners’ mistakes
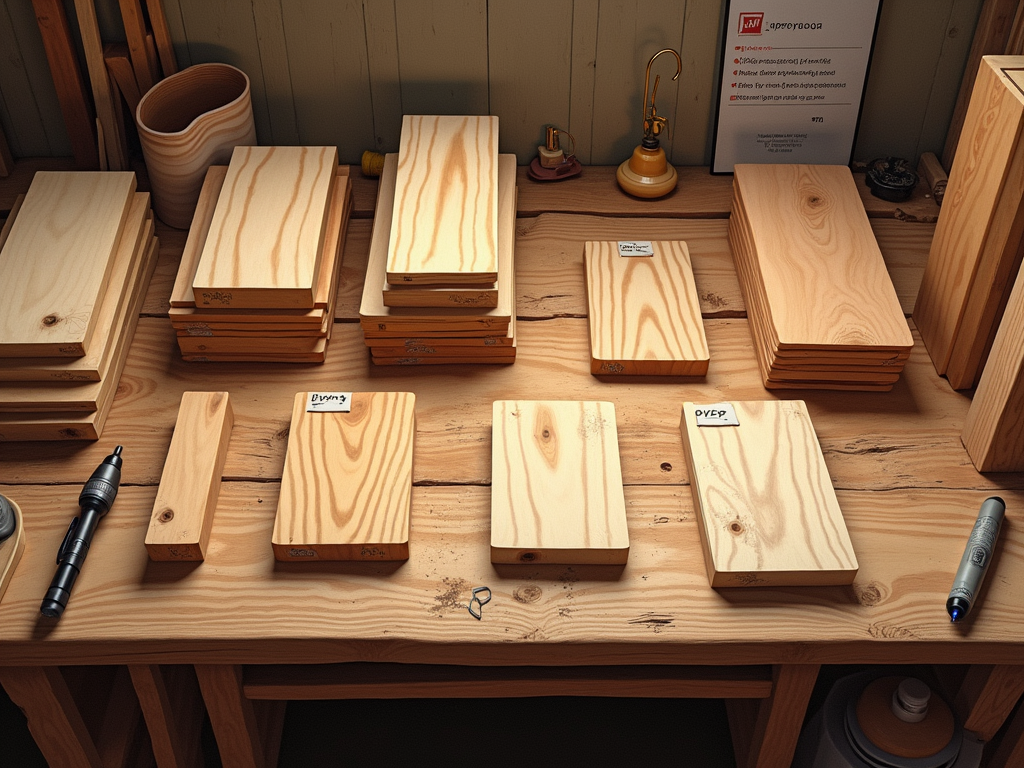
The thickness of your wood piece plays a crucial role in your success. I recommend starting with pieces that are at least 1/4 inch thick to prevent warping. Before starting any project, make sure to properly prepare your wood surface for the best results.
While pine might seem like an obvious choice due to its availability and low cost, its uneven grain pattern and resin content can make it challenging for beginners. I suggest sticking with basswood, aspen, or poplar until you’ve developed more confidence in your burning techniques.
Understanding Wood Characteristics for Successful Burning
Wood Hardness and Grain Structure
I’ve found that understanding the Janka Hardness Scale gives me a clear picture of how difficult or easy a piece of wood will be to burn. This scale measures wood’s resistance to denting and wear – a crucial factor in choosing the perfect wood for pyrography projects. Softer woods like pine score around 400-500 on the scale, while harder options like maple can reach 1,450.
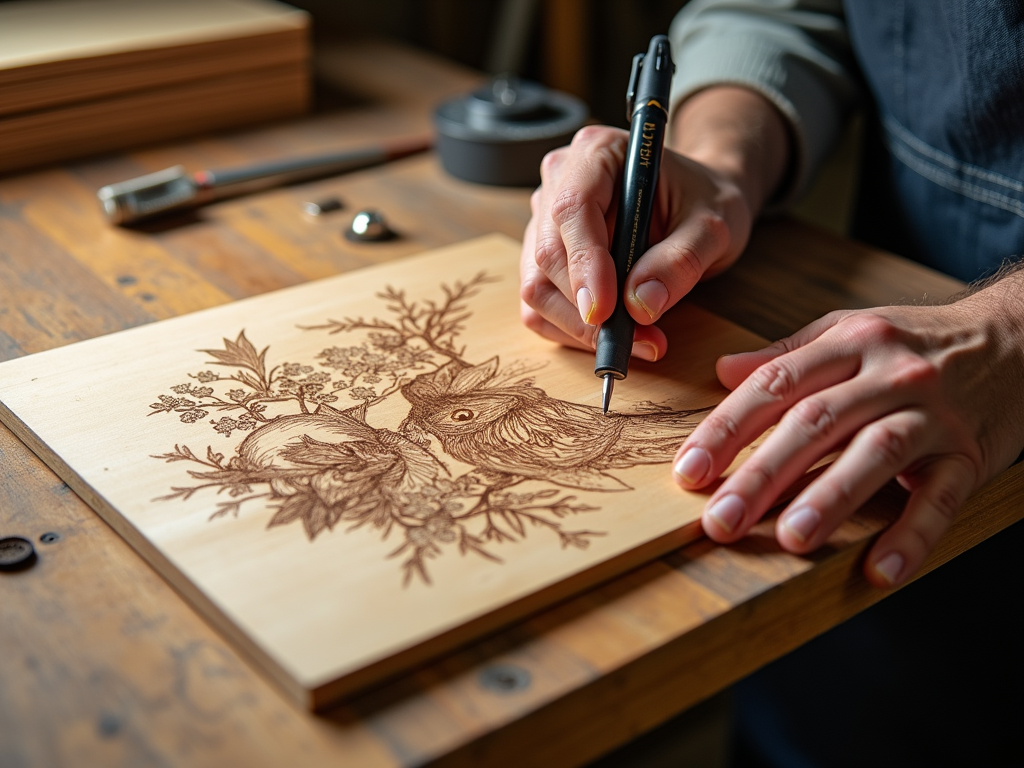
Tight-grained woods produce cleaner, more precise burn lines. Different wood types create varying burn results, but I’ve noticed that open-grained woods often lead to uneven lines and can be challenging to work with, especially for detailed designs.
Surface Preparation and Color Selection
A smooth surface makes a significant difference in achieving precise burns. Before starting any project, I make sure to properly sand the wood surface to at least 220-grit. This preparation step eliminates rough spots that could catch or redirect my pyrography pen.
Here are key factors I consider when selecting wood for pyrography:
- Color contrast – lighter woods like basswood and birch show burn marks more clearly
- Surface texture – minimal knots and smooth grain patterns work best
- Wood thickness – should be substantial enough to prevent warping
- Moisture content – dry wood burns more predictably
- Resin content – lower resin woods burn more cleanly
Pine can be tricky for pyrography due to its varying density between growth rings, but its availability and low cost make it popular for practice pieces. For professional projects, I prefer commonly used woods like basswood or maple that offer consistent burning characteristics and excellent contrast.
Light-colored woods are my top choice because they create striking contrast with burn marks. This contrast isn’t just about aesthetics – it makes the work easier to execute and helps me spot mistakes quickly. Woods like basswood, birch, and maple provide an ideal pale canvas that showcases both subtle shading and bold burns effectively.
Advanced Woods for Detailed Pyrography
Hard maple stands out as a premium choice for detailed pyrography work, thanks to its exceptional density and tight grain pattern. Before diving into complex designs, I recommend practicing on popular beginner-friendly woods since hard maple’s Janka rating of 1450 lbf makes it challenging to burn.
Working with Dense Woods
Baltic birch plywood offers unique advantages for intricate pyrography projects. Its layered construction creates stability that prevents warping, making it perfect for larger pieces. When burning on dense woods like maple or birch plywood, I’ve found success by starting with lower temperatures and gradually increasing the heat. This method helps prevent scorching and maintains clean lines.
The key to mastering advanced wood burning techniques lies in understanding how different woods respond to heat. Here are my tested approaches for achieving professional results on harder woods:
- Use precision tips at slightly higher temperatures than you would for softer woods
- Apply consistent, steady pressure to maintain even burn depths
- Take frequent breaks to prevent tip buildup and ensure clean lines
- Work in small sections to maintain better control over the burn pattern
Compared to softer woods like pine, dense woods require more patience but offer superior results for detailed work. The tight grain structure of hard maple creates a smooth canvas that’s perfect for achieving subtle shading variations and precise line work.
The density of these advanced woods actually becomes an advantage once you’ve mastered the proper technique. I can create more defined textures and achieve finer detail work because the wood resists burning too quickly. This control is especially valuable when working on portraits or intricate pattern work where precision is crucial.
For the best results on dense woods like maple, I make sure my piece is at least 3/4 inch thick to prevent warping. Before starting any burn work, I always ensure the surface is properly prepared – sanding the wood thoroughly makes a significant difference in achieving clean, consistent burns.
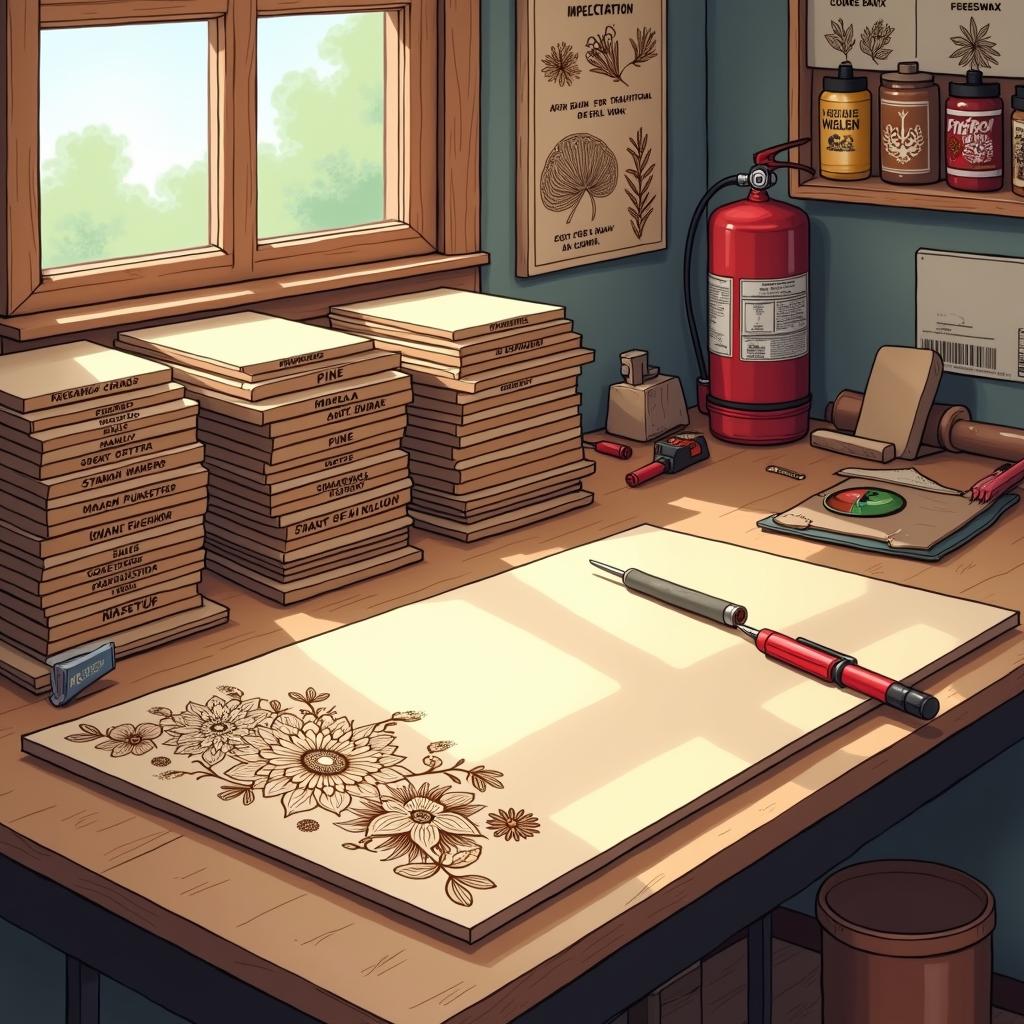
Essential Safety Practices for Wood Burning
Protective Equipment and Ventilation
My years of experience have taught me that proper safety measures are absolutely critical when working with pyrography. Before starting any wood burning project, I always put on an N95 or P100 mask – these provide excellent protection against the fine wood particles and smoke that burning creates. A proper mask isn’t optional; it’s a vital piece of safety equipment that helps prevent respiratory issues.
Working in a well-ventilated area makes a massive difference in safety and comfort. I position a fan to blow smoke away from my face and workspace, which helps maintain clear visibility and reduces exposure to fumes. Opening windows or working near an exhaust system creates optimal airflow and keeps the workspace safer.
Wood Selection and Fire Safety
Choosing the right wood isn’t just about aesthetics – it’s a crucial safety consideration. I never use treated woods or those containing harmful chemicals like arsenic or formaldehyde. These materials can release toxic fumes when burned. If you’re unsure about which woods are safe for pyrography, it’s best to stick with known options like traditional pyrography woods.
Here are the key safety items I keep within arm’s reach during every burning session:
- Fire extinguisher rated for wood fires
- Heat-resistant mat or surface
- Container of water for cooling tips
- Fire-resistant gloves
- First aid kit
While pine can be used for pyrography, I’m extra careful with resinous woods as they can produce more smoke and potentially flare up. I always keep my burning tool at appropriate temperatures and never leave it unattended. Before starting any project, I make sure to prepare the wood surface properly, removing any debris that could catch fire.
Safety isn’t complicated, but it requires consistent attention. I’ve found that setting up a dedicated workspace with proper ventilation and safety equipment makes it much easier to maintain good habits. The thickness of your wood piece also matters – choosing the right wood thickness helps prevent burning through or creating fire hazards.
Where to Source Quality Pyrography Wood
Retail and Online Options
I’ve found several reliable places to source wood that’s perfect for pyrography projects. Local craft stores like Michaels and Hobby Lobby stock pre-cut wood blanks that are ready for burning. These pieces are ideal if you’re starting your pyrography journey since they’re already prepped and sized appropriately.
Online marketplaces have expanded my wood selection significantly. Amazon and Etsy sellers offer specialized pyrography blanks, while established brands like Walnut Hollow produce consistently high-quality pieces. Before ordering, I always make sure the wood is thick enough for my project – this prevents warping during burning.
Lumber yards remain my go-to source for raw wood materials. These locations let me hand-pick pieces with the best grain patterns and check for any defects firsthand. I look for kiln-dried wood specifically, as it burns more predictably and produces cleaner lines in my artwork.
For those interested in working with pine, I’ve discovered that home improvement stores can be surprisingly good sources. While pine presents unique challenges, it’s readily available and budget-friendly. Just remember to check if the wood has been pressure-treated – you’ll want to avoid any treated pieces for pyrography.
Key Factors When Sourcing Wood
Here’s what I check for when sourcing wood from any supplier:
- Moisture content – kiln-dried wood is essential for consistent burning
- Surface preparation – smooth, properly sanded surfaces save prep time
- Grain pattern – straight, tight grain typically works best
- Treatment history – untreated wood is crucial for safety
- Storage conditions – properly stored wood prevents warping
While not every wood type suits pyrography, most suppliers offer popular choices like basswood and birch. I recommend starting with smaller pieces from craft stores to practice, then moving to lumber yards as your skills and project needs grow.
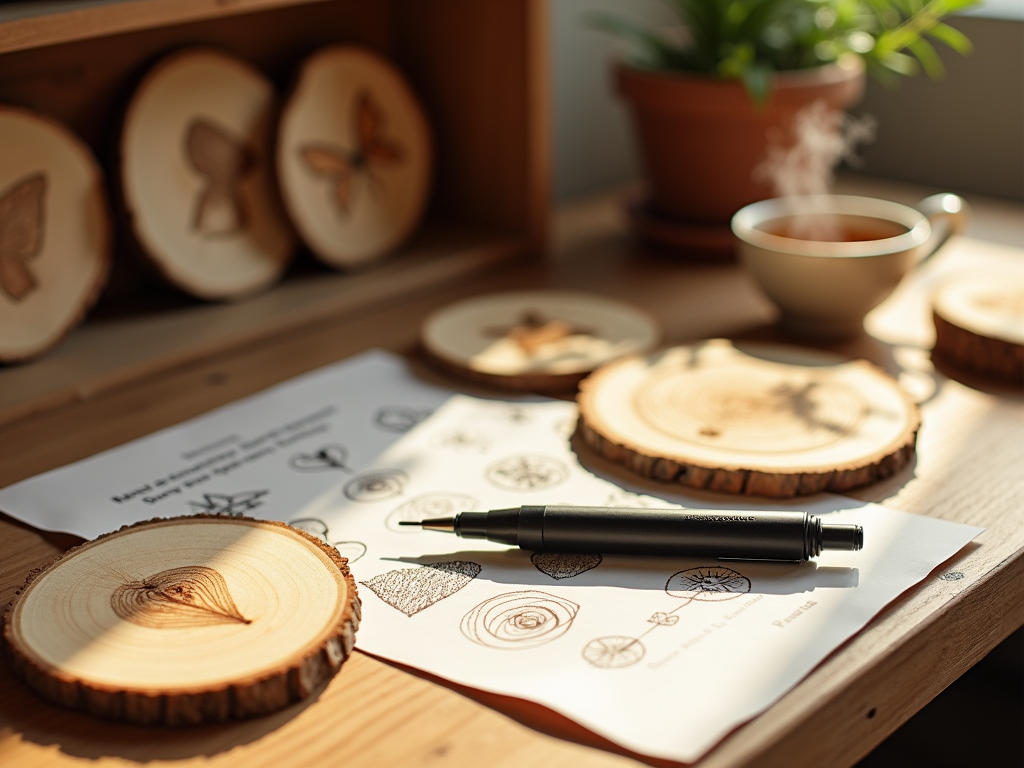
Best Practices for Wood Preparation
Surface Preparation and Quality Testing
The right wood preparation can make or break your pyrography project. I always start with thorough sanding of the wood surface, using 220-grit sandpaper as a minimum standard. This creates an ideal canvas for burning and helps achieve crisp, clean lines in your artwork. The smoother your surface, the better control you’ll have over your pyrography tool.
Before starting any major project, I recommend testing your chosen wood piece on a small, inconspicuous area. This step is particularly important when working with unfamiliar wood types. Your test burn should check for:
- Even burning characteristics
- Smoke production
- Color response to heat
- Grain pattern effects
Wood Selection and Storage
Selecting the right piece starts with identifying whether it’s treated or untreated wood. I can’t stress enough how crucial this is – burning treated wood can release harmful chemicals and pose serious health risks. Natural, untreated woods are your safest choice for pyrography projects.
Your wood should be properly dried and stored to ensure the best results. I keep my wood pieces in a dry, climate-controlled space, laying them flat to prevent warping. The thickness of your wood piece plays a significant role in its stability and burn quality.
Here’s what I look for to determine if wood is ready for pyrography:
- Moisture content below 15%
- No visible warping or cupping
- Consistent color throughout
- Smooth, knot-free surface where possible
- Natural, untreated finish
Pine can be tricky for beginners due to its varying density between growth rings, but it’s still a viable option when properly prepared. For consistently excellent results, I suggest exploring different wood varieties popular among pyrographers to find what works best for your style and skill level.
The wood’s surface should feel smooth to the touch, with no rough patches or splinters. After sanding, I always wipe the surface with a tack cloth to remove any dust particles that might interfere with the burning process. This extra step ensures nothing stands between your pyrography tip and the wood surface, leading to cleaner, more precise burns.
Sources: