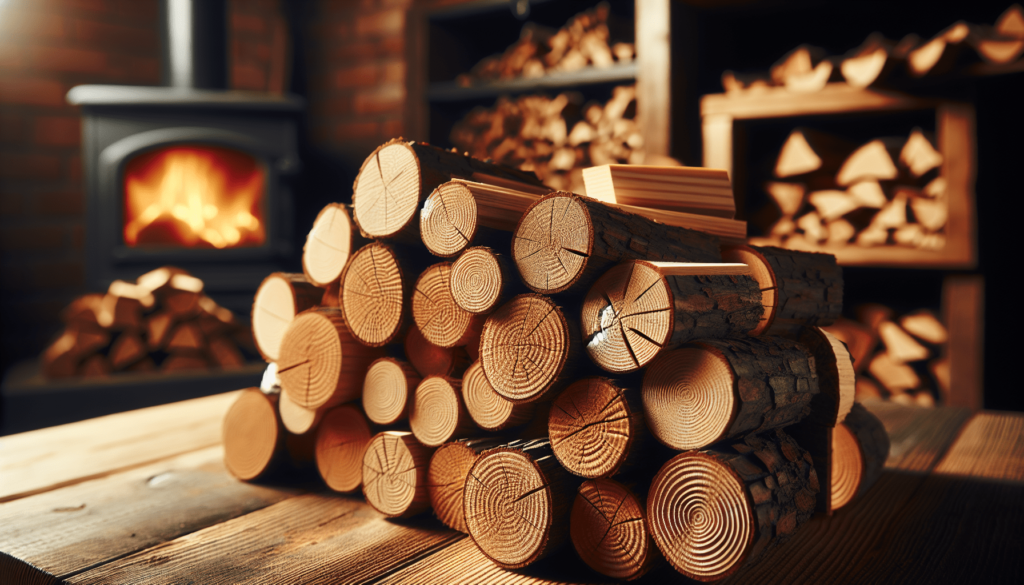
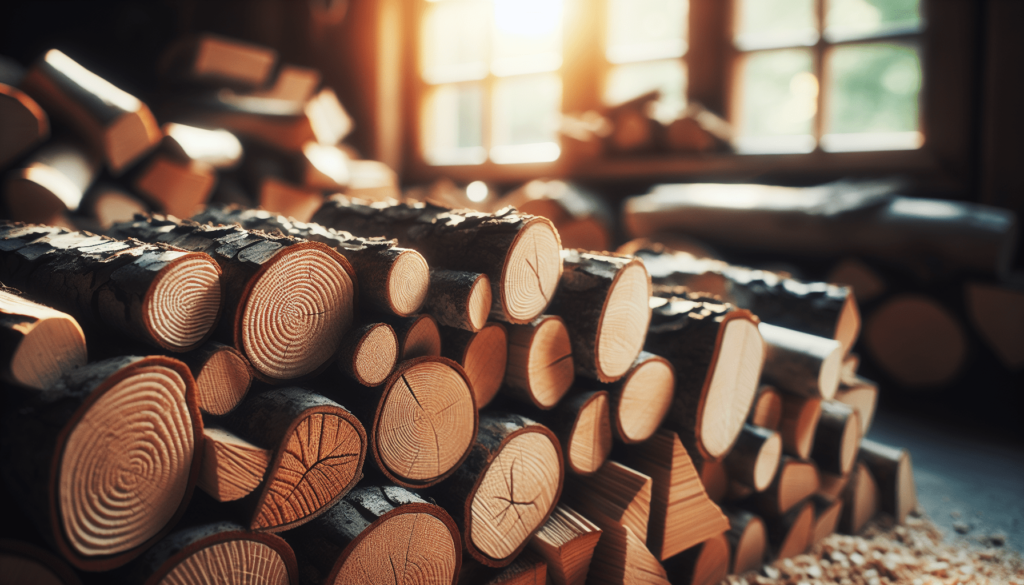
Ever wondered how to prepare wood for a wood burner? I mean, it seems like it should be simple: chop some wood, toss it in, and voilà – you’ve got yourself a cozy fire. But, as with many things in life, the devil is in the details. Trust me, a little knowledge goes a long way in making sure you’re getting the most out of your wood burner without adding undue stress (or smoke) to your life.

What Kind of Wood Should I Use?
Let’s start with the big question – what kind of wood are we talking about? Not all wood burns the same, and knowing the difference can make your firewood experiences buttery smooth rather than a smoky nightmare.
Hardwoods vs. Softwoods
First off, you’ll hear a lot of talk about hardwoods and softwoods. It sounds like one of those “You had me at hello” kind of things, but it actually makes a big difference.
Hardwoods:
- They’re denser.
- Produce more heat.
- Burn slower.
- Less resin and sap.
Softwoods:
- They’re less dense.
- Burn faster.
- Often produce more smoke and creosote.
- More resin and sap which can create more creosote in your chimney.
| Hardwoods | Softwoods |
|---|---|
| Oak | Pine |
| Maple | Fir |
| Ash | Spruce |
| Birch | Cedar |
| Walnut | Larch |
The thing with hardwoods, like oak or maple, is that they’ll burn longer and give you more heat per log. Softwoods, on the other hand, are great if you need a quick, hot fire but don’t mind feeding your burner more often.
Seasoning Wood: How Long Should It Dry?
This brings me to the next biggie – seasoning. Nope, not cajun or Italian; we’re talking about drying out your logs. Freshly cut wood, or green wood, contains a lot of moisture — and moisture and fire are not friends.
You’ll want to allow your hardwoods to season for about 1-2 years. Softwoods, being less dense, can get away with about 6-12 months. You can tell if wood is seasoned by looking for cracks in the end grain and listening for a hollow sound when you knock two pieces together.
The goal is to have wood with about 20% moisture content. You could eyeball it, but getting a moisture meter (they’re pretty affordable) is a surefire way to know.
The Right Way to Split Wood
I find something oddly satisfying about splitting wood. It’s like you’re making an investment in future you – like meal-prepping but with logs.
Tools of the Trade
Let’s get into tools, because wielding a proper weapon can make you feel like a modern-day Norse god. You have options:
- Axe: Great for smaller jobs, and it makes you look cool.
- Maul: Heavier and wedge-shaped for more powerful splitting.
- Splitting Wedge and Sledgehammer: For when your wood is particularly stubborn (or massive).
Splitting Technique
There’s a bit of an art to it. Place your log on a chopping block, aim for the edge rather than the center, and let the tool do the work. Overhead swings are effective, but if you value your back and shoulders, side swings can be less taxing.
Safety First!
I cannot stress this enough. Wear protective gear — gloves, goggles, and even steel-toed boots if you’ve got them. And make sure no one, especially kids or pets, are hanging around in striking range.
Storing Your Wood
Once your wood is cut and split, you need to store it. Bad storage can undo all the good work you put into seasoning and splitting your wood.
Off the Ground and Covered
Think raised platforms or pallets to keep your logs away from the dirt and moisture of the ground. It’s like giving your wood a nice bed to lie on before it’s put to work. Throw a cover over the top – something waterproof like a tarp will do, but make sure you leave the sides open for ventilation.
Stacks and Ventilation
Stack your wood in a way that allows air to circulate. Crisscross the ends of each row to create a stable, breathable pile. Good piles look like really organized Jenga towers, just without the fun of knocking them over.
Lighting and Maintaining Your Fire
You’ve put in the work; now let’s light that sucker up. Surprising to some, there’s a bit more to it than just chucking a match.
Building the Fire
Start with some tinder and kindling. Think small, dry twigs, newspaper, or even those fancy fire starter bricks if you’re feeling high-end. Lay them loosely to allow for air flow. Then, arrange your logs in a “teepee” or “log cabin” style. Either setup will work, but just don’t smother your fire – it needs to breathe.
Lighting the Fire
Light the tinder and kindling at multiple points to ensure an even burn. Once it catches, you can start adding bigger pieces of wood.
Maintaining Your Fire
Keep an eye on it. Add logs as needed but don’t overstuff your burner. Keep the door slightly ajar in the beginning to improve airflow and reduce the risk of smoke backing up into your room. Your aim is a bright, roaring fire without a lot of smoke – smoke means incomplete combustion which isn’t what you want.

Cleaning and Maintenance
Nobody wants to deal with the nitty-gritty of cleaning, but remember that a well-maintained wood burner and chimney will ensure you have trouble-free fires. Think of it like flossing but for your home.
Cleaning the Wood Burner
You’ll need to clean out the ash regularly. Too much ash can choke your fire and reduce airflow. When you’re doing this, make sure the ash is cool – hot ash is sneaky and can stay dangerously warm for a surprisingly long time.
Chimney Sweep
The same smoky residue that’s a nuisance inside your burner is also building up in your chimney as creosote. This stuff is highly flammable and can lead to chimney fires. Yikes, right? Get your chimney swept at least once a year. Some things are better left to the pros and this is one of them.
Eco-Friendly Tips
Now, for those of us who are green at heart (or conscious about our carbon footprint), there are ways to burn wood more responsibly.
Choosing Sustainable Wood
Buy from local suppliers who manage their woodlands sustainably. It’s a small step but contributes to a larger environmental impact.
Burn Efficiently
Efficient wood burning means less pollution. Make sure your wood is dry (less smoke), use high-efficiency stoves, and follow proper burning techniques. It’s about getting the maximum heat with the least amount of wood.
Reuse Your Ash
Ash contains valuable nutrients like calcium, potassium, and phosphorus, which make it great for your garden. Just avoid using it on acid-loving plants because wood ash tends to be alkaline.
Tips and Tricks from the Pros
The people who’ve been at this for years – the real wood-burning wizards – have a few tricks up their sleeves. Here are a few gems I’ve picked up.
The “Top-Down” Fire Method
Instead of putting your big logs at the bottom, try reversing the process. Stack larger logs at the base, followed by medium logs, then kindling, and finally tinder on top. This way, the fire burns downwards, reducing smoke and allowing for a longer, more consistent burn.
The Double Fire Method
Having trouble getting your fire going? Try lighting a small fire near the front of the stove to establish draft before building your main fire. This helps in reducing smoke and gets things burning more efficiently.
Use Larger Logs for Longer Burns
If you’re planning to leave the fire burning overnight or for a prolonged period, use larger hardwood logs. They’ll burn more slowly and maintain a consistent temperature.
Bypass the Log Pile
If you’re in a rush or feeling lazy, you might be tempted to leave your logs near the burner. Don’t do it. Wood stored inside will suck up humidity, making it a poorer burner. Always bring logs in a day or two before you plan to use them, giving them time to dry out properly before hitting the flames.
Conclusion
Preparing wood for a wood burner is a bit of an art, isn’t it? From selecting the right type of wood, properly seasoning and splitting it, to storing and burning it efficiently – every step plays a role in creating that perfect fire.
I’ve come to appreciate the process, and I hope you do too. Not only does it make things easier, but it also brings a bit of rhythm and ritual into your life. And isn’t that what we’re all trying to find – a bit of order and warmth in an otherwise chaotic world?
So, next time you gather around your wood burner, you’ll know that there’s more to that fire than just tossing a log in. There are layers of preparation, care, and knowledge behind those flames, making the warmth feel all the more earned.

