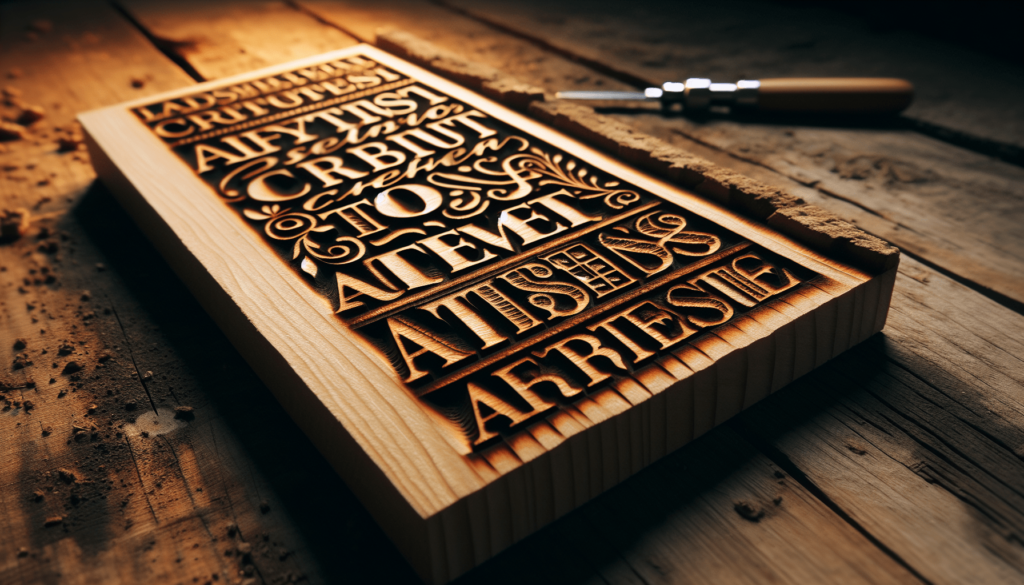
Do you ever find yourself marveling at the beauty of woodworks with lovely neat words or intricate designs engraved into them? Perhaps, like me, you’ve often wondered if it’s possible to achieve such artistry without the use of fancy tools or expensive equipment. Let’s talk about how you can burn words into wood even if you’re lacking the typical tools—wood burners, laser etchers, CNC machines, and all that jazz.

The Basics of Wood Burning
So, what exactly is wood burning? It’s essentially creating designs, letters, or images on wood by using heat. Most people use specialized tools for this purpose, but if you’re tool-less like many of us or simply want to experiment with what you have at home, fret not. There are ways around this.
What You’ll Need
Before we get into the nitty-gritty, let’s gather some basic supplies. Here’s a simple list:
| Item | Purpose |
|---|---|
| Pencil | For sketching your design onto the wood |
| Fine-grit sandpaper | To smooth out the wood surface |
| Transfer paper | To transfer your design from paper to wood (optional) |
| Heat source | Such as a magnifying glass, sunlight, or a household item like a soldering iron |
| Wood pieces | Small wooden plaques, coasters, or any wood piece you want to design on |
The good thing about this is you probably already have most of these items lying around the house. Now, let’s move forward with the actual process.
Preparing Your Wood
First things first, prepare your wood piece. This is like prepping a canvas before painting.
Smooth the Surface
Using your fine-grit sandpaper, rub down the wood surface until it feels smooth to the touch. This step is essential because a rough surface won’t hold the design well and can make the burning process uneven. Trust me, splinters are not your friends here.
Sketch Your Design
Grab your pencil and get sketching! If you’re not confident in your free-hand drawing skills, you might opt to print out a design and use transfer paper to etch it onto the wood. Don’t worry about being a design whizz—simple block letters or basic shapes work beautifully, and it’s the thought that counts!
Transfer Paper Option
If you’re using transfer paper, place it on the wood with the dark side down. Put your printed design on top and trace over it. It’ll leave a faint but noticeable outline on the wood. There you go, a road map for your wood-burning adventure.
Choosing Your Heat Source
Here comes the favorite part: choosing your heat source. It feels a bit like rummaging through a treasure chest of possibilities—well, at least it does to me. Here are a few options, ranked by their effectiveness and safety.
Magnifying Glass and Sunlight
This method is straight out of a science experiment. It’s exciting, resourceful, and requires a patient sunny day.
- Select a bright, sunny day.
- Position your wood piece in direct sunlight.
- Hold your magnifying glass at an angle until you see a concentrated dot of light on your wood.
- Slowly trace over your design as the focused sunlight burns the wood.
This method is time-consuming but highly rewarding. Plus, it’s an excuse to bask in the sun. Just don’t forget your sunscreen!
Soldering Iron
While a soldering iron is technically a tool, it’s something many people have at home already. If you count it as cheating, then, by all means, skip this section. But if you’re open to it, it’s a handy, less expensive alternative to an official wood-burning kit.
- Plug in your soldering iron and let it heat up.
- Carefully follow your design, pressing gently but firmly into the wood.
- Go slowly to avoid burning too deeply or unevenly.
Remember, a steady hand is key here. If you’re anything like me, this might mean spending a few attempts fighting off a caffeine-induced wobble.
Household Items: Creative Solutions
Now, let’s get really MacGyver-y. Here are some household items you might consider using:
| Household Item | Method |
|---|---|
| Old metal spoon | Heat it up on the stove, hold it with pliers, and carefully burn the wood |
| Lighter or candle | Use the flame on a piece of metal or a skewer then use it to burn the wood |
| Magnifying glass | Concentrate sunlight onto the wood to burn it |
| Steel Wool and Battery | Rub the wool on a 9V battery terminal to create a spark, then use it to scorch the wood |
Note: A word of caution here—some of these methods can be dangerous if not done with care. Always prioritize safety, keep a fire extinguisher nearby, and never work with open flames near flammable materials.
Applying Your New Skill
Now that you’ve chosen and prepared your method, it’s time to put it to the test. Let’s go step by step so it doesn’t feel overwhelming.
Set Up Your Work Station
Find a comfortable area with good ventilation. Wood burning can release smoke, which isn’t delightful to inhale. Cover your work surface with a drop cloth or old newspaper to catch any debris.
Begin the Burn
Whether you’ve gone with the sun, a soldering iron, or a creative household solution, start by lightly tracing over your design. If using sunlight, you’ll want to go slowly as it can be harder to control. If you’re using the others, keep a steady hand and light pressure to avoid deep gouges.
Practice Makes Perfect
Don’t aim for perfection initially. Remember my first few attempts landed me with scorched blobs that barely resembled letters. Like all good things, it gets better with practice.
Finishing Touches
Typically, wood burning is your final step in the decoration process. However, you may want to add a protective layer like varnish or a sealant. It not only brings out the wood’s natural beauty but also protects your design from wear and tear.

Troubleshooting Common Issues
Alright, this is where the road gets a bit bumpy and where those rough patches pop up. Here are some common issues you might encounter and how to overcome them.
Uneven Burns
It’s natural for the burning to look uneven at first. To smooth things out, go over lighter areas again without pressing too hard. A gentle hand is your best friend here.
Blotchy Design
If your design looks blotchy, it might be because the wood wasn’t well-prepped or you’re applying too much pressure. Sand down the wood again and practice with a lighter touch.
Smoke and Odor
Wood burning will inevitably produce some smoke and an odor. Work in a well-ventilated area, perhaps near a window or outside. A simple fan can help disperse any lingering smoke.
Safety Concerns
I can’t stress enough the importance of safety. Always have water or a fire extinguisher on hand. If you’re working with open flames or heated metal, wear protective gloves and eyewear, and keep a first aid kit nearby. Better safe than singed, I always say.
Creative Ideas to Inspire You
Once you get the hang of burning words into wood, you might find yourself itching to try more ambitious projects. Here’s a list of creative ideas to spark your imagination:
- Personalized Coasters: Write names or small quotes.
- Decorative Wall Plaques: Add inspiring words or even simple illustrations.
- Customized Wooden Spoons: Perfect for gifting.
- Wooden Jewelry: Small pieces with symbols or initials.
- House Numbers: Make your home entrance unique.
Who knows? Maybe you’ll get so into it that your Christmas gift list this year will be filled with handcrafted, wood-burned treasures.
Wrapping Up
Burning words into wood without tools isn’t just entirely possible, it’s a fun and rewarding DIY project. With a bit of patience, creativity, and safety precautions, you can create beautiful, personalized wood pieces. Whether it’s for home decor, gifts, or just as a new hobby, the possibilities are endless.
So, the next time you find yourself wishing you could create beautiful wood-burned designs but lacking the specialized tools, remember that where there’s a will, there’s a way—often hiding right in your own home. Dive in, enjoy the process, and don’t be afraid to make mistakes. Every burn mark adds character—both to the wood and to your crafting journey.
And there you have it! You’re now equipped to embark on a new artisanal adventure without needing a single fancy tool. Happy crafting!

