How thick should wood be for pyrography?
That’s a good question, isn’t it? When I first got into pyrography, or wood burning as some like to call it, I had no idea that the thickness of the wood could make such a big difference. I mean, you’d think burning designs into wood would be straightforward, but it turns out there’s a lot more to it. So, how thick should wood be for pyrography? Let’s figure that out.

Understanding Pyrography
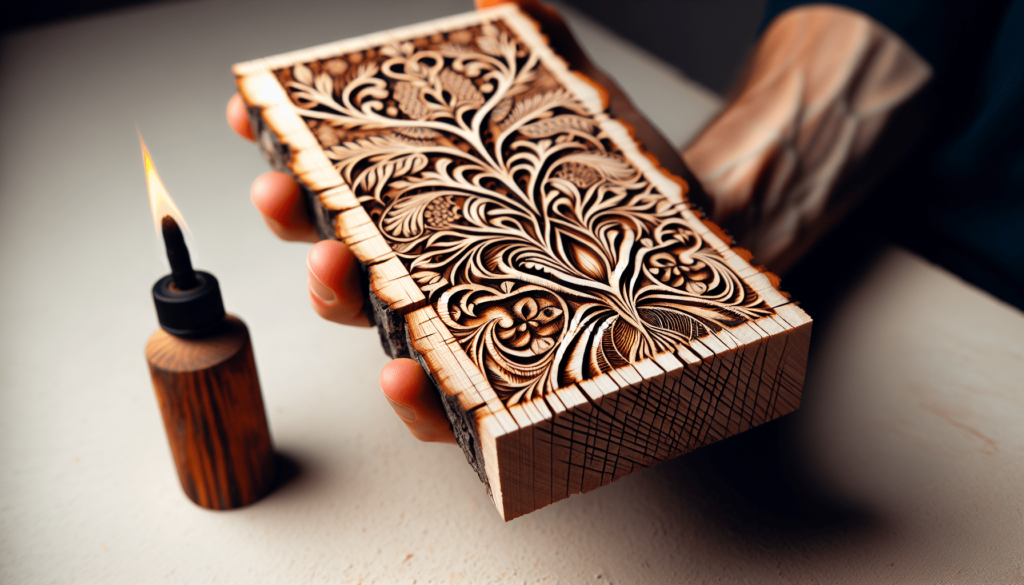
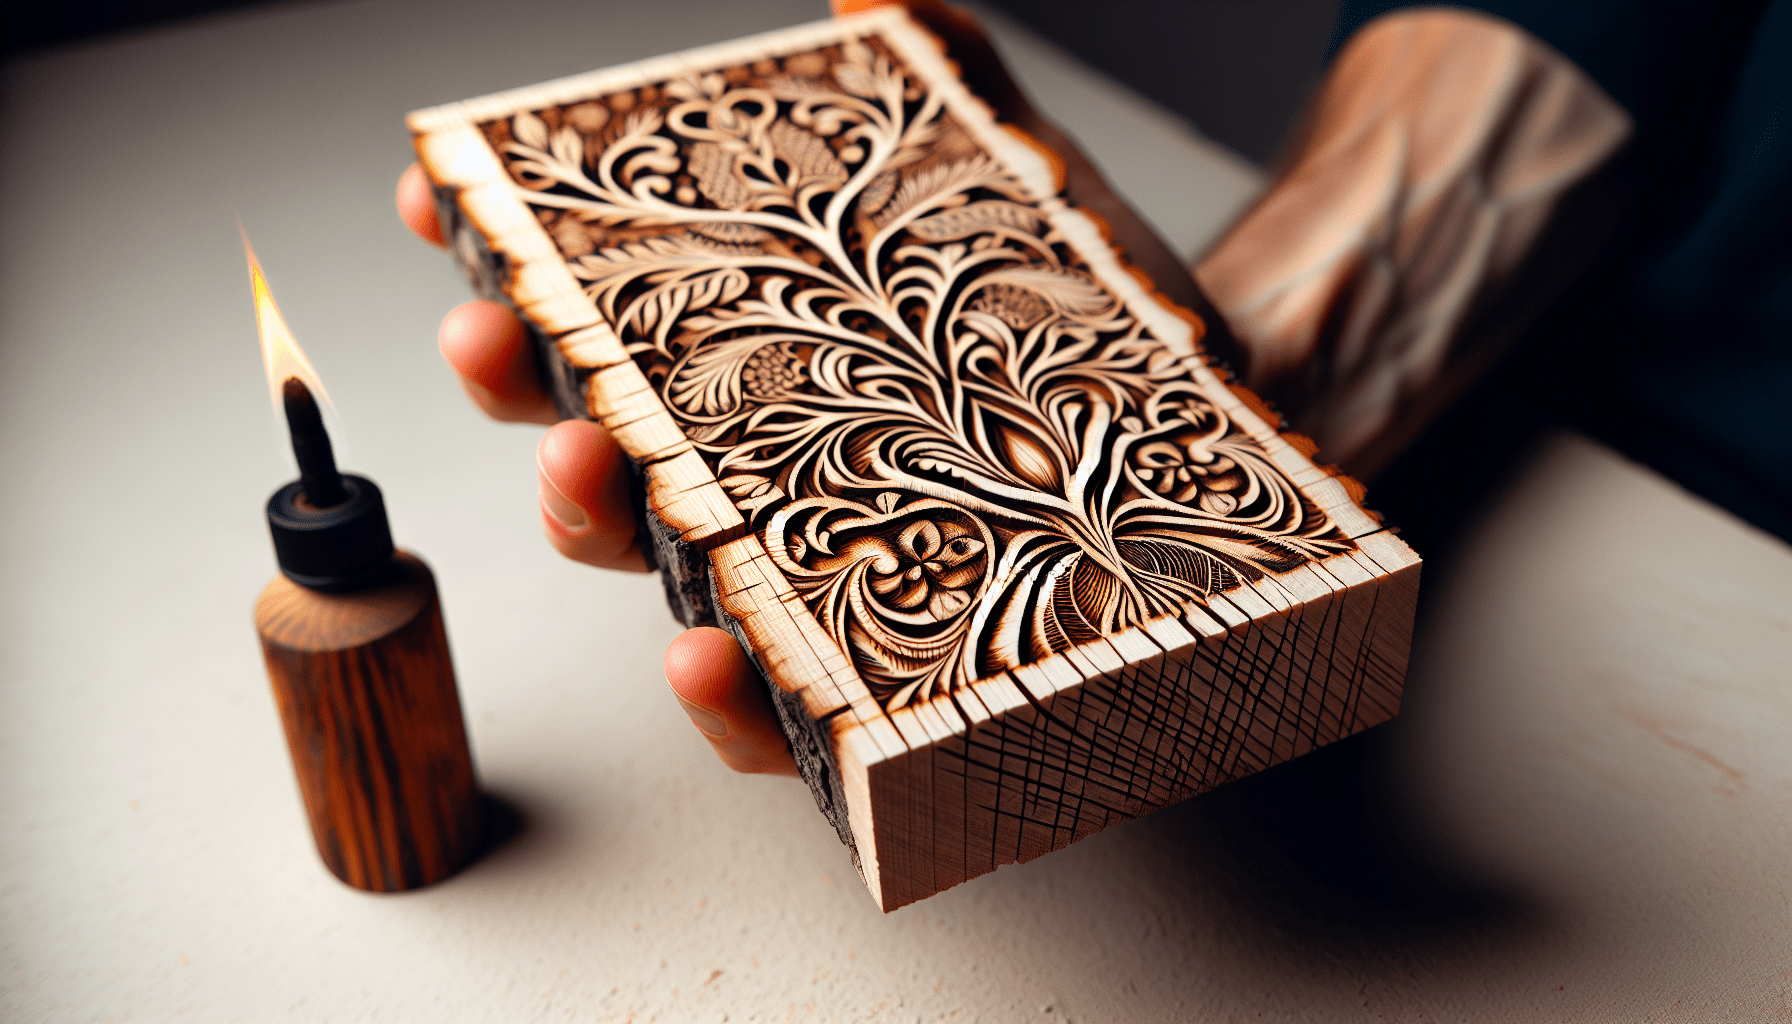
First off, let’s make sure we’re all on the same page about what pyrography actually is. Pyrography is the art of decorating wood (or other materials) with burn marks, typically done by using a heated tool—something that looks a bit like a soldering iron. The heat burns the surface of the wood to create lines and shades, resulting in intricate designs and patterns.
Materials Suitable for Pyrography
While many kinds of wood are suitable for pyrography, each type has its own characteristics. Some popular choices include basswood, birch, and maple. Each type of wood burns differently, allowing for different textures and styles depending on what you want to create.
Here’s a quick table to help you understand:
| Wood Type | Characteristics |
|---|---|
| Basswood | Soft, light in color, easy to burn, great for beginners |
| Birch | Slightly harder, smooth, even texture, works well for fine details |
| Maple | Hard, light-colored, fine texture, allows for intricate designs |
Why Wood Thickness Matters
Now, back to the thickness question. The thickness of the wood piece you choose can greatly affect your burning experience and the final outcome of your project.
Stability and Durability
Thicker wood pieces are more stable and less prone to warping. If you’re making something like a sign or a plaque that you want to last a long time, thicker wood is a good option. Thin pieces might wobble or bend under the pressure of the burning tool, making it hard to achieve clean lines.
Burn Depth
Thicker wood allows for deeper burns, which can be useful if you’re looking to create a design with significant depth and texture. If the wood is too thin, you risk burning right through it, especially if you’re using a high-temperature setting on your tool.
Suggested Wood Thicknesses for Different Projects
No one-size-fits-all answer exists here, but I can give you some guidelines based on popular types of pyrography projects.
Plaques and Signs
For plaques and signs, I generally recommend wood that’s at least 1/2 inch thick. This gives you plenty of stability and ensures that your beautiful design won’t be compromised by a flimsy base.
Coasters
For coasters, you can go a bit thinner since they don’t need to be as stable. A thickness of about 1/4 inch to 3/8 inch should suffice. Just remember, the thinner the wood, the gentler you’ll need to be with your heat settings.
Jewelry and Ornaments
For these smaller, more delicate projects, I usually use wood that’s around 1/8 inch to 1/4 inch thick. These items generally don’t bear weight or face much wear and tear, so they can be thinner.
Let’s put this into a table for simpler reference:
| Project Type | Recommended Thickness |
|---|---|
| Plaques and Signs | 1/2 inch or thicker |
| Coasters | 1/4 to 3/8 inch |
| Jewelry/Ornaments | 1/8 to 1/4 inch |
How to Choose the Right Thickness
Consider Your Design
Think about the design you want to create and how intricate it is. More detailed designs can benefit from thicker wood, as it provides a sturdier surface that won’t move around as much as you work.
Think About Your Tool
Not all pyrography tools are created equal. Some tools can get extremely hot, which means you’ll need to be cautious about how quickly your wood will burn. If you have a high-heat tool, opting for thicker pieces of wood can prevent accidental scorch marks or burned-through sections.
Personal Comfort and Control
Your own comfort and control preferences can also dictate the thickness of the wood you should choose. Some people find it easier to work on thicker wood because it stays steadier, while others prefer thinner wood for its lightness and ease of handling.

Preparing Wood for Pyrography
Once you’ve chosen your ideal thickness, there are a few steps you should take to prepare your wood before you start burning.
Sanding
First, sand your wood to create a smooth surface. Any rough spots can cause skips or uneven lines in your burning. Use fine-grit sandpaper, somewhere around 220 grit, to get a nice, smooth surface.
Cleaning
After sanding, make sure to clean the surface of your wood. You don’t want any dust or debris interfering with your design. A quick wipe-down with a damp cloth should do the trick—just let it dry completely before you start burning.
Testing
If you’re working with a new type of wood or thickness, it might be a good idea to do some test burns on a scrap piece first. This can help you get a feel for how the wood responds to the tool and allows you to adjust your technique accordingly.
Safety First
Before you start your pyrography project, let’s talk safety. Working with hot tools and burning wood can be hazardous if you’re not careful.
Ventilation
Always work in a well-ventilated area. Burning wood produces smoke and fumes that can be harmful if inhaled. If you’re working indoors, make sure you have a good ventilation system or an exhaust fan. Better yet, if the weather permits, take your work outside.
Protective Gear
Even though pyrography is less messy than some other crafts, it’s still a good idea to wear protective gear. Safety goggles can protect your eyes from any tiny particles, and a mask can help keep you from inhaling smoke.
Avoid Burns
This might sound obvious, but the tools used for pyrography get very hot. Always be cautious about where you place your tool when it’s not in use. A heat-resistant stand or a piece of ceramic tile can be a good resting place for your tool when you need a break.
Common Mistakes and How to Avoid Them
Choosing the Wrong Type of Wood
Not all woods are created equal when it comes to pyrography. Some woods, like pine, have a lot of resin, which can make them harder to burn evenly. It’s best to stick with recommended woods like basswood or birch if you’re just starting out.
Burn Times
Hold the tool too long in one spot and you risk burning too deeply. Move it too quickly and you won’t leave a strong enough mark. Finding the right balance can take some practice. That’s why those test burns I mentioned earlier can be really useful.
Not Sealing Your Work
Once you’ve completed your design, you’ll want to protect it. A sealant will help your design stand the test of time. You can use something as simple as a clear wood finish to help protect your work from wear and tear.
Conclusion
There’s a lot that goes into deciding how thick your wood should be for pyrography, isn’t there? It all depends on the type of project you’re working on, the level of detail in your design, and, of course, your own comfort and control preferences. Generally speaking, thicker wood provides better stability and allows for more active, deep burns, making it a good choice for larger, more permanent pieces like plaques and signs. Thinner wood, on the other hand, can be ideal for lighter, more delicate projects like coasters or jewelry.
So the next time you’re wondering about the right thickness for your pyrography project, think about the factors we’ve discussed here. Consider the type of project, the type of wood, your tool, and your personal comfort. Get that smooth surface ready, keep safety in mind, and you’re all set to create your next wood-burning masterpiece.

