When I first decided to try my hand at woodburning, I realized that preparing the wood properly was essential to achieving the best results. From choosing the right type of wood to ensuring it’s correctly sanded and smoothed, each step plays a crucial role in the final outcome of the project. In “How Do You Prepare Wood For Woodburning?”, I delve into the essential techniques and tips for getting your wood ready for this creative and rewarding craft. How do you prepare wood for woodburning? This is a question that I found myself asking when I first stumbled upon the mesmerizing art of pyrography, which is just a fancy name for woodburning. If you’re anything like me—curious and perhaps a bit accident-prone—you’ve probably stood in awe of intricately burned designs and wondered, “How on earth do they do that?” Well, my friend, you’re in for a treat because today, I’m going to walk you through the ins and outs of preparing wood for woodburning. Grab your cup of coffee, sit back, and let’s dive into the scintillating world of prepping wood for pyrographic masterpieces.

Choosing the Right Wood
Let’s start with the basics. Not all wood is created equal, especially when it comes to woodburning. You can’t just grab any plank you find lying around and expect a Picasso-level outcome. The type of wood you choose can make or break your project.
Softwoods vs. Hardwoods
Softwoods like pine, cedar, and fir are generally easier to burn, but here’s the kicker—they tend to have more sap, which can get messy. Hardwoods like maple, birch, and oak are a bit trickier to work with but produce more durable and intricate designs. I once tried burning on a piece of untreated oak, and let’s just say it felt like trying to doodle on a rock. Not fun.
| Type of Wood | Best For | Pros | Cons |
|---|---|---|---|
| Pine | Beginners, lighter designs | Easy to burn, readily available | Sap issues, softer |
| Birch | Detailed projects, professional work | Smooth surface, fine grain | More expensive, moderate hardness |
| Maple | Durable and intricate designs | Durable, takes fine details well | Hard to burn, pricier |
| Cedar | Outdoor projects | Aromatic, insect-resistant | Soft, may require more sanding |
| Oak | High-end furniture, complex designs | Extremely durable, rich texture | Very hard, tough to work with |
My Personal Faves
Personally, my go-to wood choice is birch plywood. It’s relatively easy to work with, has a smooth surface, and is reasonably priced. I once made a clock with a birch plywood base, and the finish was so smooth that it felt like butter under my burning tool. Trust me, it makes a difference.
Prepping the Wood
Alright, you’ve chosen your wood. Congratulations! Now comes the nitty-gritty part: prepping it. If you thought you could skip this step, let me stop you right there. Prepping isn’t just a formality; it’s the secret sauce that makes your woodburning project not just good, but spectacular.
Sanding: Your New Best Friend
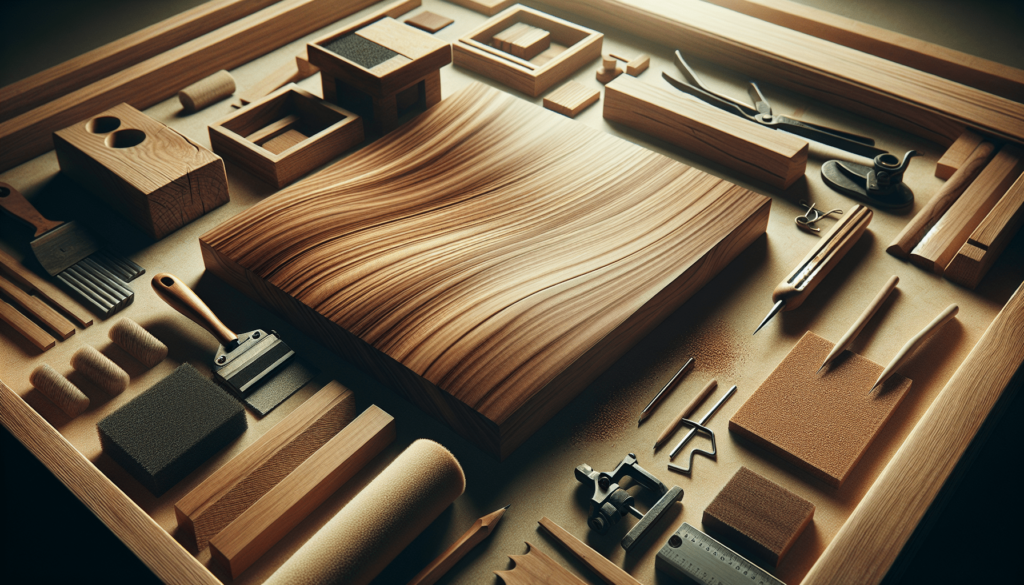
The first step in prepping your wood is sanding. Don’t groan. I know sanding sounds as thrilling as watching paint dry, but it’s crucial. A smooth surface allows your burning tool to glide effortlessly, producing cleaner lines and more defined details.
Grab yourself three different grits of sandpaper: coarse (60-80 grit), medium (100-150 grit), and fine (220-320 grit). Start with the coarse sandpaper to remove any major imperfections. It’s kind of like exfoliating your skin but for wood. Next, use the medium grit to smooth things out a bit more. Finally, finish with the fine sandpaper to make the surface silky smooth. Trust me, your burning tool (and your hands) will thank you.
Removing Dust
Here’s where my neat-freak tendencies come out to play. After sanding, you’re going to have a lot of dust. You might be tempted to just blow it away, but hold your breath, literally. Use a tack cloth or a microfiber cloth to meticulously wipe down the wood. Why, you ask? Dust particles can affect how your burning tool interacts with the wood, leading to uneven lines and a less-than-stellar finish.
Treating the Wood: To Coat or Not to Coat?
This is where things can get a bit controversial. Some people swear by treating the wood with a base coat or sealant before burning, while others believe it’s unnecessary. I’m here to give you the lowdown on both options.
Yes, Coat It!
If you decide to treat your wood, you can use something like a light coat of shellac or a specially formulated woodburning sealer. The primary advantage is that it creates a slight barrier, making your burning tool glide more smoothly and evenly. Plus, it can help minimize sap issues. Just remember to let it dry thoroughly, or you’ll have a sticky mess on your hands.
Au Naturel
On the flip side, burning directly onto untreated wood feels more ‘authentic,’ if you will. The tool’s interaction with the natural grain of the wood can add a unique texture to your design. I’ve tried both methods, and I have to say, I often find myself going au naturel. There’s something satisfying about the raw feel of burning directly onto plain wood.
Design Transfer: Putting Your Vision on Wood
Before you start burning, you’ll need to get your design onto the wood. Sounds simple, right? It can be, but it can also go horribly wrong if you’re not careful. Here are a couple of methods to make sure that Picasso in your head ends up on the wood without looking like a preschooler’s doodle.
Freehand Drawing
If you’re a confident artist, freehand drawing might be your thing. Grab a good-quality pencil and lightly sketch your design directly onto the wood. Key word: lightly. You don’t want to carve into the wood—just make a faint outline. I usually go this route for simple, abstract designs. It gives me the freedom to adjust as I go, plus it feels a bit more organic.
Using Transfer Paper
For more intricate or precise designs, I recommend using transfer paper. Place the transfer paper face down on the wood, put your design on top, and use a pencil to trace over it. The design will transfer onto the wood, leaving you with a perfect outline to follow. It’s like magic, but without the need for any special spells. I usually go the transfer paper route for complex designs, and it’s never let me down.

Choosing Your Woodburning Tools
Now that your wood is prepped and your design is ready, it’s time to choose your tools. You wouldn’t try to make a gourmet meal with a plastic butter knife, and the same logic applies here.
Types of Woodburning Tools
There are primarily two types of woodburning tools: solid-point burners and wire-nib burners.
- Solid-point burners are generally cheaper and come with interchangeable tips. They’re great if you’re just starting out.
- Wire-nib burners are more expensive but offer greater control and precision. Think of them as the Ferrari of woodburning tools.
| Tool Type | Best For | Pros | Cons |
|---|---|---|---|
| Solid-point burner | Beginners, basic designs | Affordable, portable | Limited control, tips wear out |
| Wire-nib burner | Professionals, complex designs | Precision, better control | Expensive, requires more skill |
My Two Cents
I started with a solid-point burner because, let’s face it, I didn’t want to spend a fortune on a hobby I wasn’t sure I’d stick with. Once I got the hang of it, I upgraded to a wire-nib burner, and it felt like I had discovered fire all over again. The difference in control and precision is remarkable.
Practicing Before the Main Event
Now, I can’t emphasize this enough: practice before you dive into your main project. You wouldn’t walk into a dance competition without a few practice runs unless you were going for a viral ‘epic fail’ video. Similarly, don’t start burning on your main piece of wood without getting a feel for your tools first.
Doodle on Scraps
Take some scrap pieces of wood and start doodling. Test out different tips and techniques. Get a feel for how your tool interacts with the wood. This trial and error phase will save you from making irreversible mistakes on your actual project.
Temperature Control
Most woodburning tools come with adjustable temperature settings. Finding the right temperature can be a bit of a balancing act. Too hot, and you might end up charring the wood. Too cold, and you’ll find yourself pressing down harder than you should, which can lead to hand fatigue and uneven lines. Practice adjusting the temperature and see how it affects your burns.
Final Tips for Success
Before I let you loose with your newfound knowledge, I have a few final nuggets of wisdom to share.
Patience is Key
Woodburning can be a slow process, and that’s okay. Rushing will only lead to mistakes. Take your time and enjoy the process. It’s almost meditative once you get into the groove.
Ventilation is Important
One thing I didn’t anticipate when I started woodburning was the smell. Burning wood, especially if it has any sap or treatment chemicals, can release some unpleasant fumes. Make sure you’re working in a well-ventilated area.
Safety First
This might seem like common sense, but always remember that you’re working with a hot tool. Have a heat-resistant surface to place your burner on when it’s not in use, and always—ALWAYS—unplug it when you’re done.
Wrapping It Up
There you have it! Your comprehensive guide to preparing wood for woodburning. Whether you’re an enthusiastic beginner or looking to refine your skills, I hope you find these tips helpful. Remember, the key to a stunning woodburning project is in the prep work. Take your time choosing the right wood, sanding it down, possibly adding a coat of treatment, transferring your design, and getting your tools ready.
Final Thought
Every burn is a learning experience. Some might end up as spectacular disasters, but others will become beautiful works of art. Embrace the journey, and you’ll soon find that your patience, practice, and preparation have paid off in ways you couldn’t have imagined.
Now, go forth and burn some wood! And maybe, just maybe, one day, someone will stand in awe of your work and wonder, “How on earth do they do that?”
And when that day comes, you’ll have all the answers.

