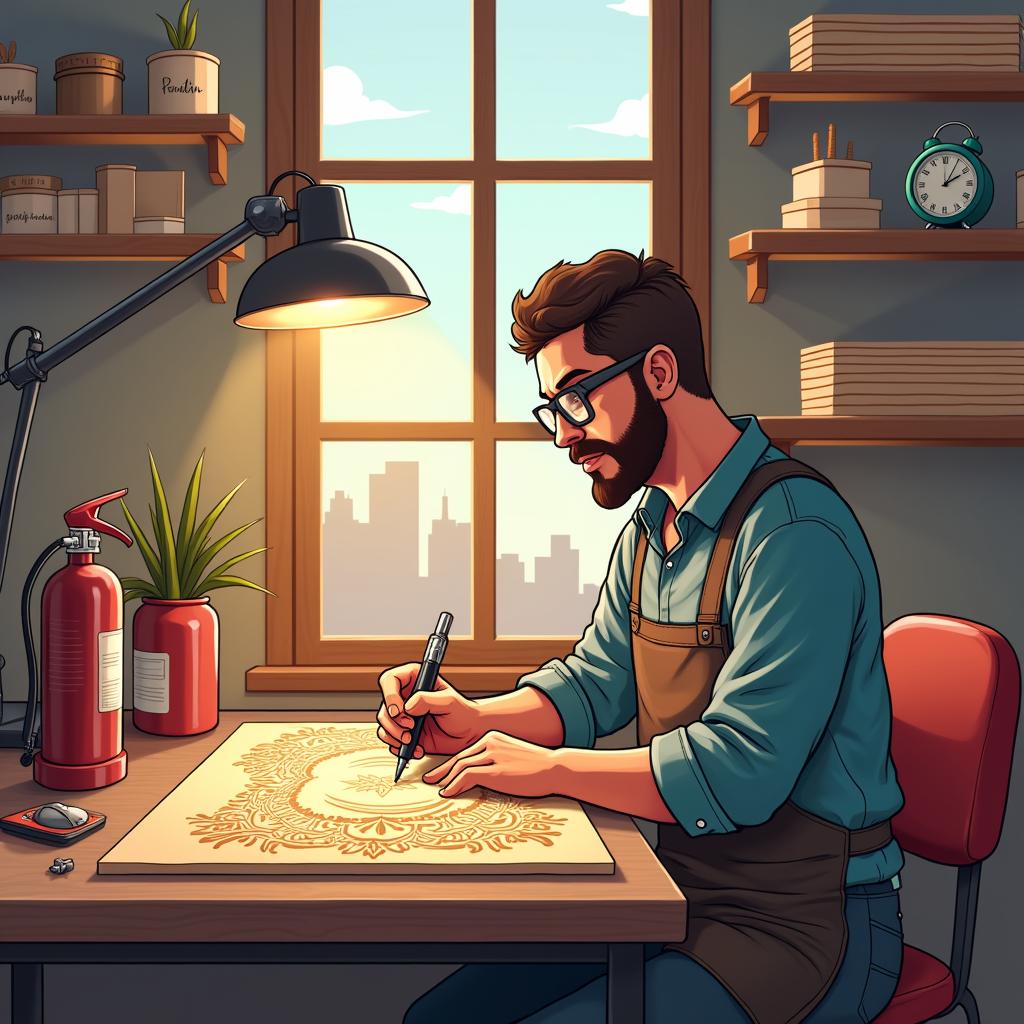
I prioritize safety when practicing pyrography by taking specific precautions against burns, toxic fumes, and fire risks. My workspace stays well-ventilated and contains all necessary protective equipment to create a secure environment for wood burning.
Key Takeaways
- I set up strong ventilation with fans and air extraction systems to limit harmful wood smoke and fumes.
- I select only untreated hardwoods like basswood, birch, and maple, staying away from pressure-treated lumber and plywood.
- I wear required safety equipment including an N95/P100 respirator, safety goggles, and heat-resistant gloves.
- I keep a Class A fire extinguisher close by and maintain a heat-resistant workspace free of flammable items.
- I place hot tools in proper ceramic or metal holders and watch them until they cool completely.
Ensuring a Safe and Ventilated Workspace
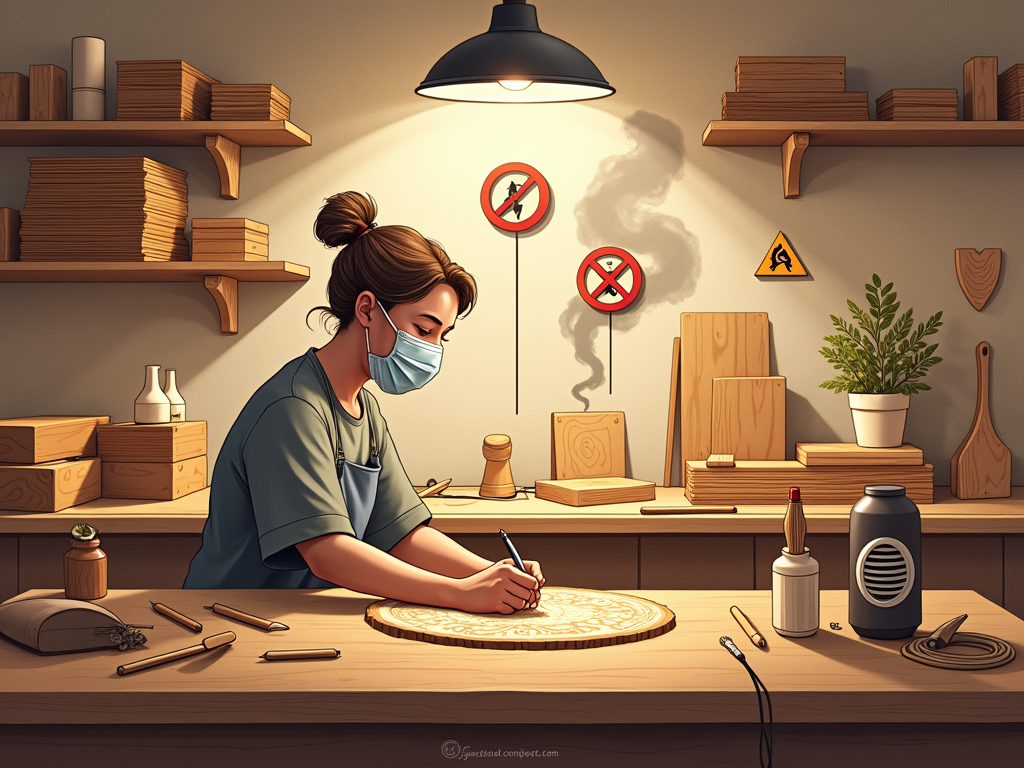
The right safety measures let me focus on my artwork without worrying about hazards. I make ventilation a top priority since wood burning creates toxic fumes that can harm my lungs. My workspace includes multiple fans and an air extraction system to remove dangerous smoke.
Selecting Safe Wood Materials
I carefully choose my wood materials, sticking to natural hardwoods that burn cleanly. Treated lumber and plywood release dangerous chemicals when burned, so I avoid them completely.
Using Proper Personal Protection
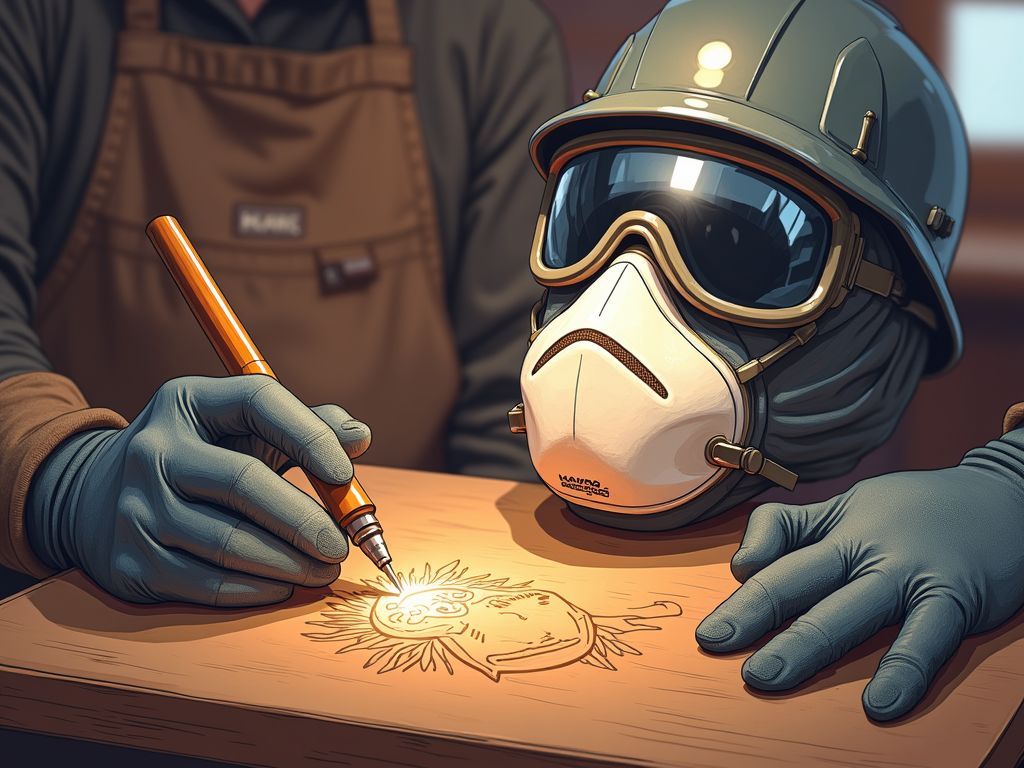
Personal protection starts with good respiratory gear – I use a properly fitted N95 or P100 mask. Safety goggles shield my eyes from smoke and sparks, while heat-resistant gloves protect my hands.
Fire Safety Precautions
Fire safety remains essential. I keep my work surface clear and heat-resistant, with a Class A fire extinguisher within reach. My hot tools stay in ceramic or metal holders, and I never walk away until they’ve cooled down fully.
Maintaining Safety Awareness
These safety practices create optimal conditions for focusing on pyrography techniques while staying protected. I maintain consistent awareness of potential risks and take preventive steps to avoid accidents.
Protect Your Lungs While Creating Beautiful Burn Art
Breathing in wood smoke and fumes during pyrography can put your health at risk. I’ve learned that proper ventilation is crucial for protecting your health while wood burning, especially since the practice releases potentially harmful substances into the air.
Essential Ventilation Strategies
Setting up proper ventilation doesn’t need to be complicated. I recommend positioning a fan to blow fumes away from your face and toward a window or vent. This simple setup creates a consistent airflow that helps protect you from inhaling harmful substances. According to OSHA guidelines, exposure limits for wood dust should not exceed 2.5 mg/m³ for western red cedar and 5 mg/m³ for other woods.
Here are key steps I take to maintain clean air in my workspace:
- Install an air extraction system near the burning area to catch fumes at the source
- Place a fan strategically to create cross-ventilation through windows or doors
- Add an air purifier with HEPA filtration to trap floating particles
- Keep my work area in a well-ventilated room, never in confined spaces
- Take regular breaks to let fresh air circulate
Carbon monoxide poses a particular risk when wood burning in enclosed spaces. That’s why I always ensure my workspace has adequate airflow. For additional protection, I suggest using an air purifier specifically designed to handle wood smoke and fine particles.
Your breathing zone needs special attention during detailed work. I find that setting up proper workspace ventilation makes a big difference in reducing exposure to harmful fumes. Position yourself so that smoke moves away from your face, and consider using a small desk fan to direct fumes away from your breathing area.
By implementing these essential safety measures for pyrography, you’ll create a healthier environment for your artistic pursuits. Remember that proper ventilation isn’t just about comfort – it’s about protecting your long-term health while you practice this rewarding craft.
Make sure to check that your ventilation setup is working effectively before starting each session. I’ve found that good air quality management allows me to focus on creating beautiful pyrography pieces without worrying about health risks.

Safe Woods and Dangerous Materials to Avoid
Safe Woods for Pyrography
I’ve found certain woods consistently perform better and safer for wood burning art projects. Light-colored woods with low resin content make ideal choices for pyrography. My top recommendations include basswood, birch, poplar, maple, and aspen. These woods feature an even grain pattern that makes burning smooth and controlled, while producing minimal harmful fumes during the burning process.
Woods and Materials to Avoid
Your safety depends heavily on choosing the right materials for protecting your health while wood burning. Several common wood products can release dangerous toxins when burned. I strongly caution against using:
- Pressure-treated lumber – Contains arsenic and other harmful chemicals
- Plywood – Uses formaldehyde-based adhesives that become toxic when heated
- MDF (Medium-Density Fiberboard) – Releases dangerous chemical fumes
- Pine and other resinous woods – Can produce excessive smoke and irritating vapors
- Painted or stained wood – May contain lead or toxic finishing chemicals
The fumes from these materials can cause serious health issues, including respiratory problems, headaches, and in some cases, long-term health complications. That’s why I recommend always checking your wood source and creating a safe pyrography workspace before starting any project.
Raw, untreated hardwoods make the safest choice for pyrography. I suggest purchasing wood specifically labeled for craft use or from reliable suppliers who can verify the wood’s origin and treatment history. Before burning, the wood should be clean, dry, and free from any chemical treatments or finishes.
When starting a new project, I always inspect the wood carefully for any signs of treatment or contamination. If you’re unsure about a piece of wood, it’s better to err on the side of caution and choose a different piece. Your safety as a pyrography artist should always come first.
Handling Hot Tools and Preventing Burns
Temperature Management and Safe Storage
I can’t emphasize enough how crucial proper tool handling is when working with pyrography equipment that reaches temperatures up to 1050°F (566°C). Safe wood burning practices start with understanding your tools’ heat capabilities and respecting their power.
A dedicated wire stand or ceramic holder is essential for your hot tools. Quality pyrography tool holders provide stable support and prevent accidental rolling or contact. I always position my stand away from flammable materials and my working area’s edges.
Maintenance and Handling Procedures
Proper maintenance keeps your tools safe and reliable. Here’s what I check before each pyrography session:
- Power cord condition – looking for frays, kinks, or exposed wires
- Connection points – ensuring they’re secure and undamaged
- Tool housing – checking for cracks or loose components
- Tip security – confirming proper attachment and stability
When changing tips or nibs, I follow a strict protocol to prevent burns. Smart safety practices include using heat-resistant pliers and waiting until the tool has completely cooled. I never rush this process – patience prevents painful accidents.
During work sessions, I keep my tools in a consistent location. Protecting yourself while wood burning means creating habits that minimize risk. I place my hot tools in their holder immediately after use, never setting them directly on my work surface.
Setting up a safe workspace includes having a designated cool-down area for tools. I make sure this space is clearly marked and away from any materials that could catch fire. Remember, even a brief distraction can lead to serious accidents, so I never leave hot tools unattended.
Basic safety measures like using the right stand and maintaining proper tool placement become second nature with practice. These habits create a safer working environment and let me focus on my artwork instead of worrying about potential hazards.

Essential Safety Gear for Wood Burning
Must-Have Protection Equipment
I can’t stress enough how crucial proper safety equipment is for practicing wood burning safely. The right gear stands between you and potential health hazards.
Your respiratory protection should be top priority. I recommend using either an N95 mask, which filters out 95% of airborne particles, or stepping up to a P100 respirator that provides 99.97% filtration. These masks create a vital barrier between your lungs and the toxic fumes that wood burning can produce.
Eye safety can’t be overlooked when protecting your health during pyrography. Quality safety goggles prevent smoke, wood particles, and any unexpected sparks from reaching your eyes. They should fit snugly against your face while still allowing clear vision for detailed work.
Heat-resistant gloves are essential for handling hot tools and materials. I’ve found that gloves specifically rated for high temperatures offer the best protection while maintaining enough dexterity for precise control. A good protective apron adds another layer of safety, shielding both your clothing and skin from burns and stray embers.
Regular Safety Gear Maintenance
Here’s what you need to check regularly with your safety gear:
- Ensure respirator filters are clean and replaced according to usage
- Check that goggle straps maintain their elasticity
- Inspect gloves for any holes or wear spots
- Verify apron straps are secure and material isn’t thinning
Following proper safety practices means treating your protective gear with care. I store my equipment in a clean, dry area away from dust and moisture. This extends its life and ensures it’s ready when I need it.
When setting up your pyrography workspace with essential tools, keep your safety gear within easy reach. I make it a habit to put on my protective equipment before touching any burning tools – it’s far better to take these precautions than risk injury.
Creating a Fire-Safe Workspace
Essential Fire Prevention Measures
Setting up a fire-safe workspace is a crucial first step in creating a secure pyrography environment. I keep a Class A fire extinguisher within arm’s reach of my work area – it’s the right type for wood and paper fires that could occur during pyrography. Before starting any project, I make sure to clear my workspace of flammable items like paper, fabric, or cleaning supplies that could catch fire from stray sparks.
A heat-resistant mat or ceramic tile serves as my foundation for safe wood burning practices. I always place a non-flammable container, such as a metal stand or ceramic holder, nearby to rest my hot pyrography pen when I need both hands free. This simple step prevents accidental burns and reduces fire risks.
Protection during wood burning includes these key safety measures:
- Keep a fire extinguisher rated for electrical fires within easy reach
- Set up a designated cooling station for hot tools using metal or ceramic materials
- Store flammable materials in sealed, fire-resistant containers away from the work area
- Maintain clear pathways to exits in case of emergency
- Use a metal trash can with a lid for wood shavings and debris
I’ve learned that proper tool handling is essential for preventing accidents during pyrography. My pyrography pen stays in its holder when not in use, and I never leave hot tools unattended. The cooling process requires patience – rushing this step can damage both the tools and create fire hazards.
Safety precautions for beginners should include understanding that water isn’t the solution for electrical fires. Instead, I recommend cutting power to the device and using a proper fire extinguisher if needed. Having these essential pyrography tools and safety equipment ready before starting any project can make the difference between a minor incident and a serious emergency.
I organize my materials to minimize risks, keeping wood pieces in a single layer rather than stacked, and storing my pyrography tools in a designated fireproof area after they’ve cooled completely. Each work session starts with a quick safety check of my equipment and workspace, ensuring everything is in its proper place and ready for safe use.
Sources:
Occupational Safety and Health Administration (OSHA)
Pyrography 101: A Beginner’s Guide to Woodburning – By: Courtney Constable
Pyrography Basics: Techniques and Exercises for Beginners – By: Lora S. Irish