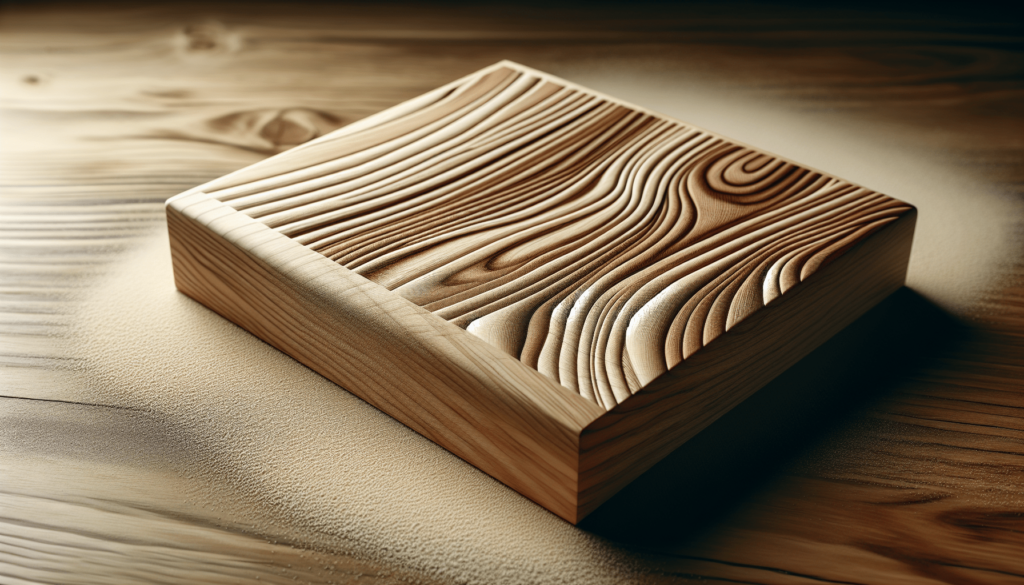
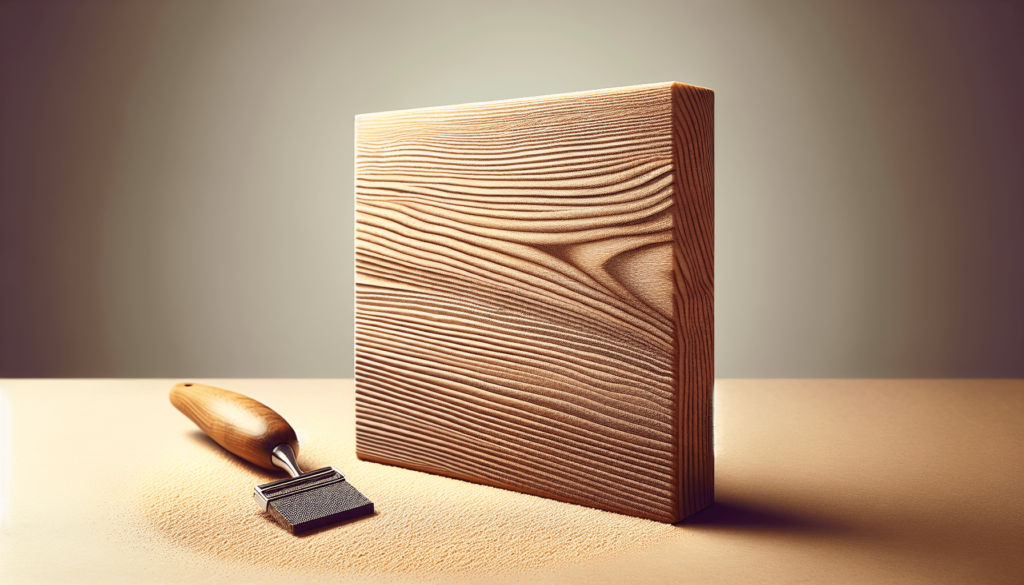
Do you sand wood before pyrography? It’s a valid question, and it’s probably one you’ve asked yourself if you’ve picked up a pyrography pen and a piece of wood and wondered why your masterpiece looks more like a kindergartner’s craft project gone wrong. Trust me, I’ve been there. But before you swear off pyrography forever, let’s talk about the importance of sanding.
Why Sanding is Essential
Sanding is more than just a mundane prep step. It sets the stage for your artistic efforts. Think of it as the foundation upon which you build your creative castle. Without it, you might as well be trying to draw the Mona Lisa on a crumpled post-it note. But why exactly is it so crucial?
Smoothness Matters
Imagine running your pyrography pen over a piece of rough wood. If the surface is rough, your lines will likely be jagged, uneven, and far from the graceful swoops and curves you’re aiming for. A smooth surface allows for consistent burns, making it easier to control the pen and produce detailed work. You don’t want your wood to feel like it’s exfoliating your pen, do you?
Wood Grain and Texture
The grain and texture of wood can massively affect your pyrography results. Different types of wood can have varying grains that interact differently with heat. By sanding the wood, you’re creating a more uniform surface, reducing the wood’s natural variations, which can cause unpredictable burn patterns.
Adhesion of the Finish
Let’s talk about finishing. After you’ve burned your intricate design into the wood, you’ll probably want to apply a finish to protect your art. Sanding helps with this too. A smooth surface better absorbs finishes like polyurethane, varnish, or even simple wood oil. This means your artwork will not only look good, but it will also last longer.
Choosing the Right Sandpaper
Knowing you need to sand is one thing. Knowing what to sand with is an entirely different can of worms. Nope, not all sandpapers are created equal. If you grab whatever old sandpaper you have lying around in the garage, you might as well be using a piece of gravel.
Grit Sizes
Sandpapers come in different grit sizes, and each serves a distinct purpose. Lower grit numbers like 60 or 80 are coarse and good for removing significant imperfections. Higher grit numbers like 220 or even 400 are much finer and perfect for the final smoothing.
Here’s a handy table to clarify:
| Grit Size | Use Case |
|---|---|
| 60-80 | Initial sanding, removing large imperfections |
| 100-150 | Smoothing surfaces |
| 220+ | Finishing, preparing for a finish coat |
Start with a lower grit to get rid of any major bumps or blemishes. Then, progressively move to higher grits for a fine, smooth surface. Remember, pyrography is more art than science, so make your surface as welcoming as possible for your pyrography pen.
Types of Sandpaper
Along with grit sizes, sandpapers come in different types. You can find some specifically for wood, metal, and even wet-sanding options. For pyrography, stick to wood sandpapers. They’re designed to give the best results on wooden surfaces.

Prepping the Surface
Once you’ve chosen your sandpaper, it’s time to prep the wood. This ain’t rocket science, but it does require a bit of mindfulness.
Clean the Wood
First things first, clean the wood. Use a damp cloth to remove any dust or debris. If your wood is particularly grimy, a simple mixture of water and mild soap can do wonders. Make sure to dry it thoroughly before sanding. Moist wood and sandpaper are like oil and water—not a good mix.
Sand in the Direction of the Grain
When you’re ready to sand, always— and I mean always—sand in the direction of the grain. Sanding against the grain can create scratches that are painfully visible. It’s like giving the wood a bad haircut. For your initial coarse grit, don’t apply too much pressure. Let the sandpaper do its job.
Special Considerations
Not all wood is created equal. Some are more temperamental than others. Let’s look at a few types of wood you might encounter and how best to handle them.
Birch
Birch is a favorite for pyrography because of its fine, even grain. It sands easily and provides a great canvas for woodburning. Because it’s already pretty smooth, you might even get away with starting at 150 grit sandpaper.
Pine
Pine has a knotty, uneven grain that can be challenging to work with. It’s crucial to sand pine thoroughly, starting with a lower grit and working up to a high grit. Pay special attention to the knots, as they can cause the pen to skip or burn unevenly.
Oak
Oak has a coarse and dense grain. It’s harder and might require more elbow grease while sanding. Start with a 100 grit to smooth out the large imperfections and then move up to finer grits.

Testing Your Surface
Before you jump right in with your pyrography pen, do a small test burn. Choose an inconspicuous area or better yet, a scrap piece of the same wood. This gives you a feel for how the wood reacts to heat and how smooth your surface really is. It’s like a soundcheck before the concert – makes all the difference.
Identifying Issues
During your test burn, look for any issues:
- Skipping: If your pen skips, the wood might need more sanding.
- Uneven Burns: Uneven burns could indicate that the wood grain is still too pronounced.
- Excessive Smoke: Excessive smoke could mean the wood still has residues or is too rough.
Post-Pyrography Sanding
You might think you’re done with sanding once you’ve completed your burn. Not so fast! A light sanding after your burn can help remove any soot and refine the details. Use a very fine grit—like 400 or 600. Be gentle, as you don’t want to obliterate your hard work.
Cleaning the Burn
After sanding, clean the burned areas. Use a slightly damp cloth to remove soot or burnt particles. Some people swear by using a soft brush or even a vacuum with a brush attachment. Choose what works best for you.
Applying the Finish
Applying a finish not only shields your art but enhances its appearance. Make sure the wood is clean before you start. You can use various finishes depending on your style and the wood’s characteristics.
Types of Finishes
- Polyurethane: Offers a durable, glossy finish that protects well against wear and tear.
- Varnish: Similar to polyurethane but with a more traditional, amber finish.
- Wood Oil: Penetrates the wood, offering a more natural-looking finish and subtle protection.
Application Tips
- Apply the finish in thin, even coats.
- Allow each coat to dry according to the instructions on the can.
- Lightly sand between coats using a very fine grit sandpaper.
Common Mistakes and How to Avoid Them
No one likes making mistakes, especially when they’re easily avoidable.
Skimping on Sanding
One common mistake is underestimating the power of sanding. Skipping grits or not using enough elbow grease can result in a subpar surface. Don’t rush this step.
Using the Wrong Sandpaper
Using the wrong grit or type of sandpaper can cause more harm than good. Remember to choose the right sandpaper for your specific wood type and condition.
Ignoring the Grain Direction
Sanding against the grain may seem quicker, but it will ruin your wood. Always, always sand with the grain.
My Personal Experience
I remember my first attempt at pyrography. I was so excited, I skipped sanding entirely. I thought, how bad could it be? Spoiler alert: it was bad. My burns were uneven, the pen kept skipping, and I ended up frustrated. It wasn’t until I embraced the zen of sanding that my pyrography skills truly elevated.
What I Learned
- Patience Pays Off: Taking your time to prep the wood makes a world of difference.
- Test, Test, Test: Always do a test burn on a scrap piece.
- Invest in Good Sandpaper: Cheap sandpaper can disintegrate quickly and leave grit on your wood.
Final Thoughts
Sanding before pyrography is not just a step—it’s an art form. It prepares your canvas, allowing your creativity to flow smoothly. Think of it less as a chore and more as an integral part of your artistic process. A well-sanded piece of wood is like a blank canvas awaiting a masterpiece.
So, do I sand wood before pyrography? Absolutely. And now you know why. What about you? Have you tried it both ways? Give it a shot, see the difference, and let the smooth, even burns ignite your creativity.

