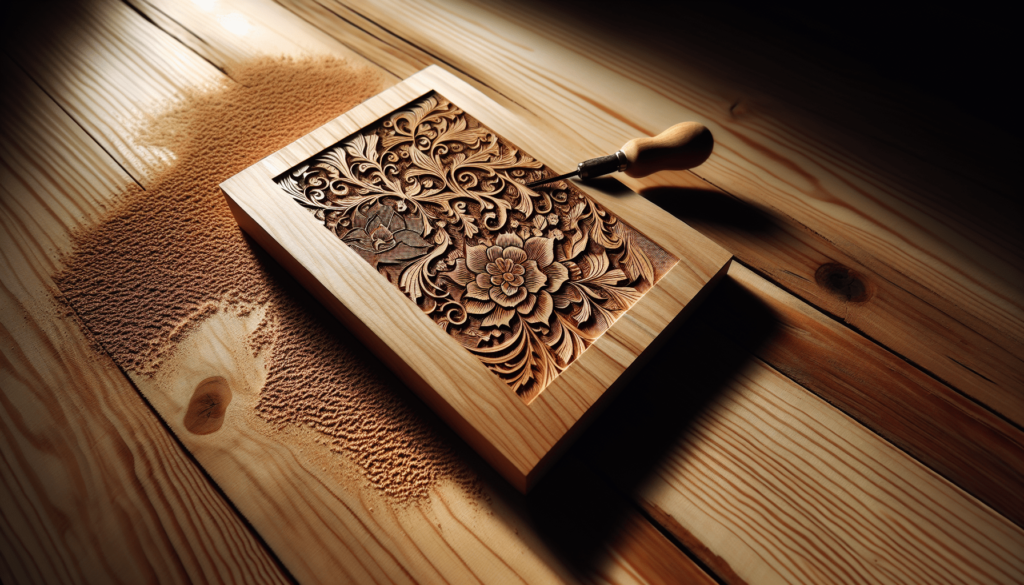
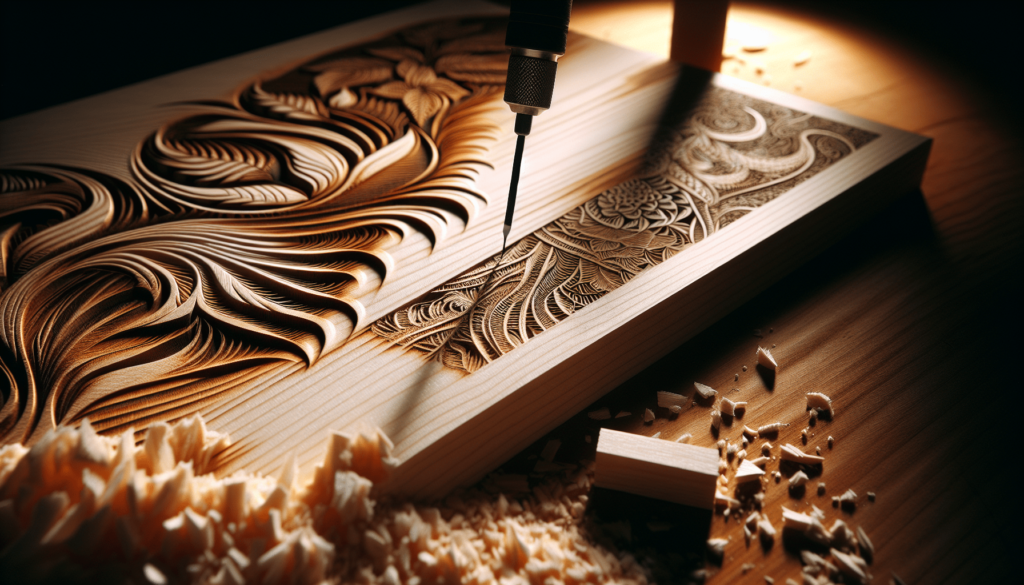
You know, I’ve always been fascinated by pyrography—the art of wood burning. One question that comes up often is whether you should sand the wood before diving in with your pyrography pen. The answer is a resounding yes. Sanding the wood smooths out any rough spots and evens the surface, making it much easier for your tool to glide smoothly and creating cleaner, more precise lines. Not only does this prep make the burning process more enjoyable, but it also results in a more professional and polished finish. So, grabbing that sandpaper before you start burning isn’t just a good idea; it’s essential! “Do You Sand Wood Before Pyrography?”
Have you ever asked yourself, “Do I need to sand wood before pyrography, or can I just jump in and start burning designs into the wood?” Well, that’s a loaded question. It’s not as straightforward as tossing a piece of toast into your toaster and pressing the button. There’s a bit more finesse involved in the whole process, sort of like trying to knit a sweater while riding a unicycle. Stick with me, and I promise to unravel the mystery.

What is Pyrography, Anyway?
Pyrography, or wood burning, is the art of decorating wood with burn marks. It’s like barbequing, but you get some sweet artwork instead of slightly charred hot dogs. The term itself comes from the Greek words “pur” (fire) and “graphos” (writing), which really gives you an idea of how ancient this craft is. Seems pretty badass, right?
Tooling Around with Pyrography
But before you start heating up your pyrography pen, consider the tools you’ll need. Imagine trying to paint a masterpiece with a rock tied to a stick. Not ideal, right? Here’s what you’ll typically need:
| Tool / Equipment | Purpose | |———————|——————————————| | Pyrography Pen | For burning designs into the wood | | Interchangeable Tips| For creating different textures and lines| | Sandpaper | To smooth out the wood surface | | Transfer Paper | For transferring designs onto the wood | | Soft Cloth | To remove dust after sanding | | Wood Sealer | Optional, to protect the finished piece |
The Role of Sandpaper in Pyrography
Why sandpaper, you ask? It’s a bit like preparing a canvas. Just as you wouldn’t start painting on a wrinkled old napkin, you wouldn’t want to burn a design into rough, uneven wood. Sanding smooths the surface, making it much easier for your design to come out clean and detailed. Trust me, your future self will thank you.
The Importance of Sanding
Now, let’s break it down further. You wouldn’t skip the prep work if you were painting a room, would you? Pyrography is just a more meticulous bedroom makeover, except on a smaller, more piece-of-art scale.
Types of Sandpaper
Not all sandpaper is created equal. There’s a whole spectrum, like Baskin-Robbins ice cream flavors, but without the brain freeze. Here are the most commonly used types for pyrography:
| Grit Number | Use | |————-|——————————| | 80-120 | For initial sanding, if wood is TOO rough | | 150-180 | To smooth out the surface after the initial sanding | | 220-320 | For the final touch-up before starting your work |
When to Sand
Think of sanding as an important prelude to your pyrography session. It’s like stretching before you run a marathon. If you skip it, you’ll regret it halfway through when your hamstrings catch fire—metaphorically speaking. You should always sand your piece of wood before starting the burning process.
Steps to Sand Wood for Pyrography
Okay, let’s get into the nitty-gritty of sanding. Think of it as sanding 101.
Step 1: Choose Your Sandpaper
Start with a coarser grit, like 120. It’s like using a rough sponge on a grimy dish. Not the most enjoyable job, but necessary.
Step 2: Sand with the Grain
Sand along the grain of the wood. Trust me, you don’t want to go against the grain—it’s like arguing with your in-laws. You won’t win, and it’ll just leave everyone in a bad mood.
Step 3: Move to Finer Grit
Once the coarser grit has worked its magic, switch to a finer grit, like 220. Sand the surface again, still moving with the grain. This smoothing part is like the “cool down” in your workout, or the dessert after a meal.
Step 4: Wipe Down
Finally, wipe the wood with a soft cloth to get rid of any lingering dust. This is akin to towel-drying a newly washed car. You want a spotless surface, ready for creativity.
Advantages of Sanding Before Pyrography
If you’re still not convinced, let’s look at the advantages of sanding before pyrography. If you skip this step, you might as well try building a sandcastle with dry sand—not fun, and a waste of effort.
Better Detail
Sanding smooths out the surface of the wood, making it easier to get those intricate details you want in your project. It’s like upgrading from crayons to fine-tip markers.
Less Wear on Tools
A smooth surface reduces the wear and tear on your pyrography pen tips. Think of it as driving on a well-paved road rather than a dirt path full of potholes. Your tools will thank you.
Consistent Burning
When the wood is smooth, the burning tool glides better, leading to more consistent burning. If the wood is rough, the pen might snag, causing uneven lines. It’s the difference between writing on a crumpled piece of paper versus a fresh sheet.
Reduces Accidental Burns
A smoother surface is easier to handle, reducing the risk of accidental burns or slips. It’s like tying your shoes before a run—you won’t trip over loose ends.

Mistakes to Avoid
With great pyromania—er, pyrography—comes great responsibility. Here are some common mistakes to avoid:
Using the Wrong Grit
Using sandpaper that is too coarse can leave scratches in the wood, while using a grit that’s too fine could be inefficient. It’s a balancing act, like finding the right amount of hot sauce for your taco.
Not Cleaning the Dust
Leaving dust on the wood’s surface can ruin the finish once you start burning. It’s like getting cookie crumbs in your bed—not disastrous, but certainly annoying.
Ignoring the Grain
Sanding against the grain can create scratches and ruin the wood’s natural patterns. Always go with the grain, just like you should always go with the flow in social gatherings.
Types of Wood Best for Pyrography
Speaking of wood, not all types are created equal. Some woods are just better suited for pyrography than others. Imagine trying to cut steak with a butter knife—a similar level of frustration awaits if you choose the wrong type of wood.
| Type of Wood | Characteristics and Suitability | |————————|—————————————-| | Basswood | Soft, easy to sand, perfect for beginners| | Birch | Fine grain, smooth, great for detailed work | | Maple | Harder, takes longer to sand, but excellent for fine details | | Poplar | Affordable, easy to work with, versatile | | Pine | Soft but resinous; might need more sanding |
Basswood
Basswood is the gold standard, the Superman of pyrography wood. It’s soft and consistent, making it easier to sand and burn. If you’re new to this, basswood should be your go-to.
Birch
Birch is another excellent wood for pyrography. It has a fine grain and sands to a smooth finish. It’s a bit like that reliable friend who always shows up to help you move—dependable and efficient.
Maple
Maple is for those who like a challenge. It’s harder, takes more effort to sand, but the results are spectacular. If you’re the adventurous type, give maple a shot.
Poplar
Poplar is like the middle child of the pyrography wood family—often overlooked, but versatile and dependable. It’s affordable and easy to work with, a practical choice for many projects.
Pine
Pine is soft and easy to sand, but it comes with a catch—it’s resinous. This means it might need a bit more effort to get that smooth finish, but it’s a decent wood for beginners once you know how to handle it.
Preparing Your Workspace
Before you start any project, make sure your workspace is ready. You wouldn’t perform a show without a stage, right? Here’s what you’ll need:
| Item | Purpose | |———————–|——————————————| | Sturdy Table | To hold your workpiece steady | | Good Lighting | To see your design clearly | | Ventilation System | To avoid inhaling smoke and dust | | Safety Gear | To protect yourself (gloves, goggles) | | Storage for Tools | To keep everything organized |
Safety First
Safety should be your number one priority. Your hands are literally going to be on fire (almost), so you’ll want to have some basic safety gear. Goggles, gloves, and a mask can go a long way in preventing unwanted injuries.
Ventilation
Make sure your workspace is well-ventilated to avoid inhaling smoke or dust. Working outside or near an open window can make a world of difference. If you’re in a cramped space, consider a small fan or an air purifier.
Organize Your Tools
Keep your tools within arm’s reach but organized. There’s nothing worse than needing a specific tip and sifting through a chaotic mess to find it. Organize first, complain less later.
The Pyrography Process
Now that we’ve prepped everything, let’s walk through the actual process of pyrography. Think of it as the grand finale, like when everything comes together in a smooth, beautiful masterpiece.
Step 1: Transfer Your Design
Start by transferring your design onto the wood. You can use carbon paper, trace the design, or freehand it if you feel adventurous. This is like drawing a map before embarking on a treasure hunt.
Step 2: Test Your Pen
Before you go all-in, test your pen on a scrap piece of wood. Get a feel for the heat settings and how the pen reacts to the wood. This is like a dress rehearsal for a play—do it to avoid disasters on the big stage.
Step 3: Start with Outlines
Begin by outlining your design. Keep the pen moving to avoid burning too deep in one spot. It’s like coloring inside the lines of a coloring book—basic but crucial.
Step 4: Add Details
Once the outlines are done, move on to shading and adding details. Here’s where you get to add your flair. The finer the detail, the more impressive the final product.
Step 5: Finish Up
After you’re happy with the design, consider sealing your wood to protect it. A wood sealer can preserve your work and keep it looking fresh longer. It’s the final touch, like a cherry atop a sundae.
Common Pyrography Issues and Solutions
Even experts encounter hiccups. Here are some common issues and their fixes:
Uneven Lines
If some lines are darker or thicker than others, check the heat settings. Too high or too low settings can cause inconsistency. Practice makes perfect, so don’t get discouraged.
Blotchy Areas
Blotchy areas usually mean the pen stayed in one spot for too long. Keep your hand steady and moving. Think of it like brushing your teeth; you don’t stop in one spot until your gum bleeds (I hope).
Overburning
Overburning can occur if the pen is too hot or pressure is too much. Ease up, lighten your touch, and keep that pen gliding smoothly.
Burn Crumbs
Sometimes small burnt wood bits accumulate. A fine brush or light sanding can clear them out. Just be gentle—you don’t want to undo all your hard work.
Final Thoughts
So, do you sand wood before pyrography? Absolutely. Skipping this step would be like baking a cake without mixing the ingredients—a recipe for disaster. Sanding sets the stage for a smooth, clean, and beautiful piece of art.
Now that you’ve got the 411 on all things sanding and pyrography, I hope you feel ready to tackle your next (or first) project with confidence. Whether you’re crafting a professional masterpiece or just doodling fire-burnt stick figures, remember that preparation is key. Happy burning!

