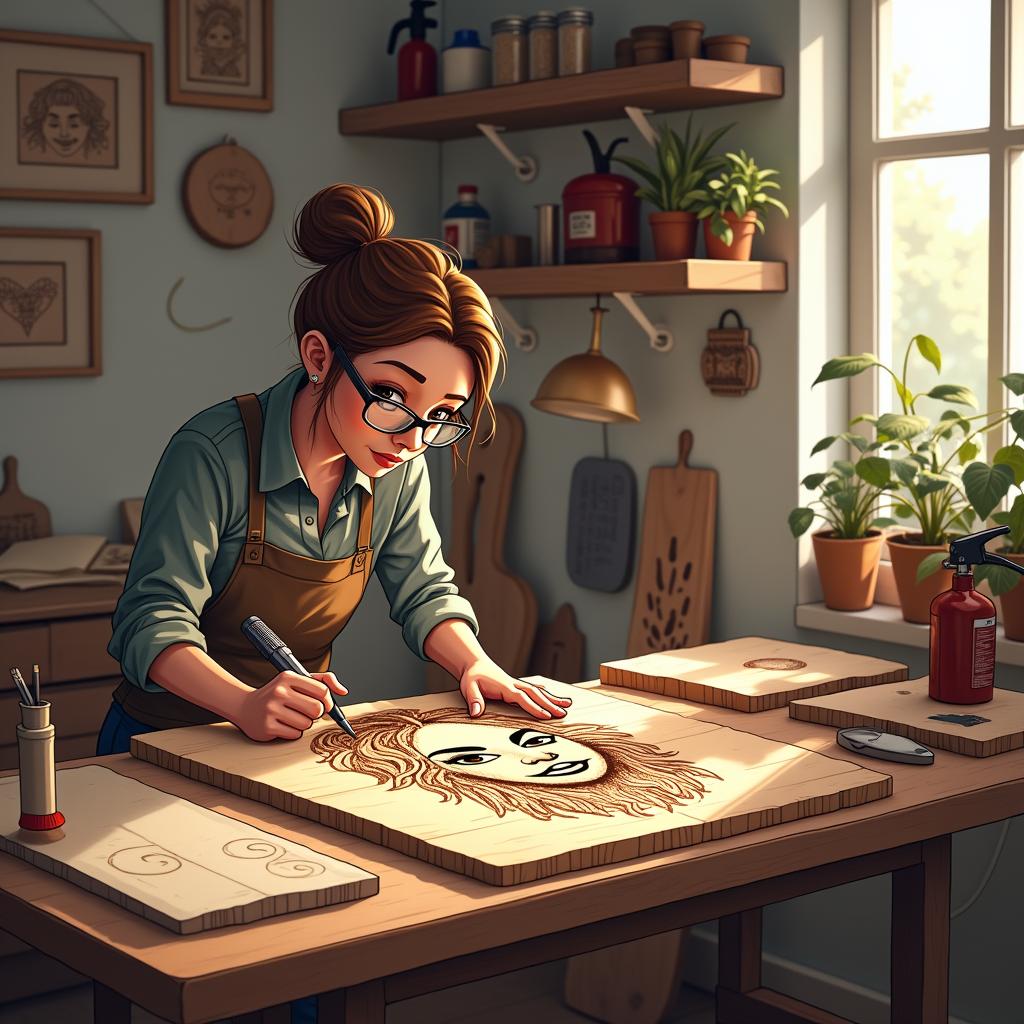
I create wood-burned portraits by blending artistic vision with precise technique. This craft demands quality materials and careful execution at every step—from wood selection to the final protective coating.
Key Takeaways
- Choose a quality wood burning tool and appropriate tips for different effects, including universal shading, flow, and fine point tips.
- Select light-colored woods like basswood or birch for optimal burning results and prepare surfaces with progressive sanding (120 to 320-grit).
- Control temperature settings between 550-750°F depending on the wood type and desired effect.
- Build depth through layering techniques like stippling, cross-hatching, and varied pressure control.
- Protect finished artwork with polyurethane, varnish, or wax applied in multiple thin coats.
The Essential Tools and Materials for Wood Burning Success
A quality wood burning tool serves as the foundation for creating stunning portraits. I’ve found that beginners can start with the Walnut Hollow Creative Versa Tool, a solid-point burner that offers reliable performance. For those ready to step up their game, the Colwood Super Pro II wire-nib burner delivers professional-grade results with better temperature control.
Must-Have Tips and Equipment
Your wood burning journey starts with the right set of tips. I recommend selecting specific tips for different burning effects to achieve the best results. Here’s what you’ll need in your toolkit:
- Universal/Shading tip – Perfect for creating smooth gradients and broad shading
- Flow/Round tip – Ideal for making sweeping curves and continuous lines
- Fine Point tip – Essential for adding intricate details and textures
- Calligraphy tip – Great for creating lines with varying thickness
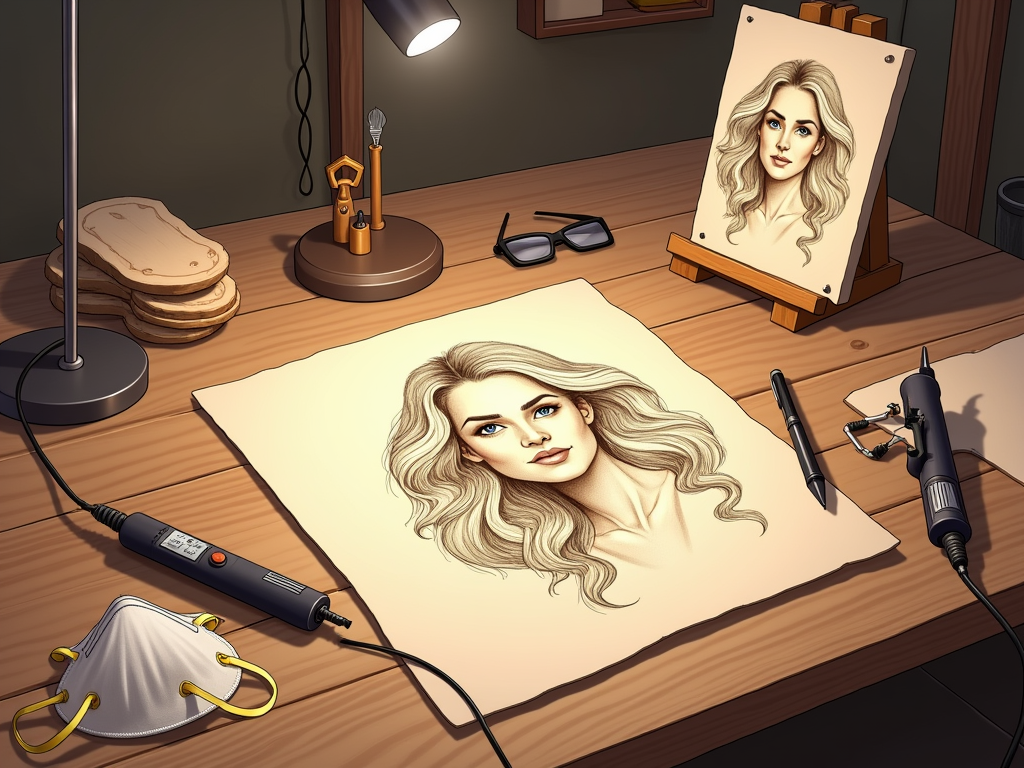
Safety should never take a backseat. Always use an N95 or better respirator and safety glasses to protect yourself from wood smoke and tiny particles.
Wood Selection and Preparation
Choosing the right wood makes a huge difference in your final results. I’ve learned that specific techniques work better on certain woods, with basswood, birch, and poplar being top choices for portraits. These woods offer fine grain patterns and light colors that help your burning details stand out.
Before burning, proper surface preparation is crucial. Start with 120-grit sandpaper to remove any rough spots, then progress to 220-grit for smoother results. Finally, use 320-grit to achieve that silky-smooth finish that’s perfect for detailed work.
For transferring your portrait design, you’ll need carbon or graphite paper and a fine-tipped pen. These tools help you transfer your image accurately onto the wood surface. I’ve found this method particularly useful when creating realistic portrait effects.
The final touch involves protecting your artwork. Apply a thin coat of polyurethane, varnish, or wax after you’ve completed your burning. This step preserves your work and brings out the natural beauty of both the wood and your pyrography. Remember to let your piece cool completely before applying any finish.
To achieve professional results, I recommend investing in quality pyrography tools specifically suited for portraits. Once you’ve mastered the basics, you can explore advanced shading and texturing techniques that will take your portraits to the next level.
Getting Your Portrait Ready for Burning
Surface preparation can make or break your wood burning portrait’s final result. I start by sanding with the wood grain, using 120-grit sandpaper to remove any rough spots or inconsistencies. Moving up through progressively finer grits to 320 creates that perfect smooth canvas for creating lifelike portrait pyrography.
Transfer and Layout Steps
After achieving a silky-smooth surface, I focus on transferring the image. Carbon paper transfer methods work exceptionally well – just place the carbon paper dark side down on the wood, with your reference image on top. This creates clean, precise lines that won’t smudge during burning.
Here’s what I prioritize during the transfer process:
- Scale the image properly before transfer – I measure the wood surface and adjust my reference photo accordingly.
- Mark center points on both the wood and reference image for perfect alignment.
- Use light pressure when tracing to avoid deep indentations.
- Check facial feature proportions during transfer to maintain accuracy.
With the basic outline in place, I begin the initial burning using minimal pressure and low heat settings. This approach lets me establish guide lines while maintaining control over the burning intensity and line quality. I pay special attention to key facial features like eyes, nose, and mouth positioning since these define the portrait’s character.
During this stage, I find it helpful to step back regularly and view the work from a distance. This habit helps spot any proportion issues before moving into detailed burning. Using the right pyrography tools for initial outlines – typically a fine-point tip – gives me precise control for these foundational marks.
For complex portraits, I sometimes use the graphite transfer technique instead of carbon paper. This involves covering the back of my reference photo with soft graphite, then tracing over the main features. This method proves particularly useful for achieving realistic portrait results as it allows for softer, more nuanced guide lines.
The preparation stage sets the foundation for successful shading and texturing work later. By taking time with these initial steps, I create a solid framework for adding the detail and depth that bring portraits to life through pyrography.
Master Techniques for Burning Details
Temperature control makes or breaks a wood-burned portrait. I’ve found that starting with a lower temperature setting around 550°F helps create softer initial outlines, while gradually increasing to 650-750°F lets me add deeper tones and more defined details. Different woods need different approaches – softer woods like pine burn quickly and require lower temperatures, while hardwoods like oak need higher heat for the same effect.
Essential Burning Techniques
Pressure control is crucial for creating varied line weights and tonal values in your portraits. Mastering realistic portrait techniques starts with understanding how to vary your hand pressure. Light pressure creates soft, subtle lines perfect for highlighting, while firm pressure produces bold, dark strokes ideal for defining main features.
Creating smooth shading transitions requires several key methods:
- Stippling: Create texture and gradual shading by burning tiny dots. More dots close together make darker areas, while spacing them further apart creates lighter tones.
- Cross-hatching: Build depth by overlapping lines at different angles. Start with light parallel lines, then add perpendicular or diagonal lines to darken areas.
- Short strokes: Perfect for creating realistic fur texture. Make quick, light strokes in the direction of hair growth.
- Varied pressure: Essential for skin tones – use lighter pressure for highlights and gradually increase pressure for shadows.
Selecting the right pyrography tip for each technique makes a significant difference. A shader tip works best for large areas of tone, while a writing tip gives you precision for fine details and textures.
Mistakes happen, but they’re not permanent. I use fine-grit sandpaper (220 grit or higher) to gently remove light burns. For deeper mistakes, a specialized wood-burning eraser tip can help lift the darkened areas. Always sand with the wood grain to avoid visible scratches.
Combining multiple techniques creates realistic results. I often layer stippling over cross-hatching to create rich shadows, or use short strokes with varied pressure to build up natural-looking skin texture. The key is practicing each technique individually before combining them.
Before starting your portrait, I recommend testing your techniques on a scrap piece of the same wood type. This helps you understand how the wood responds to different temperatures and pressures while letting you perfect your approach without risking your main piece.
Quality tools make detail work easier. A temperature-controlled burner gives you consistent results, while multiple tip options let you switch between techniques smoothly. Clean your tips regularly during use to prevent carbon buildup, which can create unwanted marks and reduce heat transfer.
When working on facial features, start with lighter burns and build up gradually. The eyes often need the most detail – use a fine tip to create subtle variations in tone that bring life to your subject. For hair, combine long sweeping strokes for the main form with shorter, varied pressure strokes for texture and shine.
Creating Depth and Dimension
Depth makes wood-burned portraits come alive, transforming flat surfaces into striking three-dimensional artwork. I’ve found that mastering shading techniques for wood burning is essential for creating realistic portraits with genuine visual impact.
Building Layers and Texture
Starting with light burns and gradually building up darker areas creates rich, dimensional effects in your portraits. I achieve this by applying multiple passes with controlled pressure – lighter strokes first, followed by progressively darker burns in specific areas. This layering technique lets me control the intensity and create smooth transitions between light and shadow.
The key to realistic dimension lies in understanding how to manipulate your pyrography tools. I’ve discovered that selecting specific burning tips can make a significant difference in achieving various effects. For portraits, these techniques are particularly useful:
- Cross-hatching: Short, intersecting lines create texture and build darkness gradually
- Circular motions: Perfect for smooth skin tones and subtle shadow transitions
- Stippling: Tiny dots add texture while maintaining control over darkness levels
- Single-direction strokes: Follow the natural flow of hair or facial features
Using specialized shading tips helps create smooth gradients essential for realistic portraiture. I’ve found that maintaining consistent temperature and pressure while working in small sections prevents harsh lines and creates natural-looking shadows.
To enhance depth, I focus on identifying the darkest areas first and work outward to lighter tones. Creating realistic portraits through pyrography requires patience – rushing can lead to uneven burns and harsh transitions. By taking time with each layer, I can build up the burns gradually, creating rich shadows and highlights that bring the portrait to life.
Before starting the actual portrait, I recommend transferring your reference image accurately to ensure proper placement of shadows and highlights. This foundation guides the layering process and helps maintain proper proportions throughout the burning process.
Professional Finishing Touches
Surface Preparation and Protection
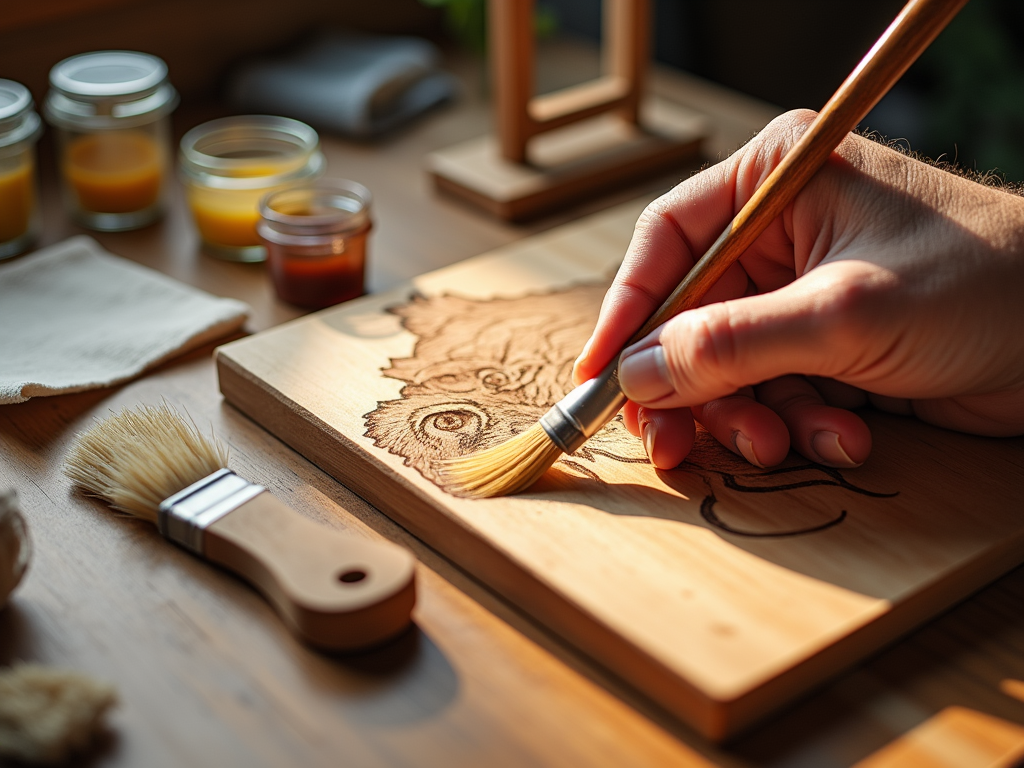
I always start by gently removing any leftover wood debris or carbon residue with a soft microfiber cloth or natural bristle brush. This crucial step creates a clean surface for applying protective finishes to your wood burned portrait artwork.
The choice of finish can dramatically impact the final appearance of your wood burning project. Here are my trusted finishing options and application methods:
- Polyurethane: My go-to choice for maximum durability. Apply thin coats with a foam brush for streak-free results. This finish offers superior protection against moisture and UV damage.
- Varnish: Perfect for achieving a traditional look. I recommend using clear satin varnish to enhance the natural wood grain while protecting your realistic wood burning.
- Wax: Great for maintaining a natural feel. I use food-grade beeswax for pieces that might come into contact with food or skin.
The secret to a flawless finish lies in the application technique. I’ve found that multiple thin coats produce better results than one thick layer. Each coat should be allowed to dry completely – typically 24 hours for polyurethane and varnish, or until the surface isn’t tacky to touch. I usually apply 2-3 coats for optimal protection.
For presentation, consider mounting your piece in a floating frame to showcase the wood’s edges. Simple black or natural wood frames can complement your portrait pyrography without overshadowing the artwork. Stand-alone displays work well too, particularly for smaller pieces or those with live edges.
Remember to store your finished piece away from direct sunlight and extreme temperature changes to preserve the quality of both the wood burning and the protective finish.
Sources:
Woodburning 101: A Beginner’s Guide to Pyrography (Book, Sue Walters)
The Art of Woodburning (Book, Daniel Wright)
Lora Irish’s Great Book of Pyrography Projects (Book, Lora S. Irish)