
I create beautiful wood-burned art without relying on advanced drawing skills. My experience shows that pen control, temperature management, and basic burning techniques matter more than artistic talent.
Key Takeaways
- Success in pyrography depends more on pen control and technical skills than drawing ability.
- Transfer methods, stencils, and templates provide effective alternatives to freehand drawing.
- Basic techniques like line work, shading, and texture creation can be learned through practice.
- Different woods respond uniquely to burning, with basswood and birch being ideal for beginners.
- Regular practice with simple patterns helps build confidence and control regardless of artistic skill.
Mastering Pyrography Without Advanced Drawing Skills
With proper tools and techniques, I produce professional-looking artwork using transfers and stencils. My focus stays on developing steady hand movements and understanding heat control. These skills form the core of quality pyrography work.
Starting with Simple Techniques
I began with basic patterns and simple line work. Through consistent practice, I developed the muscle memory necessary for smooth burns and even shading. The choice of wood plays a crucial role—basswood and birch are excellent for beginners since they burn predictably and allow room for minor mistakes.
Importance of Temperature Control
My results improved dramatically once I mastered temperature control and learned how different tips affect the burn. This technical knowledge proved more valuable than drawing skills alone. I encourage new pyrographers to focus on these fundamental aspects rather than worrying about their artistic abilities.
The Truth About Drawing Skills in Pyrography
Drawing Skills vs. Pen Control
Let me clear something up right away – you don’t need to be an artistic genius to create beautiful pyrography pieces. While drawing skills can be beneficial, the real secret to successful wood burning lies in developing steady hand control and mastering your pyrography pen. I’ve found that focusing on these fundamental skills matters far more than natural artistic talent.
Think of pyrography as similar to tracing rather than creating art from scratch. The key is learning how to guide your wood burning tool smoothly and consistently across the surface. This involves practicing basic strokes and getting comfortable with the tool’s temperature settings rather than worrying about your sketching abilities.
Getting Started Without Drawing Skills
For beginners, there are several effective ways to create stunning pyrography pieces without drawing freehand. Here are the most practical approaches I recommend:
- Use transfer methods to copy designs onto wood before burning
- Start with simple patterns and geometric shapes
- Practice transferring images onto wood using carbon paper
- Work with pre-made stencils and templates
- Try basic wood burning patterns designed for beginners
While freehand drawing is considered an advanced technique in pyrography, it’s not essential for creating impressive artwork. Many experienced wood burners still use transfer methods for complex designs. I’ve seen countless beautiful pieces created by artists who started with basic tracing skills and gradually built their confidence.
As your comfort level grows, you might find yourself naturally developing better drawing abilities through practice. Many of my students who initially claimed they couldn’t draw have surprised themselves by progressing to creating detailed portraits and complex designs.
The best way to start is by exploring inspiring wood burning patterns and practicing essential wood burning techniques. Focus on developing control over your pyrography pen, maintaining consistent temperature, and understanding how different tips create various effects. These skills will serve as your foundation, regardless of your drawing ability.
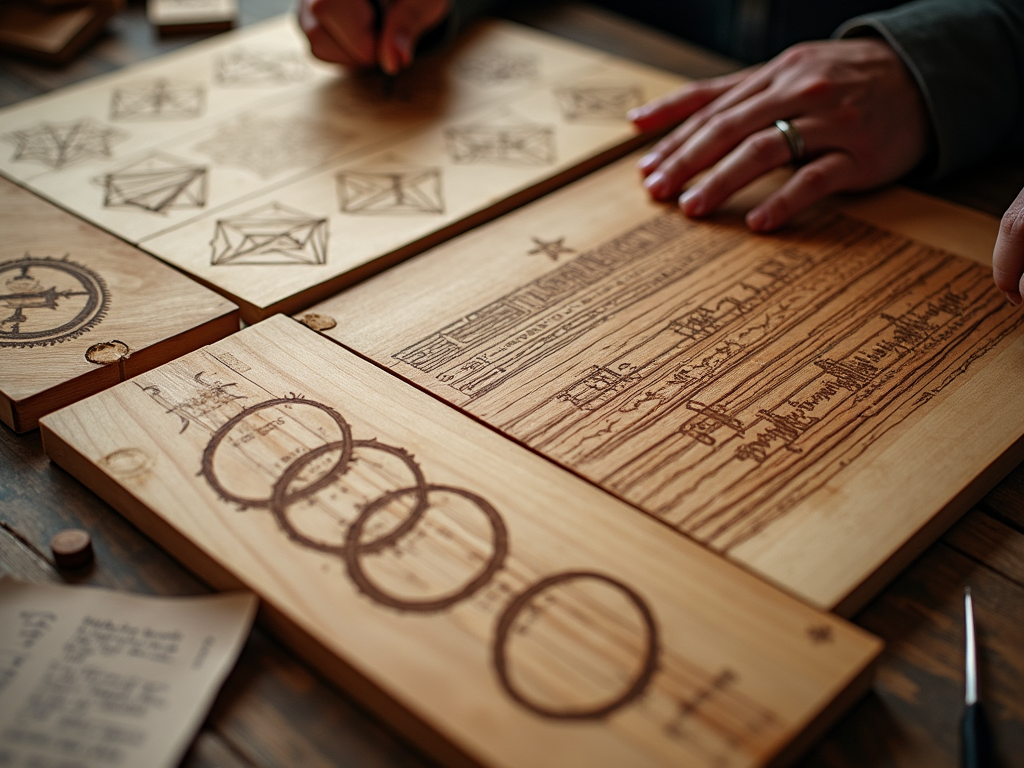
Simple Ways to Transfer Designs Without Drawing Skills
Drawing talent isn’t essential for creating stunning pyrography art. I’ve discovered multiple effective techniques to transfer designs onto wood that don’t require freehand drawing abilities. Let’s explore some proven methods that can help you achieve professional-looking results.
Transfer Methods That Work
Carbon paper transfer stands out as one of the most straightforward approaches. I place carbon or graphite paper dark-side down on the wood, position my design on top, and trace the lines with a ballpoint pen. This creates clean, precise lines that are perfect for wood burning patterns for beginners.
Tracing paper offers another reliable option. I trace the original design, flip the paper over, and retrace the lines on the reverse side. This technique is particularly useful for creating mirror images and can be combined with other methods to transfer images onto wood.
Here are some additional methods I’ve found success with:
- Pre-made stencils provide ready-to-use patterns
- Digital projectors allow for size adjustments and precise positioning
- Direct transfer using laser-printed designs and heat application
- Solvent transfers for detailed image reproduction
Projectors have become increasingly popular in modern pyrography. I can adjust the size of my design and project it directly onto the wood surface, making it simple to trace even complex patterns. This method is especially helpful when creating wood-burned portraits.
The direct transfer method using laser-printed designs has transformed how I approach detailed work. By applying heat or solvents to a laser-printed image, I can transfer the toner directly onto the wood surface, creating sharp, clear lines for burning.
These techniques have opened up endless possibilities for creating intricate designs. Whether I’m working on simple patterns or complex artwork, these transfer methods ensure I can achieve consistent, professional results without relying on drawing skills. For those just starting, I recommend experimenting with different design transfer techniques to find what works best for their style and project needs.

Essential Wood Burning Skills That Matter More Than Drawing
Core Technical Skills for Success
Drawing talent isn’t a make-or-break factor in pyrography. I’ve found that mastering pen control stands out as the true foundation for creating stunning wood-burned art. By practicing steady hand movements and maintaining consistent pressure, you’ll develop the precision needed for clean lines and detailed work. Through my experience teaching beginners, I’ve seen that focusing on proper pen angles – typically between 45 and 90 degrees – makes a bigger impact than sketching ability.
Heat control forms another key pillar in pyrography mastery. Your burner’s temperature settings directly affect the depth, shade, and character of each mark. Learning proper temperature control techniques helps create everything from delicate whispers of shade to bold, deep burns.
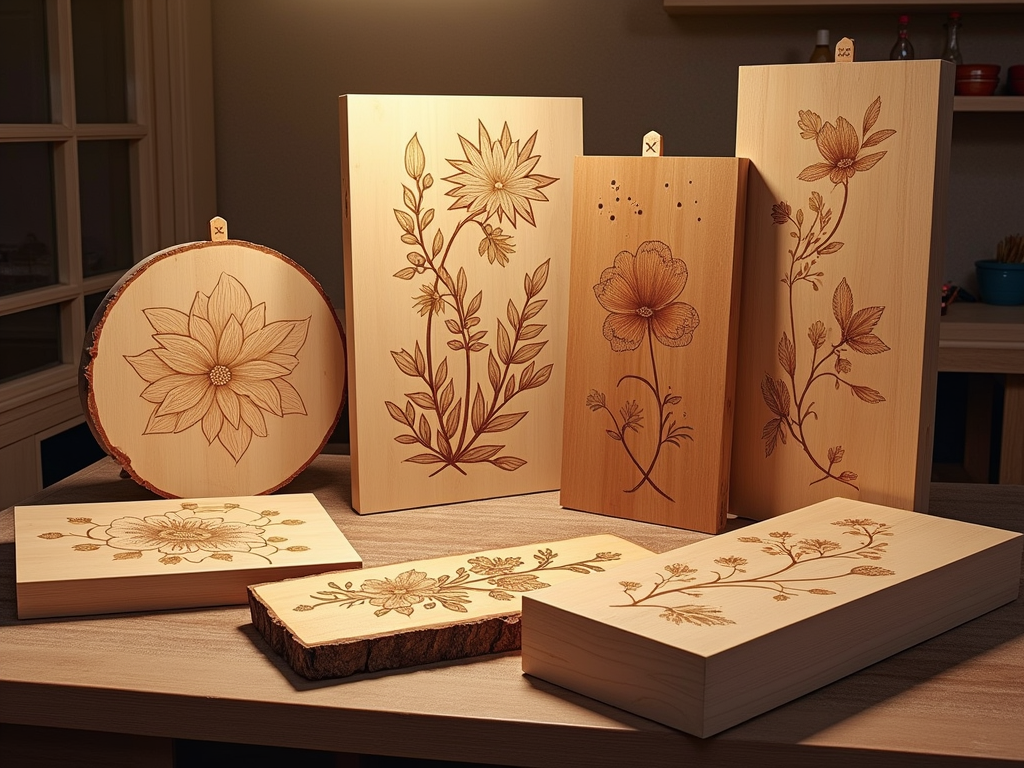
Understanding wood characteristics plays a vital role in achieving professional results. Different woods react uniquely to heat – basswood accepts burns smoothly, while pine might need gentler handling. For those starting out, I recommend these beginner-friendly woods:
- Basswood: Offers consistent burning and minimal grain interference
- Birch: Provides a smooth surface with subtle grain patterns
- Poplar: Burns predictably and takes detail well
- Pine: Affordable and readily available, though requires careful heat control
Essential Shading Methods
Basic shading techniques create depth and dimension in your work, regardless of drawing skill. Starting with simple wood burning patterns helps build confidence while practicing these fundamental methods. I’ve mastered several approaches that deliver striking results:
- Hatching: Single-direction parallel lines create shadow effects
- Cross-hatching: Overlapping lines at angles produce darker values
- Stippling: Dots clustered together form gradual shading
- Circular motions: Create smooth transitions between light and dark areas
For those worried about design skills, transferring images onto wood offers an excellent starting point. This method lets you focus on developing burning techniques while working with pre-made patterns. As your confidence grows, you might find yourself naturally sketching your own designs.
The texture and grain direction of your chosen wood influence your burning results more than drawing ability. Learning to work with – rather than against – the natural wood patterns helps create more attractive pieces. I always check grain direction before starting a project, as this affects how the wood takes the burn and the final appearance of the piece.
Getting Started: Practice Exercises for Success
Basic Line Work and Shape Exercises
Starting with simple exercises can help you build confidence and control in pyrography. I recommend beginning with straight lines – they’re the building blocks of most wood burning designs. By practicing lines at different temperatures and speeds, you’ll quickly develop muscle memory and learn how your pyrography pen responds to different techniques.
Here are key practice exercises to master basic wood burning skills:
- Draw parallel lines across a scrap piece of wood, varying the pressure and speed
- Create lines with different thicknesses by adjusting your pyrography pen’s temperature
- Burn circles of various sizes to improve your hand control
- Practice basic geometric shapes like squares, triangles, and rectangles
- Experiment with connecting lines at different angles
Advanced Shading and Text Techniques
Once you’ve gotten comfortable with basic wood burning techniques, it’s time to tackle shading and text work. Shading is particularly important for creating depth in your designs and bringing portraits to life. I find that practicing gradients helps develop precise temperature control – a vital skill for creating smooth transitions between light and dark areas.
Text work offers another excellent opportunity to improve your precision. Start by tracing simple block letters before moving on to more decorative fonts. This practice will sharpen your control while introducing you to different stroke techniques. If you’re unsure about freehand drawing, try using image transfer methods to guide your initial attempts.
Developing these fundamental skills through regular practice will make more complex projects much easier to tackle. I always tell my students that spending time on these basics pays off when working on detailed wood burning patterns. You don’t need natural drawing talent – just dedication to practicing these core techniques.
Remember to start slow and focus on consistency rather than speed. Quality burns come from steady, controlled movements, regardless of your drawing ability. As you progress, you’ll find yourself naturally improving at both drawing and burning, making each new project easier than the last.
Perfect Your Technique With These Woods
Best Woods for Starting Out
Your choice of wood can make a significant impact on your pyrography success – even if you’re not confident in your drawing abilities. I’ve found that starting with the right wood species lets you focus on developing your wood burning skills without fighting against the material. Essential tips for wood burning beginners start with selecting the right wood.
Basswood stands out as my top pick for newcomers to pyrography. Its pale color and smooth texture create an ideal canvas for practicing basic wood burning patterns. The softness allows for clean, crisp lines – perfect when you’re building confidence in your technique.
Birch offers similar benefits to basswood but with slightly more durability. While it’s a bit harder, this wood still accepts burn marks beautifully and lets you create detailed designs without much resistance. Pine serves as a budget-friendly option that’s easy to find at local hardware stores. Though it can be somewhat inconsistent due to its grain pattern, it’s great for practicing basic techniques.
Advanced Wood Options
Once you’ve gotten comfortable with basic woods, I recommend exploring some premium options. Cherry wood, with its stunning reddish-brown color, produces gorgeous results that highlight your pyrography work. The natural warmth of cherry enhances burned designs, making them stand out beautifully.
Poplar strikes a nice balance between quality and cost. Its light color provides good contrast for burned designs, and its widespread availability makes it a practical choice for regular practice. I’ve found that poplar works particularly well for transferring images onto wood.
Maple deserves special mention for its versatility. This wood’s lighter color creates excellent contrast for burned designs, while its dense grain structure allows for precise detail work. Though it requires a bit more pressure with your pyrography tool, maple’s durability makes it perfect for pieces that will see regular handling.
Key Considerations for Each Wood Type
- Basswood: Minimal grain interference, excellent for detailed work
- Birch: Balanced hardness, good for consistent burns
- Pine: Affordable and readily available, but watch for sap pockets
- Cherry: Premium option with natural color enhancement
- Poplar: Cost-effective with good burning properties
- Maple: Durable with excellent contrast for detailed designs
Sources: