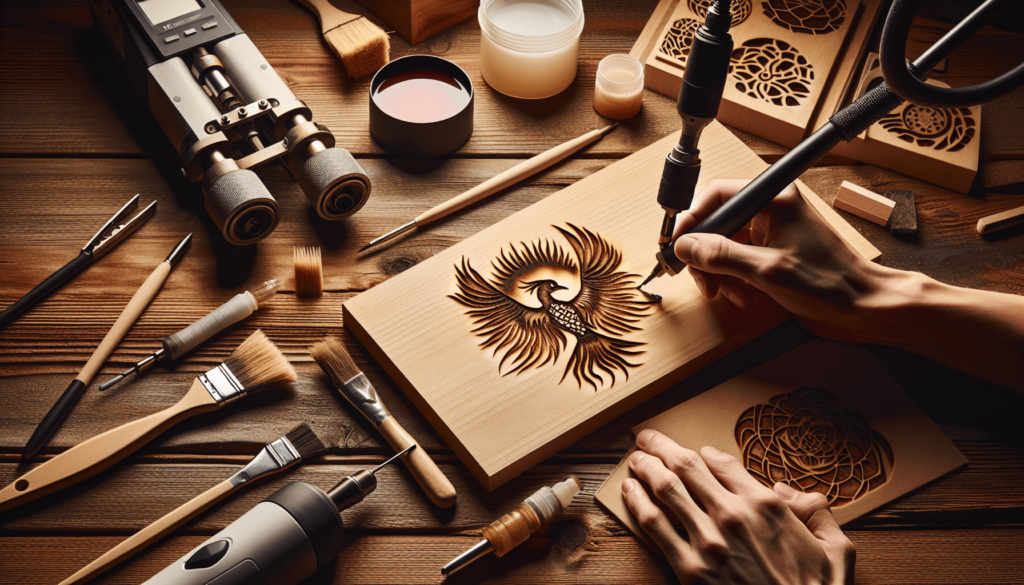
Finding a good substitute for a scorch marker can be a bit challenging, but it’s definitely doable with some common household items and a little creativity. In my quest to replicate the effects of a scorch marker, I discovered that a mixture of baking soda and water can be just as effective. You simply draw your design with the solution, let it dry, and then use a heat source, like a heat gun, to bring the design to life. The chemical reaction between the baking soda and heat creates a unique scorched effect, almost identical to that of a traditional scorch marker. It’s a simple and accessible alternative that works remarkably well. What is a good substitute for Scorch Marker?
That’s probably the question that brought you here today, isn’t it? Maybe you’ve tried a scorch marker before, or you’ve seen it in one of those artsy DIY videos that float around social media. Ah, the allure of creating beautifully burned designs without the use of fire—it’s almost like magic! Until, of course, you run out of said magical marker. Then it’s time for us mere mortals to find an alternative. That’s what I’m here to help with.
Understanding Scorch Marker: The Basics
Before diving into what might work as a substitute, let’s understand what a scorch marker actually is. Scorch markers, often used for wood burning, contain a water-based chemical solution (typically ammonium chloride). When this solution is exposed to heat, it causes a chemical reaction that scorches the surface of the wood without an open flame.
Why People Love It
The primary reasons people adore scorch markers are their simplicity and safety. You don’t need to be a pyro-technician to use one. All you need is a marker and a heat gun, and you’re in business. You can achieve intricate designs without the risk of setting your workbench—or worse, yourself—on fire.
The Downside
But why would one need a substitute if these markers are so fabulous? Well, for one, they can be a bit pricey. They aren’t always readily available at your local supermarket, either. And then there’s the issue of running out of the solution in the middle of a project. A DIY enthusiast’s nightmare, no doubt. So, let’s talk alternatives, shall we?
The Importance of the Medium
First things first: the material you’re working on. Scorch markers work wonderfully on wood, but depending on your project, you might be using leather, paper, or another material. The substitute you choose will highly depend on this medium.
Wood
Wood is the most common material used with scorch markers. It offers a wide surface area and behaves predictably under heat.
Leather
Leather is another frequently used medium, offering a bit more flexibility and a different texture.
Paper
Using paper can be tricky because it is more susceptible to catching fire. However, it’s possible to scorch paper with cautious methods.

Heat Source Options
One cannot simply mark and expect magic without some heat. The classic scorch marker uses a heat gun, but what are your options if you don’t have one of those lying around?
Heat Guns
Heat guns are the preferred method as they offer controlled, high-heat application, essential for even scorching.
Irons
Believe it or not, your standard household iron can also work wonders. Not the most precise tool, but with a bit of clever maneuvering, it’s quite effective.
Open Flame
While riskier, an open flame can serve as a heat source. It requires extreme caution but provides ample heat.
Here’s a quick comparison for clarity:
| Heat Source | Precision | Ease of Use | Risk Level |
|---|---|---|---|
| Heat Gun | High | Moderate | Low |
| Iron | Moderate | High | Low |
| Open Flame | Low | Low | High |
Scorch Marker Alternatives
So, what are we looking at in terms of alternatives? Several options are almost as good, if not better, depending on your needs and resources.
Ammonium Chloride Solution
This is essentially what’s in the scorch marker. Making your own isn’t too complex and gives you control over the intensity of the burn. You’ll need ammonium chloride powder and water—easy peasy.
Here’s a simple recipe:
- Mix one tablespoon of ammonium chloride with half a cup of water.
- Stir until fully dissolved.
- Apply to your design using a brush or stencil.
Fabric Markers and Heat Guns
Believe it or not, fabric markers can serve as a decent substitute. They might not be as strong, but they can get the job done. I recommend using a heat gun or iron to make the marks more pronounced.
Homemade Stencils and Heat Tools
Sometimes, old-school techniques are the best. Crafting your stencil and using a wood-burning tool can offer more control and customization.

Practical Tips for Effective Scorching
Here are a couple of insider tips to help you get the most out of any substitute you choose.
Prepping Your Surface
Whether wood or leather, make sure your surface is clean and dry. Any moisture can affect how the solution reacts to heat.
Testing First
Don’t go on with your masterpiece right away. Always test on a small, inconspicuous area first to ensure you’re happy with the results.
Patience is Key
Rushing through heating can end up ruining your design. Slow and steady wins the race. Heat the area evenly and don’t stay in one spot for too long.
Safety
And for heaven’s sake, be safe. Keep a fire extinguisher handy if you’re using open flames and make sure your workspace is well-ventilated.
Common Mistakes and How to Avoid Them
Hey, we all make mistakes. But why not learn from others so you don’t have to? Here are some pitfalls.
Uneven Heating
One of the most common mistakes is uneven heating, which results in a blotchy design. Make sure to move your heat source evenly across your design.
Over-Saturating with Solution
More isn’t always better. Over-saturating your surface can lead to drips and streaks. Apply the solution sparingly and evenly.
More Advanced Techniques
If you feel daring and a bit more experienced, why not try advanced techniques like shading and layering?
Shading
This involves creating gradients within your designs, offering more depth and realism.
Layering
Applying multiple layers of your scorching solution can yield different shades and textures.
Conclusion
Finding a good substitute for a scorch marker isn’t as daunting as it might seem. Between fabric markers, homemade ammonium chloride solutions, or going old-school with stencils and heat tools, your options are plentiful. Considering the medium, the heat source, and the level of detail you want to achieve, you can make an informed choice that fits your project.
So the next time you’re halfway through a beautiful wooden coaster and your scorch marker runs dry, don’t fret. A world of alternatives awaits!

