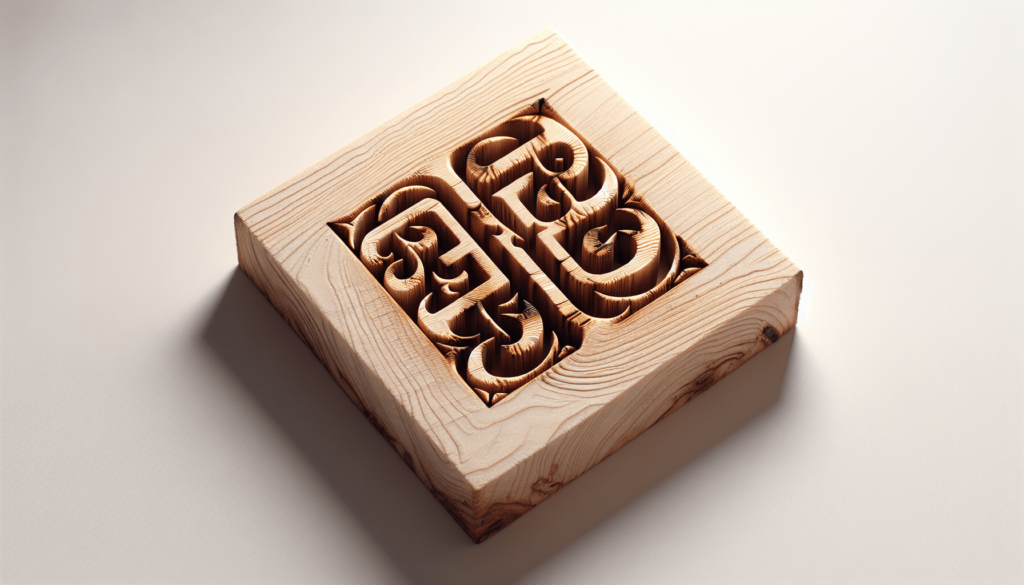
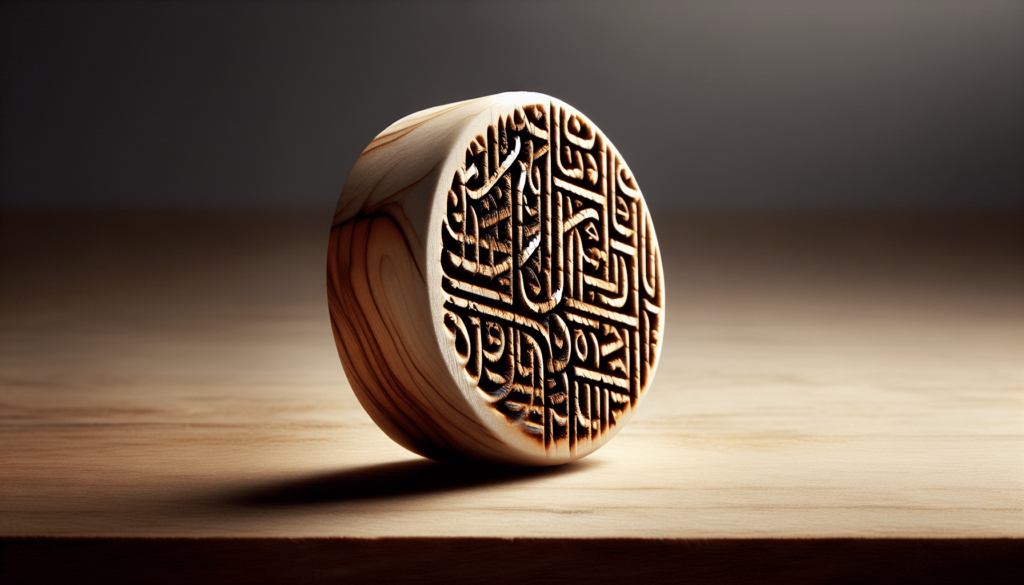
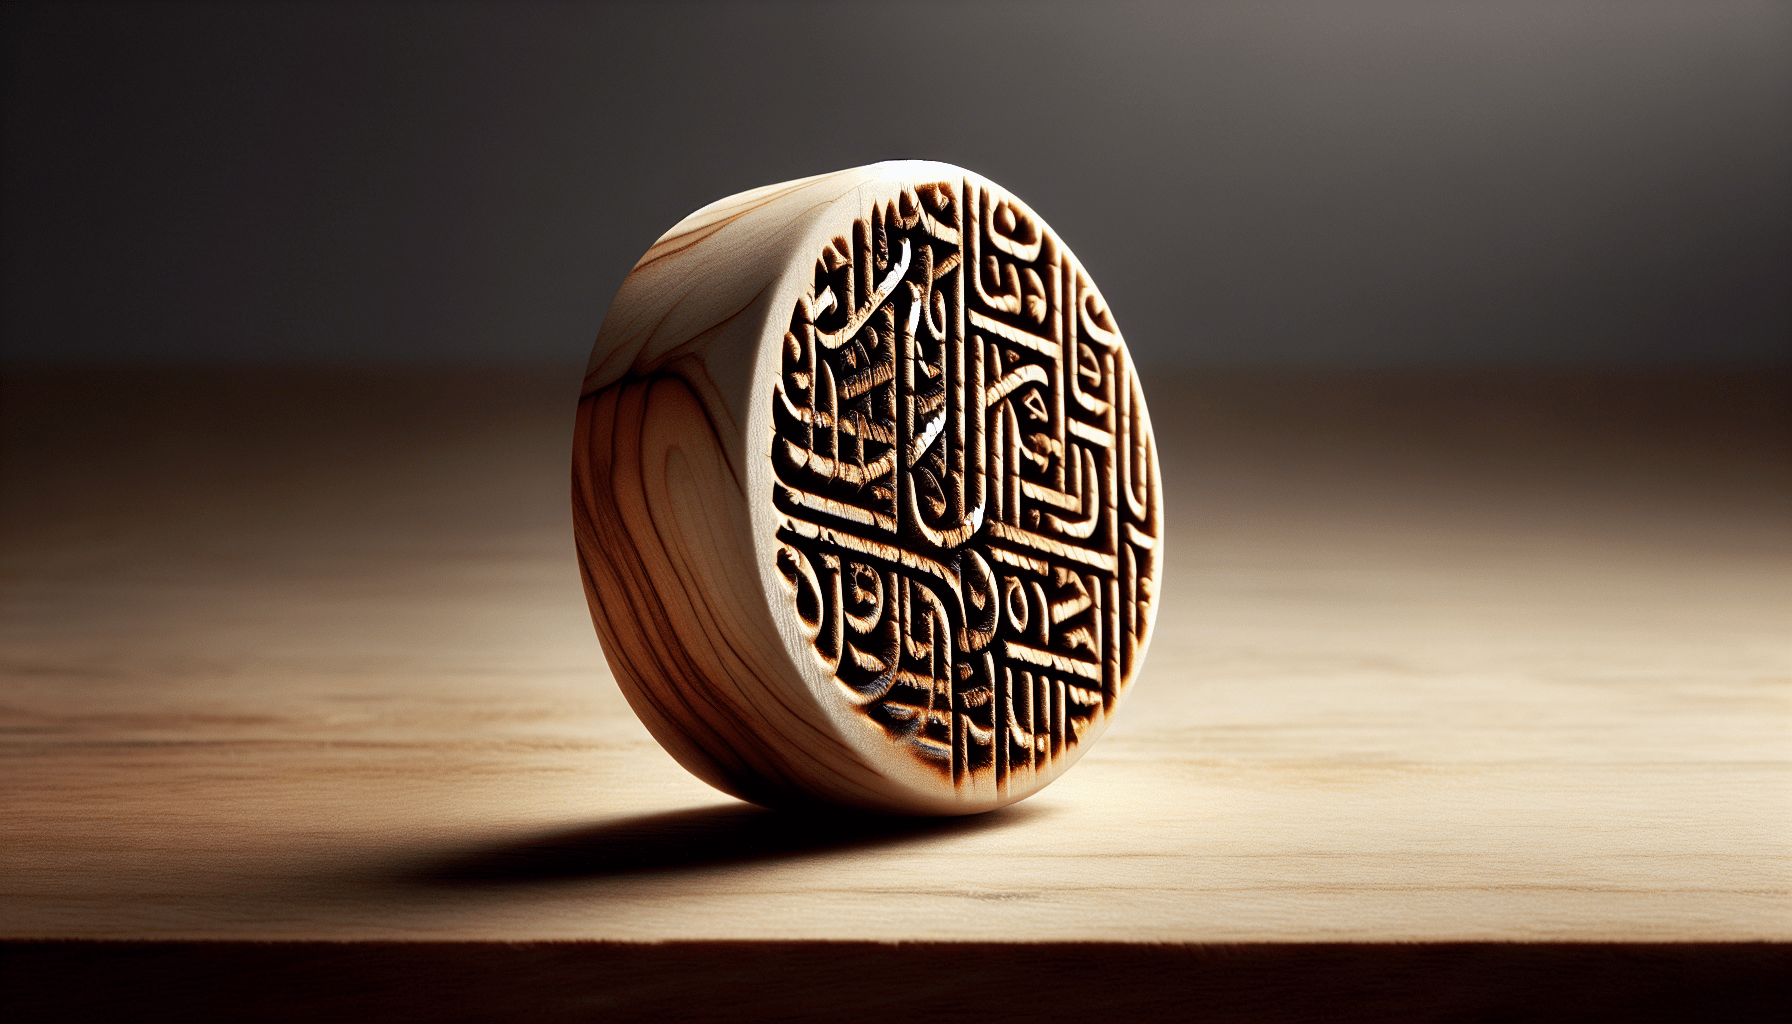
Have you ever wanted to personalize a wooden item but felt intimidated by the need for specialized tools? I recently discovered an amazing technique that shows you how to burn letters into wood without any fancy equipment. It’s a surprisingly simple method that involves using everyday household items to create stunning, custom inscriptions. This approach not only saves money but also opens up creative possibilities for adding a personal touch to gifts, home decor, or craft projects. Let me share with you the steps and tips to achieve this lovely handcrafted effect with ease. Have you ever found yourself wondering how to burn letters into wood without using any tools? I know I have. Maybe you’re like me, an enthusiast for DIY projects, looking for a personal touch to add to a wooden gift, decoration, or even a sign that would make Joanna Gaines proud. While it sounds challenging, believe me, it’s not as daunting as you might think. In fact, it can be quite a meditative and rewarding process.

What You Need
Before diving headfirst into this endeavor, let’s gather everything you need. Here’s a list that doesn’t require a trip to a specialized craft store.
Materials
- Wooden Surface: The quality and type of wood can significantly impact the outcome. Softwoods like pine or cedar are easier to work with.
- Stencils or Letter Templates: You can create these using a printer and some thick paper or cardstock.
- Pencil and Eraser: To outline the letters beforehand.
- Cotton Swabs: For precise application.
- Fine Paintbrushes: As backup or for larger areas.
- Acrylic or Water-Based Paint: Black paint works best for a burned effect.
- Sandpaper: To smooth the wood surface.
- Sealant (optional): To protect your work after completion.
So, is that all you need to burn letters into wood without tools? Practically, yes. Just a bit of imagination and patience to master the craft.
Preparing the Wood
Imagine the wood as a canvas, and you are the artist getting ready to create your masterpiece. Preparation is key.
Smoothing the Surface
First things first. Take your piece of sandpaper and gently smooth down the wooden surface. This step is crucial, especially if the wood is rough. If you start with a rugged surface, the paint won’t adhere well, making your “burned” letters look more like a smudge rather than a work of art.
Cleaning the Wood
Once your surface is as smooth as a baby’s bottom, give it a quick wipe-down with a damp cloth to remove any dust or debris. Trust me; you don’t want sawdust mixing with your paint. I learned that the hard way.
Sketching the Letters
Now comes the fun part—designing your letters.
Using Stencils
Position your stencils or letter templates on the wood. Depending on your project, you might want to tape them down to avoid any wiggle room. I find painters’ tape works wonders; it’s like the duct tape for DIYers.
Freehand Drawing
If you’re feeling particularly confident in your artistic abilities, you can always go freehand. Just light, faint lines with your pencil should do it. No need to go full-on Banksy here. If you mess up, hey, that’s what erasers are for.
Creating the Burned Effect
Here’s where things get a bit magical. Turning paint into something that looks like a burn—it’s like alchemy for the artistically inclined.
Applying the Paint
Dip your cotton swab into the black paint. You want to make sure the swab is moist but not dripping. Gently trace over your penciled letters. The key here is to work slowly and methodically. Don’t worry if you make a mistake; you can always touch it up or incorporate it into your design. If you’re using paintbrushes, the same principle applies: small, careful strokes.
Layering for Depth
To add a little oomph and make those letters pop, consider a second or even third layer once the first one dries. Think of it like applying mascara. You wouldn’t stop at one coat for a night out, right?

Sealing Your Work
This step is optional but highly recommended, especially if your piece is going to be exposed to the elements or handled frequently.
Types of Sealants
There are various types of wood sealants you can use. Clear acrylic sealer spray is often the easiest. Just make sure you’re working in a well-ventilated area; nobody likes a lightheaded woodworker.
Applying the Sealant
Hold the can about 10-12 inches from the surface and apply it evenly. A couple of coats should suffice. Allow ample drying time between coats as indicated on the product’s label.
Displaying Your Masterpiece
Congratulations, you’ve done it! You’ve burned letters into wood without using tools, and it looks fantastic. The final step is to show off your handiwork.
Hanging and Mounting
Depending on the size and weight of your wooden piece, you might need different methods for hanging or mounting it. Lightweight items can often be hung with a simple hook or adhesive strips. For heavier items, consider using screws or brackets.
Gifting Ideas
If you’re gifting your creation, consider wrapping it with a complementary theme. Rustic brown paper and twine can add a nice touch and keep everything cohesive.
Troubleshooting Common Problems
Not every project goes smoothly from start to finish. Here are some common issues you might encounter and how to fix them:
| Problem | Solution |
|---|---|
| Paint Smudging | Let the paint dry between layers and use a smaller brush for precision. |
| Rough Edges | Sand down the wood more thoroughly before starting. |
| Uneven Letters | Use painters’ tape to secure stencils and ensure uniform lettering. |
| Sealant Bubbling | Apply thin, even coats of sealant and allow each coat to dry fully. |
| Color Fading | Apply a sufficient number of paint layers and sealant to protect the finish. |
In Conclusion
There you have it. A way to burn letters into wood without the need for fancy tools or expensive equipment, just a few basic materials and a lot of patience. Who knew that turning a piece of wood into a personalized work of art could be so easy? The next time someone asks you how you did it, you can smile, lean in, and say it’s all in the technique. Trust me, they’ll be impressed.
So, go on. Give it a try. Your inner artisan is waiting.

