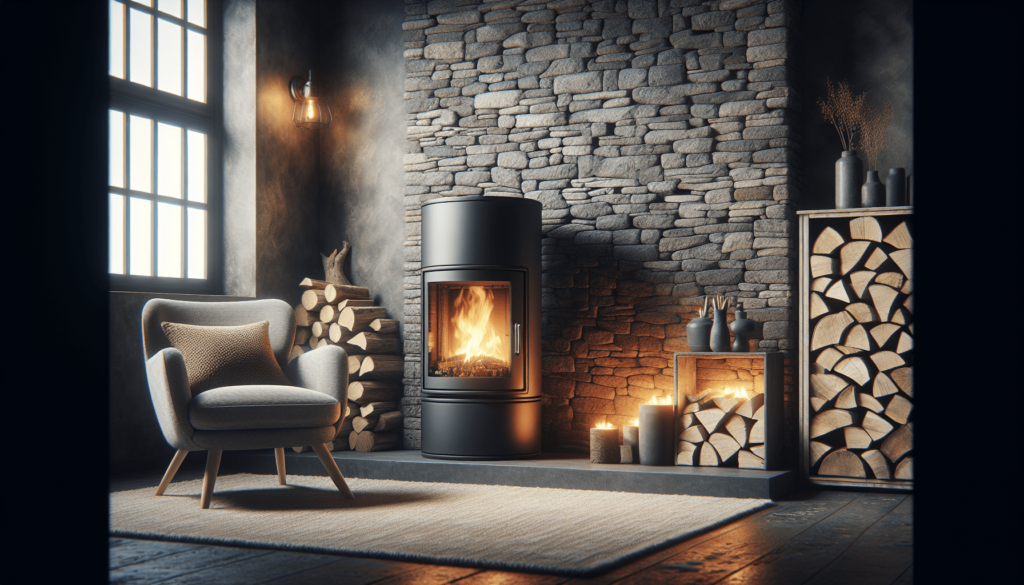
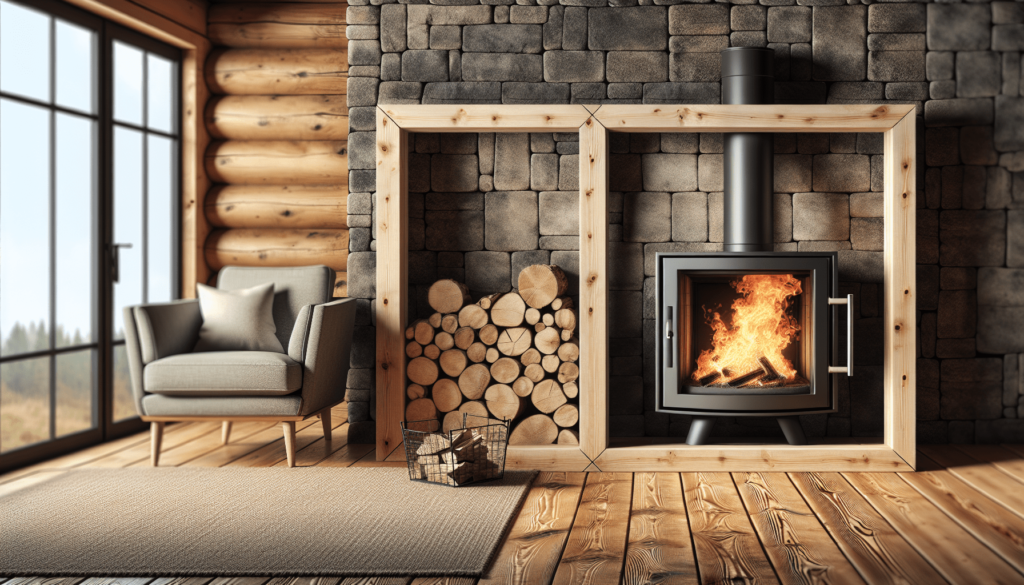
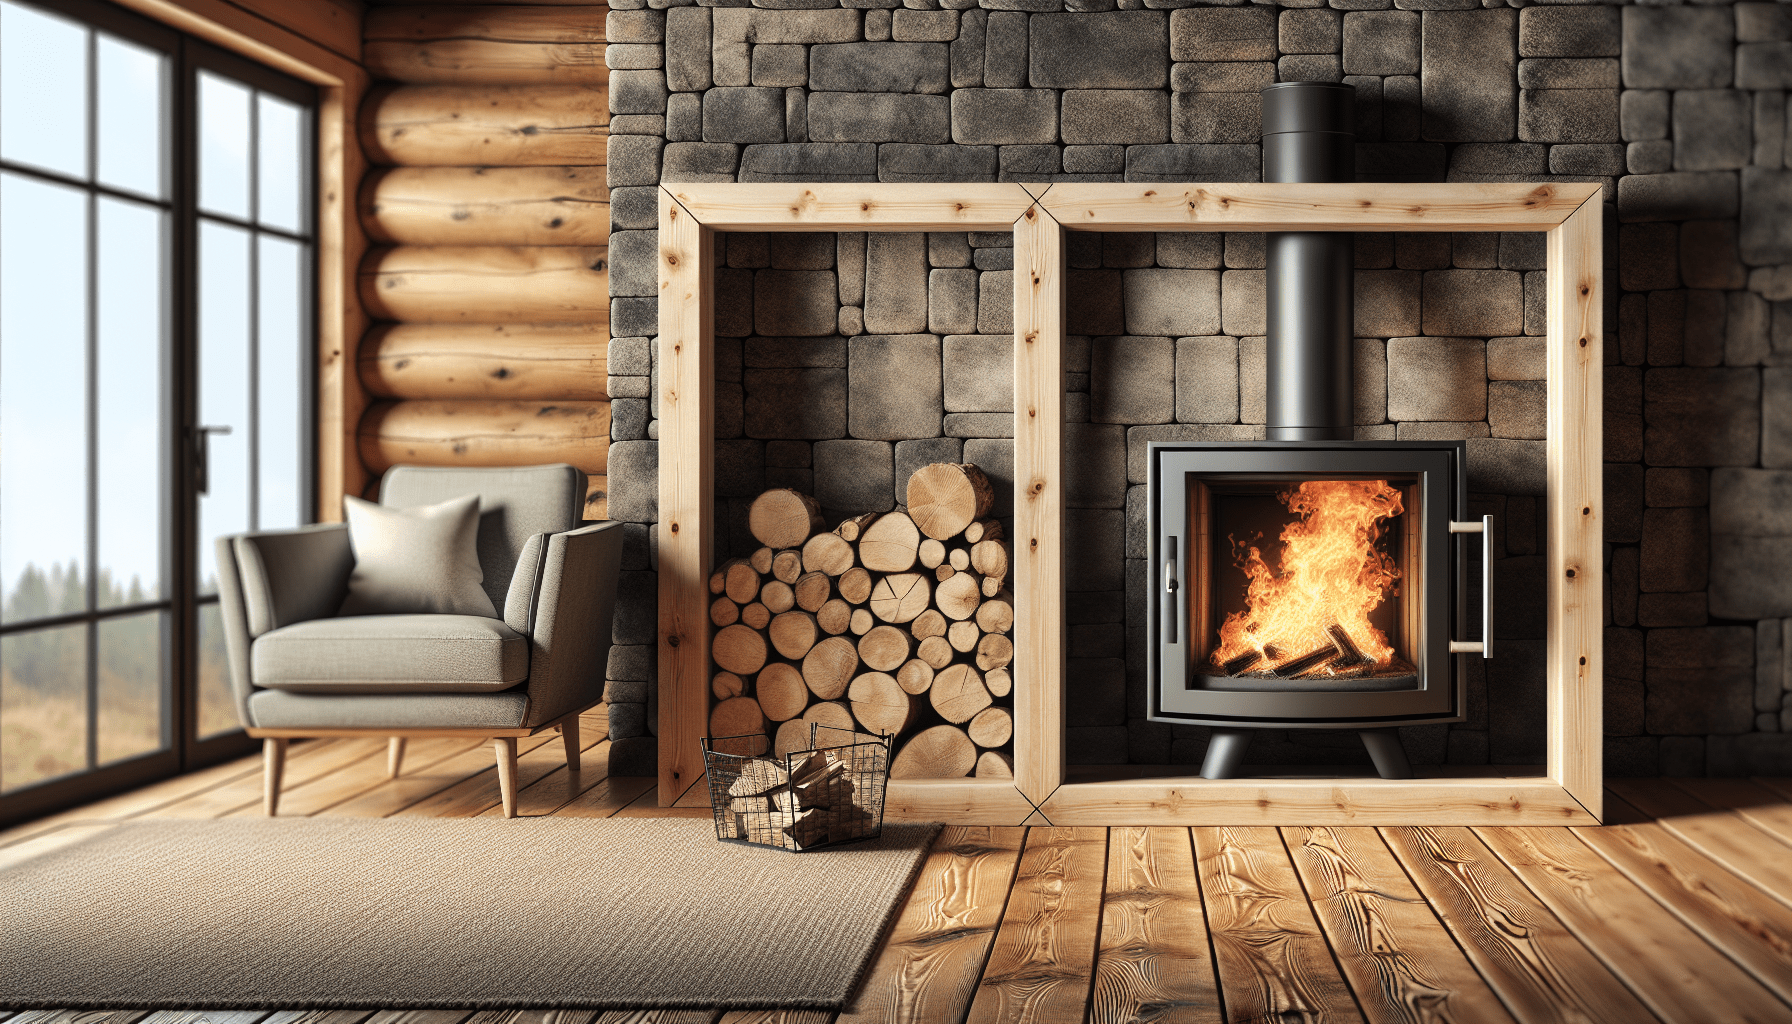
Installing a wood burning stove on your own can be quite the adventure, blending the satisfaction of DIY with a touch of rustic charm for your home. In this article, I’ll walk you through the essentials of installing a wood burning stove yourself—covering everything from safety precautions to step-by-step guidance. By the end, you’ll have a clear understanding of whether this is a project you can confidently tackle solo or if it might be best left to the pros. Have you ever stood in front of a catalog of wood burning stoves, felt the warm aura of a crackling fire in your mind’s eye, and asked yourself, “Can I install a wood burning stove myself?” Well, I have, and the conclusion I reached might surprise you. Installing a wood burning stove isn’t just about crafting a cozy niche in your home – it’s a fusion of nostalgia, modern engineering, and a small dose of insanity. Sit back and join me on this wild ride through the labyrinth that is DIY stove installation.

The Initial Spark
The first step towards installing a wood burning stove starts with an unlikely gadget: your imagination. Picture a cold winter evening. You’re swaddled in a woolen blanket, sipping hot cocoa, and the fire flickers gently in the background. Ah, bliss! But then reality slams into your idyllic vision like a sledgehammer: Can you actually pull this off alone?
Preliminary Questions to Ponder
Before you dive in, here are some preliminary questions that are as essential as firewood:
- Is it Legal? Many places have stringent regulations concerning wood burning stoves. Fines and legal complexities can turn your cozy project into an alarming mess.
- Do You Have the Time and Skills? If you’re vainly hoping that watching a few YouTube tutorials will magically transform you into a seasoned handyman, it might be time to reassess.
- Can You Handle the Risks? Working with heavy materials, sharp tools, and unpredictable elements like fire means risk. If words like “single-ply venting system” confuse you, braving this task solo could end in disaster.
Getting the Basics Right: Types of Stoves and Venting Systems
Understanding the type of stove and its respective venting system will mold the blueprint for the project. Remember, the stove and its venting system must be compatible, or you’re essentially creating a homemade smoke machine – minus any fun.
Types of Wood Burning Stoves
- Steel Stoves: Usually cheaper but might lack aesthetic charm. More pragmatic than poetic, they heat up fast and cool down equally quickly.
- Cast Iron Stoves: They hold heat longer, which means less wood and longer-lasting warmth. However, they’re heavy and can be more expensive.
Venting Systems
- Class A Chimney: Often referred to as “All-Fuel Chimneys,” these are insulated systems designed for high temperatures. Perfect for wood burning stoves.
- Single Wall Pipe: Used to connect the stove to a chimney or vent. Not suitable for passing through walls or ceilings.
- Double Wall Pipe: It has an inner and outer layer, allowing clearance from combustibles.
Stove Placement and Requirements
Next comes deciding where to place your soon-to-be pride and joy. The placement will determine ease of use, efficiency, and above all else, safety.
Clearances and Floor Protection
Proper clearances around your stove help to avoid any mishaps. Consult the user manual and local building codes to nail down specifics. Here’s a simple table for reference:
| Stove Component | Required Clearance |
|---|---|
| Back of Stove | 18 inches (minimum) |
| Sides of Stove | 12 inches (minimum) |
| Ceiling Above Stove | 84 inches (minimum) |
Your floor must also be protected. Use non-combustible materials like tiles, steel sheets, or specially-designed stove boards.
Tools You’ll Need: From Screwdrivers to Sledgehammers
Installing a wood burning stove isn’t a case for minimalist thinking. Here’s a not-so-exhaustive list of tools you’ll find indispensable:
- Screwdrivers: Both flathead and Phillips
- Drill: With multiple bits
- Measuring Tape: Accuracy is key
- Level: To avoid a tilted disaster
- Saw: For cutting through whatever barriers lie in your path
- Chimney Brush: Because clean chimneys are less likely to catch fire
Not familiar with some of these tools? Now might be the time to buddy up with someone who is.
Installing the Chimney: The Heart of the Operation
Now that you have your tools and a ray of hope beaming in your heart, it’s chimney time. If there’s one thing you mustn’t get wrong, it’s this.
Preparing the Chimney Area
The process begins with ensuring your chimney or flue is in prime condition. Cleaning is paramount – the last thing you want is a soot explosion mid-winter.
Steps to Prepare
- Clean: Use a chimney brush to remove soot and creosote. Not the most glamorous job but essential.
- Check: Look for cracks, damage, or any signs of blockage or wear.
- Install Chimney Liner: If your chimney isn’t compatible with a wood stove, a liner will save you a world of headaches.
Connection: Stove to Chimney
At long last, you face the climactic moment of connection. Attach the stovepipe to the chimney or flue. Make sure every joint is secure; duct tape won’t cut it here.
- Measure and Cut: Ensure your stovepipe fits perfectly. Remember the carpenter’s adage – “measure twice, cut once.”
- Seal: Use high-temperature silicone and special sealants designed for stoves.
- Fasten: Use screws and clamps to tighten every joint. Give it a firm handshake; if it feels wobbly, so will your confidence.

Starting the First Fire: From Sparks to Flames
With everything set and your fingers crossed, it’s time to introduce the first flames into your new wood burning stove. Light it up, but don’t rush to toss in a log the size of Texas.
Lighting Techniques
- Start Small: Use kindling and small pieces of wood.
- Air Flow: Make sure air vents are open to feed the fire.
- Gradual Increase: Gradually add bigger logs as your fire gains strength.
Troubleshooting Common Issues
No fire? Only smoke? Before you shove your head in an exhaust pipe, consider these common issues:
- Poor Draft: Check the chimney for blockages.
- Damp Wood: Use only well-seasoned wood.
- Airflow Issues: Adjust the venting; sometimes it’s a game of fine-tuning.
Post-Installation: Maintenance and Safety Tips
Congratulations! The stove is alive, quite literally. Yet, the journey doesn’t end here. Regular maintenance is crucial to keep it functioning efficiently.
Yearly Maintenance
- Sweep the Chimney: A professional sweep once a year.
- Inspect Seals and Gaskets: Make sure they are tight and undamaged.
- Check Air Vents: Ensure they operate smoothly.
Safety Measures
- Fire Extinguisher: Keep one nearby. Better safe than sorry.
- Carbon Monoxide Detector: This will be your second pair of eyes, or rather, nose.
- Smoke Detector: A must-have around the installation area.
Wrapping Up: The Pros and Cons of a DIY Stove Installation
Phew! If you’ve made it this far without reconsidering your life choices, congrats – you might actually be fit for this challenge. But before wrapping up, let’s contemplate the pros and cons of DIY wood stove installation.
Pros
- Cost Savings: Professional installations can be costly.
- Customization: You control every aspect, from placement to materials.
- Satisfaction: Nothing beats the pride of a job well done, especially one that warms your home and your heart.
Cons
- Time Consumption: Say goodbye to weekends and free time.
- Risk: Safety risks abound, from physical safety during the install to long-term risks if done improperly.
- Legal Hurdles: Navigating permits and regulations can be a nightmare.
Ultimately, the decision to install a wood burning stove yourself hinges on several variables – your skills, time, patience, and zest for a good challenge. If you decide to leap into this toasty adventure, know that you’re not just installing a stove; you’re crafting a new heart for your home. Happy installing!

