So, I’ve recently taken up wood burning, and let me tell you, it’s more than just grabbing a piece of wood and a heat tool. There’s a whole bunch of stuff you need to get started! You’ll need a good quality wood burner with adjustable heat settings, a selection of different tips for various effects, and of course, some smooth wood to work on. Don’t forget the safety gear—gloves, a mask, and even safety glasses can be crucial. Practice boards and some simple designs are also helpful as you get the hang of it. There’s a bit of a learning curve, but once you’ve got the right supplies, it becomes a really rewarding craft. What Do I Need For Wood Burning?
Have you ever stared at a hunk of wood and thought, “What if I just set this on fire, but, you know, with finesse?” You’re not alone. Wood burning (or pyrography, for those who like fancy words) is an age-old art form that blends creativity with craftsmanship. Today, we’re delving into the mystique of wood burning and uncovering exactly what you need to get started.
The Basics – What is Wood Burning?
Before I dive into the shopping list, let’s talk wood burning 101. Essentially, wood burning is the art of using a heated tool to burn designs into wood. Think of it as drawing but with a hot pen that smells like a campfire. It’s incredibly satisfying and, if done right, can result in stunning, unique pieces of art.
Essential Tools for Wood Burning
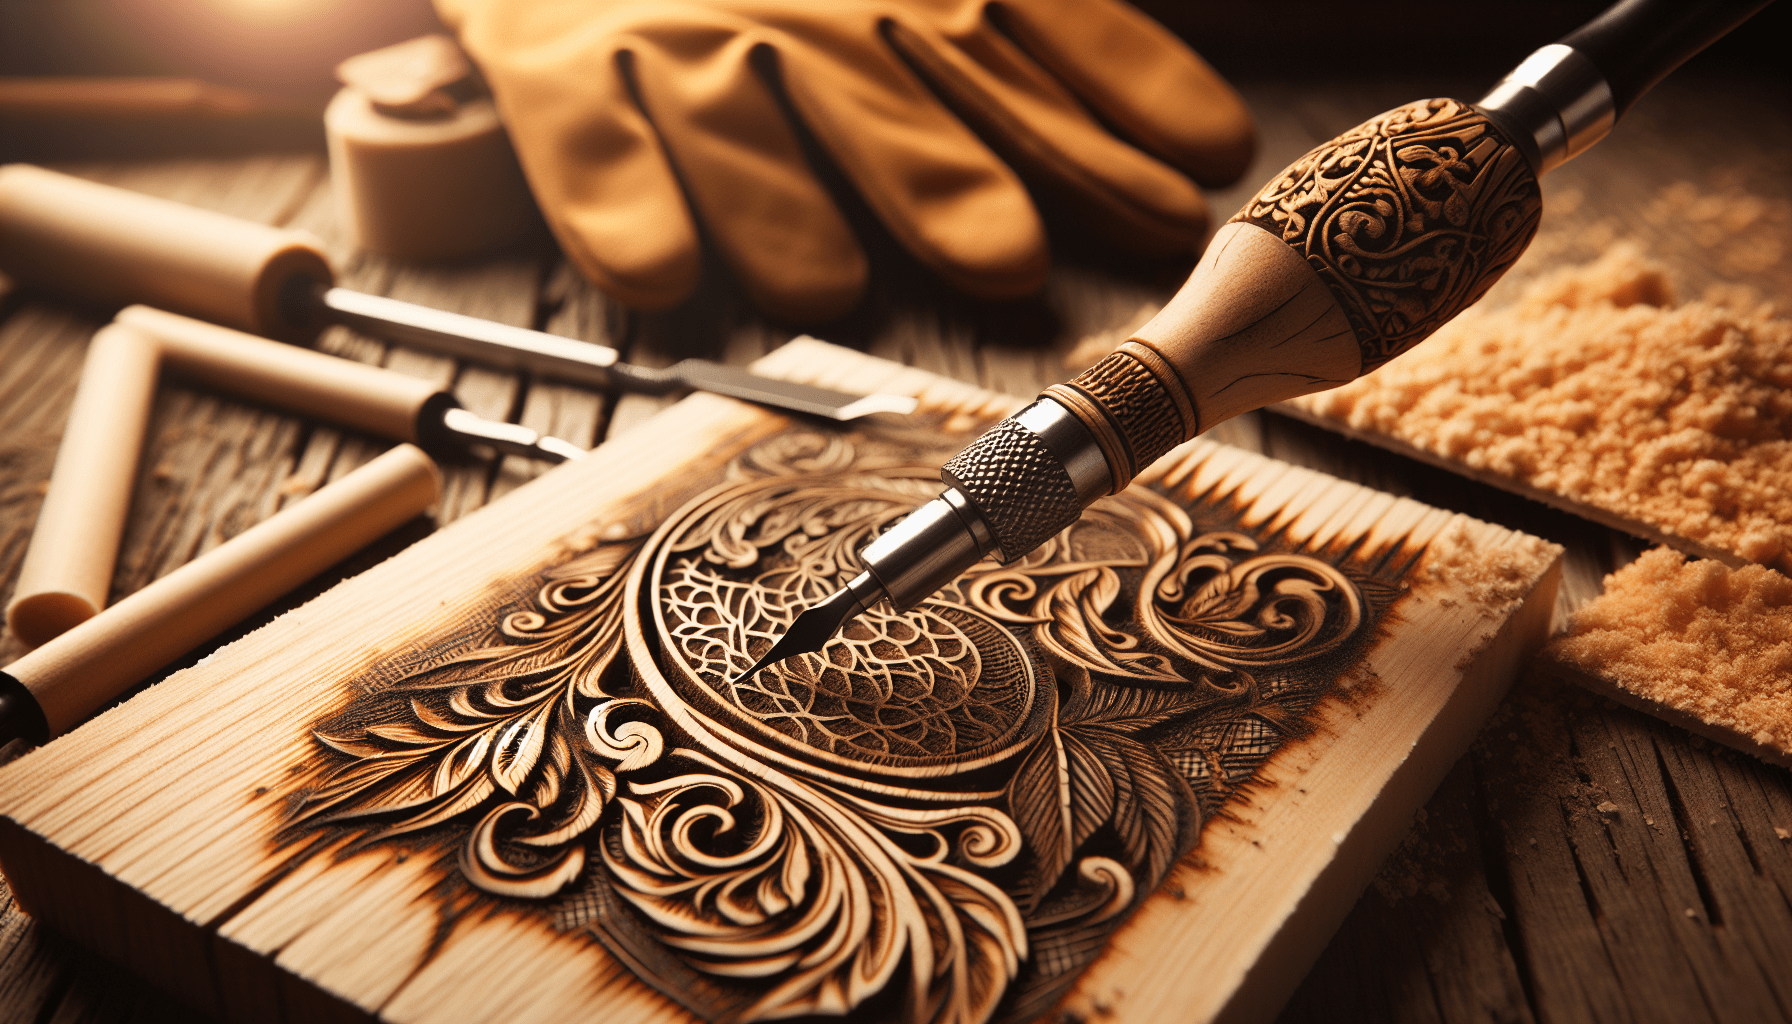
First thing’s first: you need the right tools. Good tools can make the difference between a masterpiece and a mess.
Wood Burning Tool
The cornerstone of your new hobby is, predictably, a wood burning tool. There are two types:
- Solid-point burners: These tools look like a soldering iron and are perfect for beginners. They come with an array of interchangeable tips.
- Wire-nib burners: More advanced, these have a pen-like grip and offer better precision and control. Ideal for those ready to up their wood burning game.
| Type of Burner | Pros | Cons |
|---|---|---|
| Solid-point burner | Affordable, beginner-friendly | Less precision, slower heating |
| Wire-nib burner | Precise, fast heating, versatile | More expensive, learning curve |
I started with a solid-point burner that I picked up on sale. It took all of ten minutes of burning a line that looked suspiciously like a drunken earthworm before I wanted something more precise. Choose wisely, my friends.
Pyrography Tips
Separate from the wood burning tool itself, tips are the interchangeable ends that determine the shape and style of your burning. There are a few types you should be familiar with:
- Universal tips: Versatile, great for straight lines and even shading.
- Calligraphy tips: Excellent for cursive and intricate designs.
- Shading tips: Perfect for achieving gradient effects.
Much like picking an outfit for an occasion, selecting the right tip matters. Would you wear a tutu to a funeral? Probably not, unless it was a very strange funeral.
Protective Gear
For the love of everything good, do not skip this part. Protective gear is essential. Get yourself some:
- Heat-resistant gloves: Because no one wants third-degree burns.
- Safety glasses: Protect those eyes, you need them for all the admiring you’re going to do of your wood masterpiece.
- Respiratory mask: Wood fumes are nasty; protect your lungs.
Sandpaper
Before burning, wood needs to be smooth. Sandpaper ranging from 220 to 400 grit will help you achieve that nice, smooth surface. Sand like you mean it; like you’re trying to get rid of the evidence of a terrible woodworking incident.

The Right Wood for Burning
Ah, the canvas. Not all woods are created equal when it comes to burning.
Best Woods for Burning
Softwoods generally work best. Here are some good picks:
- Basswood: The golden child of pyrography. It’s soft, easy to burn, and doesn’t produce a lot of smoke.
- Birch: Smooth and fine-grained; burns very evenly.
- Maple: A bit harder, but burns well and has a lovely grain.
| Wood Type | Characteristics |
|---|---|
| Basswood | Soft, minimal smoke, easy to burn |
| Birch | Smooth, fine-grained, even burn |
| Maple | Harder, beautiful grain |
Woods to Avoid
Some woods are like toxic relationships – best avoided. These include:
- Pine: Full of sap, which means more smoke and a sticky residue.
- Oak: Hard and full of tannins, making it difficult to burn cleanly.
- Cedar: Though it smells delightful, it’s oily and produces toxic fumes when burned.
Preparing Your Wood
Once you have chosen your wood, preparation is key. Sand it down until it feels smooth as a baby’s bottom. The smoother the surface, the easier your lines will be. Also, wiping the wood with a damp cloth before starting can help the tool glide rather than stick.
Getting Started with Wood Burning
So you’ve got your tools and your wood, now what? Time to get burning.
Design Templates
Unless you’re some sort of freehand genius, I highly recommend starting with a design template. Trace it onto your wood using carbon paper. This way, you can steal the Mona Lisa’s smile (or whatever piques your interest) with precision.
Setting Up Your Workspace
Make sure your workspace is well-ventilated and free of distractions. You don’t want a curious cat or a rogue toddler tugging on your elbow mid-burn. Trust me, it’s not good for anyone involved.
Practicing Basic Techniques
Before tackling your main project, practice these basic techniques:
- Straight Lines: Essential for almost every design.
- Curves: Useful for flower petals, waves, and just about everything not square.
- Shading: Varying the pressure and speed of your tool can create lovely shading effects.
Adjusting Your Tool’s Heat Setting
Most wood burning tools have adjustable heat settings. Generally, lower heat settings work best for fine lines, while higher settings are better for shading. Experiment on a scrap piece of wood to get a feel for it.

Advancing Your Skills
Ready to get fancy? Let’s talk about intermediate and advanced techniques.
Stippling
Stippling involves creating an image out of tiny dots. It’s like a low-tech, time-consuming version of modern art. Use a fine tip and be patient. The results can be stunning.
Hatching and Cross-Hatching
These involve burning lines close together or intersecting at angles to create texture and depth. Hatching can make your work jump off the wood like it’s 3D.
Layering and Built-Up Effects
Layering involves burning over an area multiple times to darken it. This can create beautiful, rich tones when done correctly. Yet, it’s a delicate balance – there’s a fine line between “beautifully layered” and “burnt to a crisp.”
Using Color
Though traditional pyrography is monochrome, adding color can introduce a whole new dimension to your work. Watercolor paints, oil pencils, and even pastels can be used to add vibrant hues to your designs. Seal your work after coloring to protect the pigments.
Caring for Your Tools
Much like a pet or a plant (or, let’s be honest, your favorite pair of shoes), your wood burning tools need care.
Cleaning Tips
Regularly cleaning the tips of your wood burning tool will extend their lifespan and keep them working well. A brass brush can remove residue without damaging the metal tips.
Proper Storage
Store your tools in a safe, dry place. Use a tool holder or a storage box designed for pyrography tools. This keeps everything organized and ready for your next inspiration strike.
Troubleshooting Common Issues
Despite our best intentions, things can go wrong. Here are some common problems and how to fix them:
Uneven Lines
If your lines look more like your signature on a credit card reader (shaky and unsure), it might be that your wood isn’t smooth enough or your hand is unsteady. Slow down and practice more on scrap wood.
Burnt Edges
If the edges of your design look crispy, you’re probably using too high a heat setting. Lower the temperature and go slowly.
Smoke and Fumes
Sometimes wood burning can produce excessive smoke. This can be due to using the wrong type of wood, too high a heat setting, or a dirty tip. Ensure you’re working in a well-ventilated area and clean your tips regularly.
Finishing Touches
You’ve done the burning, now let’s finish it right.
Sanding
Sometimes, after you’ve completed your design, it may feel a bit rough. Lightly sanding the wood can smooth it out, without diminishing your design.
Sealing Your Work
To protect your masterpiece, you’ll want to seal it. Choose a clear finish like polyurethane, acrylic spray, or even wax. Not only does this protect the wood, but it also enhances the contrast of your burn marks.
Displaying Your Art
You can frame it, turn it into a decorative piece, or craft it into furniture. The possibilities are endless and only limited by your imagination (and possibly your living space).
Where to Find Inspiration
Writer’s block is a myth compared to artist’s block. If you’re struggling to come up with designs, look to nature, historical designs, or even other pyrography artists’ work for inspiration. Sometimes a walk in the park is all you need.
Joining a Community
One of the joys of wood burning is that it’s both solitary and communal. Supportive communities online, such as forums and social media groups, can provide invaluable advice and encouragement. Share your progress, ask questions, and be inspired by others.
Final Thoughts
Wood burning is more than just an art form; it’s a journey. Every burn, every piece of wood, and every smoky mistake is a step towards mastering this ancient craft. So gather your tools, pick your wood, and start burning away. Who knows? You might just create something that’ll make future generations stare in awe, or at least scratch their heads in wonder.
And that, my friends, is what you need for wood burning.