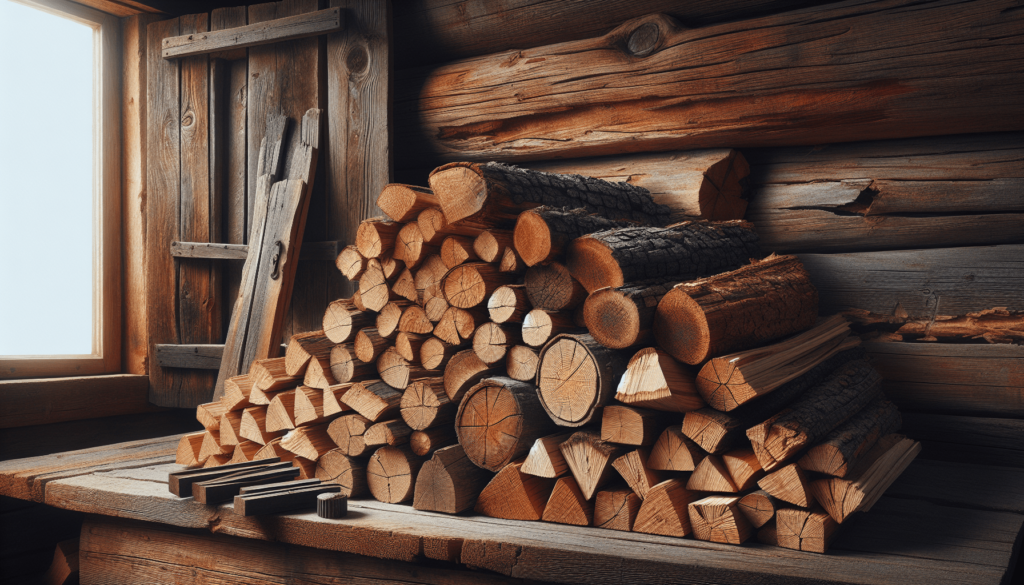
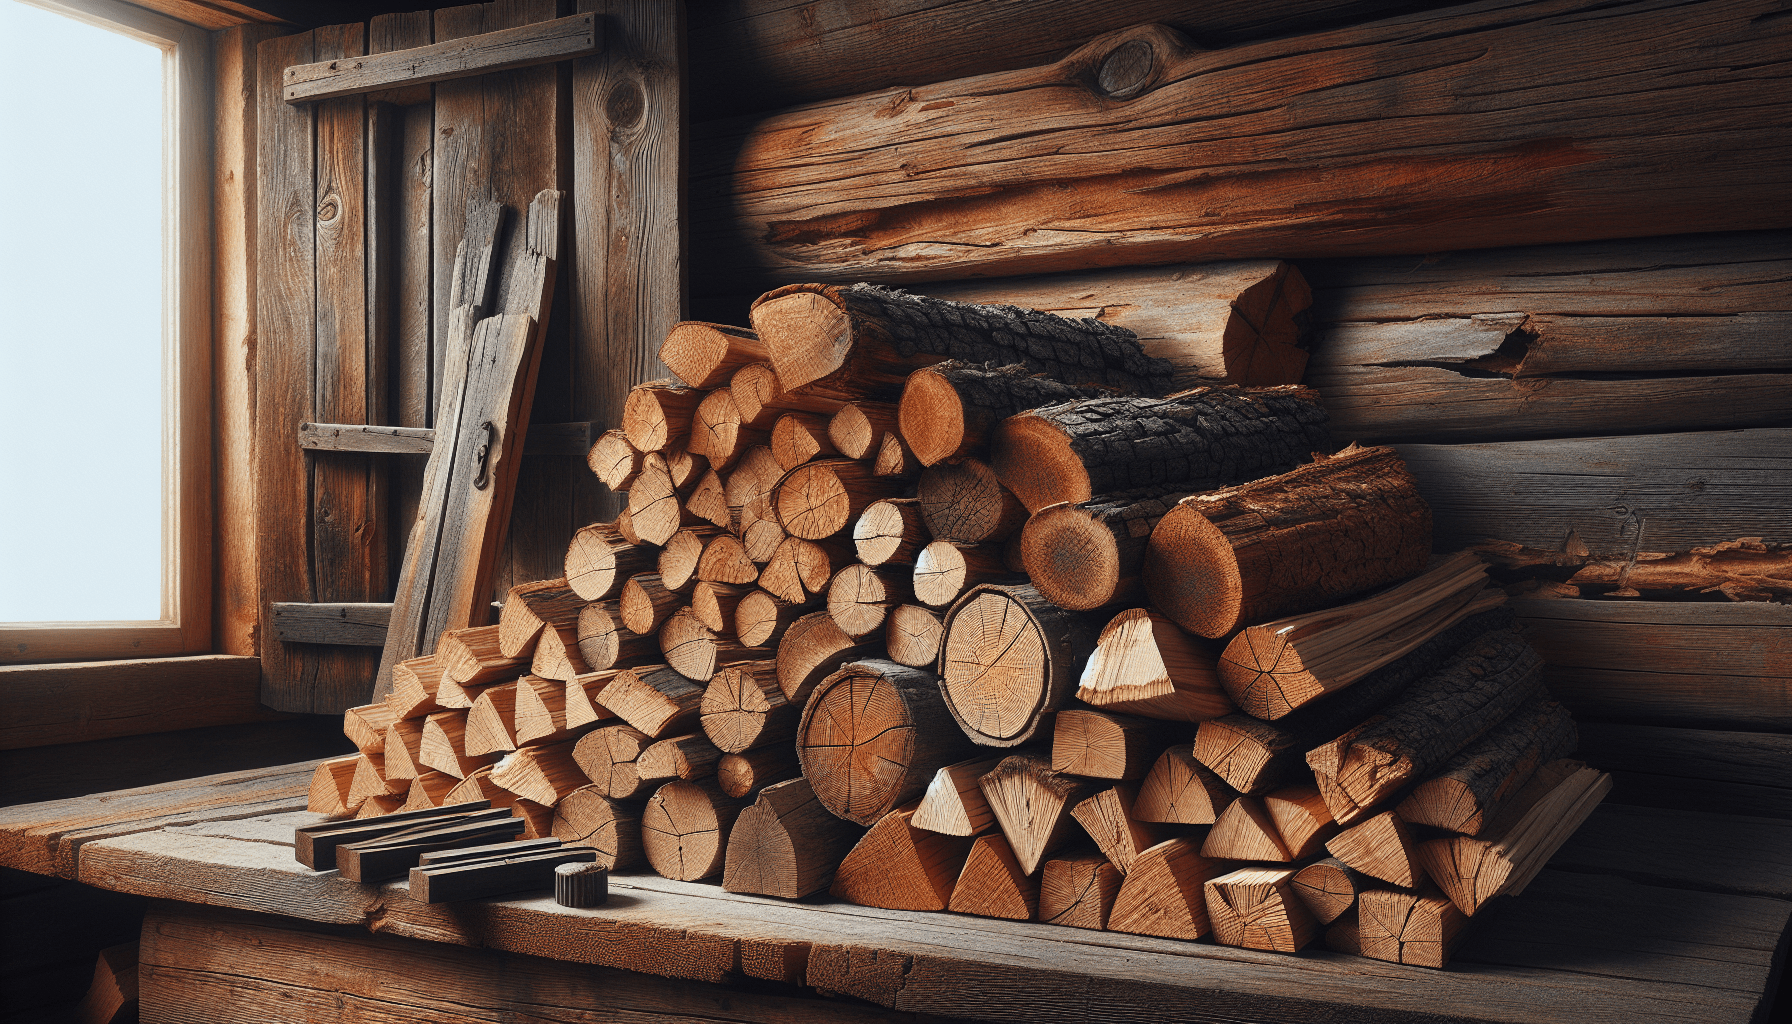
When it comes to getting a fire started, the secret isn’t just in the spark but in how we prepare the wood. In “How Do You Make Wood Burn Easier?”, I delve into some practical tips and tricks I’ve learned over the years to make lighting up a breeze. From selecting the right type of wood to understanding the perfect moisture content, and even arranging the logs correctly, there’s a lot that goes into creating an effortless, long-lasting flame. This guide is a helpful companion for anyone looking to transform their fire-starting struggles into a cozy and efficient experience. How do you make wood burn easier? I’ve had that question pop up in my head more times than I care to admit. There have been countless chilly evenings where I would find myself staring at a stubborn heap of logs that seemed to defy every flame I tossed their way. It made me wonder if fire-building was a lost art that I would have to master through intense pilgrimage to the mountains, seeking out a wise, old hermit to tell me the secrets. Fortunately, it’s not that dramatic.
I’ve done a deep dive into the crevices of the internet and consulted with seasoned fire-building sages—by that, I mean a few uncles and the occasional Boy Scout trooper—so I feel pretty confident about my understanding now. I’m here to share everything I’ve learned about making wood burn easier, from the right types of wood to use to the best techniques and tools to employ. Let’s cozy up by the fire and get into it.
Understanding the Basics of Wood Burning
Fire, despite its primitive nature, needs particular conditions to flourish. Just like baking a perfect soufflé, you need the right ingredients and techniques, otherwise it’ll flop. And trust me, nobody wants a flopped soufflé, or a neglected pile of unlit wood for that matter.
The Science of Combustion
To start, you need to understand the basic chemistry of combustion. For wood to burn, three elements need to come together: heat, oxygen, and fuel. Think of it as a high-school group project where everyone needs to pitch in; otherwise, it’s not happening.
- Heat: You need a spark or flame to kick off the process.
- Oxygen: The fire needs a steady supply of fresh air.
- Fuel: In our case, this is the wood.
Balanced just right, these elements lead to a flaming success. Too little of one, and the fire either won’t start or will quickly fizzle out.
Types of Wood
Not all wood is created equal, especially when it comes to burning. Some logs might as well be trying to get an Olympic gold medal in non-combustibility. There are two main categories to consider: hardwood and softwood.
| Type | Pros | Cons |
|---|---|---|
| Hardwood | Longer burn time, hotter flames | Harder to ignite, expensive |
| Softwood | Easier to ignite, cheaper | Burns quickly, more smoke and soot |
Seasoned vs. Green Wood
One of the first rookie mistakes I made was trying to burn green wood. Green wood is freshly cut and has a high moisture content, making it difficult to ignite and keep burning. Seasoned wood, on the other hand, has been allowed to dry out, significantly reducing its moisture content. This makes it much easier to burn.
- Green Wood: Moisture content is usually above 20%.
- Seasoned Wood: Moisture content is below 20%.
Steps to Make Wood Burn Easier
Now that we’ve got the foundational knowledge down, let’s get to the nitty-gritty of actually making wood burn easier. Warning: you might want to take notes, or at the very least, mentally bookmark some of these pointers.
Step 1: Selecting the Right Wood
Choosing the right type of wood can make a world of difference. Here, balance is key. I tend to use hardwoods like oak or maple for a longer, steady burn, and supplement it with softwoods like pine for a quicker start.
Step 2: Ensure Proper Seasoning
If you’ve got green wood, give it some time to age like a fine wine—or err, wood. Stack it in a well-ventilated area for at least six months to a year. Make sure it’s raised off the ground and covered to keep it dry but still ventilated.
Step 3: Cutting and Splitting
Size matters here, folks. Smaller pieces of wood will catch fire more easily than large logs. I usually aim for splits that are about 4 to 6 inches in diameter.
One trick I’ve found effective is making kindling out of softwood and then using those pieces to create a “teepee” structure for easier ignition.

Tools and Techniques to Get It Right
If you’re anything like me, you probably enjoy the process of figuring out the best tools and techniques. It’s a bit like preparing a meal; the right utensils and methods can turn a good dish into a great one.
Tools of the Trade
You’ll need more than just a pack of matches to become a fire master. Here are a few tools that have made my life much easier:
- Axe: For cutting and splitting your wood.
- Saw: Handy for making kindling.
- Fire Starters: Think matches, lighters, or even a fire piston if you’re feeling adventurous.
- Bellows or Fan: To keep the oxygen flowing.
Building the Fire: Methods Matter
There’s more than one way to skin a cat, and there’s certainly more than one way to start a fire. Here are a few methods that have proven effective:
The Teepee Method
This is probably the most intuitive way to build a fire and a personal favorite of mine. Arrange your kindling in a small teepee shape, leaving some gaps for air to flow. Light it up and then slowly add larger pieces of wood as the fire grows.
The Log Cabin Method
This method involves stacking logs in a crisscross pattern, kind of like building a mini-log cabin. Place kindling in the center and light it up. The structure provides excellent airflow and makes for a strong, stable fire.
The Star Method
If you’re working with limited space or resources, the star method can be quite effective. Arrange logs in a radial pattern, like the spokes of a wheel. Light the kindling at the center, and as the ends of the logs catch fire, push them further in.
Maintaining the Fire
Alright, you’ve got your fire going. Congratulations! But the journey doesn’t end here. Maintaining a fire requires just as much finesse as starting one.
Regulating the Air Supply
Remember our good friend oxygen? It needs to keep flowing. Ensure there’s enough airflow by adjusting the position of your logs and using bellows or a fan if necessary.
Adding Wood Gradually
Throwing a huge log on top of a budding fire is like trying to eat the whole Thanksgiving turkey in one go—it’s overwhelming and likely to extinguish the spark. Add wood gradually, letting each piece catch fire before adding the next.
Managing Ash Buildup
Too much ash can impede airflow and smother your fire. Periodically, clear out excessive ash build-up to keep things running smoothly.

Safety First
We’ve all seen those news reports about houses burning down due to carelessness. Remember, fire is not just a cozy companion but can also be a destructive force if not managed properly.
Keep a Fire Extinguisher Handy
You never know when things might get out of hand. A fire extinguisher or a bucket of sand can be a lifesaver.
Use a Fire Screen or Gate
If you’re indoors or using a fire pit, use a fire screen to prevent stray embers from escaping.
Never Leave It Unattended
Always, always, always keep an eye on your fire. If you need to step away, ensure someone else is watching it or put it out temporarily.
Troubleshooting Common Issues
Inevitably, there will be challenges. But fear not, every problem has a solution if you look hard enough—or Google it long enough, as I found out.
Fire Won’t Start
If your fire refuses to start, double-check your materials. Is your wood too wet? Is there enough kindling? Maybe your matches are damp. Address these basic issues first.
Fire Dies Quickly
If your fire keeps going out, it might be starved of oxygen or fuel. Check your setup, and ensure there’s adequate airflow. You might also need to add more dry kindling to keep it going.
Too Much Smoke
Excessive smoke usually means your wood is too wet or there isn’t enough airflow. Adjust accordingly by using seasoned wood and rearranging your setup to improve air circulation.
Making Wood Burning Fun and Engaging
Building and maintaining a fire shouldn’t feel like a chore. With the right mindset, it can be an enjoyable and meditative experience.
Making It a Family Activity
Get everyone involved. Teaching kids how to build and maintain a fire can be a valuable life skill, plus it’s a great way to bond.
Experimenting with Different Woods
Expand your horizons by trying out different types of wood. Each has its unique burning characteristics and smell, adding a new layer of enjoyment to your fire-building adventure.
Incorporate it into Outdoor Activities
Whether you’re camping, at a beach bonfire, or in your backyard, a well-built fire can enhance the experience. Plus, s’mores. Need I say more?
Cooking Over a Fire
Once you’ve mastered the basics, why not try your hand at cooking over an open flame? From roasting marshmallows to grilling steaks, the possibilities are endless.
Final Thoughts: The Art of Making Wood Burn Easier
So there you have it—a comprehensive guide to making wood burn easier. It’s not just about putting match to kindling and hoping for the best; it’s a blend of science, technique, and even a bit of artistry. By understanding the fundamentals, using the right tools, and employing tried-and-true methods, you’re well on your way to becoming a fire-building maestro.
Remember, practice makes perfect. The more fires you build, the better you’ll get at it. And who knows, maybe one day you’ll be the wise, old hermit passing down your fire-starting wisdom to those in need—no mountain pilgrimage required.
Happy burning, my friends!

