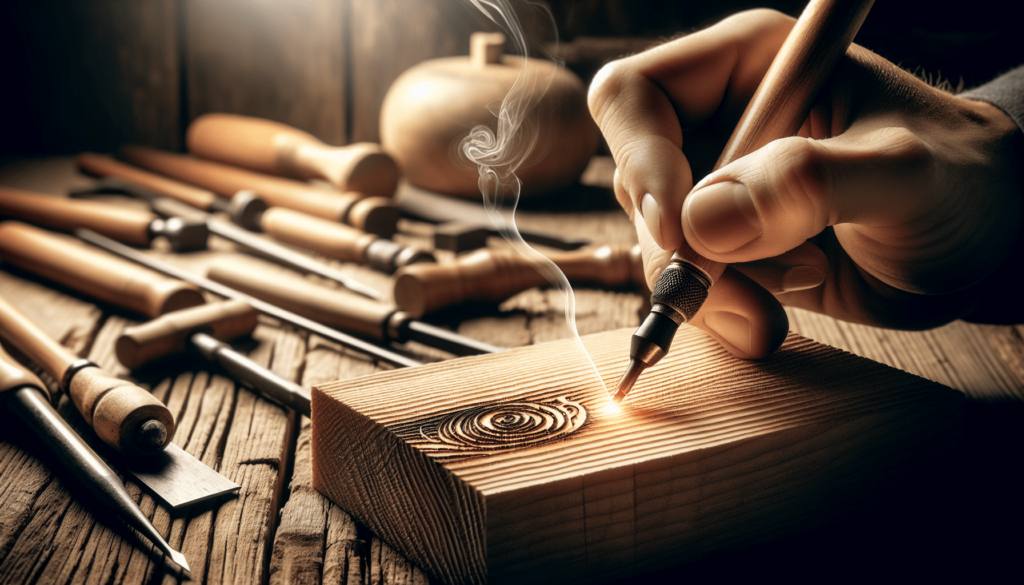
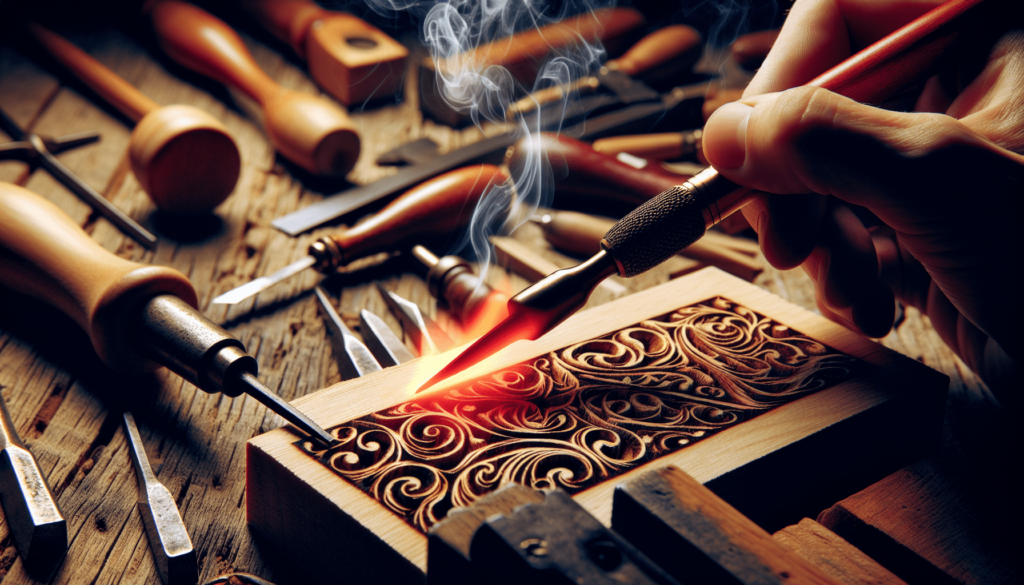
Finding the right tool to burn words into wood can be a game-changer for anyone looking to add a personal, creative touch to their wooden projects. Whether you’re aiming to craft a heartfelt gift, enhance a piece of decor, or simply explore the joy of wood-burning, the choices can seem overwhelming. I dove into the world of wood-burning to discover the best methods and equipment, delving into techniques that range from traditional pyrography pens to innovative laser engraving machines. My journey revealed the ins and outs of each tool, providing insights to help you decide which one might be your perfect match. What Can I Use to Burn Words Into Wood?
Have you ever looked at a beautifully crafted sign and wondered, “How did they get those letters to look so perfect?” Well, you’re not alone! I’ve always been fascinated by the charming art of woodburning, also known as pyrography. If you’re interested in learning what you need to burn words into wood, you’re in the right place. Let me walk you through everything you’ll need—from tools to techniques—and share a bit of my own misadventures and triumphs along the way.

The Basics: Understanding Pyrography
Pyrography is the art of decorating wood with burn marks. If you think that sounds simple, you’re half right. It can be as straightforward or complicated as you want it to be. When I first heard about pyrography, I imagined myself with a magnifying glass and the sun, like an amateur campfire starter. Thankfully, the tools are more sophisticated and user-friendly than that.
Tools Of The Trade
Alright, so let’s dive right into the tools you’ll need. You’ll be happy to know that you don’t need to break the bank to get started.
- Woodburning Pen: The most crucial tool is, of course, the woodburning pen. Essentially a modified soldering iron, this pen comes with a variety of tips for different effects.
- Tips/Attachments: These are like the interchangeable heads of a vacuum cleaner. There are all sorts of shapes and sizes—round tips, flat tips, and even shading tips.
- Wood: You can burn words into almost any type of wood, but softer woods like pine or basswood are easier to work with, especially for beginners.
- Sandpaper: To prepare your wood properly, you’ll need sandpaper to smooth the surface. Trust me, nothing ruins a project faster than splinters and rough patches.
- Graphite Paper: This isn’t strictly necessary, but if precision is your thing, graphite paper lets you transfer designs onto the wood.
- Pencil: For sketching your design if you’re freehanding it.
- Safety Gear: Always remember safety first. This includes a mask to avoid inhaling fumes and possibly gloves to protect your hands.
Table of Essential Tools
| Tool | Purpose |
|---|---|
| Woodburning Pen | Main tool used for burning marks into wood |
| Tips/Attachments | Different shapes and sizes for varied effects |
| Wood | Canvas for your pyrography work |
| Sandpaper | Prepares and smooths the wood surface |
| Graphite Paper | Transfers designs onto wood |
| Pencil | Sketching the design |
| Safety Gear | Protects you from fumes and burns |
Choosing The Right Wood
When I started, I naively thought I could just grab any piece of wood lying around and dive right in. Spoiler alert: that didn’t work out so well. The type of wood you choose can make or break your project, especially when you’re just starting out.
Best Woods for Beginners
- Basswood: Soft and easy to burn, making it great for beginners.
- Pine: Also soft and readily available. Watch out for knots, though. They can be tricky.
- Birch: Well-priced and relatively soft but strong.
Woods to Avoid
- Oak: While beautiful, it’s hard and can be challenging to burn.
- Cherry: Nice grain but harder wood.
- Walnut: Gorgeous but also harder and can be frustrating for newbies.
When I first experimented with oak, I quickly learned that burning letters into it was like trying to carve my name into a rock with a toothpick. Lesson learned.
Preparing Your Wood
Before you start burning, you’ll need to prepare your wood. Preparation is about as glamorous as you imagine—think sanding and cleaning. But skipping this step can lead to a whole host of problems, including uneven burns and a frustrating experience overall.
Sand and Clean
Sanding your piece of wood ensures a smooth surface for burning. I suggest starting with a coarser grit and then moving to finer grits. Here’s a little tip: Always sand with the grain of the wood to avoid scratching the surface.
Once you’ve sanded it down, wipe the surface clean with a damp cloth to get rid of any sawdust. Let it dry completely before you start your project.
Sketching Your Design
If you’re like me and not exactly a human printer when it comes to freehand drawing, you might want to start with a simple design. Use a pencil to lightly sketch the words you want to burn into the wood. You can erase pencil marks easily, so don’t be afraid to take your time getting it just right.
Transferring Your Design
For those who prefer more accuracy, graphite paper is your best friend. Place the graphite paper between a printout of your design and the wood. Trace over the design with a pencil, and it will transfer neatly onto the surface.
The Burning Process
Alright, here’s where it gets exciting (and a little hot). Once your design is in place, you’re ready to heat up your woodburning pen. This is not the time for a coffee break, so stay focused.
Tips and Techniques
Test The Waters
Before you start on your masterpiece, practice on a scrap piece of wood. This will give you a feel for the tool and allow you to adjust the temperature if needed.
Settings and Temperature
Woodburning pens often come with adjustable temperature settings. Low settings work for soft, light lines, while higher settings are better for thick, dark lines. It’s a bit like Goldilocks; you have to find the temperature that’s just right.
Steady Hands
Keep your hand steady and let the tool do the work. It’s tempting to press hard, but trust me, a light touch goes a long way. Move the pen slowly and consistently for even lines.
Advanced Techniques
Once you’ve gotten the hang of basic lines and curves, you might want to experiment with more advanced techniques. Don’t be intimidated; these are just as straightforward, with a bit of practice.
Shading
Different tips are designed for shading. By adjusting pressure and speed, you can create depth and dimension. Think of it as the woodburning equivalent of shadowing with a pencil.
Stippling
This technique involves making a series of small dots to create an image or texture. It’s time-consuming but can produce stunning results. Think of it as the art world’s version of bedazzling.

Safety Tips
This seems like a good moment to remind you that woodburning pens get extremely hot. No one wants a trip to the ER, so follow these safety tips.
- Ventilation: Always work in a well-ventilated area to avoid inhaling fumes.
- Cooling Stands: Use the stand that comes with your woodburning pen to let it cool safely.
- Supervision: Keep kids and pets away from your work area.
I learned the hard way that wearing flip-flops while woodburning is a terrible idea. One accidentally dropped pen later, I made a swift switch to closed-toe shoes.
Finishing Touches
After you’ve burned your design into the wood, it’s time to add the finishing touches. This isn’t just about aesthetics; it also helps protect your work.
Removing Pencil Lines
Use an eraser to remove any remaining pencil lines. Make sure your wood has cooled completely before doing this, just in case.
Sealing Your Work
Applying a wood finish or sealant can preserve your work and give it a professional look. Options include varnish, polyurethane, and even natural oils. Each has its own pros and cons, so choose what works best for your project.
Polishing
A final polish can bring out the grain of the wood and make your design pop. It’s the cherry on top of your woodburning sundae.
Common Mistakes to Avoid
Nobody’s perfect, and mistakes are part of the learning process. Here are some common pitfalls and how to avoid them.
Rushing
I know, you’re excited. But rushing will lead to uneven lines and potential burns. Take your time.
Skipping Steps
Whether it’s sanding the wood or testing your pen on scrap pieces, skipping steps can cause more problems down the line.
Wrong Woods
Stick to softer woods, especially when starting out. Hardwoods can be uncooperative and frustrating.
Poor Ventilation
Don’t underestimate the importance of good ventilation. It keeps you safe and keeps your focus where it should be—on your work.
Troubleshooting
Sometimes, despite our best efforts, things go sideways. Here’s how to handle some common issues.
Uneven Lines
This usually happens from inconsistent pressure or speed. Practice makes perfect—use those scrap pieces!
Burn Marks
Unwanted burn marks can often be sanded out if they’re not too deep. For lighter marks, an eraser might do the trick.
Overburning
If the wood gets too charred, you may need to start over. Always keep an eye on the temperature settings.
Personal Tips and Tricks
A few years into my own woodburning journey, I’ve learned a few things that might help you avoid some of the headaches I’ve encountered.
- Patience: Seriously, if you take away one thing, let it be patience. The best results come to those who wait and take their time.
- Comfortable Workspace: Make sure your work area is comfortable. Spend an hour on a hard chair, and your back will never forgive you.
- Music or Podcasts: Having some background audio can keep you focused yet relaxed. Just make sure it’s something soothing to keep your hand steady.
Why It’s Worth The Effort
Pyrography might take some time to master, but the rewards are absolutely worth it. There’s something incredibly satisfying about taking a blank piece of wood and transforming it into a work of art with your own hands. Plus, it makes for personalized gifts that people cherish.
I’ve gifted woodburned signs to friends and family, and the look of astonishment and appreciation is genuinely priceless. Plus, it’s a great conversation starter. Trust me, you’ll be the talk of the town—or at least the dinner party.
Conclusion
So there you have it—the down and dirty on what you need to burn words into wood. It takes some preparation, a few key tools, and a lot of patience, but the results speak for themselves. Whether you’re looking to create personalized gifts, home décor, or just want to try something new, woodburning is a rewarding and fulfilling hobby.
And remember, don’t be too hard on yourself if your first few attempts aren’t perfect. My first project looked like a toddler had a go at it with a hot crayon. But with time and practice, you’ll find your rhythm and style. So grab your tools, pick out a piece of wood, and start crafting your masterpiece! Happy burning!

