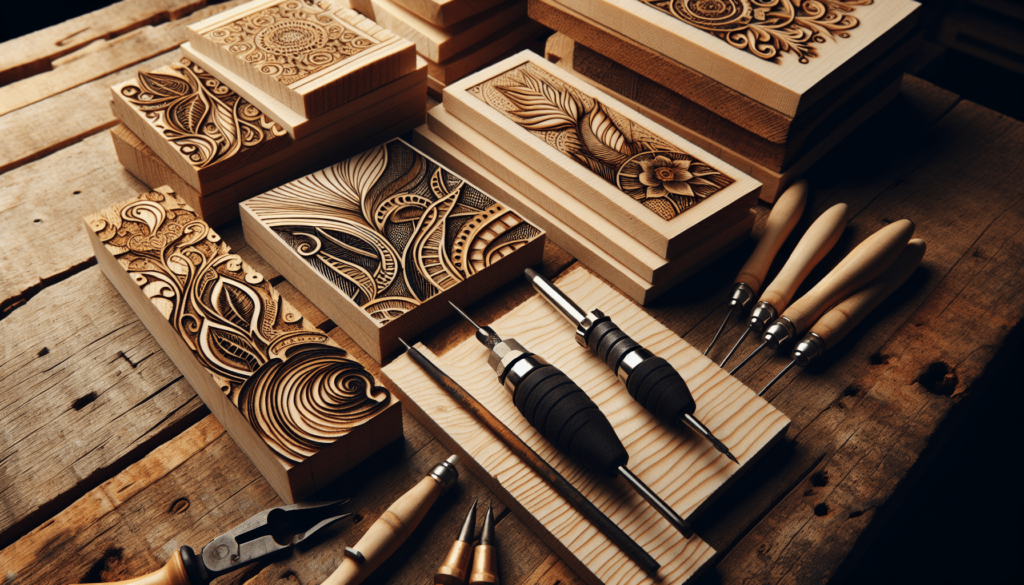
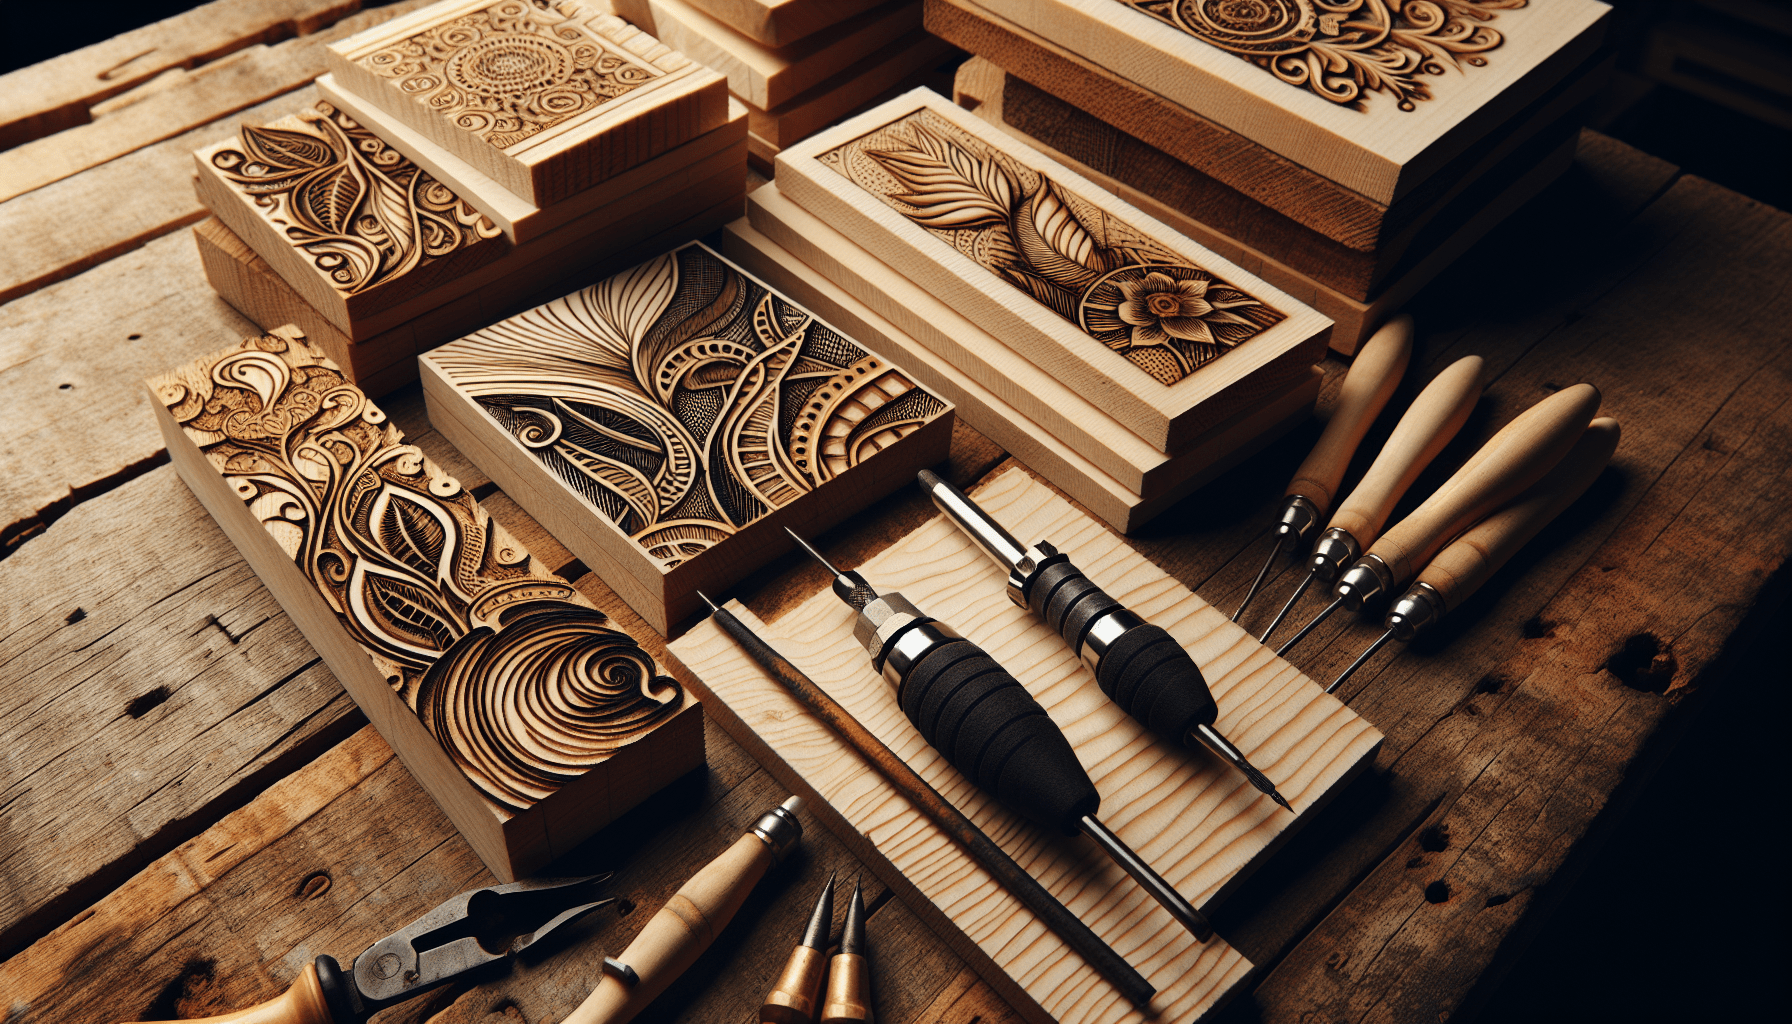
When I first got into pyrography, one of the most common questions I faced was about the ideal thickness of the wood. In my experience, the thickness of the wood can make a big difference in the final outcome of the artwork. Generally, I’ve found that wood pieces around 1/4 to 1/2 inch thick provide the best results. Anything thinner might be too delicate, while pieces thicker than half an inch can be cumbersome to handle and may not allow the heat to penetrate as effectively. Selecting the right thickness can help ensure your designs come to life beautifully without any unwanted complications. How thick should wood be for pyrography? Have you ever wondered that precise question while staring at a wooden plank, poker tool in hand, wondering if you’re about to ruin both your art project and your perfectly good chunk of wood? Oh, the joy of worry paired with the smell of burning wood—classic artistic dilemmas. Let’s journey through this smoky maze together.
What is Pyrography?
Pyrography, if you’re new to the term, is essentially the art of decorating wood with burn marks. It’s like using a pen, except the pen is searing hot, and mistakes smell awful and can’t be erased. The term itself is derived from Greek, meaning “writing with fire,” which sounds dangerously poetic.
Origins and Basic Tools
Pyrography has been around since humans figured out that poking things with hot sticks could be artful. Today, we have metaphorically put down our caveman hot sticks and picked up sophisticated electrical tools. These typically include a wood-burning pen with interchangeable tips to vary the burn marks. It’s a far cry from our primitive ancestors but somehow just as enjoyable.
Why Does Thickness Matter?
Before you start your project, you need to understand the stakes: why does the thickness of the wood even matter? Imagine trying to cook a steak evenly but only cooking the top layer—no one wants an overly charred exterior and a raw interior. If your wood is too thin, you risk burning straight through it. Alternatively, wood that’s too thick can make your detailed burn marks less noticeable and requires harder pressing and more time.
Factors Influencing Thickness
There are a few factors you need to consider:
- Type of Project: Smaller decorative pieces versus functional pieces such as furniture or cutting boards.
- Wood Type: Different woods have different densities and grain patterns that will impact your work.
- Tip Detail: Smaller tips concentrate heat in a smaller area, potentially burning through thin wood even quicker.
- Temperature Control: Most modern pyrography tools offer temperature control, providing a little leeway with the thickness.

Ideal Wood Thickness Guidelines
Here’s the golden nugget you’ve been waiting for: the wood thickness sweet spot.
| Project Type | Ideal Thickness Range (in inches) |
|---|---|
| Small Decorations | 1/4” to 1/2” |
| Medium Wall Art | 1/2” to 3/4” |
| Functional Items (e.g., Cutting Boards) | 3/4” to 1 1/4” |
| Large Panels or Signs | 1” to 2” |
Small Decorations
For smaller decorative pieces, wood between 1/4” to 1/2” thick is usually fine. Anything thinner than 1/4” runs the risk of, well, spontaneous combustion under heavy pressure.
Medium Wall Art
For medium-sized wall art, 1/2” to 3/4” thick works really well. It provides a good balance between ease of burning and structural integrity. You can hang these pieces pretty easily without worrying about them warping or splintering.
Functional Items
Perfect for gifts or for people who believe in practical art. Cutting boards and other functional items generally should be more robust. Wood in the range of 3/4” to 1 1/4” can take daily wear and tear, not to mention resist burn-through during the creation process.
Large Panels or Signs
If you’re making a large panel or sign, opting for wood that’s 1” to 2” is solid—literally and figuratively. This thickness can endure the elements if it’s going outside, and it gives you plenty of material to work with.
Best Wood Types for Pyrography
Some woods are friendlier to pyrographers than others, welcoming your burning touch like long-lost friends. Let’s break them down:
Softwoods vs. Hardwoods
Softwoods tend to burn easier and quicker. They are typically less dense, making them the plywood equivalent of low-hanging fruit.
Hardwoods, on the other hand, demand patience and a steady hand. They offer a rich array of grain patterns and are better for more detailed work.
Popular Wood Choices
| Wood Type | Characteristics | Ideal Thickness Range |
|---|---|---|
| Basswood | Soft, even grain, light color | 1/4” to 1 1/2” |
| Birch | Harder than basswood, even grain | 1/4” to 1” |
| Poplar | Mid-soft, fairly even grain | 1/4” to 1” |
| Maple | Hard, fine-grained | 1/2” to 2” |
| Paulownia | Very soft, highly absorbent | 1/4” to 1/2” |
Basswood is a crowd favorite for its smooth, light surface that allows your burn work to stand out. It’s forgiving in thickness too, from 1/4” to about 1 1/2”.
Birch offers a happy medium—harder than basswood but with an even grain. It’s solid but not unyielding and works well between 1/4” to 1”.
Poplar sits comfortably in the middle of soft and hardwood, making it versatile but requiring a bit more finesse in burn control. Keep it to the 1/4” to 1” range.
Maple is your go-to for fine detail if you don’t mind the workout. This sturdy hardwood really shows off complex designs and prefers to be between 1/2” to 2”.
Paulownia is essentially like burning butter. It’s very soft and absorbent, making it quick and easy to work with but only ideal for thinner projects from 1/4” to 1/2” thick.

Preparing Your Wood
So, you’ve chosen the right thickness and wood type. Next, it’s all about prep. Much like seasoning your cast iron skillet before cooking, prepping your wood will save you a lot of headaches (and heartache).
Sanding and Cleaning
First things first—sand that wood surface until it’s smooth. Start with a coarser grit and work your way to a finer grit. The smoother the surface, the more consistent your burn lines will be. Dust off any residue because who wants to burn through a dust cloud?
Finishing
Do you want a finished look? If so, plan on sealing it after your burn work is complete. A good sealer will preserve the wood and your design. Just make sure the wood is completely cool and clean before you apply anything.
Tips for Beginners
If all this wood talk is making you feel like a lumberjack instead of an artist, take a deep breath. Every master was once a newbie.
Go Slowly
Patience is key. Better to go slow and steady, adjusting your tool’s temperature as needed, rather than rushing and ending up with an unintentional forest fire.
Practice First
Before you embark on your masterpiece, practice on a scrap piece of wood. Familiarize yourself with the burn times and temperature settings. Even the type of line you burn can impact the overall look.
Keep a Steady Hand
It’s tempting to grip the burner as if you’re about to duel. Don’t. A relaxed grip will keep your lines steady and your design fluid.
Use Guides or Stencils
No shame in using guides or stencils. Think of them as the training wheels of pyrography. They help you maintain consistency and can greatly improve your end result.
Advanced Techniques
Once you’re past the basics, or if you’re simply one who learns by deep-diving, it’s time to consider some advanced techniques. This is where thickness really shows its utility.
Layering and Shading
By changing the pressure and angle of your pen, as well as adjusting the temperature, you can create layers and shading. Thicker wood allows for deeper lines and more defined shadows.
Combining Wood Types
You might consider using different types of wood in your project. This creates texture and contrast. Just remember that different woods may have different ideal thickness ranges, so plan accordingly.
Inlays and Mixed Media
An inlay or mixed media piece can take your art to the next level. A thick wooden base can support inlays of different materials, whether it be metal, resin, or other types of wood.
Troubleshooting Common Issues
Of course, things can go awry. Wood cracks, burns too deep, or doesn’t burn enough. Here’s a quick guide:
| Issue | Possible Cause | Solution |
|---|---|---|
| Wood Cracking | Too much heat, too fast | Lower heat, smooth steady strokes |
| Burn Not Dark Enough | Low temperature, hardwood | Increase temperature, more pressure |
| Uneven Lines | Uneven pressure, rough surface | Sand more, practice consistent pressure |
| Lines Too Thick | Using large tip, high heat | Switch to smaller tip, reduce heat |
Conclusion
Ultimately, the wood thickness you choose for pyrography will significantly affect the outcome of your work. From small decorative pieces to large, robust signs, or functional items like cutting boards, the right thickness makes your task approachable and your art durable.
Experiment, be patient, and most importantly, enjoy the process. Whether your wood piece thick or thin, small or large, becomes a cherished piece of art or an interesting addition to the “I-tried” pile, remember it’s all part of the burn journey.
So, put on your crafting aprons, adjust your pyrography pen, and let the fiery fun begin!

