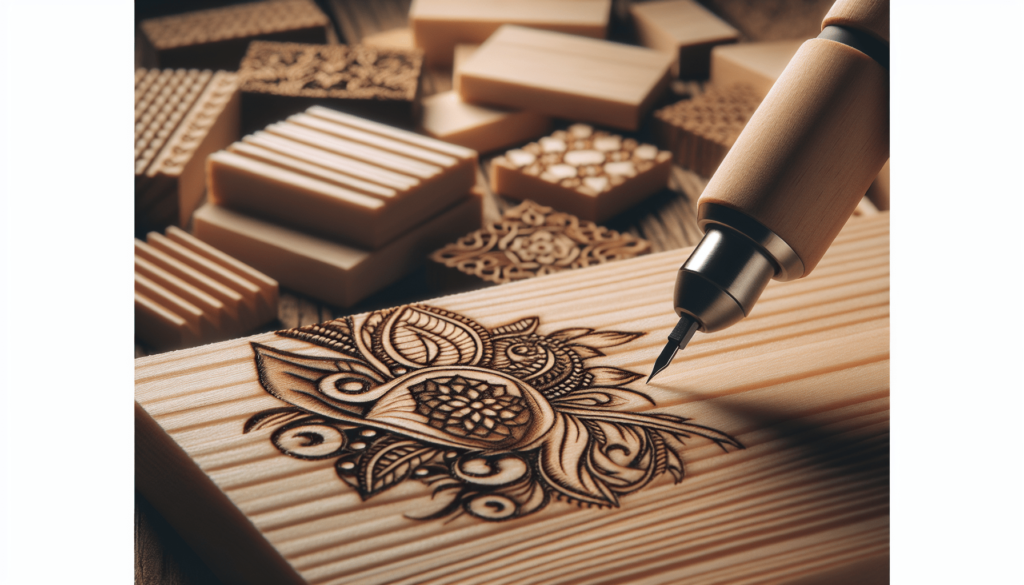
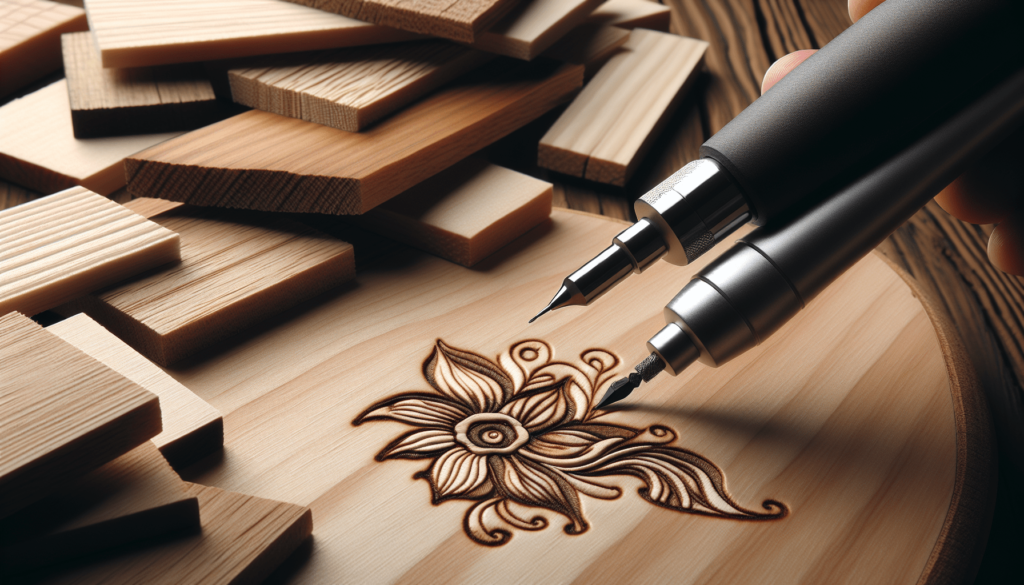
When I first picked up my pyrography pen, I was excited to create intricate designs on wood. However, I quickly learned that not all wood types yield the same results. Some woods burn too quickly or irregularly, impacting the quality of the artwork. In my exploration, I discovered essential insights about selecting the right kind of wood for pyrography, which I’ll share in this article to help you make the most of your creative endeavors. Whether you’re a seasoned artist or a curious beginner, understanding the nuances of different woods can elevate your pyrography projects to new heights. Can you do pyrography on any wood? Have you ever found yourself staring at a piece of wood, wondering if it’s suitable for pyrography? I’ve been there, too, pondering whether my latest thrift store find will survive the gentle scorch of my wood-burning pen. At first glance, it may seem like any ol’ plank will do, but there’s more to this art form than meets the eye. So, let’s dive into the singed and smoky world of pyrography and see if we can figure out if any and all woods make the cut.

What is Pyrography?
Before we get to the heart of the matter, let’s make sure we’re all on the same page. Pyrography, often referred to as wood burning, is the art of decorating wood (or sometimes other materials) by burning designs into it. Picture yourself channeling your inner fire-wielding artist, using heated tools to etch intricate or whimsical patterns. Sounds pretty cool, right? But, like any good artist, the type of canvas you use can make or break your masterpiece.
Types of Wood for Pyrography
The big question: Can you do pyrography on any wood? The short answer is… not really. You see, wood is as diverse as a high school cafeteria. There are the jocks, the nerds, the rebels, and the artists — each with its own unique characteristics. Some woods are soft and inviting, while others are dense and stubborn. Here’s a breakdown of different types of wood, complete with their pyrography pros and cons.
Softwoods
Softwoods tend to invite a warm welcome to the world of pyrography. They are generally easier to work with and provide a smoother burn experience. Think of softwoods as the friendly neighbors who offer you cookies when you move into the pyrography neighborhood.
| Wood Type | Pros | Cons |
|---|---|---|
| Pine | Inexpensive, easy to burn | Prone to sap, uneven burning |
| Basswood | Smooth grain, consistent | Can be too soft |
| Cedar | Rich color, fragrant | Soft, can burn too quickly |
Pine is a popular choice for beginners – it’s cheap and easy to find. However, watch out for sap pockets; they might turn your lovely design into a sticky situation. Basswood, on the other hand, offers a consistently smooth grain that’s almost like burning into butter. But beware, butter burns quickly! Cedar? It’s like the exotic dancer of softwoods – it smells great but can be a bit too playful with the burn speed.
Hardwoods
Not all wood angels come bearing soft feathers. Enter, the hardwoods. These types are tougher, more durable, but often a bit trickier to burn. It’s as if they’re daring you to unlock their secrets.
| Wood Type | Pros | Cons |
|---|---|---|
| Oak | Durable, beautiful grain | Hard to burn, uneven grain |
| Maple | Smooth, even texture | Harder surface, more effort |
| Walnut | Rich, dark color | Expensive, may be too dark |
Oak has the elegance of a seasoned Broadway performer, demanding respect but challenging to master. Its grain can be unpredictably uneven, which could lead to a rather “textured” look. Maple, with its sweet-sounding name, offers an even texture but can be a workout for your burning tool. And Walnut? Oh, Walnut! Dark, mysterious, and will cost you a pretty penny. Sometimes too dark, it hides your hard work but adds a dramatic flair.
Safety First
Alright, let’s pump the brakes a little. Before you start heating up your tools and embarking on your woody escapade, let’s talk safety. I know, it’s not the most glamorous part, but hey, keeping all your digits and avoiding smoke inhalation is pretty important.
Ventilation
Working with any wood means producing smoke. Some woods, particularly those with high sap content or certain finishes on them, produce toxic fumes. Working in a well-ventilated area is non-negotiable. Crack a window, or better yet, set up a small fan to suck that smoky cloud away from your sensitive lungs.
Protective Gear
You may feel like a mad scientist in gloves and goggles, but it’s for a good cause. Protect your eyes from flying bits of burnt wood and wear gloves to avoid burns. Plus, nothing says “I’m a professional” quite like a full set of gear.
Test Burns
This one’s a lifesaver. Take a scrap piece of your chosen wood and test out how it burns. Each wood type responds differently to heat, and understanding this can save you a lot of frustration (and some highly questionable design choices).
Crafting Different Styles
Different woods lend themselves to different styles. Let’s say you want to achieve certain effects or evoke a particular mood in your piece. The type of wood you choose can complement or complicate your creative intentions.
Detailed Work
If you’re aiming for intricate designs with lots of fine lines, go for a softer wood with an even grain like basswood. Its consistent texture allows for precise control, so your detailed work doesn’t turn into an abstract mess.
Bold Designs
For bold and dramatic pieces, consider a hardwood like walnut. Its darker color can create a visually striking contrast, and the durability of the wood means your piece can withstand the test of time. Just remember, working with hardwoods can be a bit of a workout.
Color and Aging
Some woods change color as they age. Take cherry wood, for instance. What starts as a light pinkish hue can deepen into a rich, reddish-brown over time. If you’re in for the long haul with your art, consider how it will evolve. You might find that the wood ages like fine wine, adding more character to your piece.

Common Mistakes and How to Avoid Them
Every artist makes mistakes, but in pyrography, those mistakes can be, well, burned in. Here are some common pitfalls and how to steer clear of them.
Over-burning
Think of over-burning like overcooking a steak. No one likes it charred to oblivion. Avoid this by keeping a close eye on your design and adjusting the temperature of your tool as needed. Trust me, slow and steady wins the race.
Uneven Lines
Uneven lines can happen if your wood has a variable grain pattern. The trick? Practice makes perfect. That’s where those test burns come back into play. Get a feel for how your wood responds and adjust your pressure and speed accordingly.
Misunderstanding the Wood
Knowing your material is half the battle. Misunderstanding how a type of wood reacts to heat can leave you with a less-than-ideal outcome. Research, test, and take notes. Your future self will thank you.
Finishing Touches
Once you’ve completed your burning magnum opus, you might want to add some finishing touches. Consider sanding, staining, or sealing your piece to protect it and enhance its natural beauty.
Sanding
A smooth finish helps your design shine. Use fine-grit sandpaper to gently buff out any rough edges or imperfections without disturbing your artwork.
Staining
Staining can add depth and character. Just be mindful that staining might darken your burn lines, affecting the visibility of your design. Always, and I mean always, test on a scrap piece first.
Sealing
To seal or not to seal? A good sealant can protect your piece from wear and tear. However, some sealants can alter the color of your wood. Clear polyurethane is usually a safe bet, but again, don’t forget to test first.
Conclusion: Can You Do Pyrography on Any Wood?
So, can you do pyrography on any wood? The nuanced answer is a careful “depends.” Each type of wood carries its own set of characteristics that can either complement or challenge your artistic vision. Whether you gravitate towards the forgiving softness of pine or the steadfast rigidity of oak, understanding your medium is key. Armed with this knowledge, you’re now better prepared to choose the right wood for your next pyrographic masterpiece. Happy burning!

