Have you ever wondered, “Can I install a wood burning stove myself?” It’s a question many of us have pondered. On a chilly evening, the idea of having a cozy, crackling fire at home seems almost irresistible. But then, the reality check hits: the installation process. Is it something I could tackle myself, or should I bring in the professionals?

Getting Started with Wood Burning Stoves
Understanding the Basics
Before diving into the nitty-gritty details, let’s break down what we’re dealing with. A wood-burning stove isn’t just a glorified campfire in your living room. It’s a sophisticated piece of equipment designed to heat your space efficiently while keeping the fire contained. It’s all about thermodynamics, baby!
Why Would I Want One?
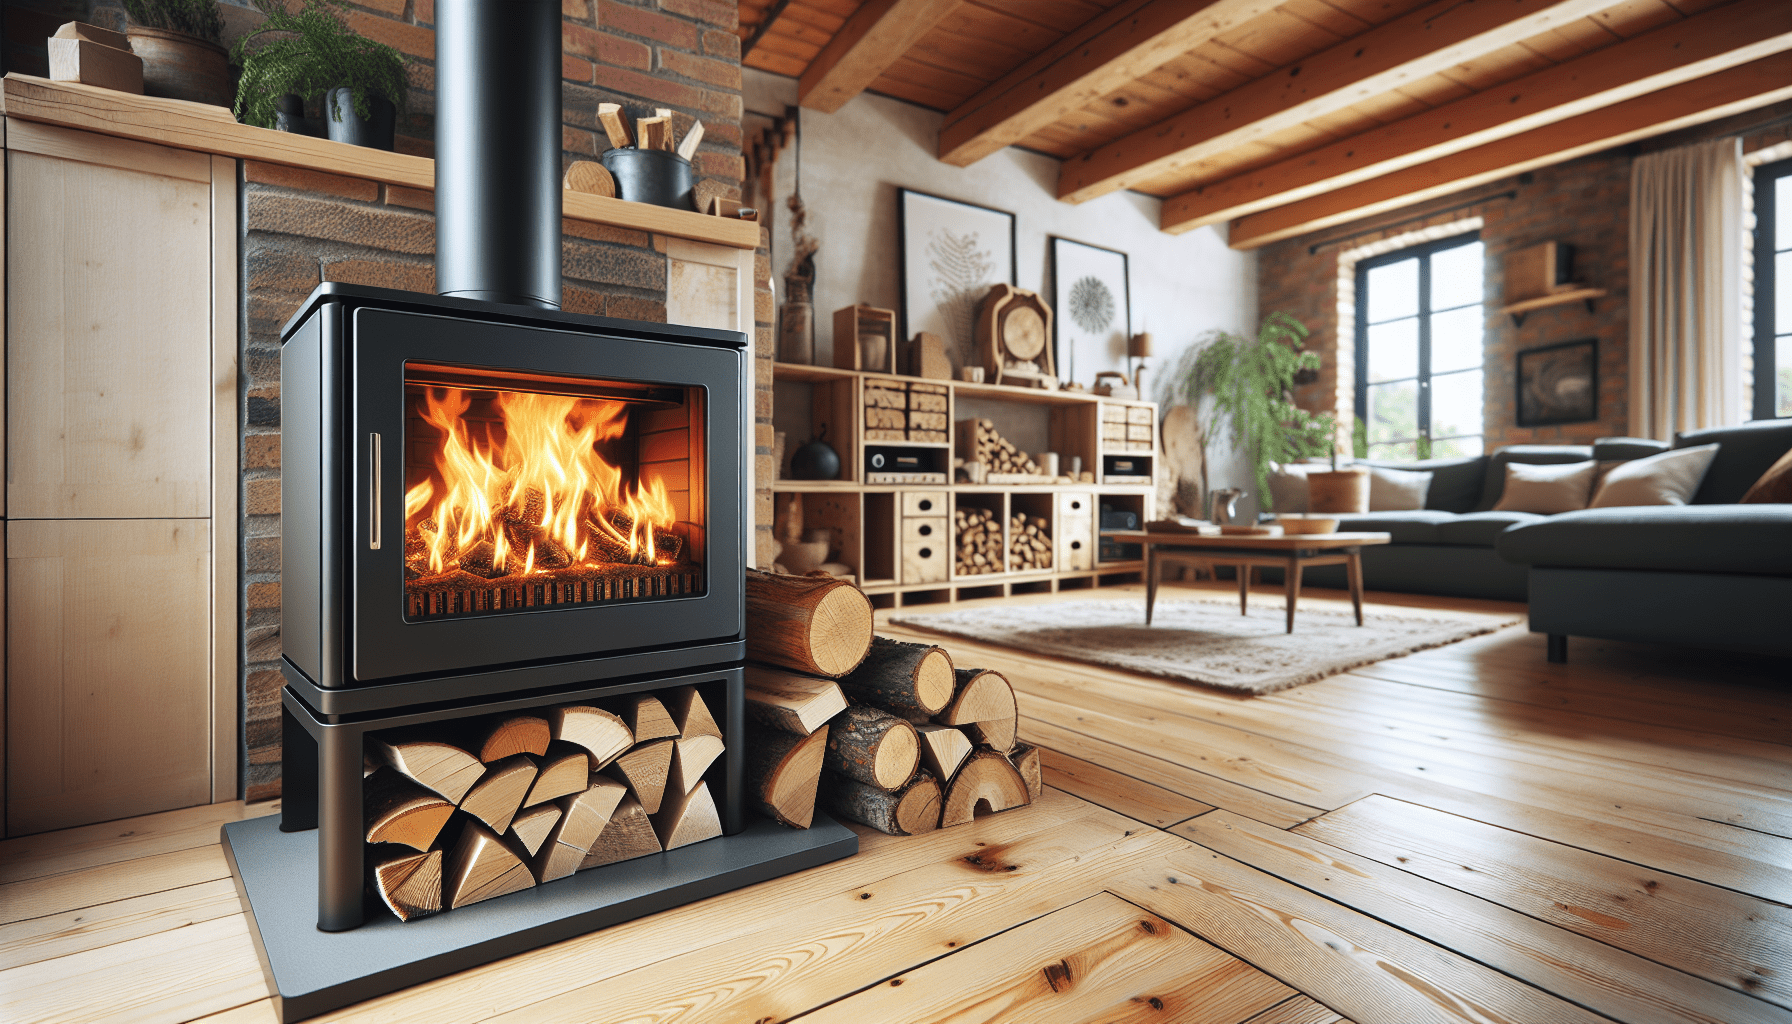
Wood burning stoves have a certain je ne sais quoi. The ambiance they provide can’t be beaten by your basic radiator. Not to mention, they’re often more efficient and can save you on heating costs. If you’re environmentally conscious, burning wood (especially if it’s sustainably sourced) can be more eco-friendly than fossil fuels.
DIY Installation: The Basics
What’s Involved?
Alright, so you’re starting to warm up to the idea—pun intended. What exactly does installing a wood burner involve? At a high level, you need to:
- Choose the Right Stove: There’s a plethora of options out there, from freestanding models to built-in stoves.
- Evaluate the Space: Location, location, location—it’s crucial for your stove’s efficiency and safety.
- Install a Chimney or Flue System: This is your stove’s exhaust system, so it needs to be done correctly.
- Ensure Proper Ventilation: Essential for safe operation and to prevent carbon monoxide buildup.
- Meet Local Codes and Regulations: Legal stuff. Boring but necessary.
Can I Do It Legally?
Before you roll up your sleeves, it’s important to check local building codes and regulations. Hey, I didn’t make the rules! Different places have different regulations, and you might need a permit. Ignoring these can result in fines or mandatory removal of your stove. Yikes.
Step-by-Step Installation Process
Choosing the Right Stove
The first step in this adventure is selecting the perfect stove. Here’s a little secret: Bigger isn’t always better. The stove you need depends on the size of the room and how well-insulated your house is. A stove that’s too big will make the room uncomfortably hot and waste fuel, while one that’s too small will struggle to keep you warm.
Factors to Consider:
| Factor | Details |
|---|---|
| Size | Should be proportional to the room size |
| Type | Freestanding or built-in, catalytic or non-catalytic |
| Efficiency | Higher efficiency models will save on fuel and be better for the environment |
| Cost | It’s not just the price of the stove, but also the chimney or flue system you’ll need |
Preparing the Space
This is where spatial awareness becomes your best friend. Your stove needs to be situated on a non-combustible surface. If you’ve got a lovely wooden floor, you’ll need to install a hearth pad.
Key Points for Preparation:
| Preparation Step | Importance |
|---|---|
| Hearth Pad | Protects your floor from heat and embers |
| Clearance | Safe distance from walls and furniture |
| Wall Protection | Heat shields if the stove is near a wall |
| Ventilation | Adequate air supply for combustion |
Installing the Chimney or Flue
The chimney or flue system is crucial. It directs smoke outside and ensures you get a good draw for the fire. There are two main types you’ll come across: masonry chimneys and prefabricated metal flue systems.
Chimney/Flue Installation Steps:
- Choose the Type: Masonry vs. metal flue.
- Determine the Route: Ideally, a straight vertical path through the roof.
- Mount the Flue: Assembly according to manufacturer instructions.
- Seal Everything: Ensure there’s no leakage of smoke into your house.
Ensuring Proper Ventilation
Stoves need air—both to keep the fire going and to prevent poisoning yourself with carbon monoxide. Modern homes can be so well-insulated that you might need additional ventilation. This might involve fitting air vents or even a dedicated air supply duct.
Ventilation Checklist:
| Checklist Item | Reason |
|---|---|
| Room Air Supply | Ensures adequate combustion air |
| Carbon Monoxide Detector | Safety first! |
| Air Vents | For additional air supply if needed |
Getting Professional Help
When Should I Call the Pros?
Alright, so maybe this whole DIY thing is starting to sound a bit… intense. There’s no shame in calling a professional. In fact, in some cases, it’s the smart thing to do. If you have little experience in installation work, particularly with something as potentially hazardous as a wood-burning stove, getting a pro can save time, hassle, and possibly your life.
What to Look for in a Professional
If you do decide to get a professional, don’t just go with the first one you find on Google. Do your homework! Look for certified installers who have good reviews and can offer a warranty on their work. Better safe than sorry, right?

Maintenance and Safety: The Long Haul
Regular Maintenance
Once your stove is up and running, the work doesn’t stop there. Regular maintenance is crucial for keeping it in tip-top shape and operating safely. Think of it as taking your car in for a regular service.
Maintenance Tasks:
| Task | Frequency | Details |
|---|---|---|
| Chimney Cleaning | At least once a year | Clears out soot and creosote, preventing fires |
| Inspecting Seals | Annually | Ensure door and flue seals are intact to maintain efficiency |
| Checking for Damage | Every use | Look for cracks or warping and repair as needed |
| Ash Removal | Weekly during use | Prevents ash build-up which can affect combustion |
Safety Tips
There are a few safety measures you should always keep in mind. A complacent homeowner can quickly become an accident statistic.
Key Safety Measures:
- Install a Carbon Monoxide Detector: This should be non-negotiable.
- Keep a Fire Extinguisher Nearby: Best practice for any home with an open flame.
- Never Leave the Stove Unattended: Especially if you have young children or pets.
- Follow Manufacturer Guidelines: They exist for a reason!
Wrapping It Up
So, can I install a wood burning stove myself? The answer is: it depends. If you’re handy, patient, and diligent about following guidelines and safety practices, then it’s possible. However, the complexities of the installation—especially the chimney and ventilation—can put this project out of reach for many DIY enthusiasts. And remember, checking local regulations is crucial.
That said, even if you bring in a professional for certain elements, understanding what’s involved can help you make informed decisions and maybe even save you a bit of cash along the way.
A wood burning stove can add warmth—both literally and metaphorically—to your home. But like any good relationship, it requires work, commitment, and an understanding of what both parties need. If you’re ready for that, then go ahead and take the plunge. Just don’t say I didn’t warn you!