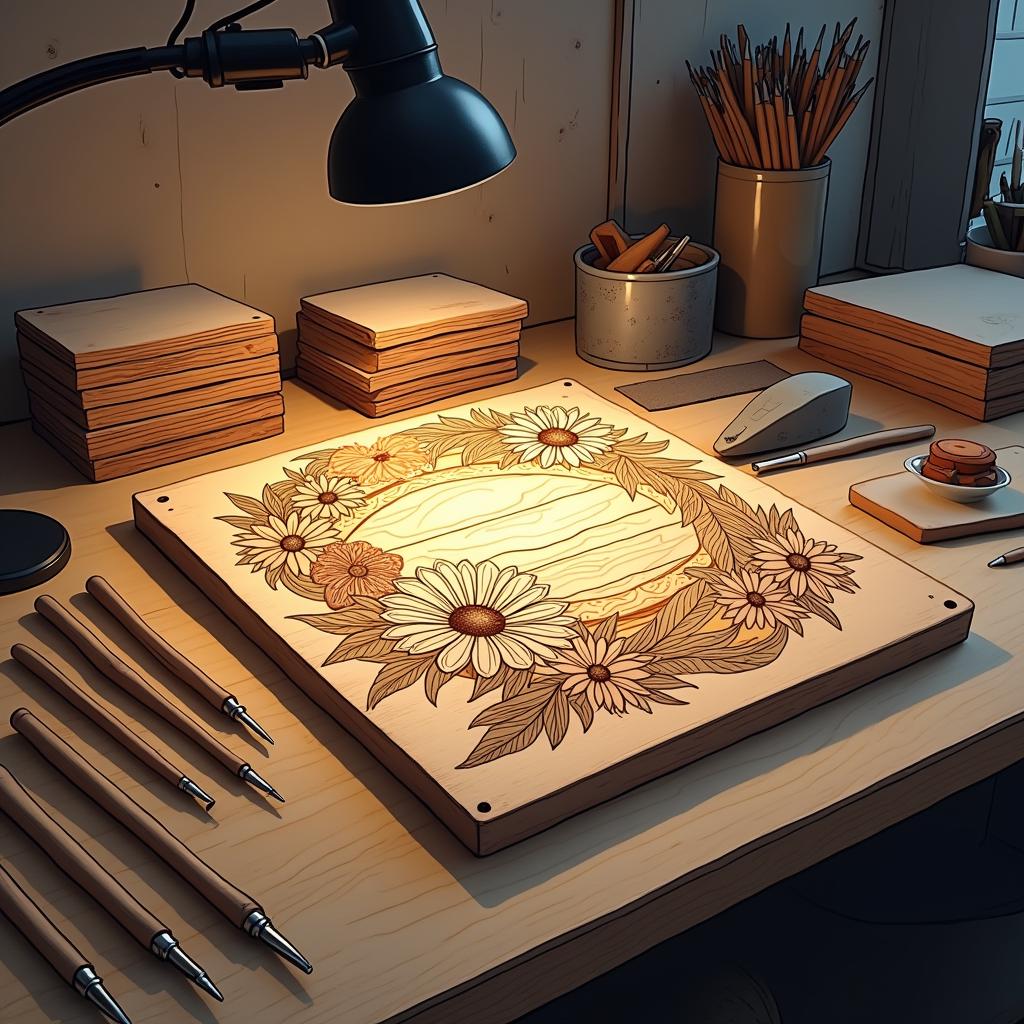
Wood Burning Tips: Transforming Artistic Expression in Pyrography
Wood burning tips play a crucial role in shaping texture, depth, and detail in pyrography. Each tip has unique characteristics, influencing the marks created and enhancing artistic expression.
Key Takeaways
- Rounded tips excel at soft, diffused effects and smooth gradients, making them ideal for realistic portraits.
- Spoon-shaped tips provide exceptional control for both fine lines and broader strokes.
- Flat tips are best for covering large areas with consistent shading.
- Lower tip angles (15-30 degrees) produce lighter shading, while higher angles (45-60 degrees) create darker burns.
- Temperature control and steady pressure are crucial for achieving professional-looking results.
Master Shading Techniques for Stunning Wood Burning Effects
Understanding Tip Varieties and Their Effects
Creating beautiful shading in pyrography requires matching the right tip to your desired effect. I’ve found that each tip shape serves a specific purpose in achieving professional-looking results. Mastering shading techniques starts with understanding these essential tools.
Rounded tips excel at creating soft, diffused effects that blend seamlessly into your work. Think of them as the watercolor brush of pyrography – perfect for creating gentle gradients and smooth transitions between light and dark areas. These tips are my go-to choice for creating realistic portraits where subtle shading makes all the difference.
Spoon-shaped tips offer exceptional control for detailed work. Their unique shape lets you switch between fine lines and broader strokes without changing tips. This versatility makes them invaluable for projects requiring both precision and varying tonal values.
Flat tips shine when covering larger areas with consistent shading. They’re excellent for establishing base tones and creating bold, dramatic effects across broader surfaces. I rely on these tips when I need to lay down solid foundational shading quickly and efficiently.
Mastering Temperature and Angle Control
The angle at which you hold your pyrography pen dramatically affects your shading results. I’ve discovered that working with lower tip angles (around 15-30 degrees) produces lighter, more subtle shading. This technique is perfect for creating highlights and gentle transitions in your work. Adding depth to your pyrography becomes easier when you increase the tip angle to 45-60 degrees, resulting in darker, more intense burns.
Temperature control plays a crucial role in achieving professional results. Lower heat settings give you more control over subtle gradients and prevent unwanted dark spots. I start with a lower temperature and gradually increase it until I reach the desired effect. This approach helps maintain consistent shading and prevents scorching.
Here are key techniques for achieving smooth shading transitions:
- Keep steady, even pressure throughout your strokes
- Move at a consistent speed to maintain uniform burn intensity
- Overlap your strokes slightly to blend shading seamlessly
- Practice circular motions with rounded tips for soft gradients
- Use light, feathering strokes to create subtle transitions
Creating texture through shading becomes second nature once you’ve mastered these fundamental techniques. Remember that pressure control is just as important as temperature – light pressure with a hot tip can create similar effects to heavy pressure with a cooler tip, but with more control.
The key to successful shading lies in experimentation and practice. By combining different tip shapes with varied angles and temperatures, you’ll develop an intuitive feel for achieving the exact effects you want. Each project becomes an opportunity to refine your technique and expand your creative possibilities.
Create Professional Lettering with Specialized Tips
Getting the Right Angle for Your Style
I’ve found that mastering letterwork starts with choosing the perfect tip and understanding how to use it. Professional wood burning techniques rely heavily on proper tip selection and positioning. A knife tip held at a 45-degree angle creates beautiful variations in line width, making it perfect for flowing script and calligraphy styles. For uniform block letters, I position my tip at a 90-degree angle to maintain consistent line thickness.
Essential Tips and Techniques
The knife tip has become my go-to choice for creating intricate letterwork with sharp, clean edges. Specialized pyrography tools like the standard writing tip excel at basic lettering and cursive styles, offering excellent control for beginners and experts alike.
Here are my tested techniques for achieving clean, professional lettering:
- Keep your hand movement steady and consistent – rushing leads to wobbly lines
- Apply even pressure throughout each stroke
- Start with light pressure and build up darkness gradually
- Let the tip cool between strokes for crisper edges
- Practice basic strokes before attempting complete letters
- Clean your tip regularly to prevent carbon buildup
Creating beautiful wood burned designs with letters requires patience and practice. I’ve learned that maintaining a consistent speed while burning helps achieve that professional finish. Too fast, and your lines become thin and light; too slow, and you risk creating dark, uneven burns.
For stylized text effects, I adjust my technique based on the wood grain direction. Burning perpendicular to the grain produces smoother lines, while burning parallel can create interesting texture variations in your lettering. Adding texture to your pyrography art can turn simple letters into striking design elements.
Transform Your Projects with Universal Tips
A cone or tapered tip serves as the perfect starting point for wood burning artistry. These versatile tips let me create stunning effects from bold outlines to delicate details, making them my go-to choice for most projects.
Making the Most of Universal Tips
I’ve found that universal tips shine in their ability to create multiple effects without switching tools. With a single tapered tip, I can produce beautiful wood burned designs through various stroke techniques:
- Light pressure creates fine, delicate lines perfect for intricate details
- Medium pressure produces smooth, solid lines ideal for outlining
- Heavy pressure delivers deep, dark strokes for bold statements
- Angled strokes enable shading and texturing effects
- Side contact with the tip creates broader strokes for filling larger areas
The true beauty of universal tips lies in their cost-effectiveness. Instead of buying multiple specialized tips, I can achieve many effects with just one tool. This makes them particularly valuable for beginners who want to explore wood burning techniques without a significant investment.
What sets these tips apart is their responsiveness to pressure variation. By adjusting the pressure and angle, I can move seamlessly from creating precise dot work to sweeping curves. The tapered shape also helps me maintain control while working on detailed areas, such as when I’m adding subtle texture and depth to my pieces.
The cone tip’s pointed end excels at precision work, while its wider base handles broader strokes effectively. This dual functionality makes it particularly useful for realistic portraits where I need both fine detail and smooth shading. By tilting the tip slightly, I can add texture and create different artistic effects that bring my wood burning projects to life.
For beginners, I suggest starting with simple straight lines and gradually progressing to curves and basic shading techniques. This approach builds muscle memory and control, essential skills for more advanced projects. The forgiving nature of universal tips means that small mistakes can often be corrected by adjusting pressure or angle, making them ideal for learning and experimentation.
Master Pattern Transfer Techniques
Essential Tips for Clean Pattern Transfers
Getting crisp pattern transfers starts with selecting the right pyrography tip. I recommend using a flat, broad transfer tip since it provides steady heat distribution across your design. Proper wood burning techniques with transfer tips make a huge difference in achieving professional results.
Heat control plays a vital role in successful transfers. I’ve found that keeping my pyrography pen at a medium temperature helps prevent smudging while still creating clear impressions. Too much heat can cause the graphite to spread, while too little won’t transfer the pattern effectively.
Key Steps for Successful Pattern Transfers
- Apply consistent, moderate pressure throughout the transfer process
- Keep the pyrography tip flat against the surface
- Move at a steady pace without stopping
- Check the transfer progress periodically by lifting a corner
Specialized pyrography tools like hot knives excel at pattern transfers because of their broad, flat surface area. These tips maintain even heat distribution, making them perfect for transferring detailed designs.
If you’re working with laser-printed images, I suggest using a large flat shading tip. This combination creates sharp, clear transfers that serve as an excellent foundation for your pyrography work. Advanced wood burning techniques become much easier when starting with a clean transfer.
Fixing Common Transfer Issues
Common transfer issues can pop up, but they’re usually easy to fix. If your transfers appear faint, try increasing the temperature slightly or applying more pressure. For smudged transfers, reduce the heat and work with a lighter touch. The key is finding the right balance between heat, pressure, and speed for your specific project.
Graphite paper remains my go-to method for transferring patterns. I place it between my design and the wood surface, securing both layers with masking tape to prevent shifting. This method works particularly well with texture-focused pyrography techniques since it provides clear guidelines without leaving excess residue.
Create Unique Textures and Special Effects
Understanding Specialized Tips
I’ve found that mastering different pyrography tips opens up incredible possibilities for creating rich textures in wood-burning art. The right tip selection paired with proper texture techniques in pyrography can transform a flat piece into a dynamic work of art. Stippling tips let me create detailed dot patterns that add depth and dimension, while shader tips help me achieve smooth gradients and beautiful shading effects.
Advanced Techniques and Temperature Control
Temperature control plays a vital role in getting consistent results with specialized tips. I’ve learned to adjust my pyrography tool’s heat settings based on both the tip style and the wood type. When using cross-hatching tips, I maintain moderate temperature levels to create clean, defined lines that build up into textured shadows. For branding tips, higher temperatures help me achieve clear, bold impressions perfect for repeating decorative elements.
My Go-To Tips for Texture Effects
- Stippling tips: Perfect for creating fur textures and gradual shading through dot density
- Cross-hatching tips: Ideal for developing depth through intersecting lines
- Shader tips: Essential for smooth transitions and fill work
- Writing tips: Great for fine details and precise line work
- Round tips: Best for creating bold lines and adding depth to designs
By combining different tip techniques, I can create complex textures that bring my wood-burned designs to life. For instance, I might use a shader tip to create a smooth background, then layer stippling over it for added dimension. This layering approach, combined with careful temperature control, helps me achieve professional-looking results in my pyrography projects.
Using Specialized Tips for Realistic Pyrography
When working on detailed pieces like realistic portrait pyrography, I switch between various tips to capture different textures effectively. A writing tip helps me create fine facial features, while shader tips let me build up subtle tonal variations. Through proper wood-burning techniques, I can create artwork that captures the intricate details and textures I envision.
Sources:
Walnut Hollow: “Creative Woodburner Value Pen”
Pyrography.com: “Beginner’s Guide to Pyrography”
Lora S Irish: “Great Book of Wood Burning”
Wood Burning: 22 tips for creating a great masterpiece