Starting pyrography opened up a whole new world of creativity for me, blending the precision of drawing with the warmth of wood. At first, I felt overwhelmed by the myriad of tools and techniques, but I quickly discovered that with just a few key pieces of equipment, I could embark on this artistic journey. In “What Do I Need To Start Pyrography?” I’ll share the essential tools you’ll need, from a reliable wood-burning pen to the types of wood best suited for beginners, as well as some helpful tips to make your first projects a success. Whether you’re a seasoned artist or a complete novice, this guide will set you on the right path to exploring the captivating art of wood-burning. What Do I Need To Start Pyrography?
Have you ever seen a beautiful wooden plaque with an intricate design burned into it and thought to yourself, “Hey, I could do that?” Well, you totally can! That’s pyrography, a fancy term for the art of burning designs into wood (or sometimes other materials). And yes, it’s as cool as it sounds. I remember the first time I saw a piece of pyrography art; I was mesmerized, wondering what kind of ancient magic was involved. Spoiler: it’s not ancient magic, although it does feel magical once you get the hang of it.
Understanding Pyrography
Before diving into the list of must-haves, let me give you a quick primer on what pyrography actually is. The word “pyrography” literally translates to “writing with fire,” which, come on, is undeniably cool. Imagine you’re a fire-wielding wizard but, you know, much safer and more focused on art instead of destruction.
The Basics of Pyrography
Pyrography involves using a heated tool to burn designs into materials like wood, leather, gourds, or even paper. The effects you can achieve depend on factors like temperature, speed, and the type of material you’re working on. Trust me, it’s a nifty trick to have up your sleeve, and you’ll feel like a mystical artist from another realm when you show off your work.
Why Start Pyrography?
Well, why not? It’s an incredibly rewarding hobby. It allows you to create personalized gifts, unique artwork, or even custom home decor. There’s something profoundly satisfying about creating art with controlled fire. Plus, it’s a neat conversation starter at dinner parties. Imagine casually mentioning, “Oh, I burn things into wood for fun.” Intrigue and instant cool points are guaranteed.
Essential Tools and Equipment
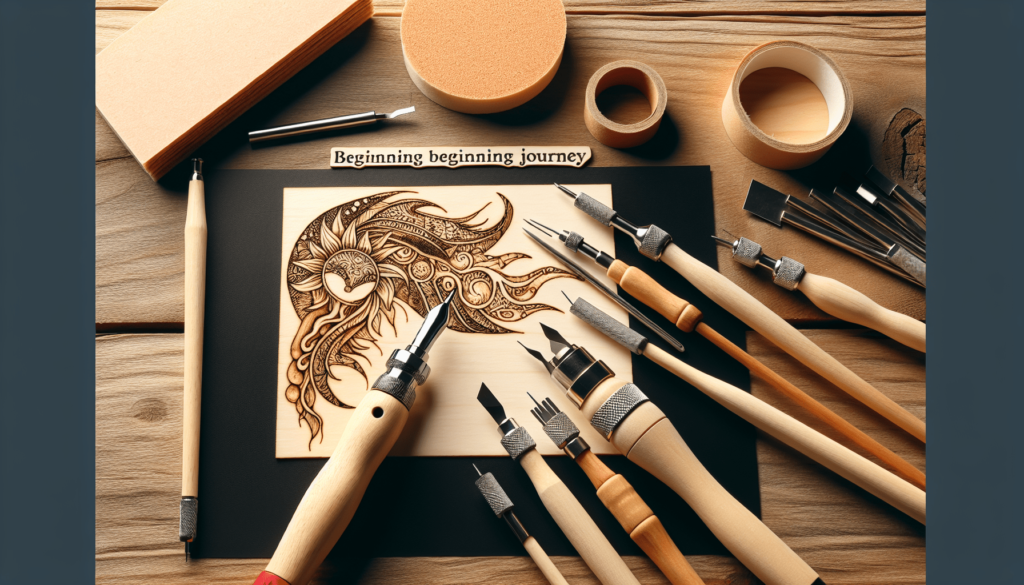
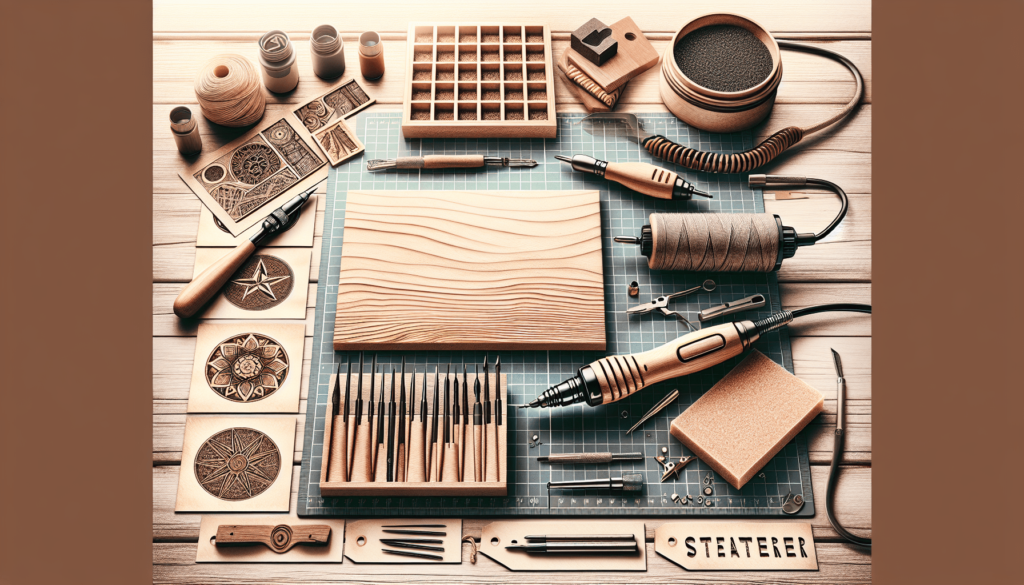
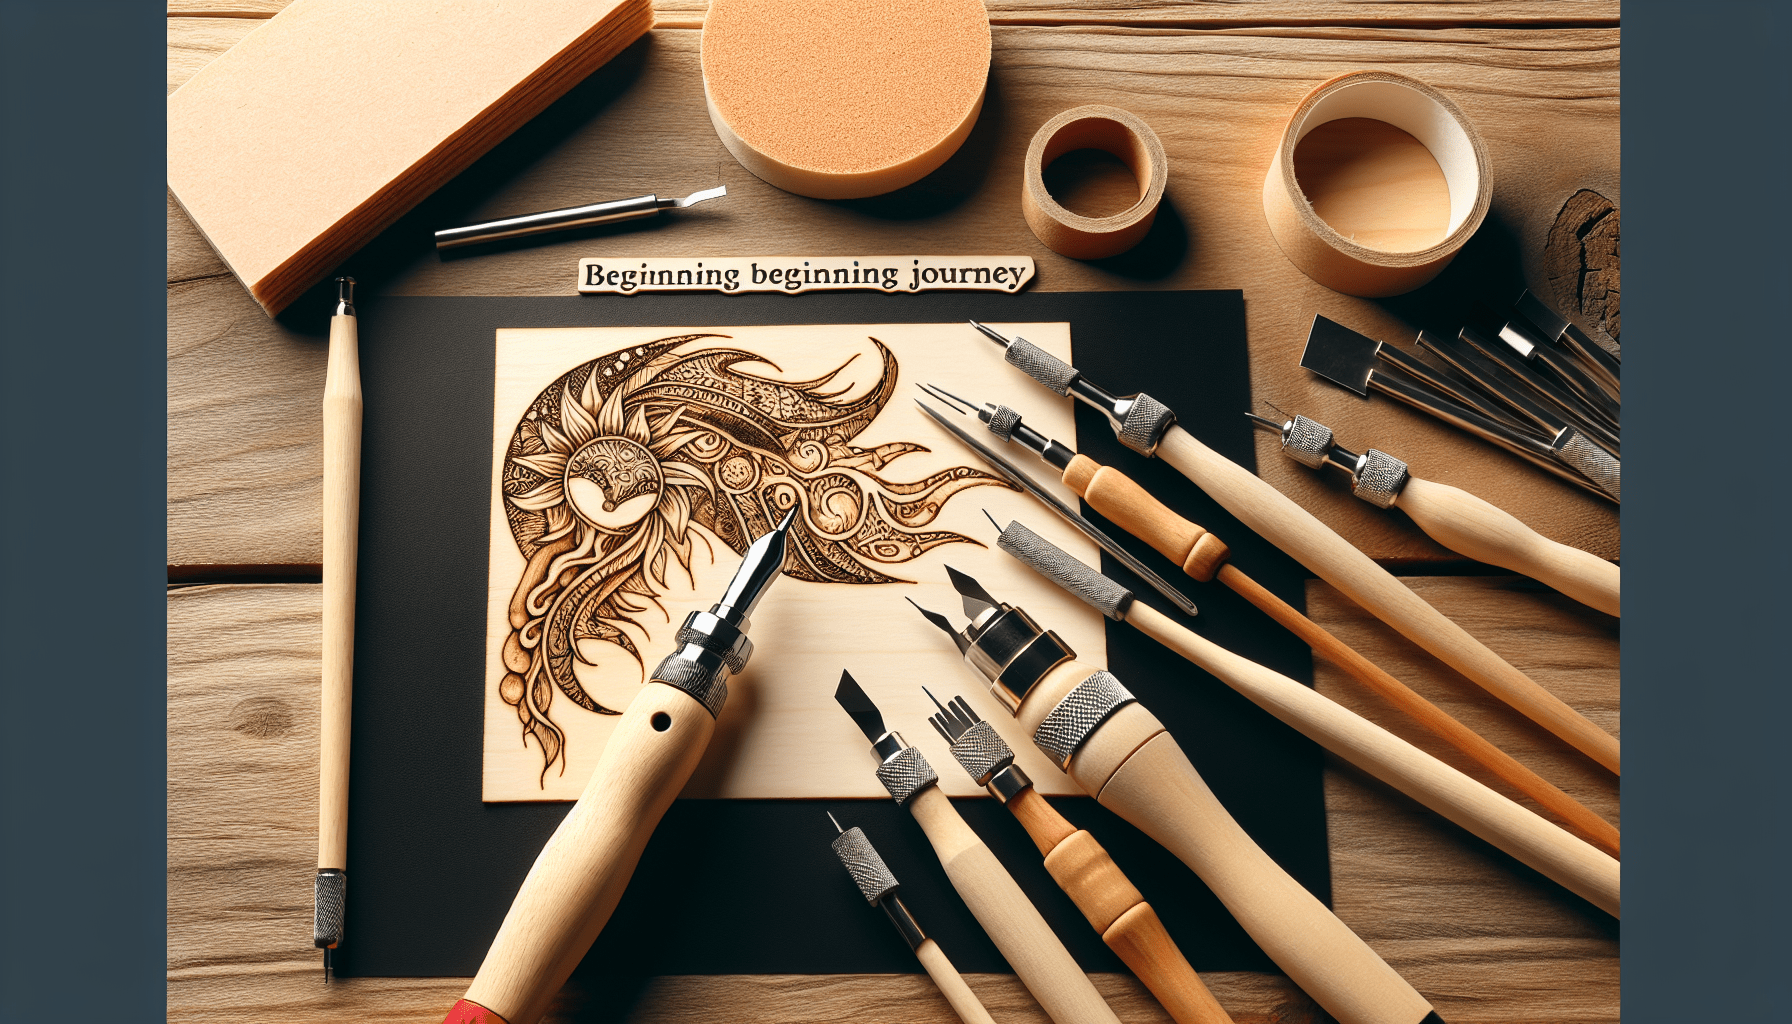
Alright, let’s get down to brass tacks—or rather, hot tools and wooden planks. Here’s a rundown of the essential stuff you’ll need to start your pyrography journey.
Pyrography Pen
You wouldn’t try to paint a masterpiece with a toothbrush, right? The right tool for pyrography is the pyrography pen, and it’s non-negotiable.
Types of Pyrography Pens
Here are the main types of pyrography pens you’ll come across:
| Type of Pen | Advantages | Disadvantages |
|---|---|---|
| Solid-Point Pen (Soldering Iron Style) | Affordable, Simple to Use | Limited Temperature Control, Fixed Tip |
| Wire-Nib Pen (Variable Temperature) | Precise Temperature Control, Interchangeable Tips | Higher Cost, Learning Curve |
Personally, I started with a solid-point pen. It’s great for beginners but as you get more serious, you’ll likely want to upgrade to a wire-nib pen.
Wood Burning Tips
The tips, or nibs, of your pyrography pen come in different shapes and sizes, each suited for various techniques. Swap them out like you’re a secret agent selecting the right tool for a mission.
Common Tips
Here’s a quick guide:
| Tip Shape | Use |
|---|---|
| Rounded | Shading |
| Chisel | Detailing and Lines |
| Flow Point | Writing and Smooth Lines |
| Calligraphy | Fancy Lettering and Script |
When I first started, I thought I only needed one tip. Boy, was I wrong. Each tip has its own unique flair and will drastically change the look of your work.
Wood Choices
Not all wood is created equal, especially when it comes to pyrography. The type of wood you choose can make or break your project.
Best Woods for Pyrography
| Type of Wood | Characteristics |
|---|---|
| Basswood | Soft, Light Color, Easy to Burn |
| Birch | Smooth Grain, Light Color |
| Maple | Harder Wood, Takes Longer to Burn, but Offers Fine Detail |
| Pine | Soft, Contains Knots, Can Be Resinous |
| Poplar | Soft, Smooth, and Affordable |
My first project was on pine because, as a newbie, I’m also budget-conscious. However, once I tried basswood, it was like shifting from crayons to colored pencils. For beginners, I highly recommend starting with basswood.

Safety Precautions
Ok, let’s pause. You’re working with fire here, even if it’s miniaturized and under control. Safety first, unless you want your new hobby to involve a lot of firefighter visits.
Workspace Setup
Designate a specific area for your pyrography work. Ensure it’s well-ventilated, free from flammable materials, and equipped with a fire extinguisher. I learned the hard way after almost setting my novel collection ablaze. Pyrography likes a tidy, open space.
Personal Protection
| Safety Item | Purpose |
|---|---|
| Heat-Resistant Gloves | Protect Hands from Accidental Burns |
| Smoke Extractor | Pulls Fumes Away from Work Area |
| Safety Glasses | Shields Eyes from Flyaway Particles |
I didn’t use safety glasses initially, and my eyes paid the price with a burning sensation (pun intended) that I wouldn’t recommend. So, deck yourself out like a pyrography superhero.
Techniques and Tips for Beginners
Alright, now that we’ve suited up and prepped our arsenal, let’s talk techniques.
Basic Techniques
Outlining
Outlining is usually the first step. Think of it as sketching on paper but with more fire. Start with a lower temperature to get the feel of your pen and wood.
Shading
Shading adds depth and dimension to your design but can be tricky. Adjust your temperature and practice on scrap wood until you master the gradient.
Lettering
Lettering can be one of the most satisfying or frustrating aspects of pyrography. It’s like calligraphy but with more room for charred mess-ups. Start simple and don’t rush.
Advanced Techniques
Once you’re comfortable with the basics, here are some advanced techniques to up your pyrography game:
Texture Creation
Varying temperatures and different tips can create texture, giving your piece a multi-dimensional feel. Experiment with scrapes and dots to mimic fur, feathers, or leaves.
Multi-Layered Designs
You can add layers to your design to make it pop. Burn deeper lines underneath lighter shadings. It’s like layering in Photoshop but smells like a campfire.

Practice Makes Perfect
You won’t become a pyrography master overnight. It takes practice, patience, and a fair amount of singed wood to get there.
Practice Exercises
- Basic Shapes: Start with circles, squares, and triangles.
- Shading Exercises: Practice gradients on a piece of scrap wood.
- Text Practice: Write simple words like “Hello” or “Wood.”
I spent a month just practicing shapes and lines and learning to control the pen’s heat before I dared to dive into a more complex project.
Projects to Get You Started
You’re all geared up and itching to scorch some wood with your newfound skills. Here are a few beginner-friendly projects to get you going.
Coasters
Coasters are small, simple, and great for practicing those outlining and shading skills. Plus, they make awesome personalized gifts.
Keychains
Grab some small pieces of wood and make custom keychains. They’re quick projects that let you experiment with different techniques.
Wooden Spoons
I know, burning designs into something you use to eat might seem counterproductive. But if you use food-safe wood and finish, these can be unique kitchen decorations.
Picture Frames
A basic wooden picture frame is a blank canvas waiting for your pyrography magic. You can make it as simple or intricate as you like.
Troubleshooting Common Issues
Every newbie runs into some common hiccups. Here’s a quick troubleshooting guide.
Uneven Lines
If your lines are uneven, it could be a temperature issue, or you might be moving the pen too quickly. Slow down and make sure your pen is hot enough.
Excess Smoke
If your wood is smoking too much, it’s either too hot, or the wood type isn’t suitable. Lower the temperature or switch to a different wood.
Burn Spots
Those pesky dark spots happen when you leave the pen in one area too long. Always keep the pen moving and adjust your heat settings as needed.
Final Thoughts
Pyrography is an incredibly rewarding and versatile art form. It’s approachable for beginners yet offers enough complexity to keep even seasoned artists engaged. You’ll find there’s a certain zen in the process, from the initial spark to the final touch.
So, what do you need to start pyrography? Just a simple toolkit, a pinch of patience, and a dash of creativity. Start with the basics, practice diligently, and before you know it, you’ll be creating fiery masterpieces that’ll make everyone gasp in awe.
And remember, every artist started as a beginner. So, embrace the burns and the learning curves, and most importantly, have fun with it. You might just discover a new passion that leaves you (and your wood) totally charmed.

